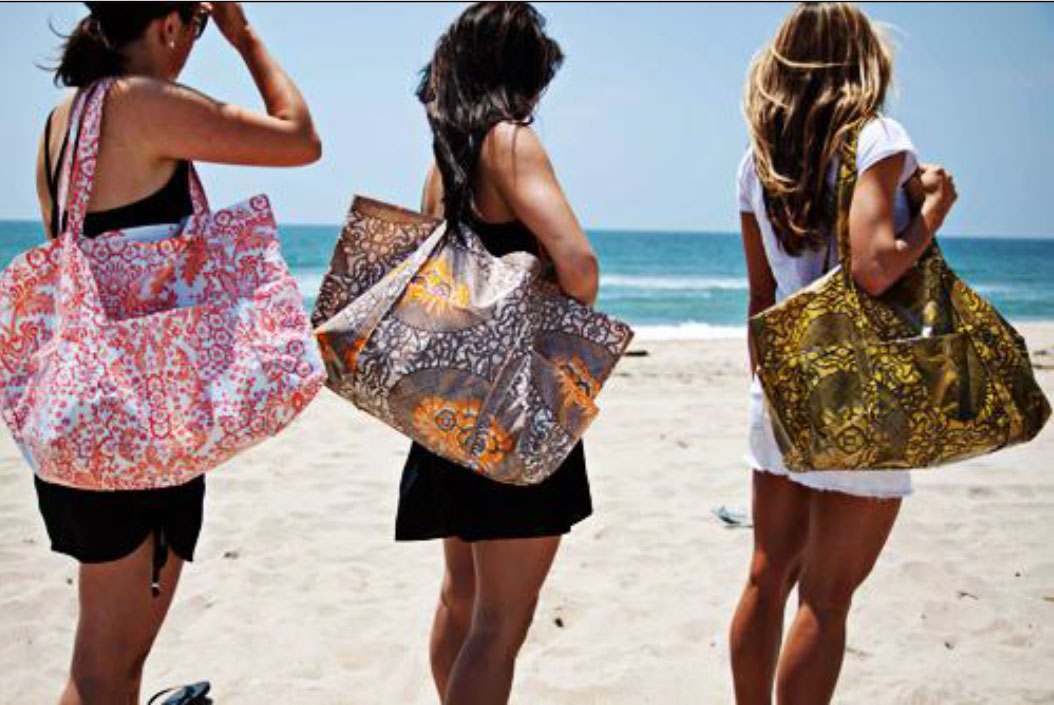
 Summer makes me think of a lot of things: long, lazy days, warm sunshine, green trees, and of course, beach weather! Whether you’re headed to the lake in your own hometown or jetting off for a tropical vacation, you’re going to want a cute and sturdy beach bag to carry all your gear. This beach bag pattern calls for oilcloth which is a fabulous material to use for any item that will be exposed to the elements or frequent use because it’s water resistant and entirely laminate, meaning there are no cotton fibers that will catch dirt or sand particles. With a few steps and some simple tricks, you can make your own oilcloth beach bag perfect for your next summertime outing!
Related Video: How to Make a Beach Bag
Here are the materials and supplies you’ll need to complete this project:
- • 1-2/3 yards oilcloth
- • Paperclips
- • Binder clips
- • Coordinating thread
Hints Before You Begin:
- • Avoid pin holes in your oilcloth by using paperclips or binder clips instead of sewing pins to secure your material while sewing.
- • Oilcloth or any laminated fabric can be tricky to work with because it tends to stick to your machine foot. Use a Teflon foot if you have one handy, or simply stick a piece of tape to the bottom of your foot to make it slide easily across the oilcloth.
- • Smooth out wrinkly oilcloth by hitting it with a hairdryer for a few seconds.
- • Refer to the related video if you get stuck or need a visual of any of the steps!
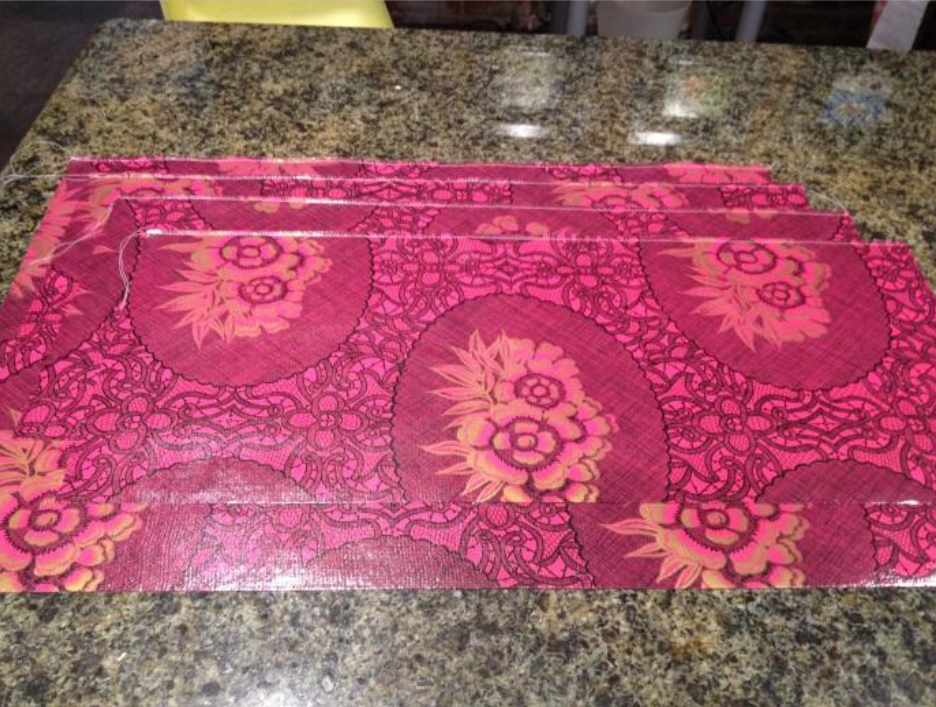 Step 1: Cut your fabric to the following dimensions:
- • 2 main panels: 18” tall x 27” wide
- • 2 pocket panels: 12” tall x 27” wide
- • 2 strap pieces: 4” x 60” (length of your fabric)
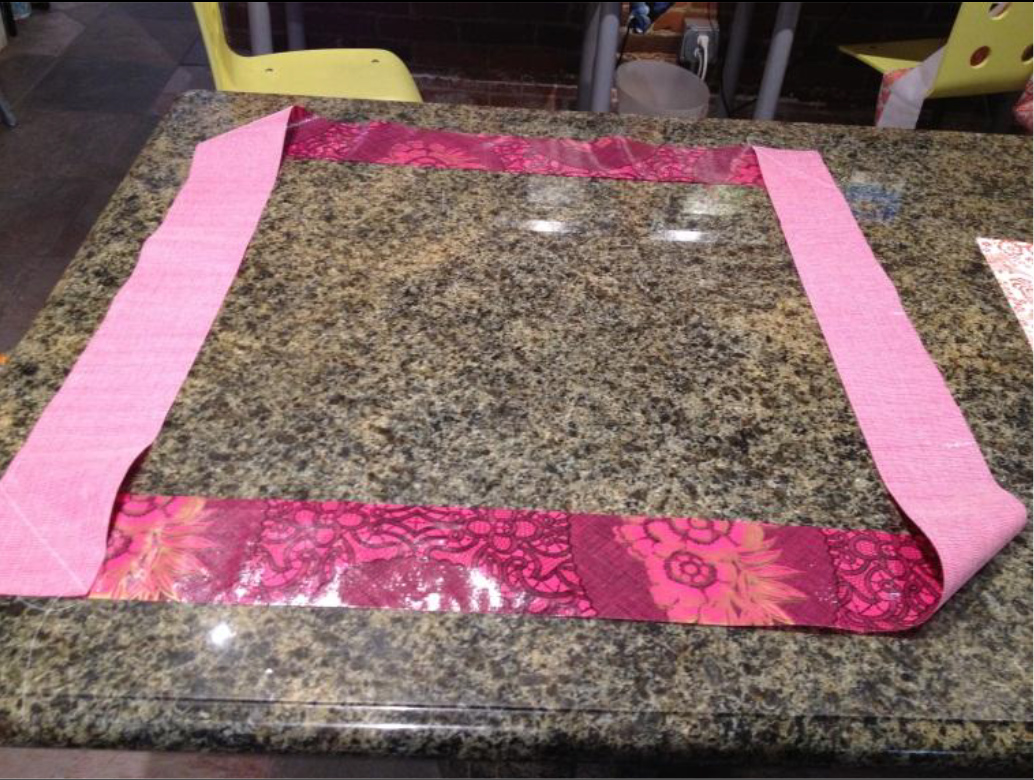
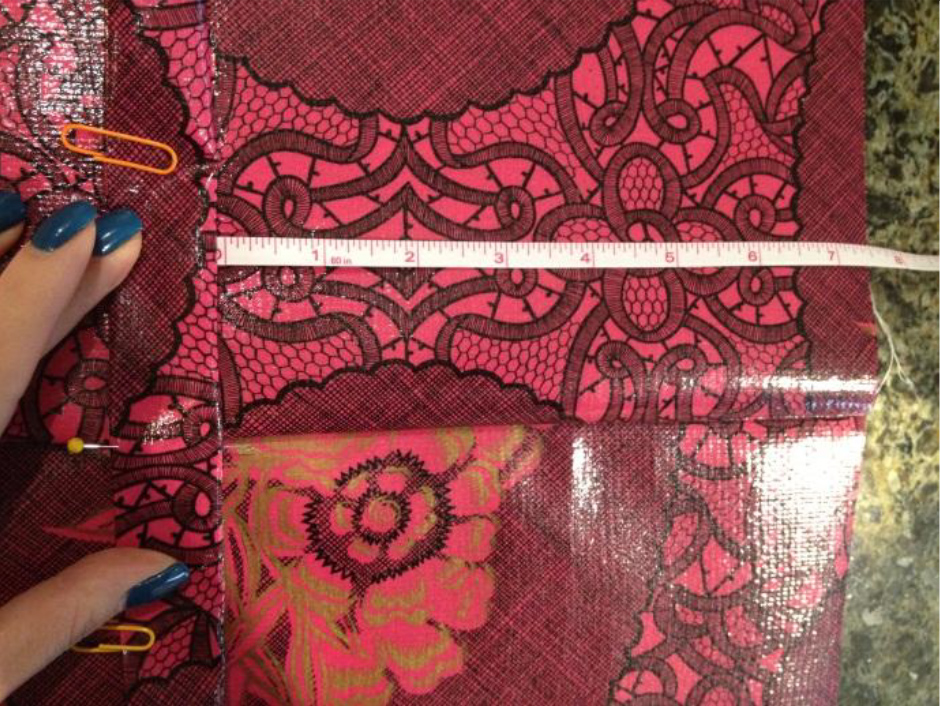
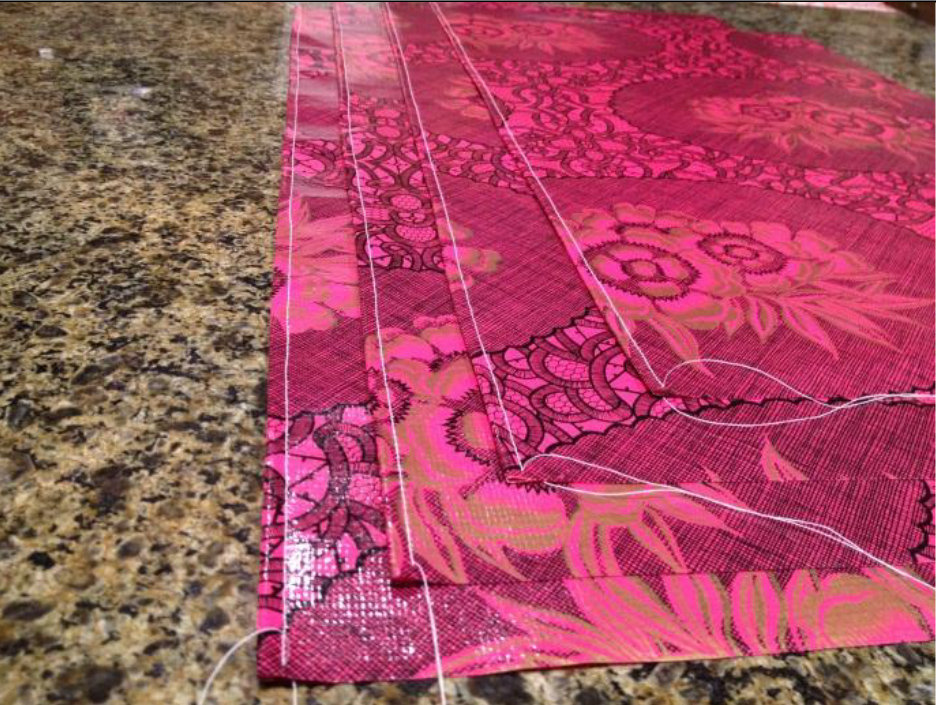 Step 2: Fold the top long edges of both the main panels and pocket panels over ½”, and finger press it down. (Do not iron!) Use your paperclips to hold the fold in place, and topstitch along each edge.
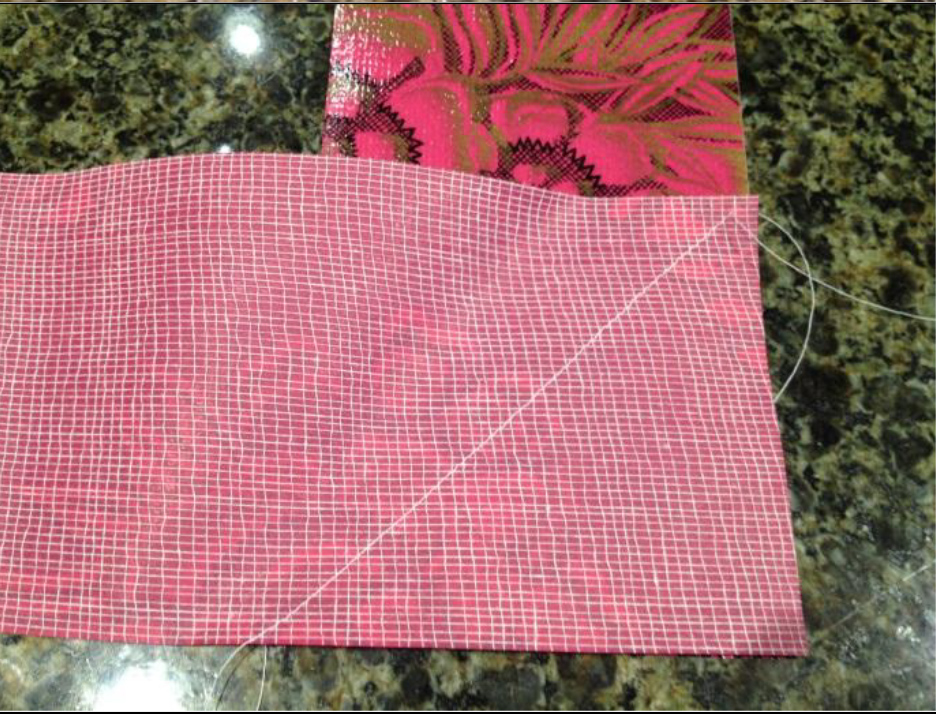 Step 3: Join your two long strap pieces by sewing the ends together using an “L” seam. Place the two ends together at a right angle, and sew a diagonal line in the corner, as shown in the photo. Be careful not to twist!
NOTE: The handle should be about 110 to 120 inches long in total. If your pieces are not long enough, cut an extra 4” strap piece and add it in!
 Step 4: Now sew the other two ends together using the same method to give yourself one continuous piece.
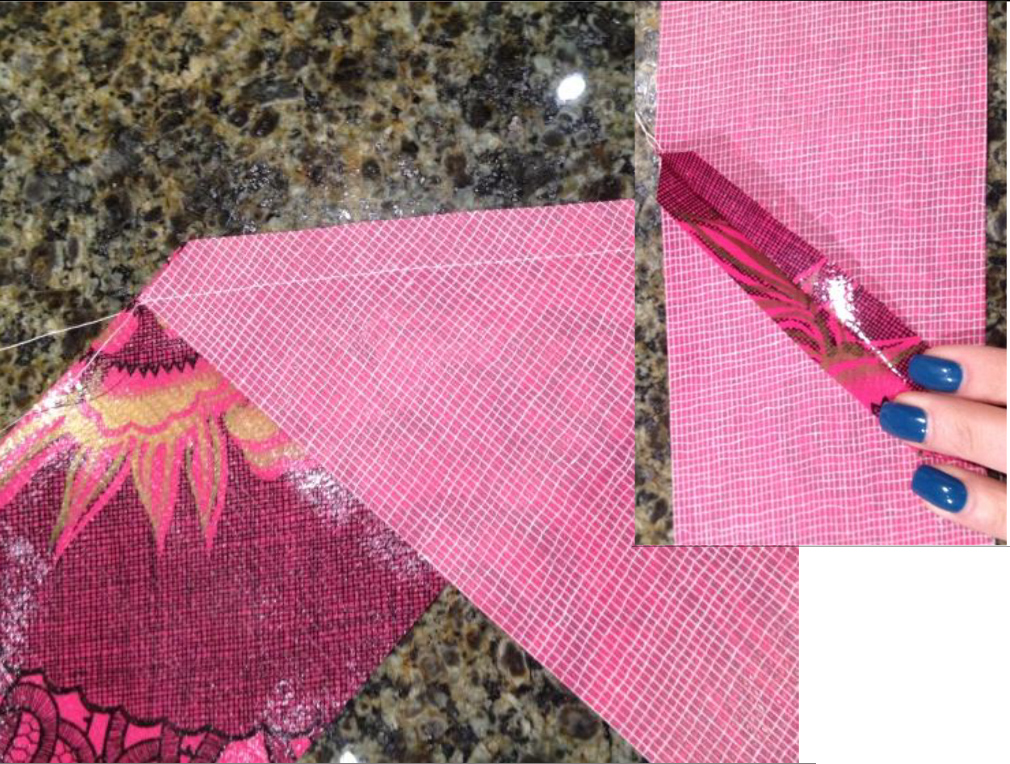 Step 5: Wherever you have a seam in the strip, trim the seam allowance to ½”. Finger press the seams open.
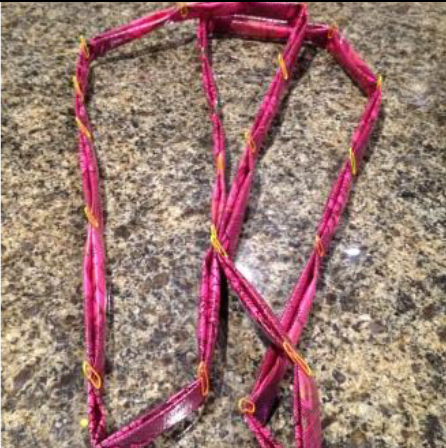
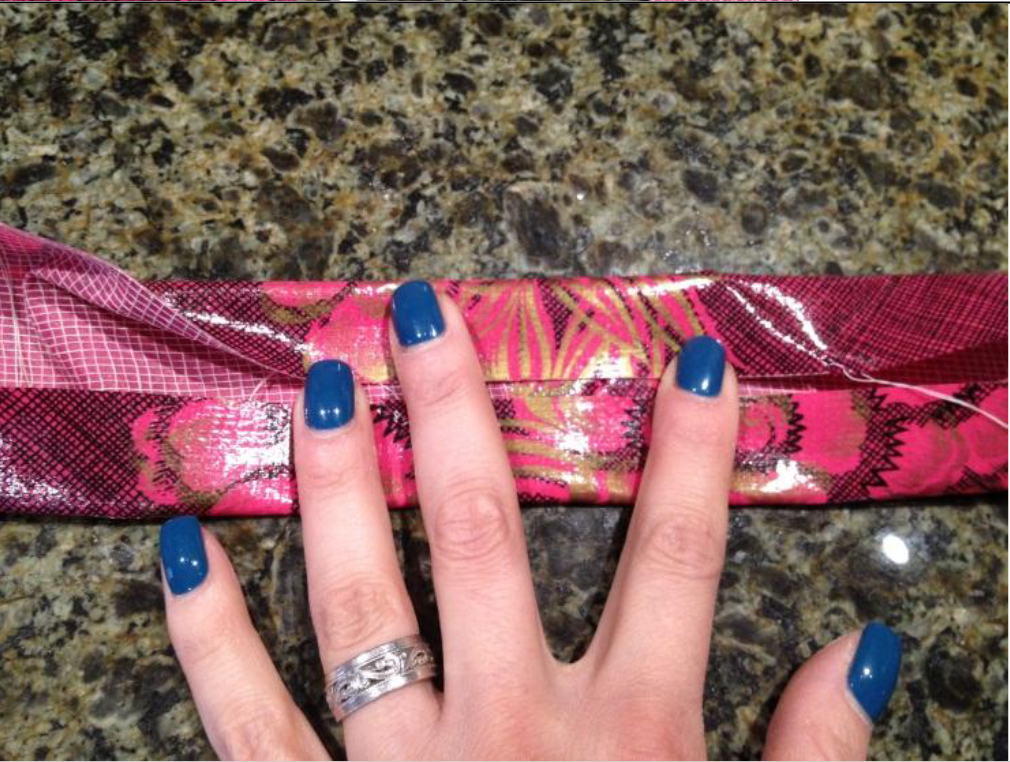 Step 6: Now you’re going to fold your strap. Bring the top edge down to the middle of the strap, and bring the bottom edge up so the two edges meet in the middle.
 Step 7: Now, fold the entire strap in half, paper-clipping as you go. You will end up with a 110 to 120 inch continuous strap that is 1” wide.
 Step 8: Fold this strap loop in half, and mark with a pin where each of the folds are. This marks the halfway points.
 Step 9: Now we’re going to sew the bottom seam of the bag. Take the bottom raw edges of both the main and pocket panels and line them up with the right sides together. Binder-clip the bottom long edge together. Sew along the bottom long edge with a ½” seam. Then, open the bag (so all the right sides are up) and finger press the seam allowance to one side.
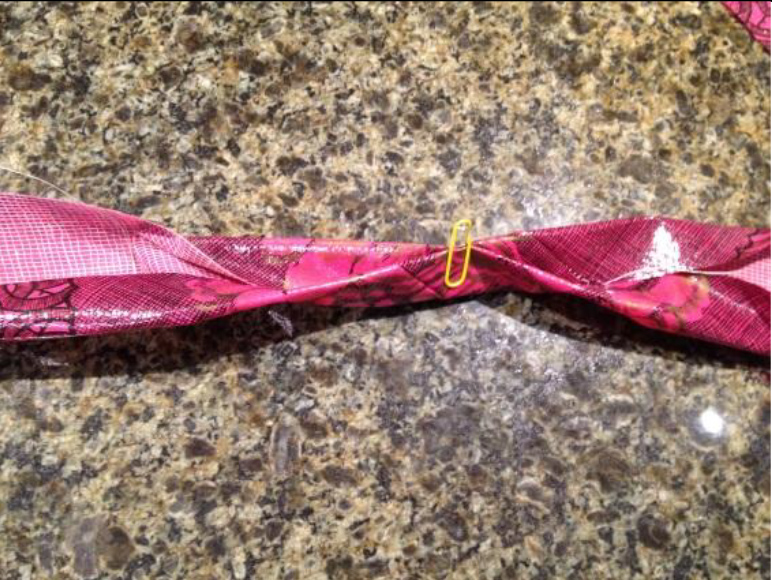
 Step 10: Find one of the halfway points on your strap (marked with a yellow pin in the photo) and line it up on the bottom seam of your bag that is open and laid flat. Measure in 7.5” from the side edge of the bag, and pin the handle into place.
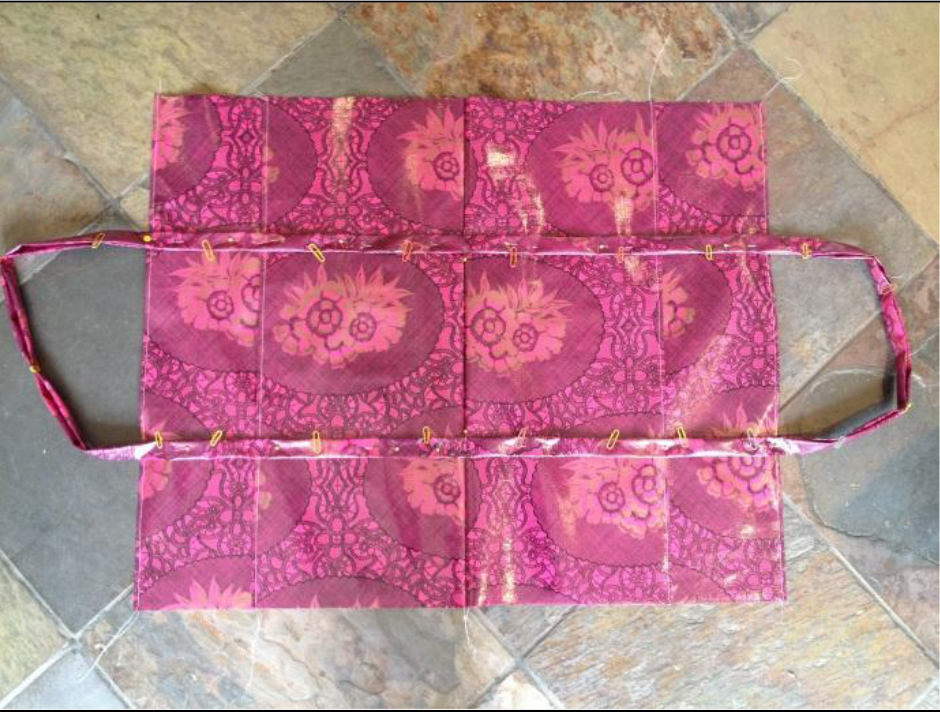 Step 11: Keeping the strap 7.5” from the side edges, AND matching the half-way points of the strap to the bottom seam of the bag, pin the handle to the bag all the way around.
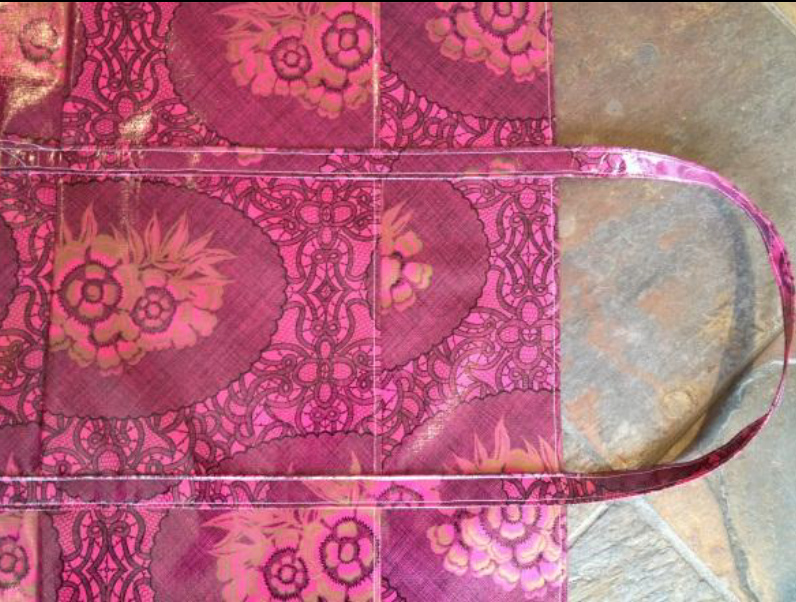 Step 12: Topstitch very close to the edge of the handle, going ALL the way around and through ALL layers. Then, do the same to the opposite edge. This can get kind of fussy since the bag is big and will need to spin all the way around in your machine. Go slowly!
NOTE: Remember to turn the tension on your machine up! I put mine on the highest number to get through all the layers.
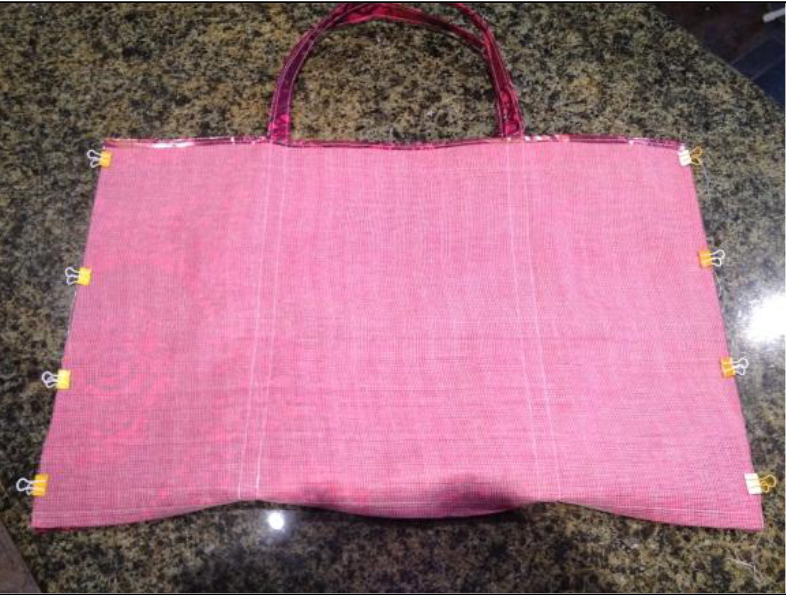 Step 13: Now fold your bag in half, matching the top finished edges, and binder clip the side seams into place. Stitch a ½” seam up both sides.
 Step 14: To make the gussets for the bag, match the seams of both sides to the bottom seams, and measure down the seam 4”. Make a mark sideways across the corner as shown and stitch across your drawn line. Trim off the corner pieces if desired. This makes an 8” side to your beach bag.
Step 15: Now fill your bag with all your beach gear, and you’re ready to go!
If you liked this project or enjoy working with oilcloth, check out these other fun projects to try:
- Make a Quick & Easy Oilcloth Luggage Tag
- How to Make an Oilcloth Wallet
- How to Make a Clutch From Oilcloth
Get in touch! Leave a comment or email editor@nationalsewingcircle.com.


Cool! Need a pattern for grain bags! Anyone got one ?
Love to sew
Love it
Can't wait to start
And a link on WHERE to purchase oil cloth would be nice
What size needle do you use when sewing oilcloth?
I love the strap process.
I've made many of these bags using various fabrics, but not oil cloth. I enjoyed the video and the review gave me the confidence to try the oilcloth method. Thank you
Made one of these on my break at work today substituted webbing for handle and used Kevlar sail material with mesh for the pockets great quick project already had several ask where I bought it
I watched your video the other day, and it looks so easy to make a lunch bag. Congratulations!