What You Need to Know About Seam Rippers

Let’s face it—diamonds aren’t a girl’s best friend; a seam ripper is. I keep one in my purse, one in my closet, and a few in my sewing room. Here are some essential tips to make sure you’re using your seam ripper/best friend correctly.

seam-rippers-1

When you do have to rip-rip-rip, make sure to tear all the thread in areas where you backstitched. After that, you should only have to tear every third to fourth stitch. If a certain stitch is stubborn, don’t get frustrated; just move on to the one right behind or just in front of it. Remember that the blade is in the curve on the inside, not the pointy part. So, you want to follow through with your slicing motion all the way to the curve.

seam-rippers-2

For larger ripping sections, you can also pull apart the two fabrics and slide the seam ripper between them, from below the stitches. You have to be extra careful doing this, though. Otherwise, your fabric may end up with holes. Even though it can be incredibly frustrating to have to rip out stitches, always go slow and rip calmly. Angry ripping is likely to end in torn fabric.

seam-rippers-3

It is important to have a good seam ripper that is easy for you to use. That little dinky one that comes with your machine will just break, so it is worth it to invest in a better quality seam ripper—something that is sturdier and has a comfortable handle.

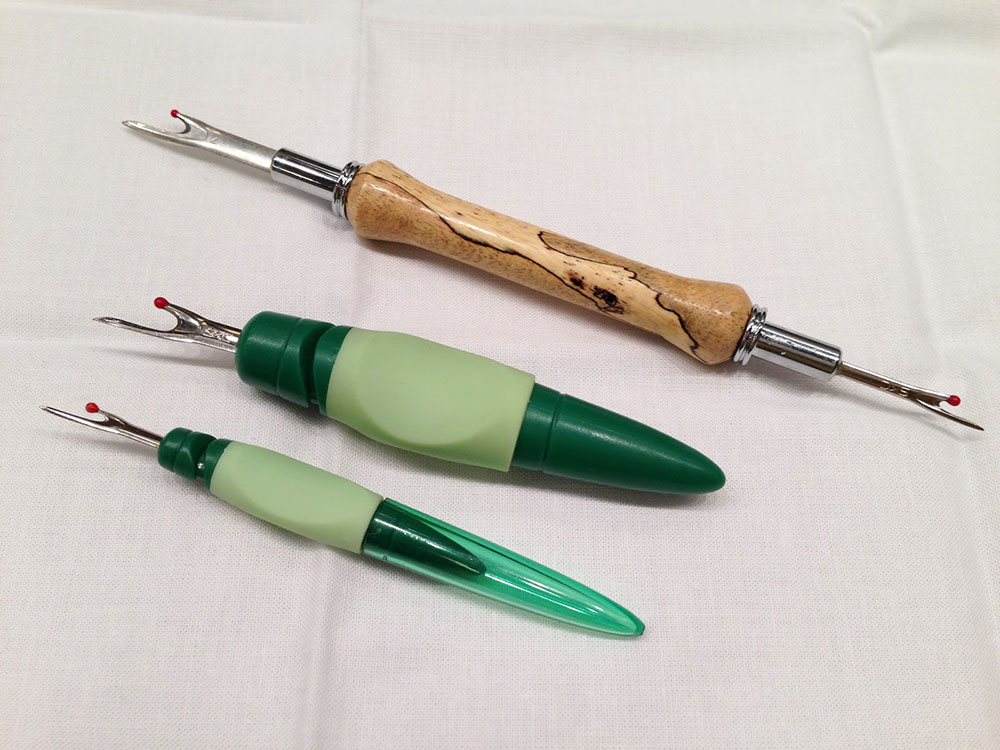
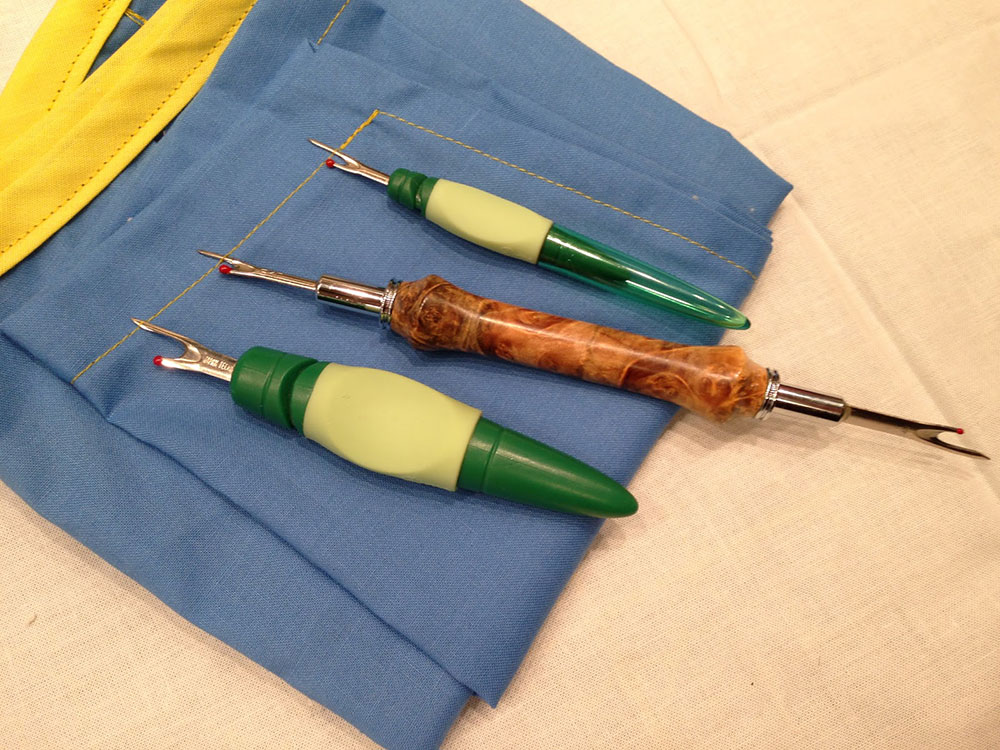
It can also be helpful to have two rippers, one smaller and one larger (some have both sizes). If you can find one that is pretty, even better!

Happy ripping!

Related video: How to Use a Seam Ripper

Have something to add? Leave a comment or email editor@nationalsewingcircle.com.

Share tips, start a discussion or ask one of our experts or other students a question.

Make a comment:
500 characters remaining

12 Responses to “What You Need to Know About Seam Rippers”

  1. Dawn

    How do you sharpen a seam ripper?

  2. Lynda

    How do you use steel wool to sharpen a seam ripper?!

  3. Linda Price

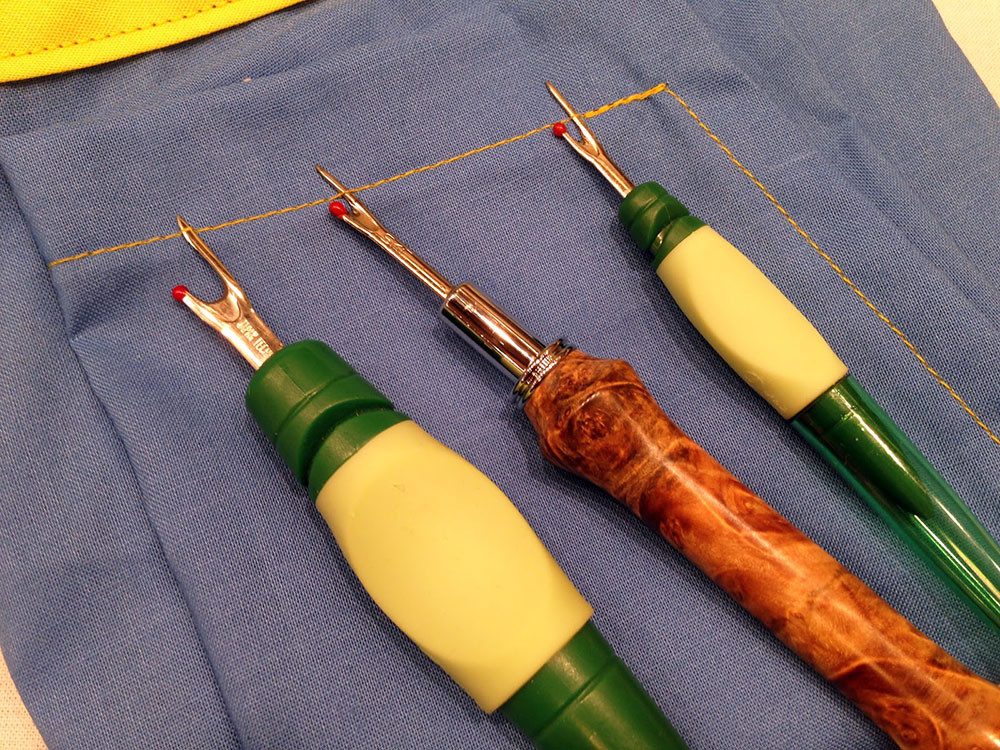
    The little red ball is a life saver! If you're going to rip (cut) the seam stitches by running your ripper between the 2 pieces of fabric letting the blade cut as you go be SURE to have the ball to the underside so you can see the point and make sure you are not letting it poke through the fabric. If it does the blade will then follow the point and cut your fabric. But this is by far the quickest way to rip an entire or several inches of a seam.

  4. Monica

    Are there any professionals in your group who sew patio furniture cushions?

  5. Donna Y

    None of the videos mention what the little red ball does! Some rippers have them and others don't. I found the one with the little ball tip to be the best.

  6. Lori

    I am loving this website. So helpful for me as a beginning sewer! I didn't know that the curved part was the cutter either! I will experiment later. First time I used the tool, I got frustrated and just started the project over... luckily it was a simple beginner one.

  7. Leila

    I got seam rippers from Quilty Box.

  8. Mary

    Thanks so much for the informational video...I have been ripping the wrong way for ..umm...well lets say way too many years. I am mostly self taught and never knew the proper way to use a seam ripper. We are never too old to learn.

  9. Cheryl

    Many good tips in this article and video! I didn't realize that the blade is in the curve. Thanks!

  10. Gail E. Kraft

    In the above pictures, you show a beautiful stitch ripper made of what looks like marble. Where can I buy one these?