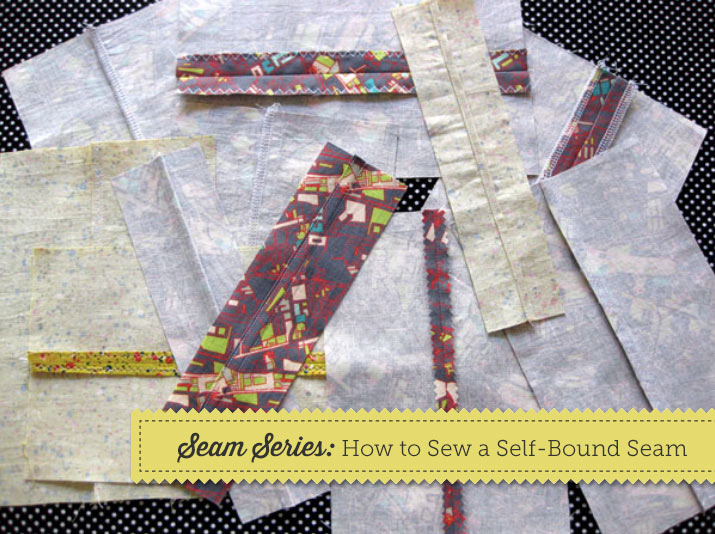
A self-bound seam looks like a tiny French seam, but it’s sewn completely different. The seam allowance is used to bind all the raw edges so that the inside of the garment is all tidy and clean. Perfect for thin cottons and other wovens for a really elegant interior. Follow these easy steps on your next project!
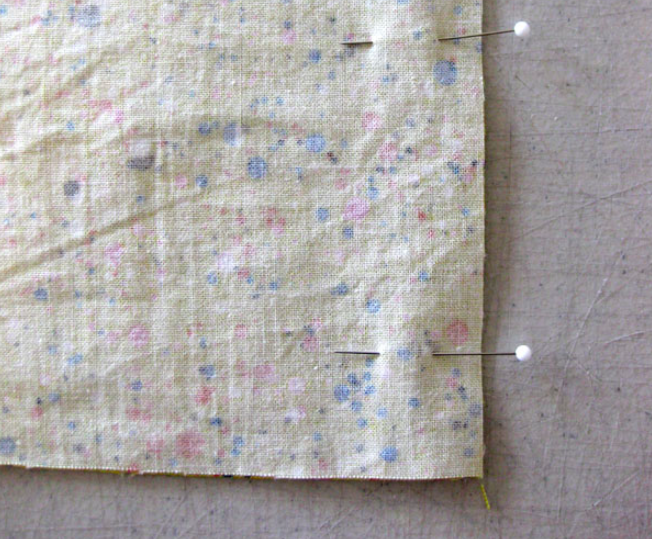
Step 1: Pin the fabrics together, right sides facing.
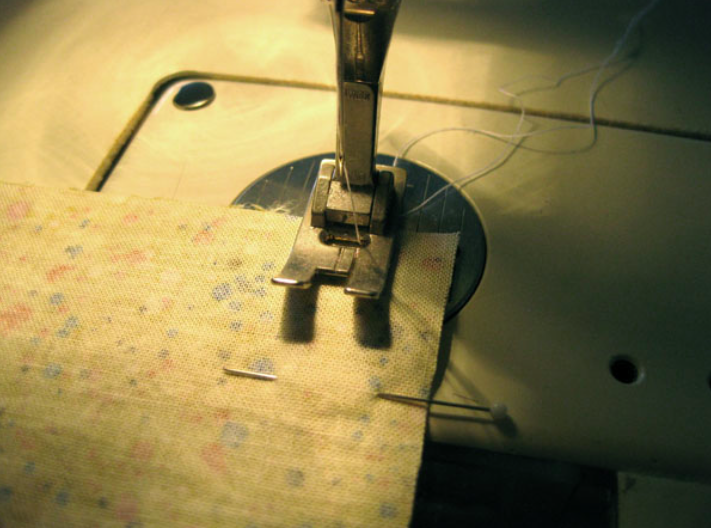
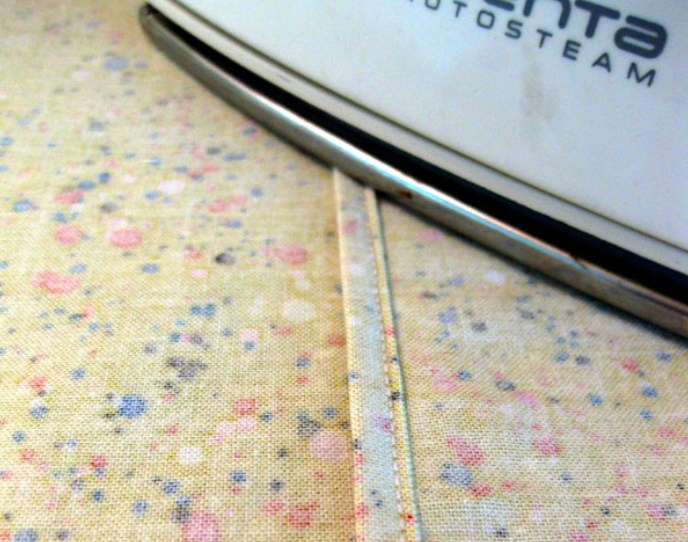
Step 2: Insert the fabric on the project’s seam allowance. I’ve sewn this sample at 5/8".
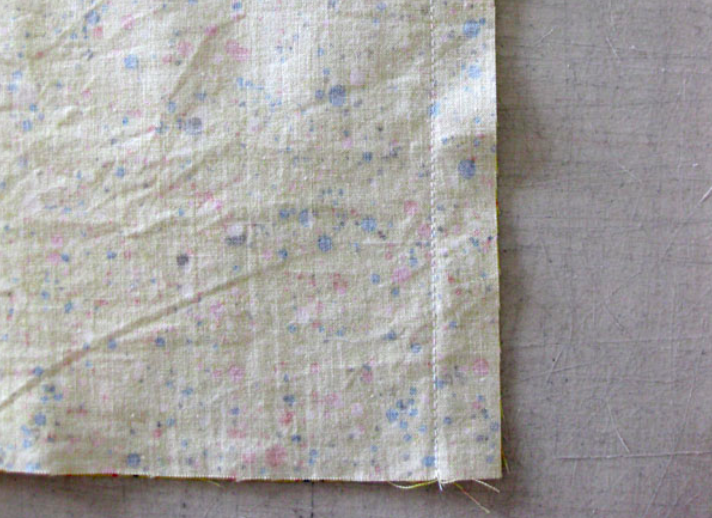
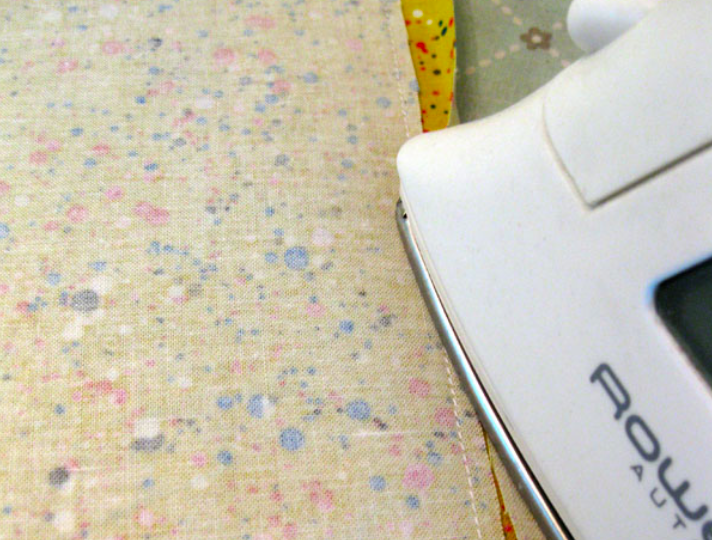
Step 3: Press the stitching to set it after sewing in step 2.
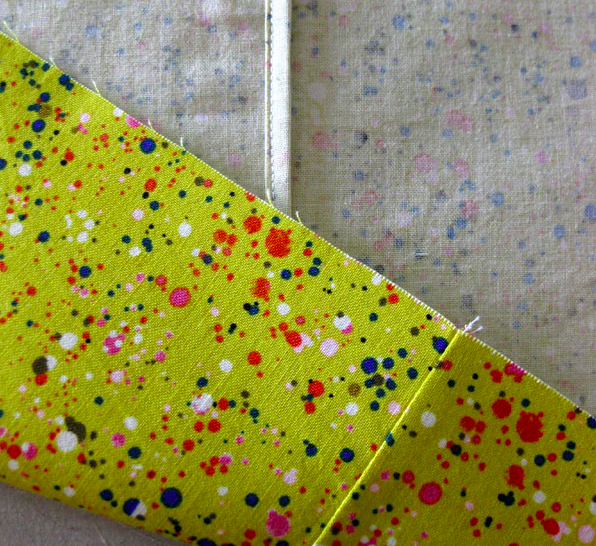
Step 4: Trim the top layer of the seam allowance down to 1/8". Be sure not to trim the other side.
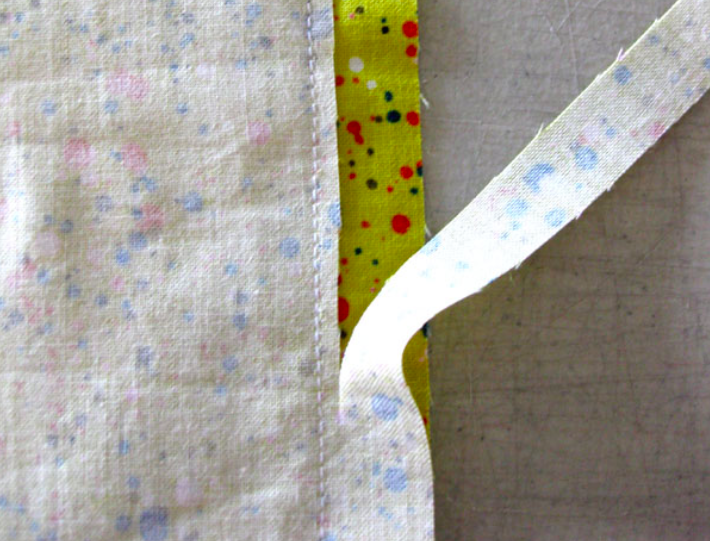
Step 5: Fold the untrimmed seam allowance toward the trimmed side, lining up the raw edges.
Step 6: Fold the untrimmed side of the seam allowance a second time, lining up the first fold with the original stitch line of the seam.

Step 7: Insert the seam into the machine, lining up the needle just inside the fold of the seam allowance.
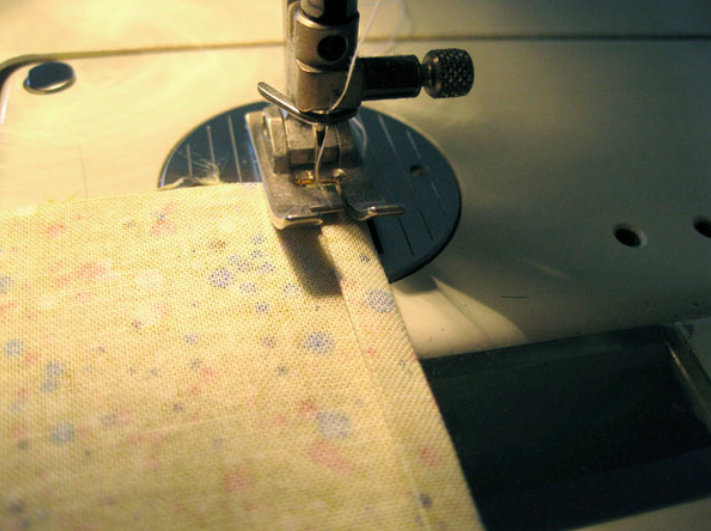
Step 8: Stitch along the fold, keeping the stitching near the edge and sewing through all the layers of the seam allowance. This traps all the raw edges inside.
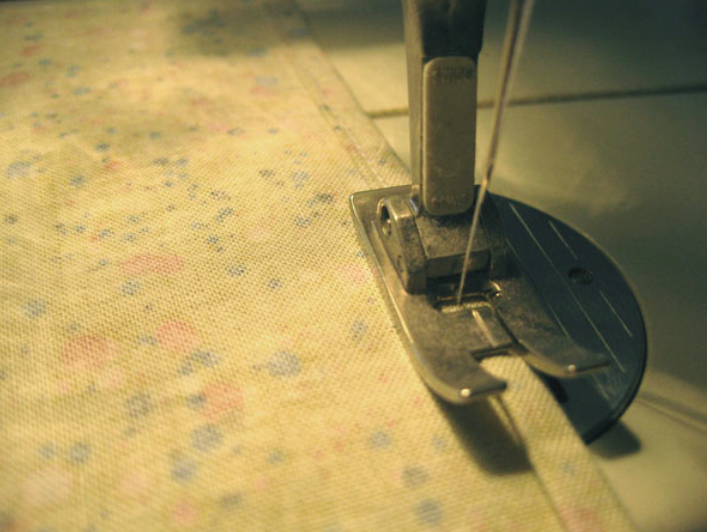
Step 9: Give the whole seam a final press to set the stitches.
And you’re done! The outside is a simple seam, while the inside is clean and tidy with all the raw edges hidden, keeping the fabric from fraying. Give it a try! In case you missed it, learn how to sew flat fell seams, how to sew french seams, and serger and pinking seam finishing.

Share tips, start a discussion or ask other students a question. If you have a question for an expert, please click here.
Already a member?
No Responses to “Seam Series: How to Sew a Self-Bound Seam Tutorial”