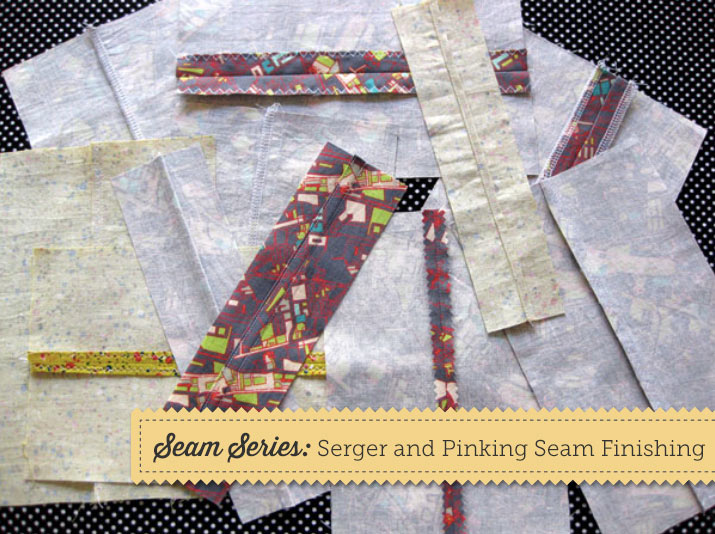
Finishing the inside of your garments isn’t purely for looks, it’s also serves a function, as finishing the raw edges of the fabric keeps your woven fabrics from fraying and falling apart. If the fabric falls apart and works its way to the seam, it will weaken and break open. There are dozens of ways to finish a seam, some fancier than others. Today, we’ll show you two options- finishing with a serger and finishing with pinking shears.
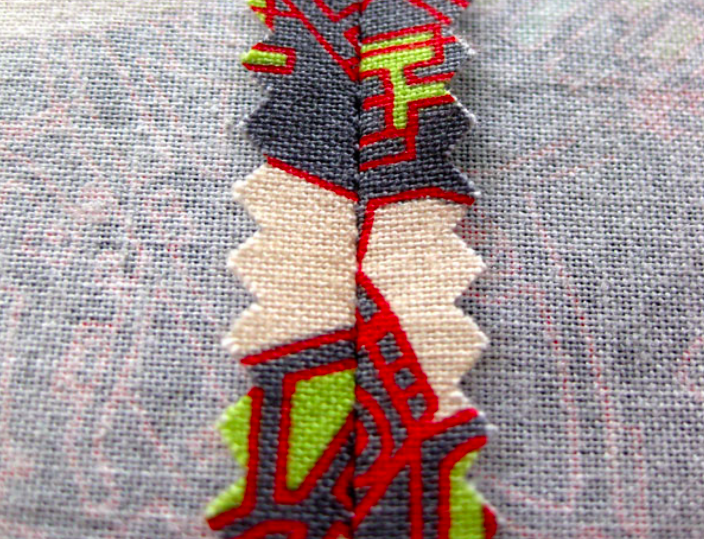
Pinking shears look like regular scissors, but instead of flat blades, there are little triangle “teeth” on the blades that make zigzag points in the fabric. Most woven fabrics are well suited for being cut with pinking shears, but some synthetic blends, silks, and thinner fabrics can sometimes bunch up and not give you a clean cut. If you’ve ever bought vintage clothes, you likely have come across a garment with pinked insides!
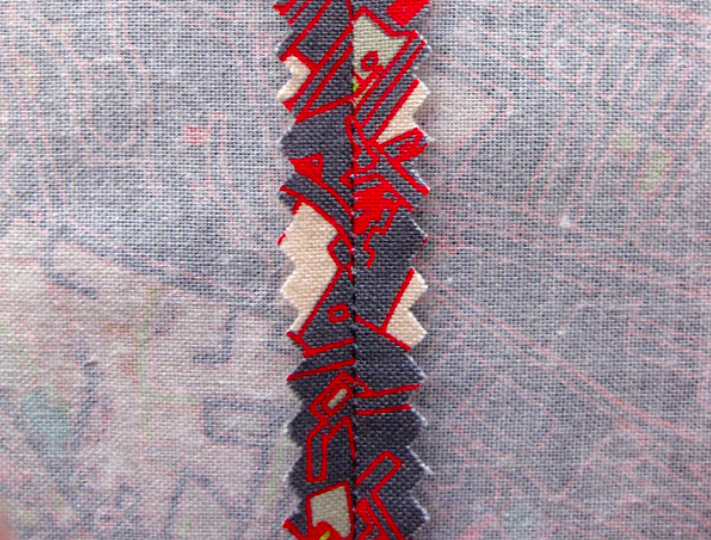
To do a pinking edge on a seam, sew the seam as written, then afterwards simply trim the seam down with the pinking shears. Easy!
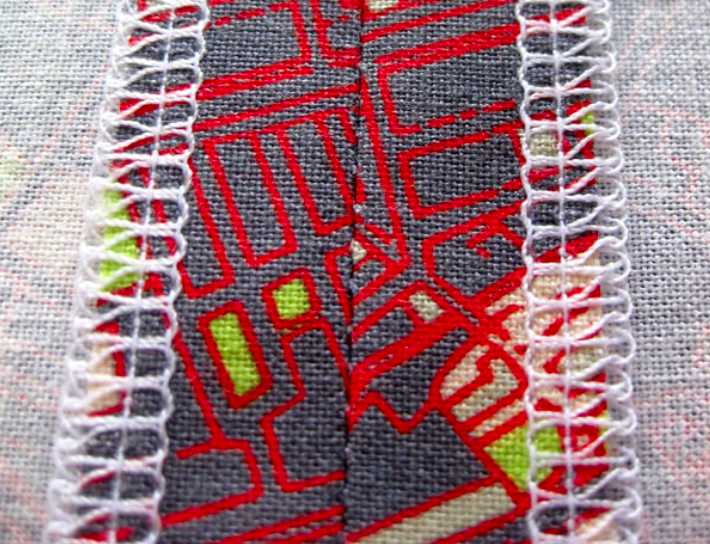
A serger finish in the traditional way, can only be done on a serger, or overlock, sewing machine. Some straight stitch machines have serger-like stitches, but a true serger stitch is done on that specific machine. Sergers have anywhere from 3 to 5 cone threads and a knife inside the machine. The knife cuts off the seam allowance while the threads stitch two straight stitches, a regular and a safety stitch, plus additional threads wrap around the now cut edge of the seam allowance, finishing it off at the same time.
There are three main ways to use a serger for finishing a seam. First, pictured above, is much like the pinking shears option, where the seam is sewn and then the raw edges are finished individually by sewing along the edge with the serger machine.
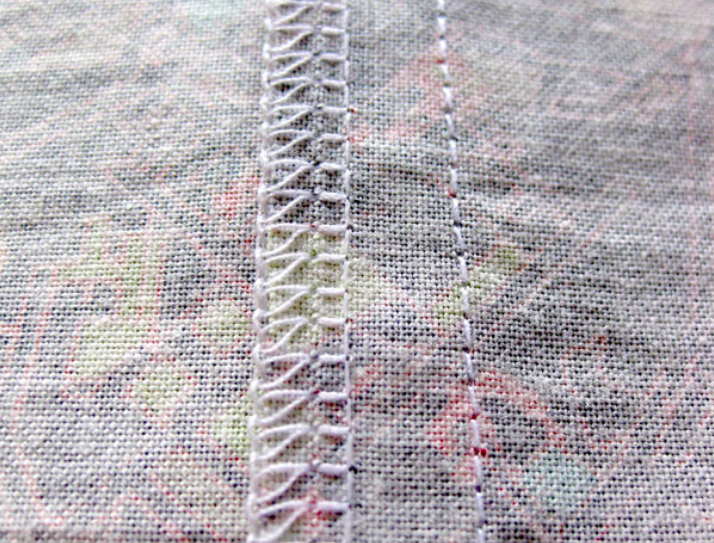
A second choice, pictured above, is to sew the seam first, but then instead of finishing the seams individually, you can sew the seam allowances together, trimming off as much of the seam allowance as you desire with the knife of the serger machine.
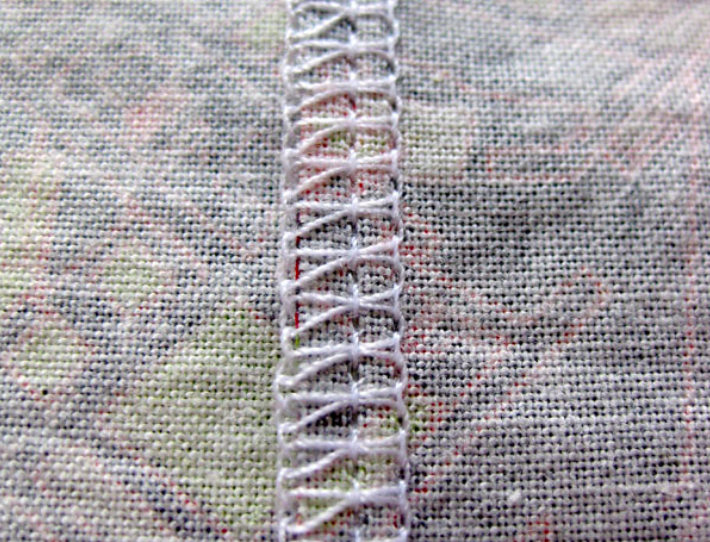
Lastly, a serger will do a regular stitch, as explained above, so if you’d prefer to forgo the straight stitch machine, the serger can do everything all at once, from sewing the stitch to finishing it off.
Explore these options in your next project! And if you’re exploring the world of serger machines, be sure to check out these serger classes: Beginner Serging with Amy Alan and Creative Serging Beyond the Basics with Angela Wolf. In case you missed it, learn how to sew flat fell seams, and french seams.

Share tips, start a discussion or ask other students a question. If you have a question for an expert, please click here.
Already a member?
No Responses to “Seam Series: Serger and Pinking Seam Finishing”