What is a top stitch?
A top stitch is a visible line of stitching on the right side of a fabric project, usually sewn parallel to a seam or edge. It can serve both decorative and functional purposes.
Topstitching is a really handy technique, especially for sewing projects like a tote or any other sort of bag. But you might be wondering why it’s called “top-stitching” if you happen to be doing it on the bottom of the bag! I like to think of topstitching as anything that is on the “top” or exterior of the bag that other people can see. General sewing or “stitching” happens inside the bag, usually on the wrong sides of the fabric, and no one ever sees those stitches.
Topstitching Tips for Sewing
Whew. Now we have that cleared up!
Topstitching Methods
Now that you know everyone in the world is going to see your topstitching, I bet you are really feeling the pressure! Don’t worry—here are several methods for how to top stitch, and some hints to help it go well.
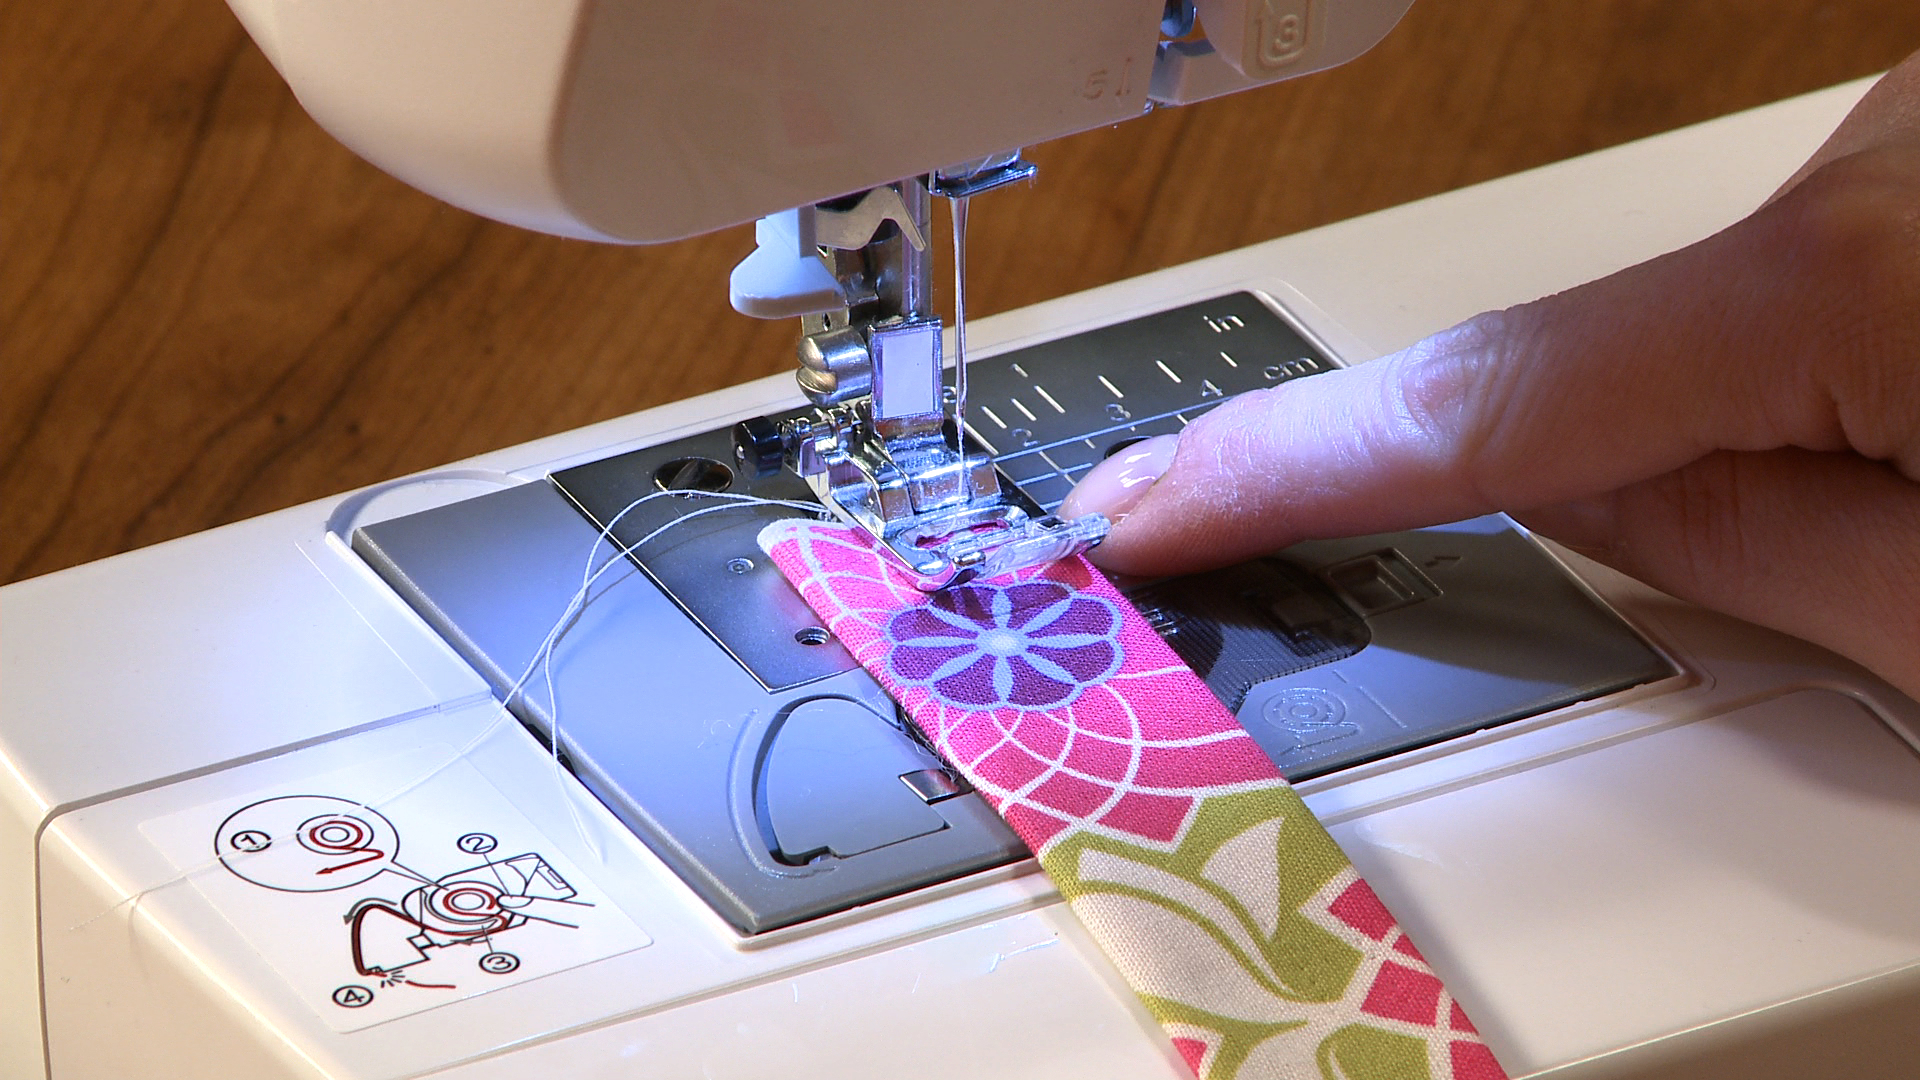
Use a long stitch length. When you top stitch, change your stitch length from the general sewing length (usually 2.5) to 3 or 3.5. It is a bit easier to make a straight line if you have longer stitches. This is very similar to, let’s say, running! Let’s say we have painted the bottom of your shoes in paint, and had you walk 100 feet. As you are walking, you slowly drift from left to right just a bit as you walk. This makes a slightly wobbly line (if we connected the prints of your left shoe, let’s say). But, if we had you complete the same exercise while running, because you had a longer stride, the line would be straighter! Plus, a longer stitch length looks much more professional.
Use a little speed. Let’s take you out of your running shoes and into your car. When you are stuck in traffic on the highway, rolling along at 1 mile an hour (groan), you find yourself correcting right and left quite a bit. It’s hard to go straight at such a slow speed! If we had paint on your wheels, it would be all over the road! But, put paint on your tires and send you down the highway at 70 mph—your tire tracks would be much straighter. The same is true with sewing. Now, I don’t mean for you to floor it and go as fast as possible (you will learn that too much speed can affect your stitch length!), but definitely move past the snail pace.
Use a zipper foot. If you put a zipper foot on your machine, then you can very easily see the edge of the fabric. The thing I like most about topstitching with the zipper foot is, unlike the regular foot, you can see the entire edge of what you are sewing next to. The downside is that you don’t really have a good spot to line up the edge of your fabric with—you need to eyeball it a bit as you are going along to make sure that the distance between your needle and the edge of the fabric remains the same.
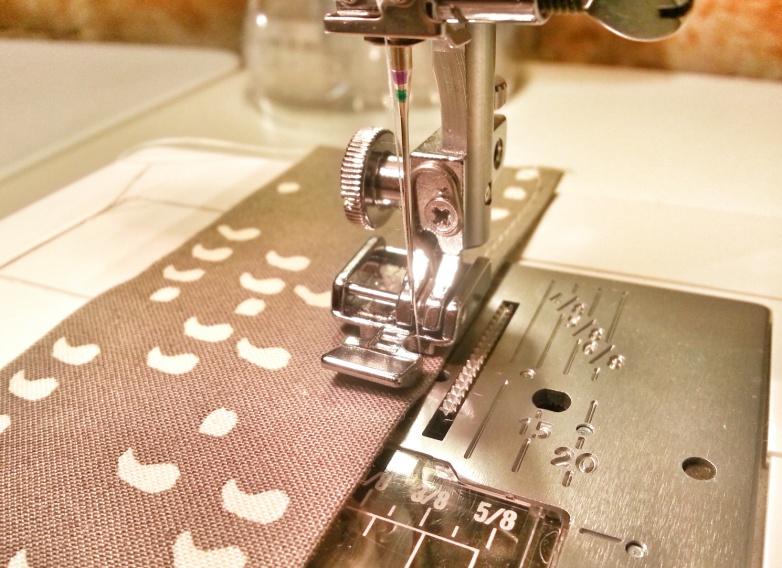
Move your needle. If you are using a regular foot, move your needle all the way to the right and line up the edge of your foot with the edge you are sewing along for a perfect distance the entire way.
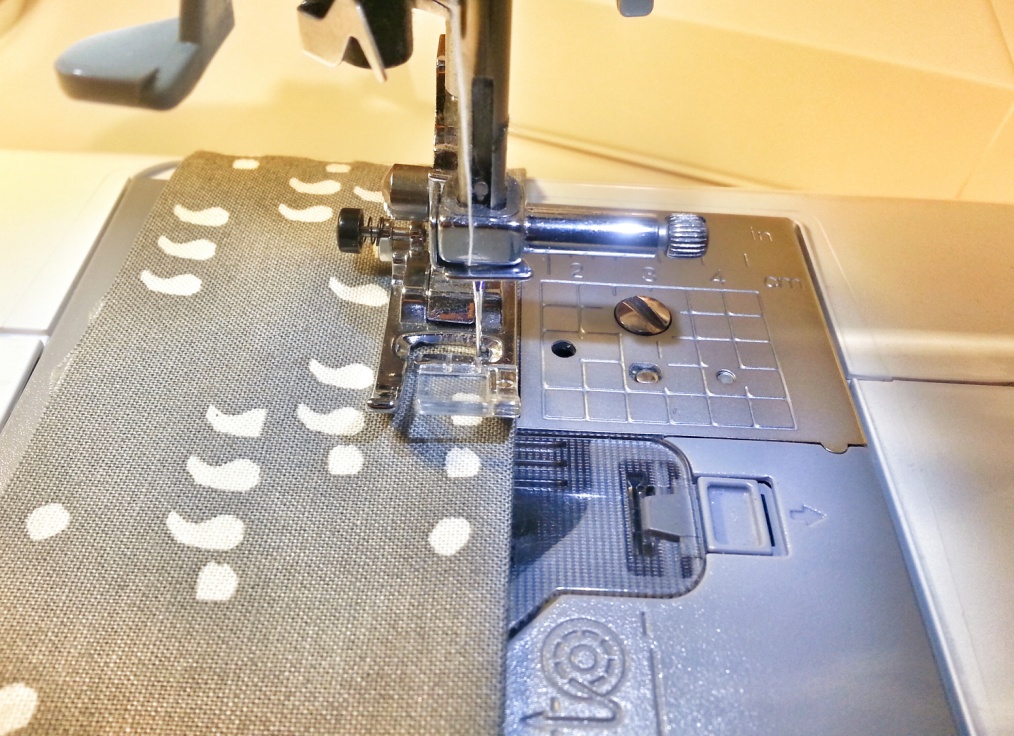
If you cannot move your needle to the right (which some machines, such as the ones I sew on, do not offer), then move it to the left and send your fabric right down the middle of your foot.

Any way you do it, adding a top stitch on a project is what gives it the detail that takes it from homemade to handmade. Happy sewing!
Are you interested in learning more about topstitching? Check out our related videos:
Top-Stitching Tips for Sewing
Sewing Seam Finishes & Hems
Adding Professional Finishes to Projects: Slouch Bag
You might find this video helpful:
Useful information the. Top stitching.
Thanks for the terrific Q & A site!!!
Thank you for the tips. Learn something new every time!
this is my first post. i have been sewing for 50 years. there is always something i can learn. it would have been nice to post some examples of top stitching, different designs or maybe spacing. i will keep checking in. great site.
I use my edge-joining foot and butt the fabric up to the blade and move my needle to the left or right as needed.
if you have decorative stitches on your machine, topstitching is a great place to use them. Play with some on samples till you find one that suits your project. And you can make multiple rows of decorative stitches for more interest, depending on the project.
Thank you for this hint I have some top stitching sitting waiting for me to do later this morning and I will be trying it out.
Love top stitching. Of late though, I had gone a step more. I switch to a zigzag the size of embroidery floss, similarly to applique. Then run the floss over the top stitch in a matching color. It really makes your project pop.
Very informative, especially on how the fabric will shift if not anchored properly; thanks for the tip
Thanks! I received some tips I never thought about .