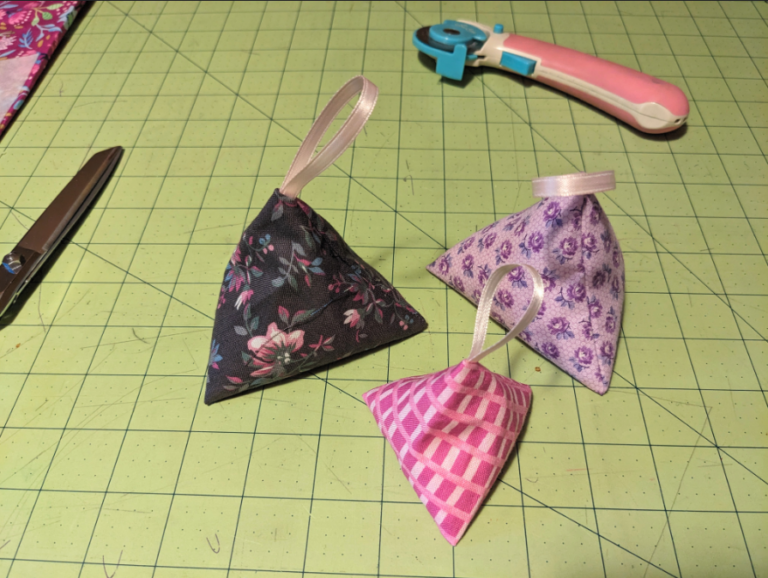
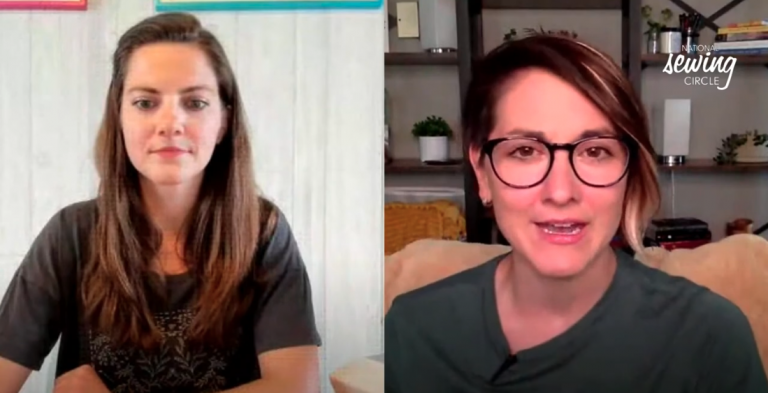
Bow Scrunchies
Nicki LaFoilleSupplies
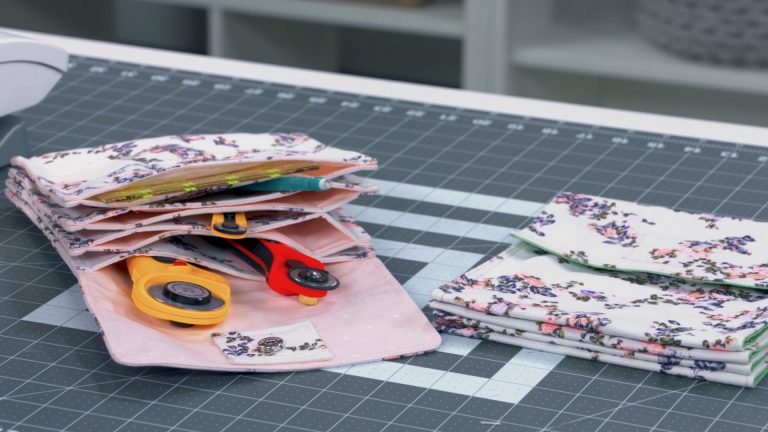
These handmade bow scrunchies are an easy project that can be made quickly with just a small amount of fabric and elastic.
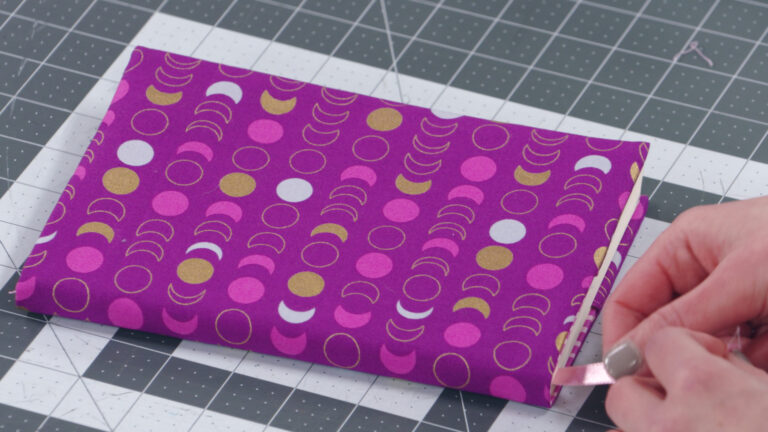
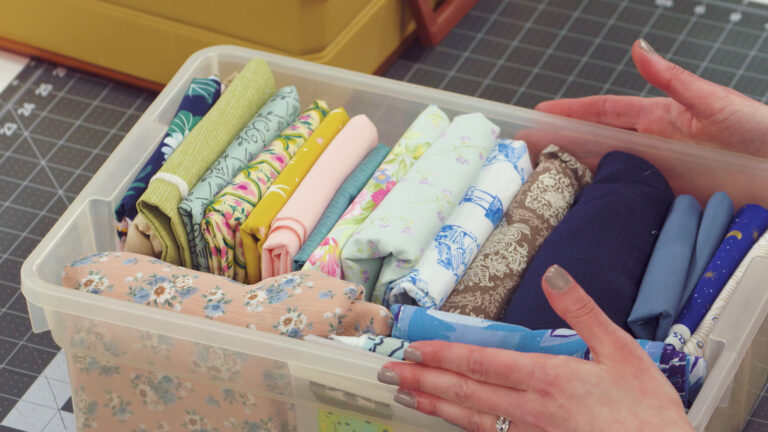
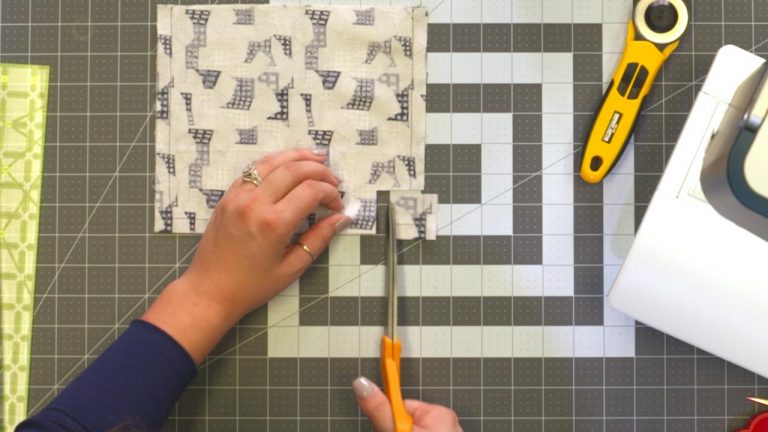
Nicki LaFoille discusses some of the different kinds of fabric you can use for your scrunchie. Your fabric choice may depend on how stiff or relaxed you want your scrunchie to be as well as how much you want the fabric to gather. She also talks about how much material you will need and how you can easily adjust the size of the rectangle to change the look of your scrunchie.
The next supply that Nicki talks about is elastic, as it is an important component of the scrunchie. Nicki explains what kind of elastic she prefers to use and talks about the length of elastic needed to make a scrunchie. The last component Nicki talks about is the optional bow that can be added to the scrunchie.
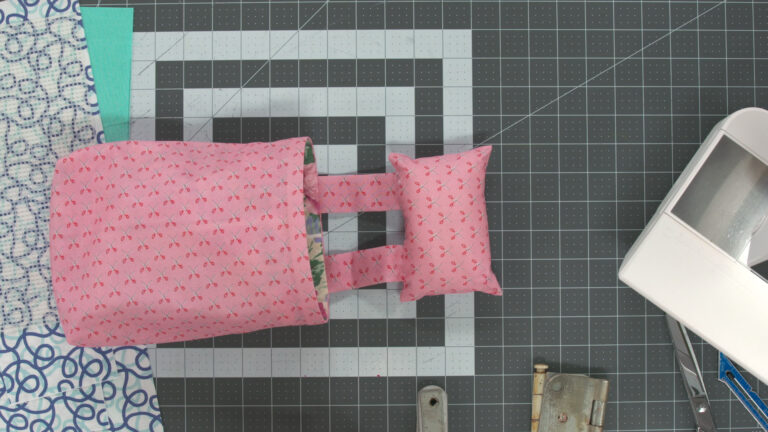
Scrunchie Bow Pattern
Construction
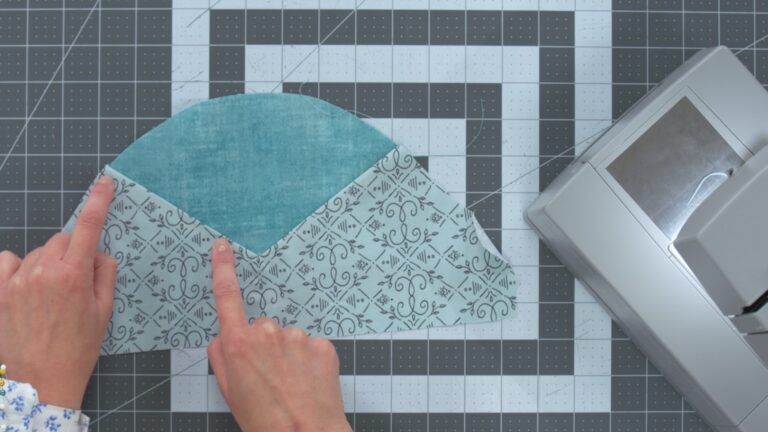
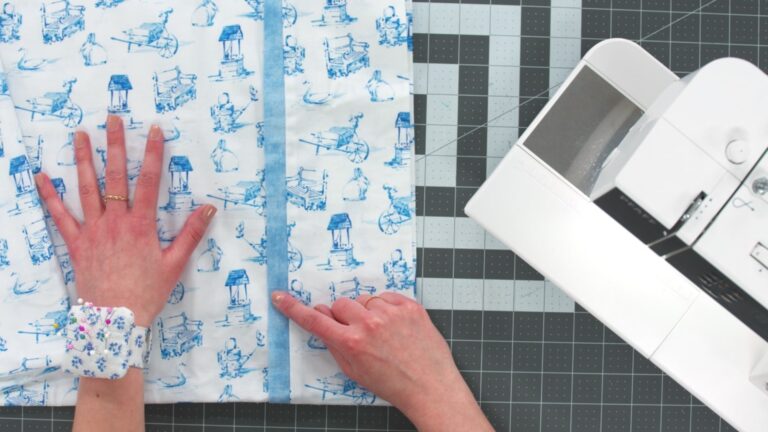
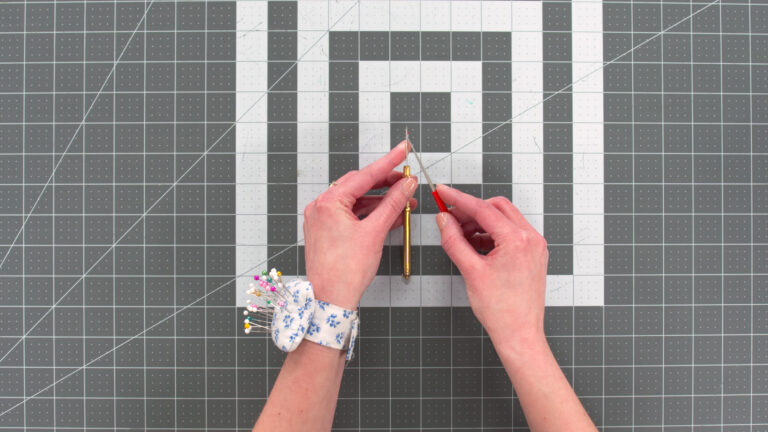
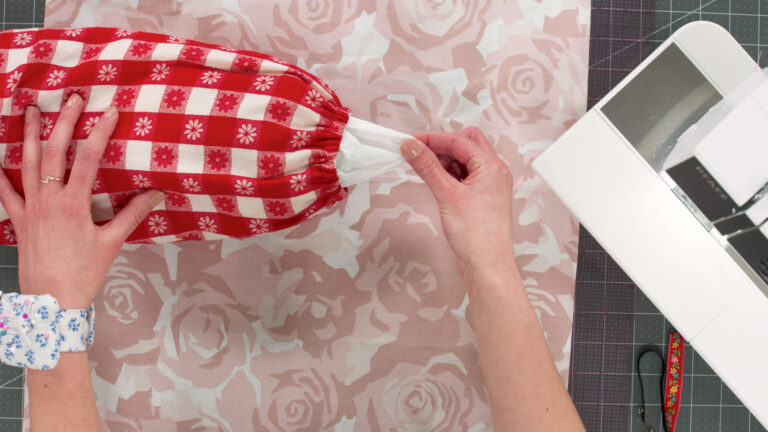
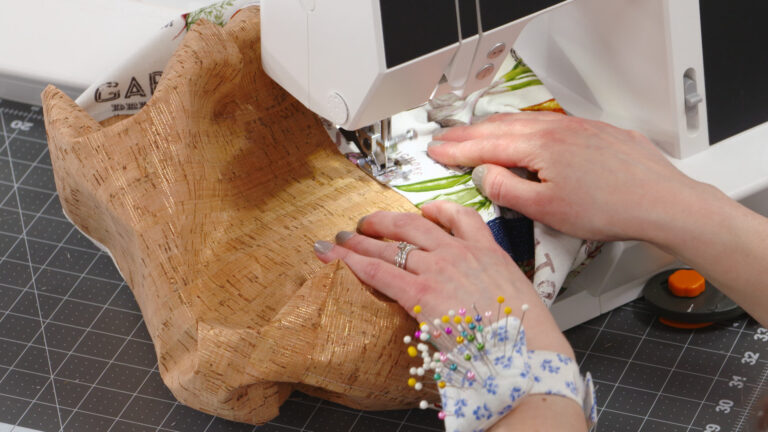
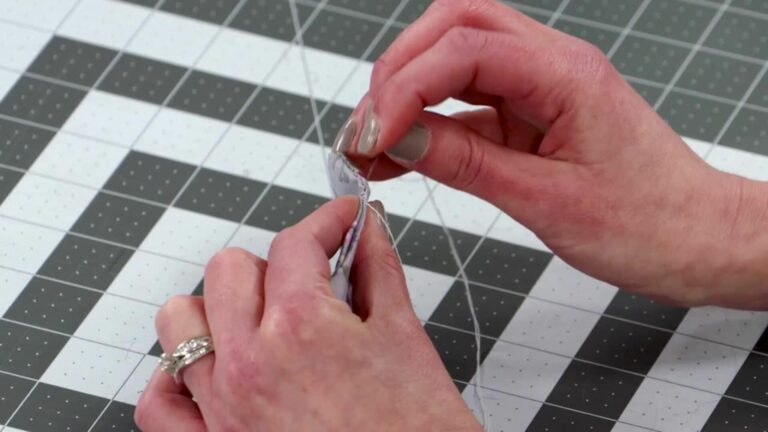
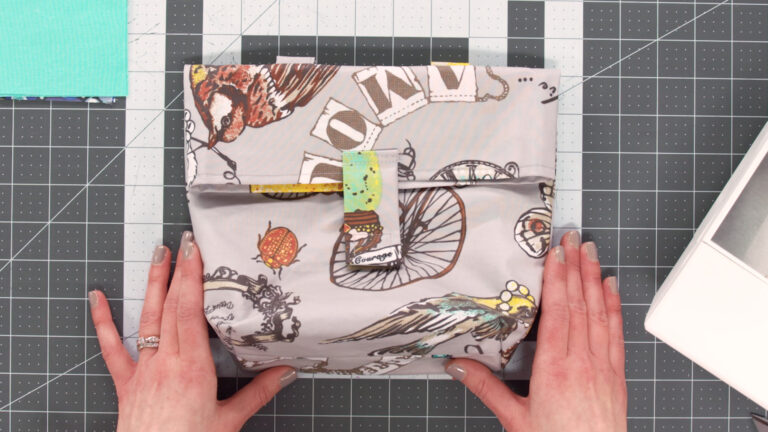
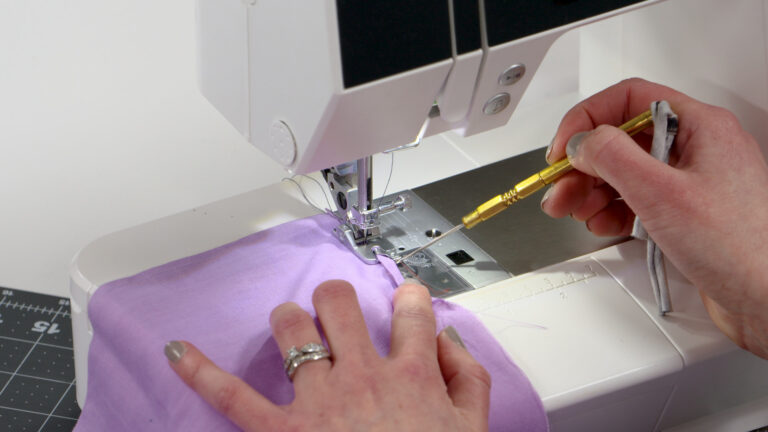
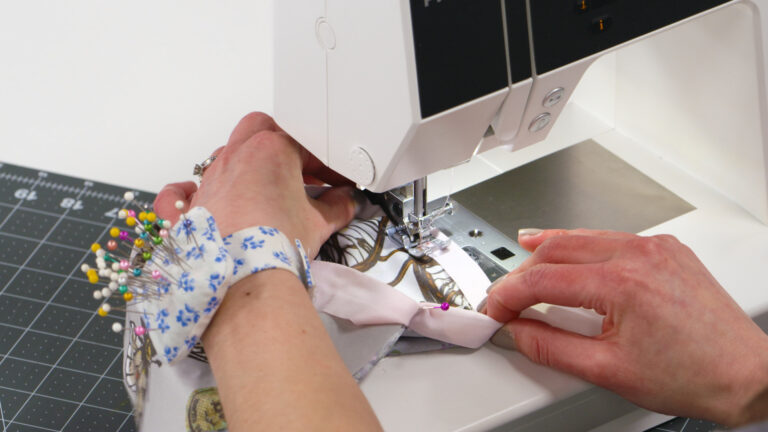
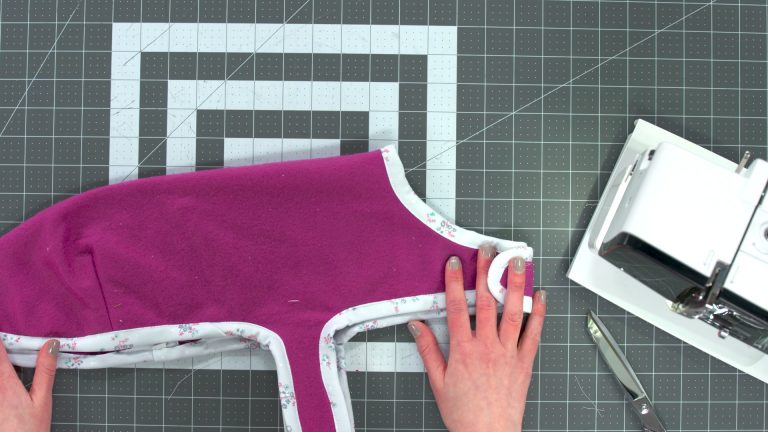
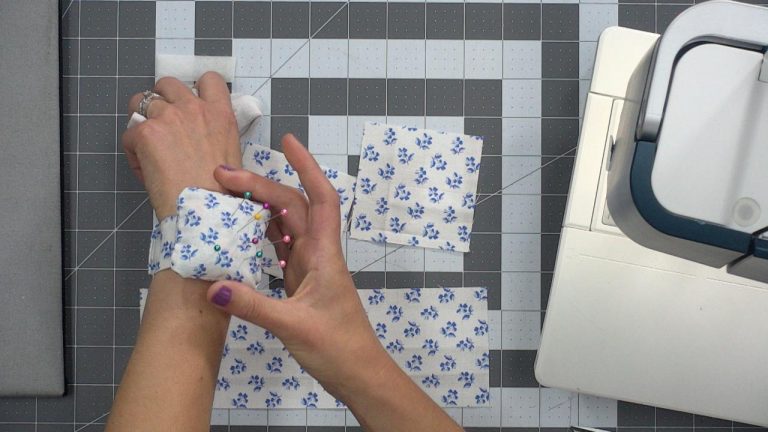
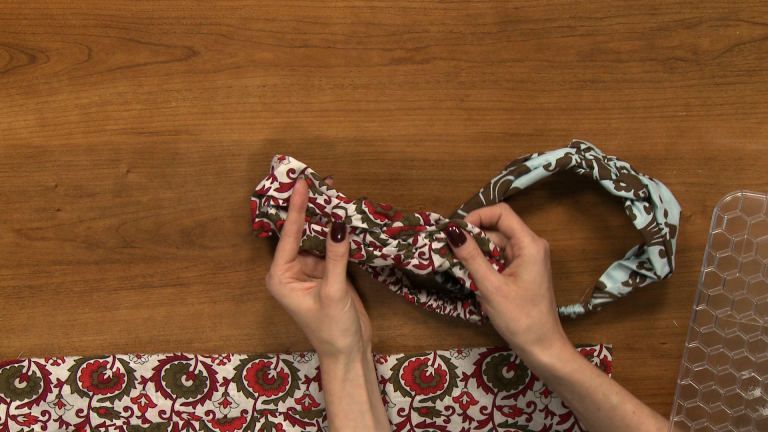
Once she has gone over the supplies, Nicki demonstrates step-by-step how to construct your scrunchie. Fold under one short end of the rectangle and stitch the long edges together to create the tube of fabric for the scrunchie. She also shares a great tip for how to quickly and easily turn fabric tubes right side out using a length of yarn. She then shows how to insert the elastic, secure the ends and finish and join the ends of the fabric tube. Finally, Nicki shows how to sew and add the optional bow to make an adorable handmade scrunchie.
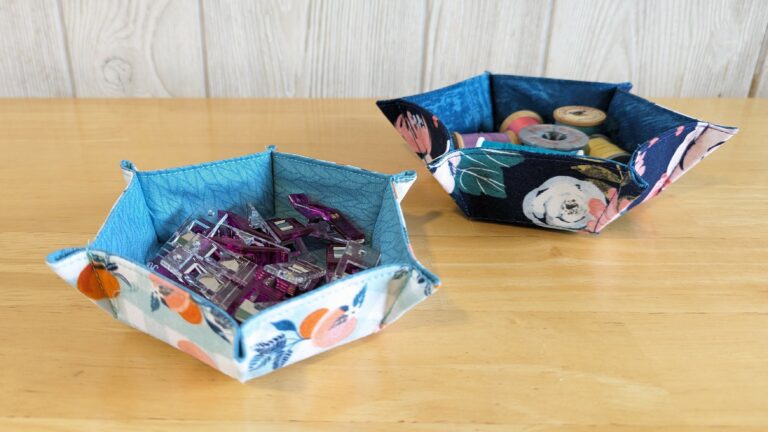
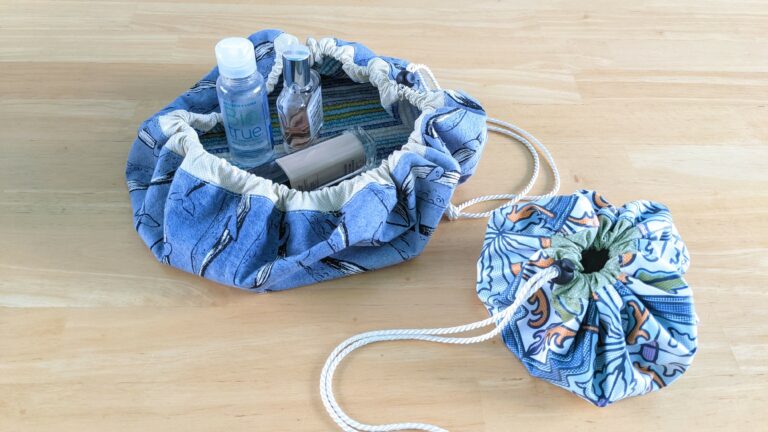
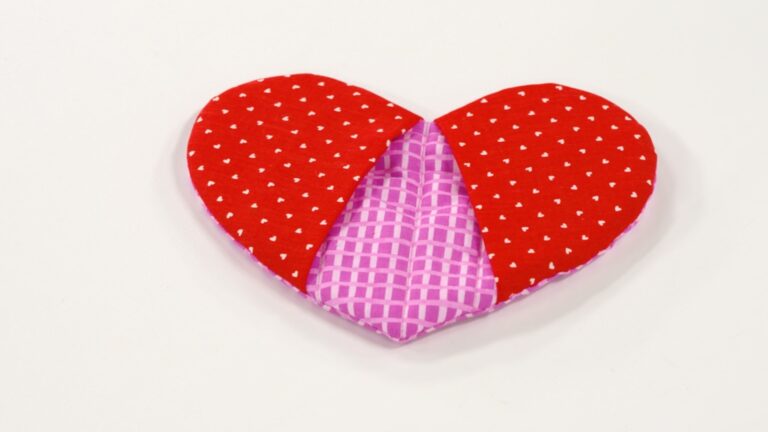
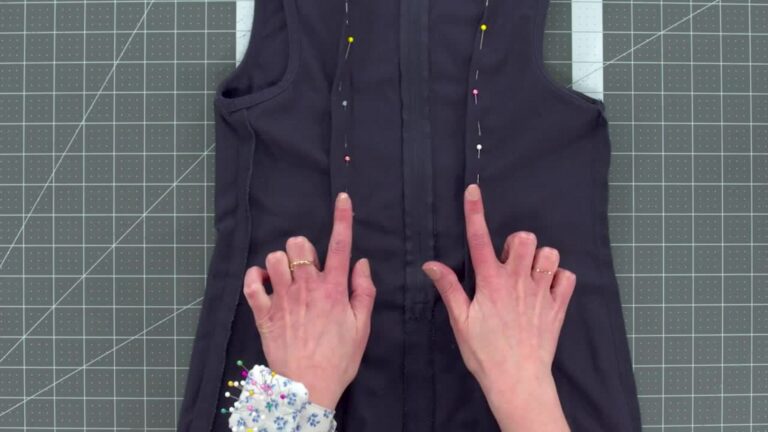
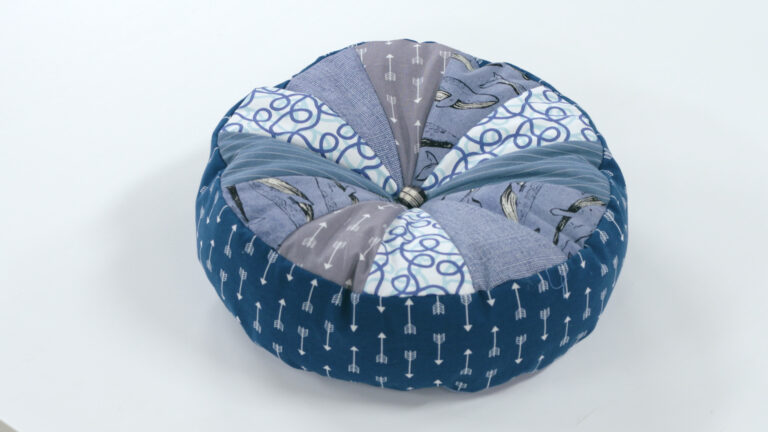
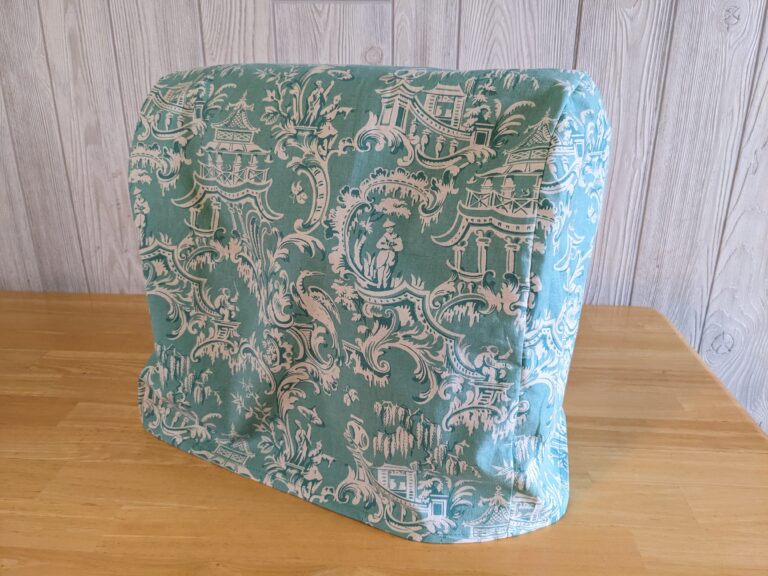
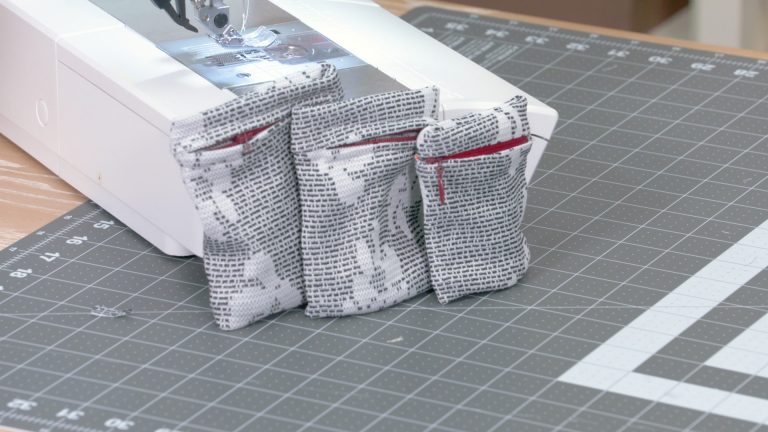
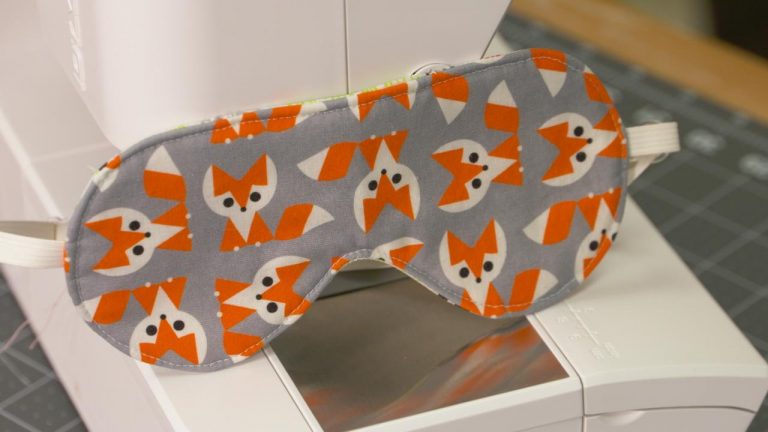
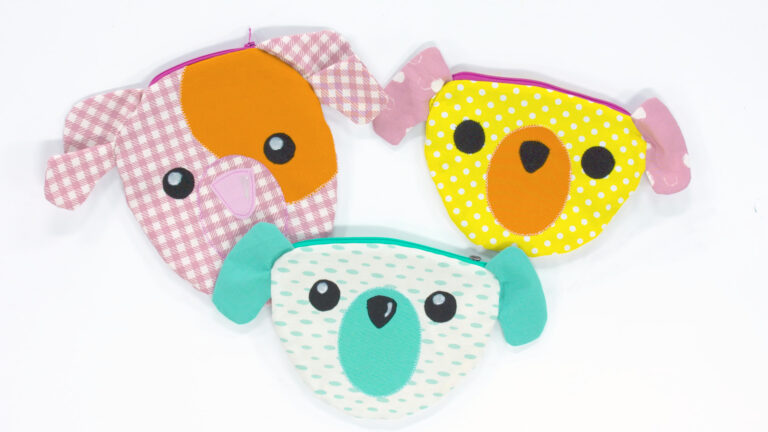
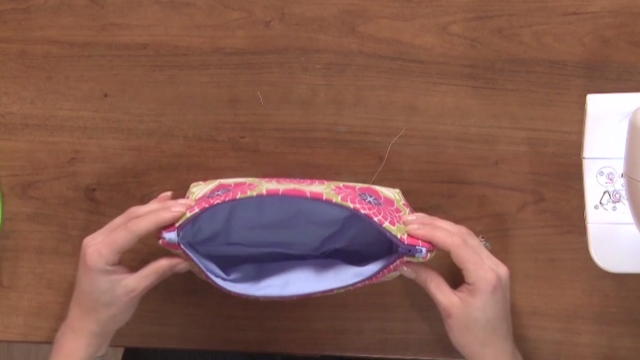
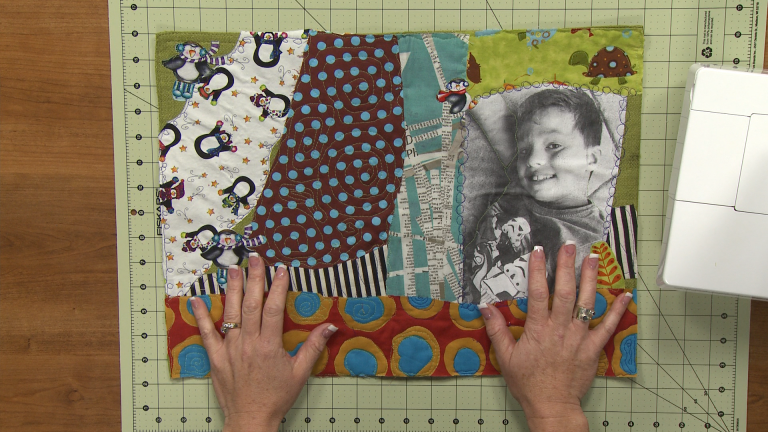
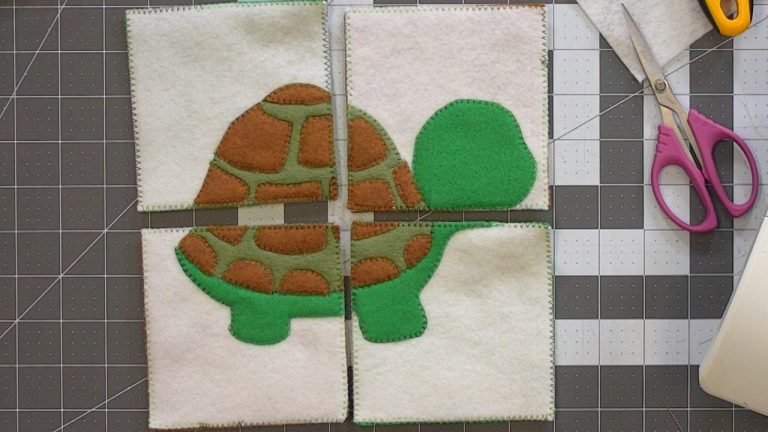
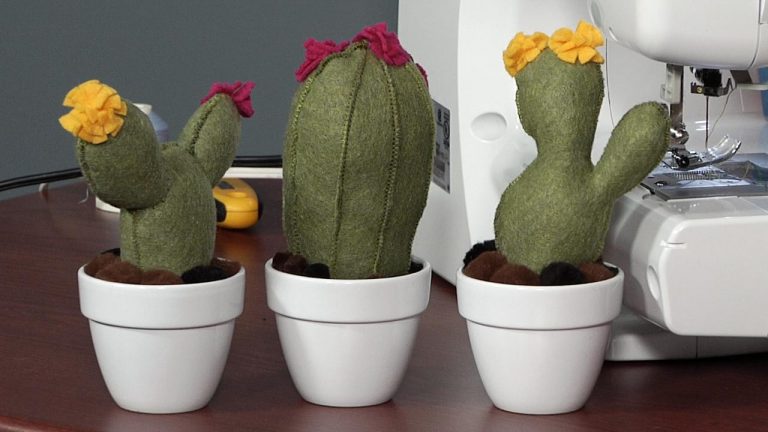
Now that you’re finished, check out these other fun projects!
Explore videos by Nicki LaFoille

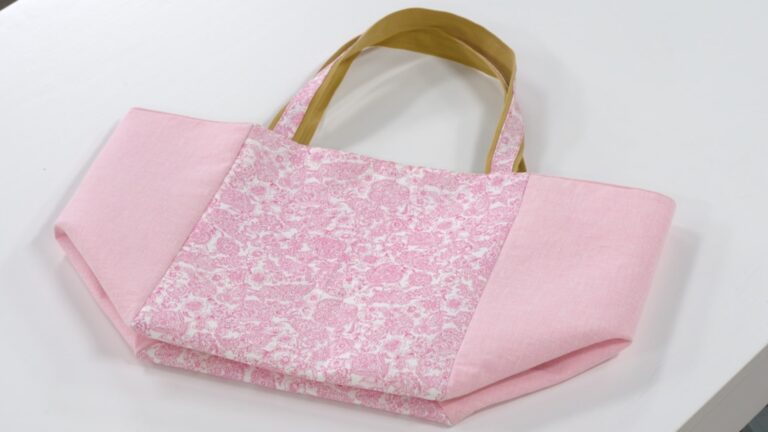
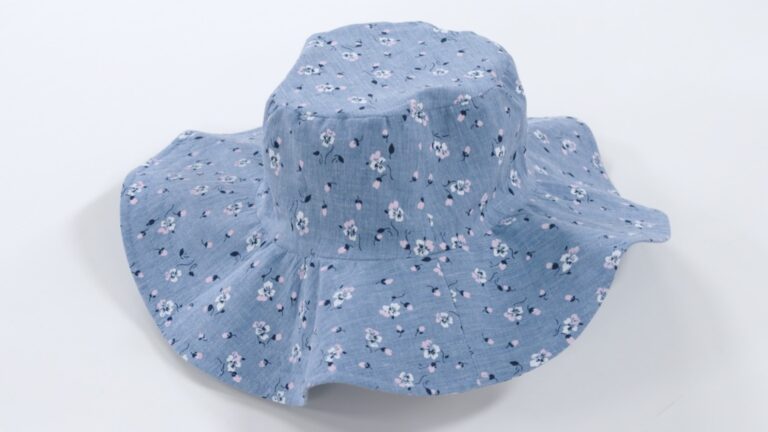
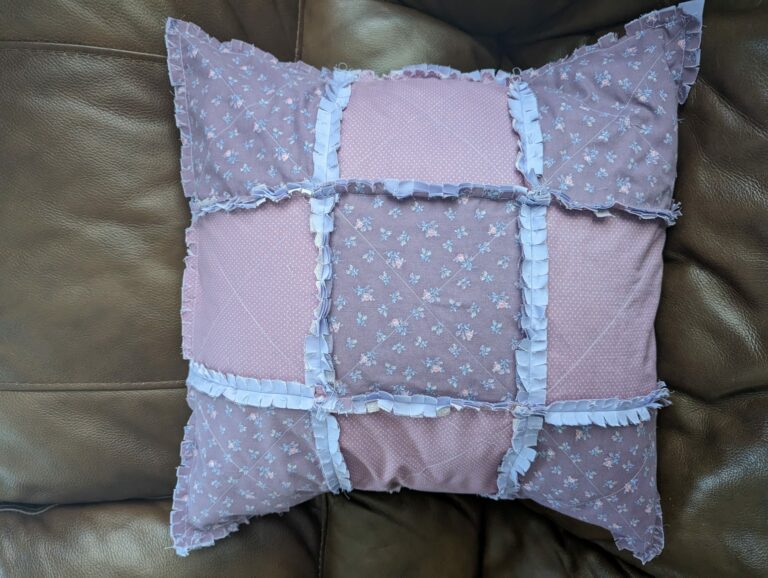
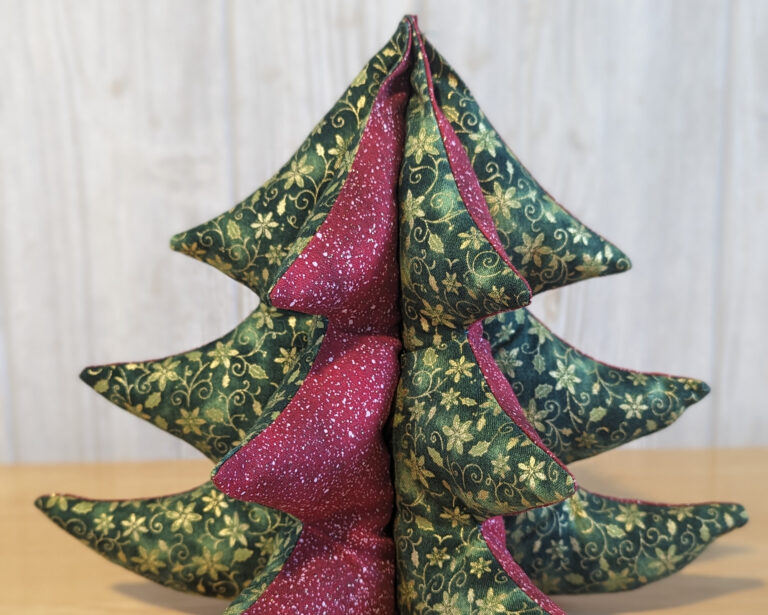

You may be interested in


Premium Membership
Unlock exclusive member content from our industry experts.
- 24/7 Access to Premium Sewing Videos, Projects, and Tips
- Step-by-Step Instructional Demos, Patterns, and Tutorials
- 50% Off Video Downloads Purchased in the National Sewing Circle Shop
- Access to Ask the Expert Program
Unlock exclusive member content from our industry experts.
- 24/7 Access to Premium Sewing Videos, Projects, and Tips
- Step-by-Step Instructional Demos, Patterns, and Tutorials
- 2 Full-Length Video Downloads to Watch Offline
- 50% Off Video Downloads Purchased in the National Sewing Circle Shop
- Access to Ask the Expert Program
Gold Membership
$362 Value
Get everything included in Premium plus exclusive Gold Membership benefits.
- 24/7 Access to Premium Sewing Videos, Projects, and Tips
- Step-by-Step Instructional Demos, Patterns, and Tutorials
- 8 Full-Length Video Downloads to Watch Offline
- 3 Full-Length Quilting Classes to Keep for Life
- 6 Printable Sewing Guides and Patterns
- Discounts on Purchase-to-Own Content in the National Quilters Circle Shop:
- Access to Ask the Expert Program
- Exclusive GOLD LIVE Streaming Events