French Seam Sewing Tips for Your Next Project
Ashley Hough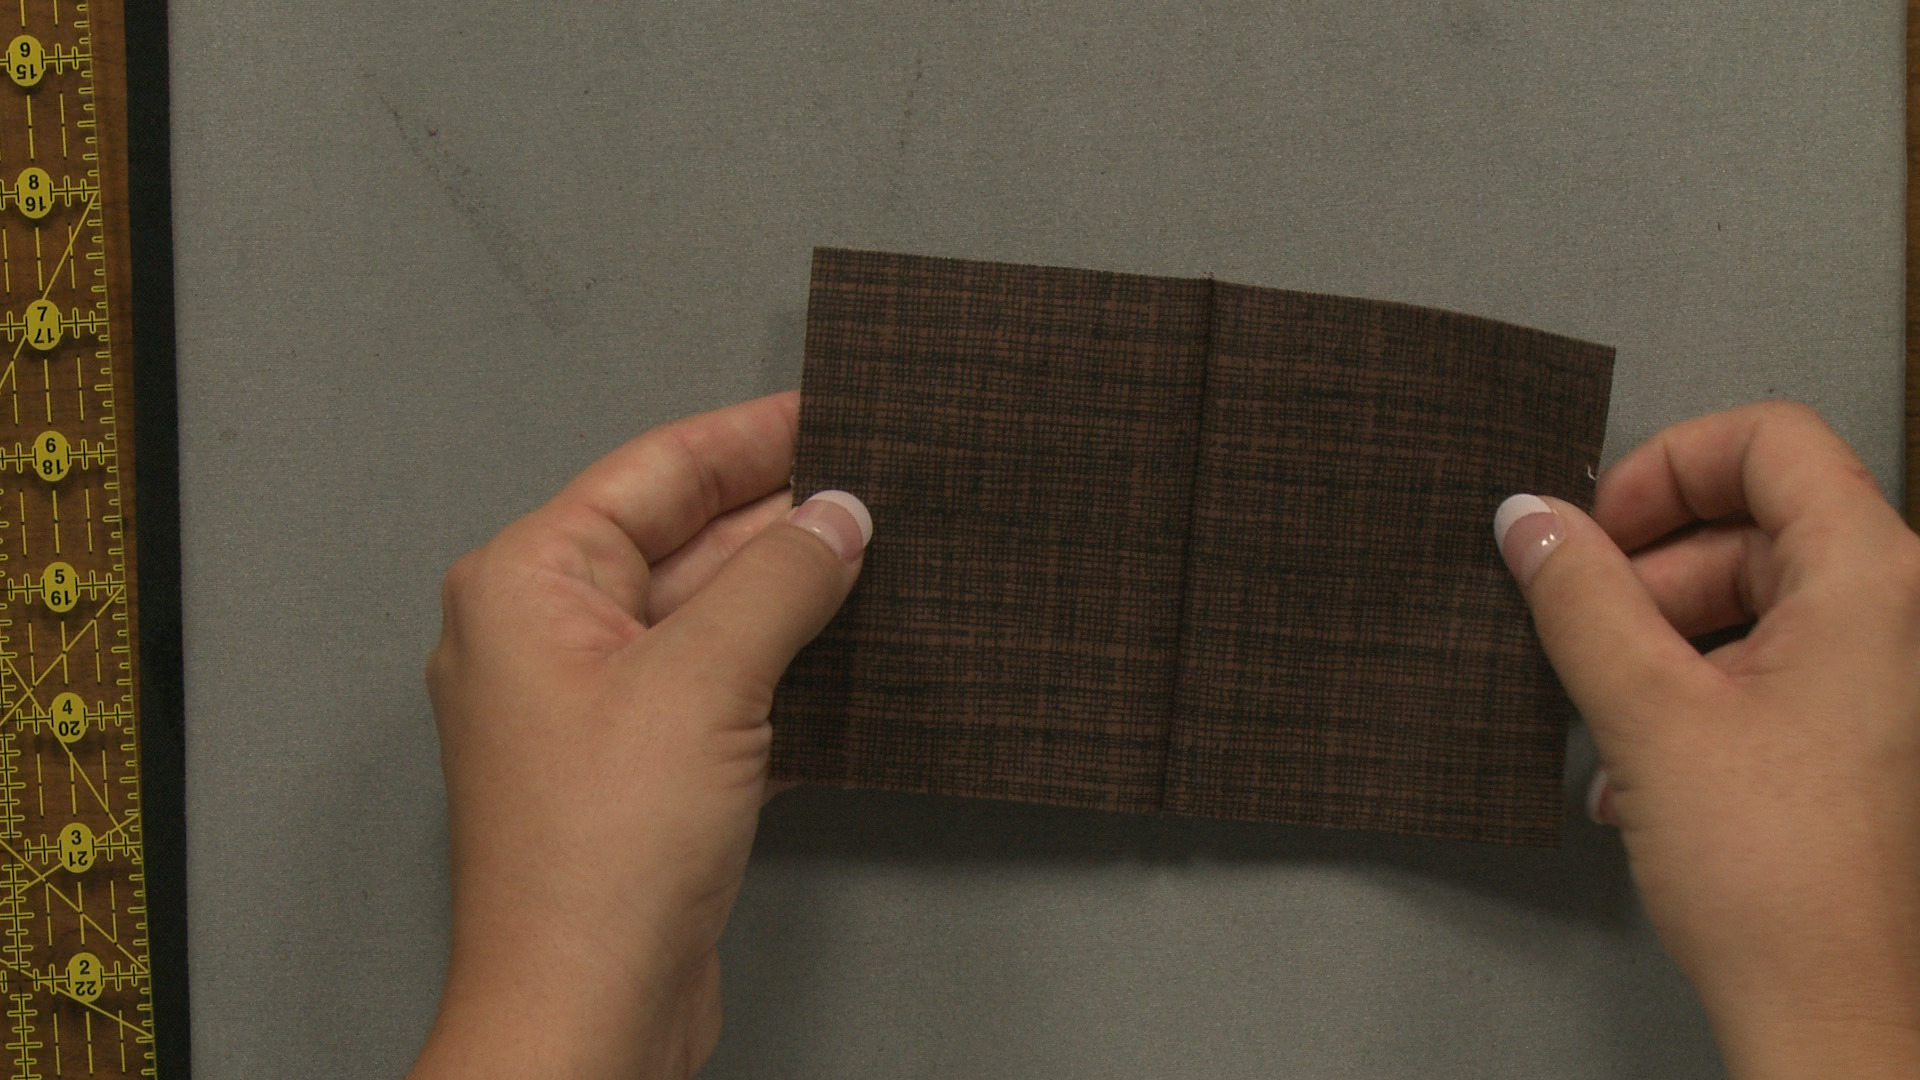
Video Player is loading.
When constructing garments, it is important to finish seams so that the inside of a project looks just as professional as the outside. Ashley Hough demonstrates how you can achieve a professional look with French seams.
French Seam
When learning how to sew a French seam, one of the hardest things to remember is that you need to start with the fabric wrong sides together. This is counter intuitive to what you may have learned in general sewing practices; however, Ashley explains why it is necessary. It is also something that can be tricky if the right and wrong sides of your fabric look similar, so you may way to mark the right side of the fabric prior to starting.
Seam Allowances
When constructing a garment, especially one from a commercial pattern, you will be using a ⅝” seam allowance. A French seam is completed by running two separate lines of stitching at different seam allowances that add up to ⅝”. Ashley shows how to sew a French seam starting with a ¼” seam allowance followed by a ⅜” seam allowance. A French seam can also be done in the reverse, starting with the ⅜” seam allowance and then finishing with the ¼” seam allowance. Both will look the same on the right side of the garment; however on the wrong side, one will have a slightly larger enclosed seam.
Other Options
While French seams are a popular choice for stitching enclosed seams when constructing a garment, there are other options as well. Many of these methods require you to finish the seam after construction, like bias-bound seams. And some may even have a different look on the right side of the fabric, like flat-felled seams, which have an extra line of stitching. All methods of enclosed seams will ensure a professional finish to your next project.
A French seam is a great way to finish a seam while you sew. It's a very popular technique use when doing any kinda garment sewing because it allows you to actually have an enclosed finished seam while you're putting your piece together. So you don't actually have to go back and finish your seams when you're done. So from the right side, a French seam looks just like any other seam, but on the back, you have a completely encased finished seam. Obviously this can be done on cotton, and this is a great technique to use if you're maybe using like a silk or something lightweight or something that frays a lot and is really hard to work with that way everything is encased and it is nice and looks good on the wrong side, as well as the right side.
So I'm gonna show you how to do this. And I'm going to do this using a five eighths inch seam allowance. Since this is the seam allowance that you will most likely have if you're doing garment sewing, especially if you're using a commercial pattern where that seam allowance is already built into, these are the measurements and the numbers you're gonna wanna use. This technique can be done on any seam allowance. So you can make those adjustments as necessary, but again for five eighths inch seam allowance, this is what you need to do.
So what we need to start with is our fabric, two pieces. These are wrong sides together, and we are gonna start by stitching a line of stitching that is three eighths inch from the edge. Now, if you are used to sewing, you can probably like eyeball a five eighths inch seam allowance. Maybe you've done a lot of quilting you can do a quarter inch for me three eighths of an inch is just kind of a weird amount. I'm not used to that.
So that's why I like to actually draw my line on there so I can follow it. I don't always know where that would be the line up on my throat plate. So I find this drawing my line is a little bit easier. So I have my pieces wrong sides together. Go ahead and put just a pin to hold them.
And I am going to take this to the machine and I'm going to sew right along my line that I've drawn. Let's get my needle back to the middle and it moved over and now we're ready to go. Okay, go ahead and do a back stitch, depending on what part this may be in your garment. It may or may not need one. I always think it's a good habit to do that way you know, everything is gonna be nice and secure.
Go ahead and do one at the back as well and I can take this off. So now I have, my fabric stitched at three eighths of an inch. Now my next seam will be stitched at a quarter inch. So since that is smaller, I need to do some trimming. So I'm gonna trim this down to right about an eighth of an inch.
Doesn't have to be perfect or straight, but you do need to trim off some of that fabric. And now I need to press. So what I'm gonna do is actually just press this open, to start like so. And now we'll get to the part that you're actually used to doing with sewing, which is putting your fabric right sides together and stitching. So now I can fold this over, now since I have two of the exact same size pieces, it's really easy to just line up all of my edges, but say you had maybe a side front and a front piece to a garment.
You are gonna wanna just make sure you're folding right along this seam that you had here. And you can go ahead and give it a, quick press to hold it. And then we'll put some pins in and we'll go over and stitch. So again, we had three eighths to start with. Now we're gonna do a quarter and that will give us the seam allowance that we want.
Now again, you may know where five eighths inch seam allowance is on your throat plate or your foot, or however it is you line it up and you just sort of know that so it's easy to go over and stitch that. If you're not familiar with a quarter inch seam allowance, you can actually measure to make sure everything is lined up. So one way you could do that would be to take a ruler and I'm gonna align the edge of the ruler up with the edge of my foot right here. And then I've lowered my presser foot so it's holding my ruler in place. I can now adjust my needle position over until I am lined up on top of that quarter inch line right here.
And now I know I have an accurate quarter inch seam allowance. So that's one way that you can do that. Another way is maybe you're a quilter or your machine just came with a quarter inch quilting foot, but you can also attach that on here too, because you know that that foot is going to give you your accurate quarter inch seam allowance. So whichever method you use, you wanna make sure you just get to quarter inch. And now we're gonna go ahead and stitch again.
Go ahead and do a back stitch and then go all the way along the edge. A little backstage at the end, and then we're done. Trim off our threads and then we can open this up. Let's take out our pins. And you can see on the right side, I have my perfect seam.
And on the wrong side, I have my seam allowance that's nice and encase no raw edges, everything is finished. This technique is again, great to use on garments, and will make your garments look professionally finished. So it's definitely a technique that's an easy one to learn really quick one to be able to master and something I think you should start using for all your sewing projects in the future.
Am I doing something wrong? The camera angle on every video shows the top of the bookcase or some other random shot rather than the demonstration.
What do you do if your seam allowance is only .25" and you are working with a knit?
Then there’s those of us who don’t have a neat way to adjust the needle position on our older machines. I’ve noticed that these videos assume we all have the very latest model with all the bells and whistles—well, we don’t! How about making videos with more reasonably aged machines?
Why not sew a 1/4" seam first then the 3/8" will enclose it without having to cut??
The correct way to sew a french seam where a 5/8" seam is desired is to sew the 1/4" seam first and then the 3/8". This would eliminate the need to trim except when reducing the seam bulk is needed.
Very nice demo. It may seem like more work, It may actually save work with a fabric that frays easily. And if you don't have a serger your seams can still look professional. I have used this technique for years.