How to Hem Lightweight or Sheer Fabric
Beth Bradley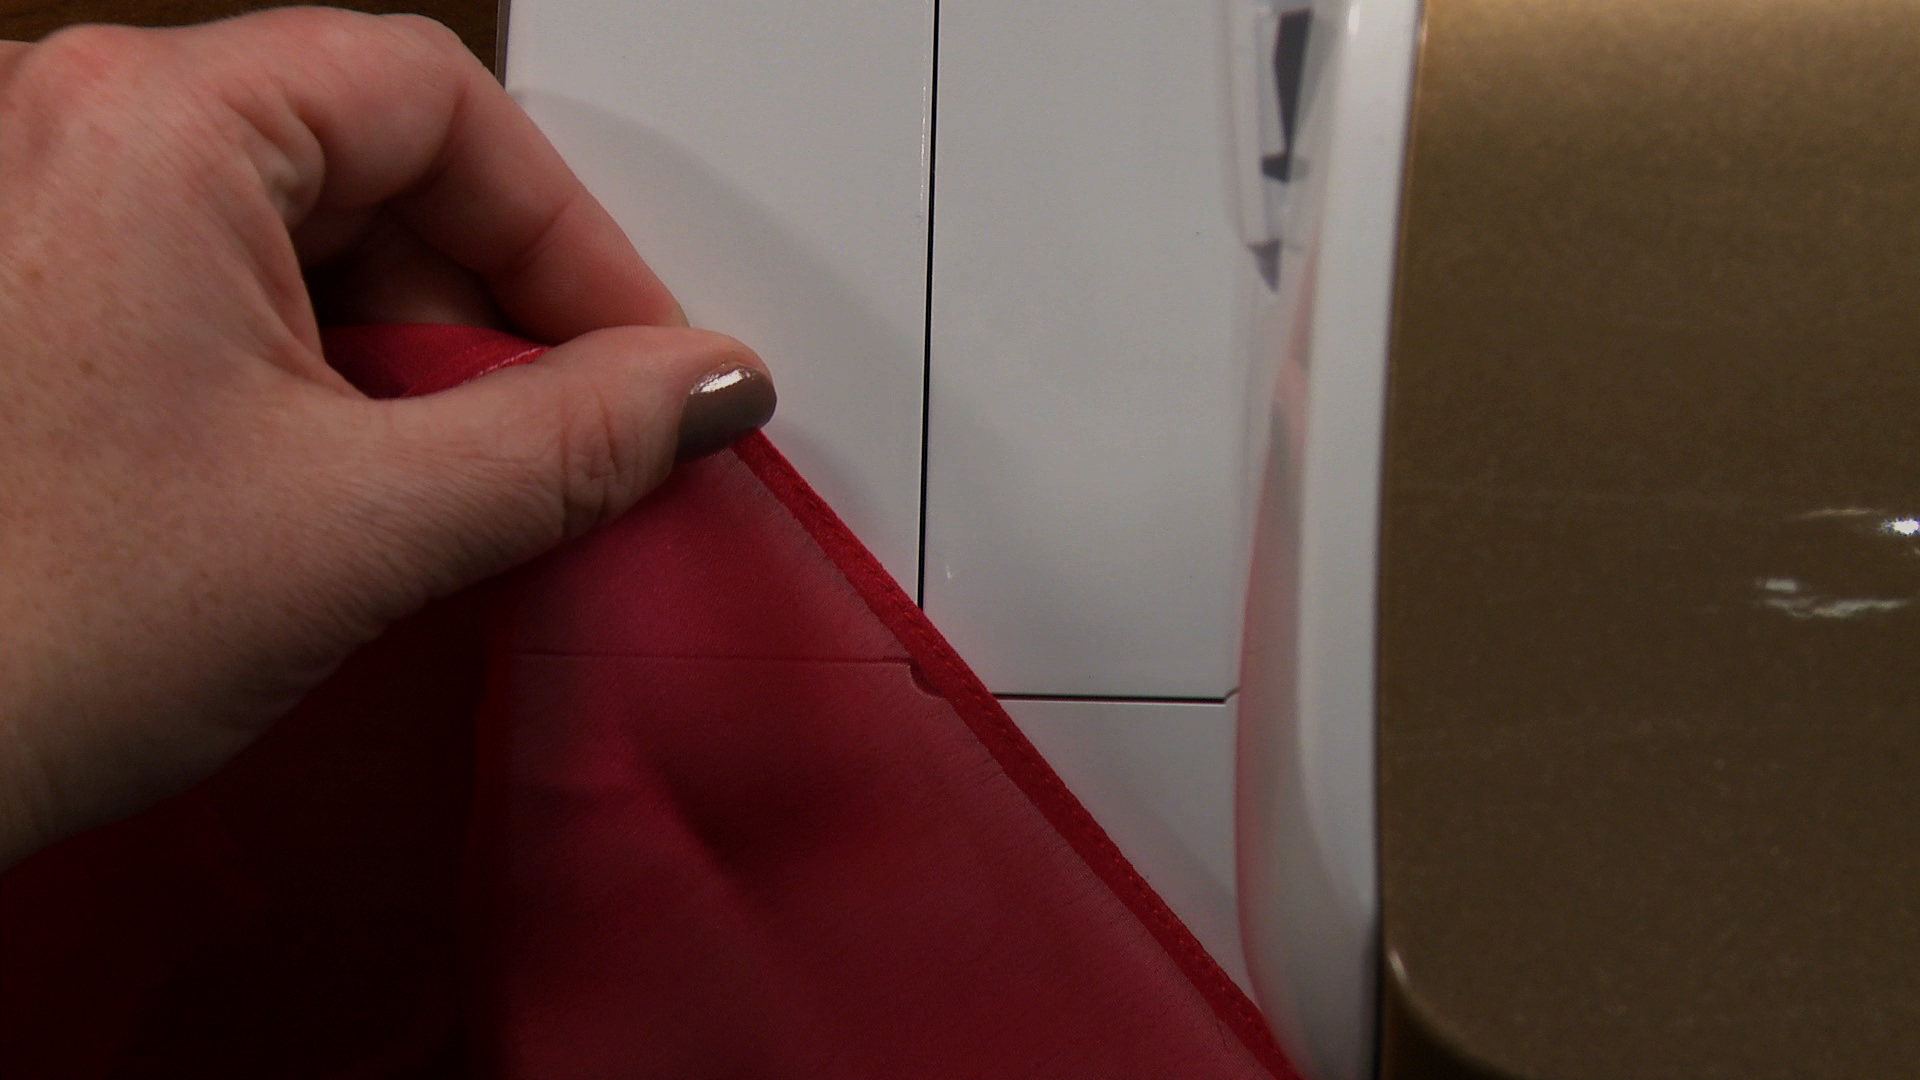
Video Player is loading.
Lightweight or sheer fabrics can add a lot of dimension and fullness to a garment but can be tricky to finish. Both sheer fabric and most lightweight fabrics require a hem because they can ravel, so Beth Bradley shows you a great way to create a nice, clean narrow hem for these fabrics. Beth shows you a straightforward approach to the hem that requires only easy stitching, folding, and pressing. She even shares some tips on tools, like duck bill scissors, which can make the job a lot easier. Beth explains that this narrow hem may take a few extra minutes to finish off the garment, but that the clean, professional look is well worth it!
If you're using a really lightweight or sheer fabric, the last thing you want to do is add a big bulky hem. So you still need a secure hem, though, because a lot of sheer and lightweight fabrics tend to ravel quite a bit. So a good solution is to make a narrow hem. And you can see how nice and inconspicuous that ends up, but it does look tricky because it's so close to the edge. So I'll give you a few tips here on how to do it quickly and easily.
It just adds a little bit of extra time to the project. So the first step of doing this kind of hem is to stitch really close to the edge. So about 1/8 of an inch away or 1/4 inch away from the edge of the fabric. So the next thing to do is that we're going to press right along the edge that we just stitched. So use the stitching line to turn it up.
We're going to fold it right along that stitched edge. So now we have a little crease to stitch along. And we're going to stitch as close as possible to the fold. So that might be kind of directly on top of the stitching line we just did. So stitch right over as close as you can to the edge of the fabric, maybe like 1/16 of an inch.
So now we've got two stitching lines, but we still have a little bulk left over from our first step. So my favorite tip is to use these duck bill scissors, which, a lot of the time, you use them for applique because they protect the lower layer of the fabric, but they work great for this, too, because they protect that underlayer as you trim away that extra bulk. So you're not in danger of slipping the tip of your scissors and ruining the bottom of your project, because that duck bill guides it along without being sharp and poking through. So trim as closely as you can to the stitching. And then the last step is really simple.
You're just going to fold it one more time. And you can press it at this step, too. Fold it and make a tiny, tiny fold, so about 1/8 of an inch wide, if that. And then you're going to stitch directly on top of your other stitching line. So on my other side here that's finished, you can see I stitched just right on top of that previous stitching line.
And it looks really nice and inconspicuous from the front. If you're sewing with a lightweight or sheer fabric, the last thing you want to do is add a big bulky hem.

That was awesome thank you!
if you do the hem as she suggested, what is the hem allowance used when cutting out the project piece?
Nicely done, although too large a file to watch easily streamed to a mobile device. As these videos are most often sought out by beginners, I think it's always worth a mention of the importance of the right needle for the fabric weight. All the different needles can be confusing for someone trying things out the first time.
Why wouldnt you use a rolled hem foot?
I am wondering if that same sheer material could not have been interlock instead of doing it that way?
thank you ladies for the nice videos you post on.. but i would suggest you reduce a bit the HD as sometimes it causes trouble downloading the videos.. and while one is interestingly watching you get interrupted more than 10-15 times within a 5-minute-video.. please, fix this
why not make your first stitching line about 1/2" from the edge of the fabric, making it easier to trim later?