E
Sewing Tips: Fusing Interfacing to Fabric
National Sewing Circle Editors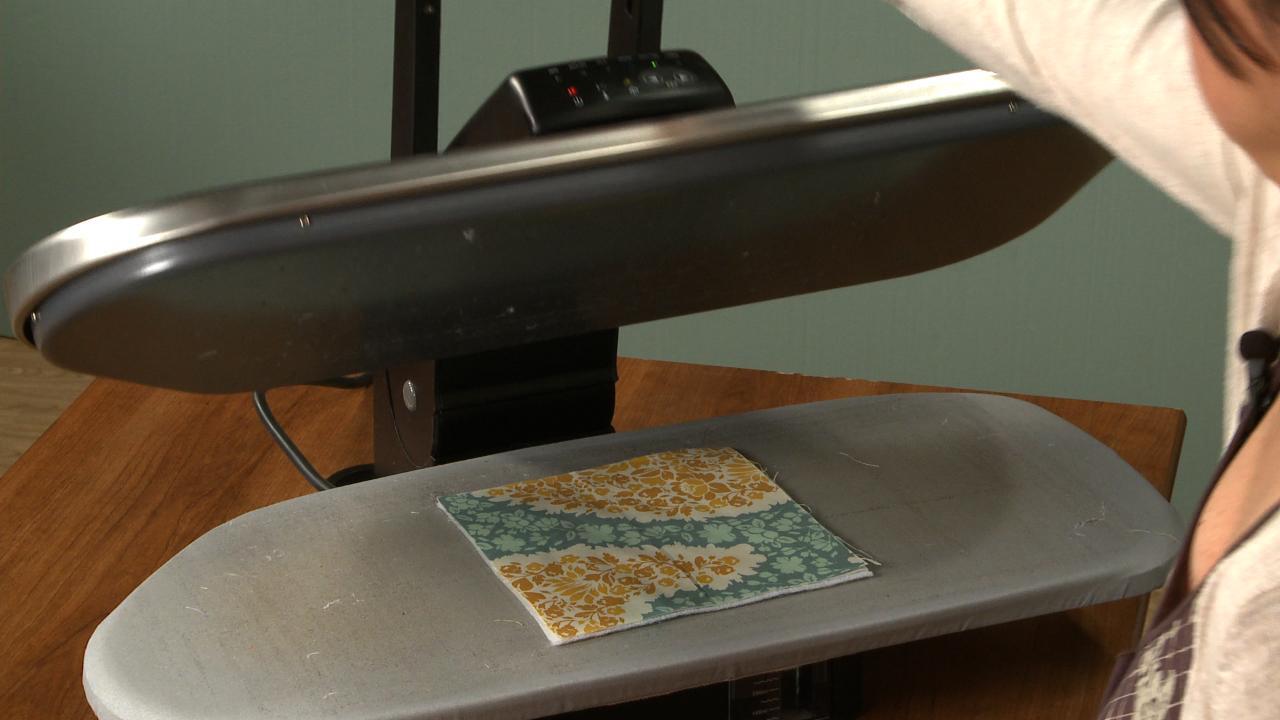
Video Player is loading.
Make interfacing your best friend with this sewing tutorial by Aurora Sisneros. Aurora shows how we can use a steam press iron to easily fuse interfacing to fabric. Make several layers within minutes – and use these layers to create a trendy weekender bag!
Interfacing can be your best friend. I love to make some of the bags that are on the market today with lots and lots of layers of interfacing. It gives it that nice crisp bowling ball look but they can also be your worst enemy when you're trying to fuse it all in a big application, with this. So, for example I have this piece of fabric here I wanna turn it over and I wanna use this piece of interfacing first. So then I have to first fuse these two together.
'kay. And I put the surface of my iron down and I have to count to fifteen and then I have to wait and then I've gotta move it over here, then I have to count to fifteen. Then I have to also, once this is fused, do the same thing with this one and then start all over again. If you're doing a very large weekender type bag, this is going to take you a very long time. Enter...
The steam press iron. This lovely guy has ten times the surface area as a regular iron and gets twice as hot and can fuse both of these layers at the same time, just like this. Go ahead and put it under there, in about ten seconds, it will fuse the whole entire thing for you. Both layers at the same time. And voila.
All of the layers are done at the same time. Even if you're doing it in a bigger application you just put the first half on and press it, turn it around, do the second half and press it. And some of the bags that I make take me normally three hours to do the fusing and I can get them all done in thirty minutes with this guy right here.
Share tips, start a discussion or ask other students a question. If you have a question for an expert, please click here.
Already a member? Sign in
No Responses to “Sewing Tips: Fusing Interfacing to Fabric”