
Tips for Making Covered Buttons
ZJ Humbach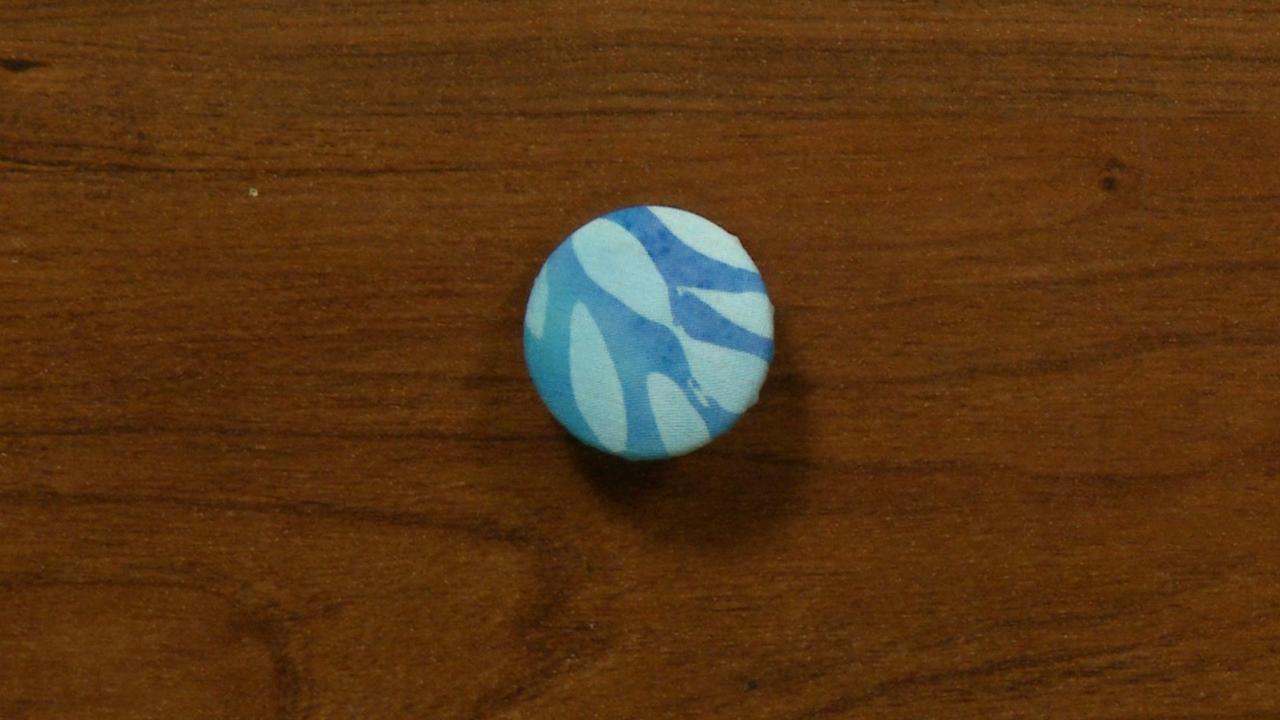
Video Player is loading.
Making covered buttons is a fun, easy way to give your next project that thoughtful, professional touch. In this video, ZJ Humbach demonstrates how to make perfect covered buttons every time.
Preparation
When making covered buttons, you will need to get a covered button kit, which can be found at nearly any fabric or craft store. The kits for making covered buttons come in a variety of sizes. Which one you choose will depend on what you intend to use the button for. ZJ shows the kit she has, which includes a button front that will be covered with fabric and a button back that holds the fabric in place. The kit also comes with a circle template that shows you how big your fabric circle will need to be to cover your button. All fabric button kits make shank buttons as opposed to flat buttons with two or four holes.
Covering the Button
Once you have your circle of fabric cut, you can wrap it around the button front. ZJ shows how this is done a little at a time, using the small teeth on the wrong side of the button front to hold the fabric in place. She explains how the ease of this process can vary depending on the type of fabric you are using. Once the fabric has been folded around the button front, the back can be placed on to secure the fabric. ZJ demonstrates this, sharing some tips on how to get a smooth edge on the fabric button by using a basting stitch. Finally, she provides a few fun ideas on how to personalize and add flair to your covered buttons.
If you liked this video, check out these other ways to add unique finishing touches to your projects.
If you haven't tried covered buttons yet, you don't know what you're missing. I absolutely love covered buttons. Covered buttons are metal buttons, and I'll show the parts in just a second, that you cover with fabric. And I love to use them in home dec, on pillows, and I also like them for any kind of tailoring, especially on tailored coats, to do it out of the same fabric as the garment. It just adds a very, very classy look to the garment.
And they are so simple to do. You're just amazed at how simple they are. You'll find them in the store in a package similar to this. This has been opened. I apologize.
I kind of taped it back together. But you're looking for, in this case, this is a half ball covered button. And it's a shank button, so you will be sewing it on from the back to the garment. It comes with two pieces, the top of the button and then the backing. And on your back, you have a pattern.
So you're going to cut that out, and then this is what you will be cutting your fabric from. So you want to fold your fabric, and then you can usually just hold this up to the fabric and cut out the fabric with your scissors. So, as you can see, that's basically, oops. There's your half of the fabric. Open it up and you're ready to go.
That's probably the hardest part, is cutting it out. What you're going to do is take the ball part, put it face down, and now you're going to tuck the fabric in all around the button. There's little jagged teeth. They won't hurt you, they aren't that sharp, but it's a little tedious. You just kind of have to work it with your fingers, and if it gets a little crunched, sometimes you'll get little pleats like that in your button, you just wanna undo it, and just keep working it.
Now, if you have trouble with it holding to the teeth, because you really need to kind of mash that in there, you can use the tip of a pencil eraser and push against it. Works really well. So you just kind of working this in, and last night this worked very well for me as I did that button. Today it's being a little more fussy. But you just have to kind of persevere.
Sometimes if you can work your fingernail underneath the little ridges, it helps. Is that gonna work? You want to take the back. The back is going to fit over the little shank and you want the ridged side to go down. It's going to pop right in there.
So when you have your button about where you want it, you can go ahead and when you get it, you just press it in there, and you'll hear a click, and that's how you know that your button is in. And there you have a nice covered button. If you have a little piece like this, that it's still sticking out, you can pop the back off the button, and again, like I said, some fabrics work a little bit better than others. Another nice option is if you get some aida cloth and embroider a little initial in there, or a little teeny tiny picture, you can center that on your button, and it makes for a very nice personalized button. The buttons come in various sizes.
You can get rather large ones, and you can get little tiny ones, so give them a try. Don't be discouraged because I was a bit of a fumble fingers. Give them a try, and usually once you get the first one going, the rest of them cooperate. Another trick that you can do if you are having trouble with your button is right around the very edge of the circle, about an eighth of an inch in, do a tiny basting stitch. Not a great big long one, but a tiny one, whether you do it by hand or machine, and you can actually draw the fabric up in the circle, and that will also help it go into the button a little bit easier and hold on the teeth.
So give it a try, and I hope you like the look.
I like to sew a tiny running stitch around the outside of the fabric and gather it up to help reduce the bulk of the fabric
I have made dozens of covered buttons especially tiny ones for bridal wear. I find a quick easy method is always to do running stitches round the edge to gather the fabric together, then I lay the shank on top with a cotton reel hole centred over the shank. Press firmly on the cotton reel and the button is together and complete. This makes for a nice neat covered button. centre a cotton reel over the top with the shank in the hole, push down firmly and it is ready to go - the top and bottom are attached.
Anchor the fabric by working small sections in the four compass points: N,S,E, W on the straight of grain. Then work in the bias sections. Small bites at a time! Use a safety pin to tuck the fabric under the teeth. It's been 50 years, but I still remember the covering buttons down the back of my wedding gown.
It is so much easier to run a basting stitch around the edge of the fabric you draw it up a little, put the fabric around the button and draw it up tightly around the button. I am surprised you didn't to that in the first place instead of mentioning it at the end.
I made my daughter's wedding dress that had 150 half inch buttons. In order to save my sanity, I used a light weight fusible interfacing to prevent the silk from fraying used a runnig stitch around the perimeter of the fabric circles. Pulled tight, the circles wrapped each button and were held securely so that I could push in the back plate.
If your fabric is difficult to work with, try spraying fabric glue to the wrong side of the fabric first so it doesn't slip around on the button form. Or run a basting stitch around the outer edge of the fabric and pull it up to make fitting it inside easier.
The finished product looks terrible, use something sharp to push the fabric onto the hooks in the button.