Tips for Sewing an Invisible Zipper
Nicki LaFoille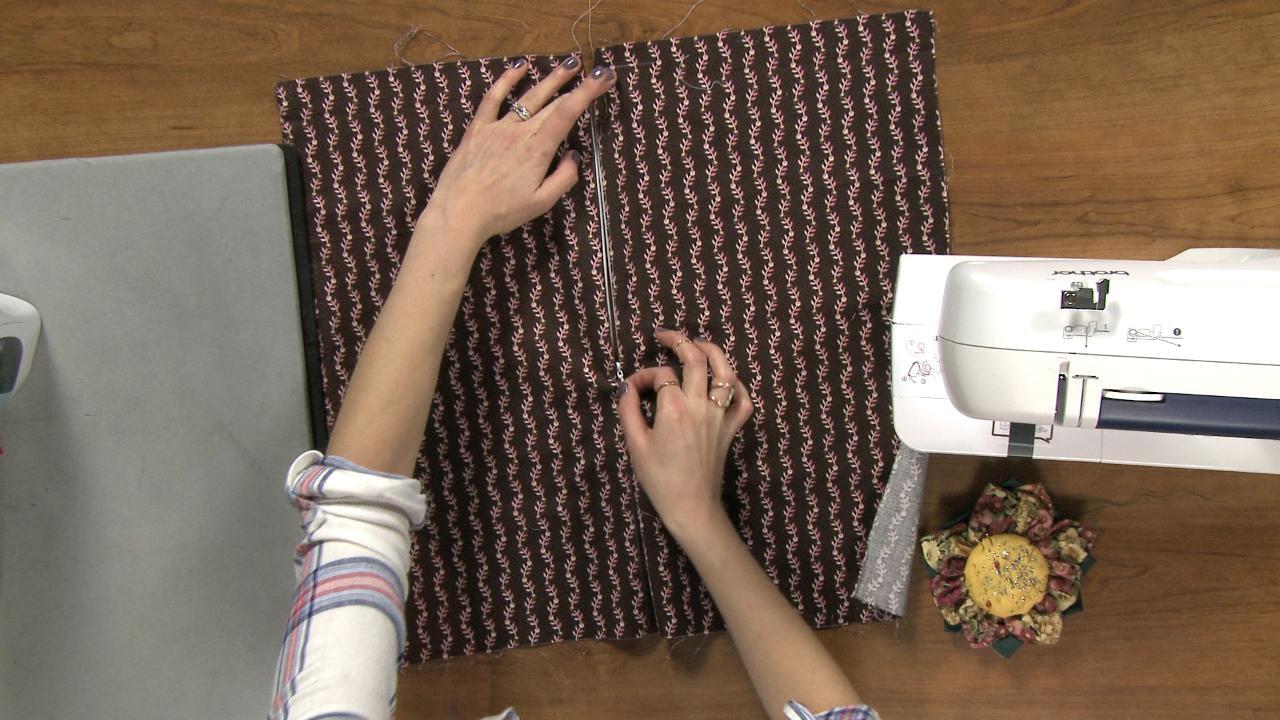
Video Player is loading.
Sewing an invisible zipper into a garment can be intimidating; however, it doesn’t have to be trickier than sewing a regular zipper. Nicki LaFoille shows you how to insert an invisible zipper from start to finish, sharing several tips for sewing zippers along the way.
Fabric and Zipper Prep
When sewing an invisible zipper into a garment, it can be helpful to make several markings on your fabric before you start sewing the zipper. Nicki shows you how to mark the top edge of the fabric with a ⅝” mark and explains that this is done because that is the typical seam allowance used when sewing garments. This mark is then where the top of the zipper tape is aligned. She also shows how it can be helpful to mark the entire ⅝” seam allowance all along the seam where the zipper will be inserted. Having the line drawn on the fabric makes it easy to align the zipper along the line rather than continually measuring. Next Nicki shows how to open up the zipper and press it. Pressing the coils of an invisible zipper open slightly before sewing it allows your needle to get closer to the coils when sewing, which in turn makes the zipper more “invisible” once it is inserted.
Sewing an Invisible Zipper
Once the fabric and the zipper have be prepared, Nicki shows how to insert an invisible zipper into a seam. She begins by aligning the zipper with the markings made on her fabric and pinning it in place. Nicki then explains how and where to stitch the zipper using an invisible zipper foot. Once the first side has been stitched, she shows how to align and stitch the second side of the zipper. After both sides of the zipper have been sewn, the seam below the zipper can be stitched, which she shows how to do using a regular zipper foot.
