E
Sewing Ergonomics: Tools, Tips and Techniques
National Sewing Circle Editors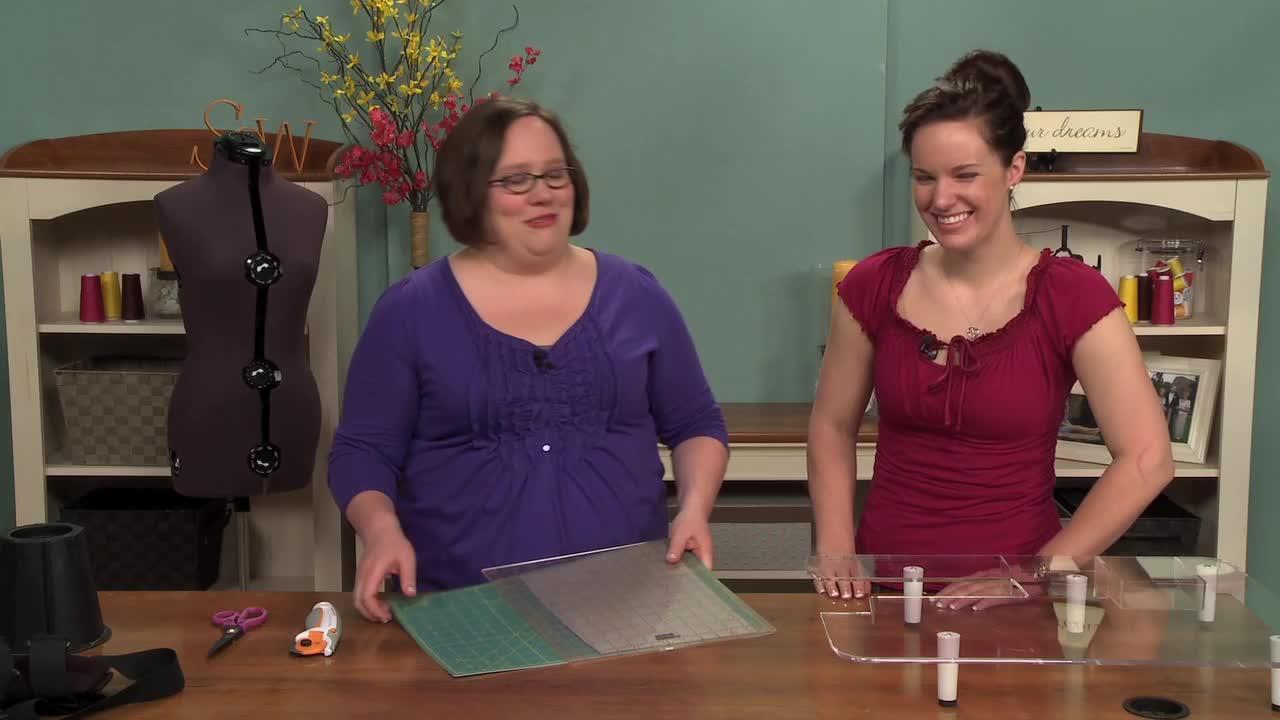
Video Player is loading.
Jessica Giardino and Ashley Hough present helpful techniques to prevent any aches or pains that may arise when sewing. Learn how to establish a safe and comfortable sewing environment. Also, witness different sewing tools designed to reduce any muscle strains caused by hours of sewing. Use these sewing techniques for years to come.
Sewing can take a toll on your body, from muscle aches and pains to repetitive stress injuries. We'll show you how to set up an ergonomic sewing space and some tools that will keep you sewing for years to come. So Ashley, where do you sew? I sew at my kitchen table a lot. Do you ever find that your wrists are in this position, sort of up and awkward?
Right, 'cause of how the machine is sitting on the table. Right, yeah, the problem with that is that you actually can cut off circulation by keeping your wrist in that position. And eventually it'll lead to carpal tunnel injuries. The best possible situation for your sewing machine is to have the deck where the feed dogs are, flush with your sewing table. So this sewing table allows you to lower the machine whenever you're sewing just regularly, it can be up when you're sewing in the round or accessing the bobbin case, and see how that relaxes your wrists and puts them in a nice, neutral position.
That's a much easier. Yeah, and actually you're in a great position right now. This is the ideal ergonomic position for you to be in while you're sewing. Your back is nice and straight, your shoulders are back and not sloped over the machine. Your arms are built at a bent, at a 90 degree angle right here at the elbow.
Your knees are also at a 90 degree angle down low, and your feet are flat on the floor. This is really the best position you can be in. And to get this position, you really wanna use an adjustable height chair. The chair can then change for whatever task you need it to. This one has nice lumbar support, which is excellent.
And another thing that's great is when you have a chair that swivels, right, you don't wanna always have to be reaching up for something or bending down 'cause you can get twisting and alignment problems that way. So when your chair swivels, you can just quickly turn to the side, grab something, et cetera. And these sewing tables with this flush feature are actually very nice because they come in a variety of price ranges. This one's sort of the, you know, manual model, lower end. And you can also get them as fancy as you wanna be, something with a hydraulic lift even or built into your wall.
Okay, so say maybe you don't have the option to be able to buy one of these fancy sewing tables. Yes, I will show you how to take care of that in just a moment. So because you sew at your kitchen table, here's some solutions for that. You can get one of these extension decks, which are usually used by quilters. Okay.
And once you put your sewing machine in the slot right here, you can actually sit with your wrists at nice neutral position, as long as you adjust your height up tall enough. The chair tall enough, yeah. You know, and if you don't have, like an office chair maybe not gonna go as high as you need it to for a kitchen table. So look into getting a drafting table chair, those adjust very high because drafters have to be very high up in the air for drafting. And you can even make your own one of these, all you need is a piece of wood and some little legs here that are about three inches tall.
Measure your space first, head to the Home Depot and sweet talk somebody into cutting one for you. And this would just be, you cut out the piece that fits around your machine, right. Yeah, just cut a shape. You know, if you are not so handy, don't worry. There are lots of people that are handy in the world that will help you.
And there are lots of tutorials online, so search there. Okay. Let's next talk about where you cut your fabric. If you use a rotary cutter like me, I use them all the time. It's actually safest to use a rotary cutter in a standing position.
That way, you can actually give direct a downward force as you cut, right. And it's just not very safe if you're doing it from the side, you can accidentally get wonky. So you wanna be able to give downward pressure. So the table that you're gonna cut at should be about two to three inches below your waist height. Okay.
If you have a table, say your kitchen table, that isn't tall enough, look at this. Raise it right up there. Raise it up, bed raisers, available in five inch or seven inch and probably meet even more specifications. These were just at my local linen store. Okay.
Measure your table, see how high you need it to be, to be two to three inches below your waist. Okay. So once you raise it up, you'll be able to cut and give direct downward pressure on your hand and on the blade, cutting securely and not cutting off your finger, which is really, I mean, ergonomically speaking, that is not sound. Okay. All right, so let's talk about some other tools that you can use.
All right. Oh, and one last thing about setting up your space. You wanna make sure that your ironing board is right about waist height. So two to three inches above your cutting table height, and that's so that you're not lifting a heavy iron too high or pushing down low and slumping over it. Right, okay, that makes sense.
If you have a tabletop ironing board, you can put it on your cutting table. All right. All right, so here's some tools. If you ever have problems remembering to stand up straight, you can use this counterbalance. There you go, put that on.
All right. As you can see, this rest right at the back here and it gives you a little support and it reminds you to stand up straight. It kind of pulls you back a little. Does it feel good? It does, makes me lean back a little.
Makes you feel nice and straight, standing up, shoulders back. It's gonna put you in the right position whenever you're sewing. And a few other tools. If you need ergonomics, there are a variety of types. So this rotary blade is actually ergonomically built with a wider handle, same goes for this seam ripper.
It has a nice thick handle to hold onto. It's easier to grip. So those are nice. Look around for ergonomic options like that to save your hand strength. Okay.
And then if you're already having some circulation problems in your hands, you can wear these really cool gloves. They're partially fingered nylon gloves that increase circulation and allow you to do hand work because you can still see your fingers, which is nice. Yeah, and these are available online, just through sewing retailers, they're gonna work good. You'd be surprised that actually the most common injury that you're gonna run into when sewing comes from cutting and that's due to having dull scissors. So always have really sharp scissors that can just cut right through.
Because the action of just like trying to cut through fabric with dull scissors, is gonna hurt your hands and create problems. Another thing you wanna be careful of is having too much pinching motion as you sew. Okay. So like I pinch my fabric as I put it through but that can actually lead to some nerve damage in your fingers, if you do it for hours on end. So instead of that, get a rubber fingertip that you can put on and just guide the fabric through or a stiletto.
If you have a stiletto, that'll work. Now, if you're having vision problems, if you wear glasses like me, get some of these quick threading needles. The key to these is that the eye of the needle has a little slot in it. You can just slip the thread right in and it threads super easily and very little eyestrain. You also wanna make sure that you have an excellent lighting situation in your sewing space.
I like to have a lamp that I can adjust and have it looking right where I need it to be. There are a variety of those types of lamps out there. You can get them at Ikea, even if you need to. These would be handy even if you didn't have vision problems, just easier to thread a needle. Right, I mean, I hate threading needles.
It takes the longest time, I just wanna start sewing. So I've started using these. The last little tool we have. If you're having circulation problems, you can get one of these comfort cushions. This one's kind of old.
It's been used a little bit, but that's okay. When you sit on it, it increases blood circulation and it takes the wear and tear off your tailbone. Okay. And it's nice because you know, if you're sitting for long hours, you just wanna make sure that you're doing it in a helpful way and that you're keeping your blood flowing and you're feeling good while you do it. Okay.
The last tip I have for you for ergonomics of sewing is that you wanna make sure you take breaks from time to time. Yeah, oh, we're still wearing these. Okay. You wanna take breaks from time to time. So when you take those breaks, you know, get up, walk around, change your position entirely and do some stretches.
So stretch your wrists, just turn them in circles. Easy enough. Same goes for your neck. Stretch your neck and a circle. All right, and then, you know, reach out and feel your shoulder blades touch in the back.
Really stretch across the front, okay. And then give yourself a hug, stretch your arms. Congratulate yourself for all that sewing you've been doing. Yeah, you deserve a hug, you've been doing so much sewing. You can find other stretches online, just search for whatever part of your body you need to stretch, your neck, your back, whatever it is, go ahead and search for that and you'll find all sorts of options.
Other than that, those are the ergonomics of sewing, high five.

What is the product name of the posture-shoulder straightener/weighted product