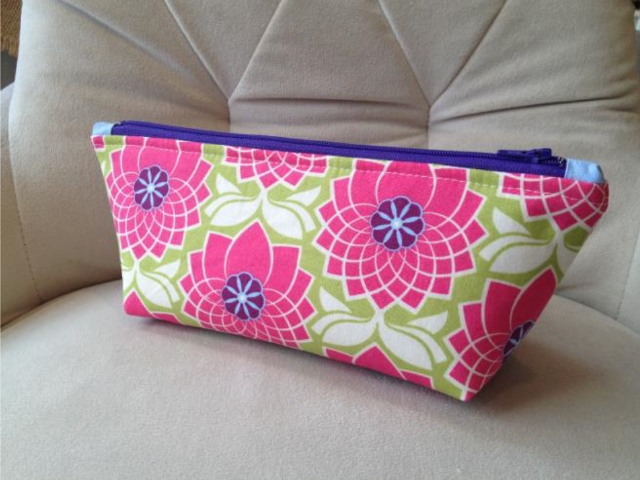
 This small zippered pouch pattern is a quick and easy sewing project you can make in no time. You can use the pouch to store makeup, carry toiletries while traveling, keep your purse organized, or even as a casual clutch. The possibilities are endless with this cute and easy-to-sew design.
Related Video: How to Sew a Zippered Pouch
Here are the materials and supplies you’ll need to complete this project:
• Fat quarter for exterior
• Fat quarter for interior
• 1/4 yard fusible interfacing
• 9” zipper
Note: All seam allowances are 1⁄4" throughout the pattern, except where noted.
Step 1: Cut your fabric to the following dimensions:• From the exterior fabric: cut (2) 6” x 11” pieces for exterior
• From the interior fabric: cut (2) 6” x 11” pieces for lining
• From the interior fabric: cut (2) 2” x 1” pieces for zipper tabs (iron in half)
• From interfacing: cut (2) 6” x 11” pieces for exterior
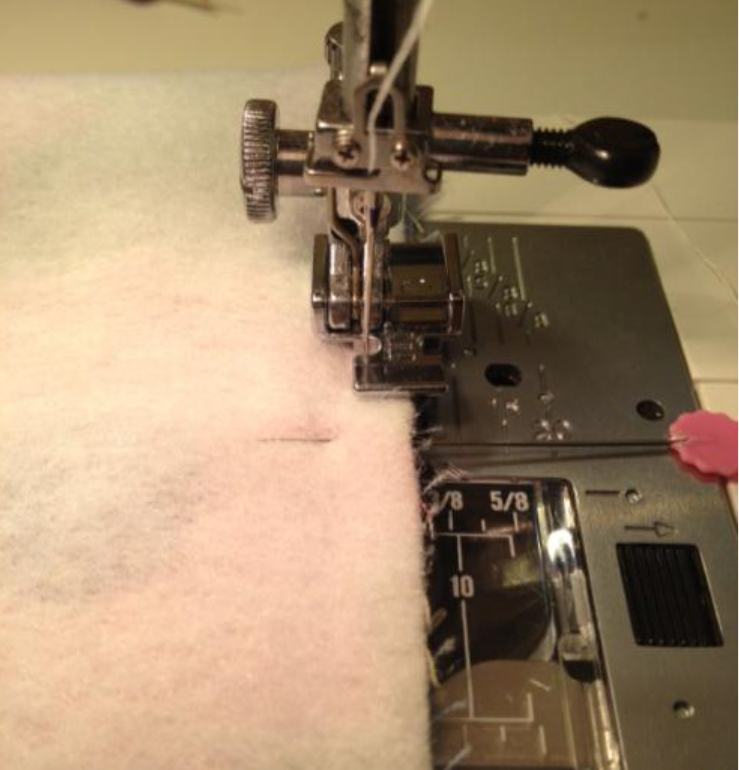
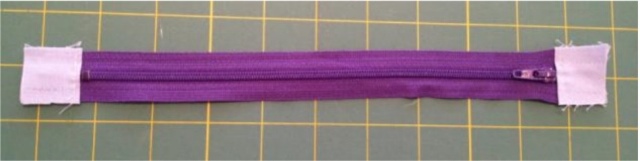 Step 2: To sew the tabs to the zipper, place the folded tabs at the edge of each zipper and topstitch along the folded tab to stitch into place. Now your zipper is extended an inch on each size, and is now 11 inches instead of 9 – the same size as your exterior panel!
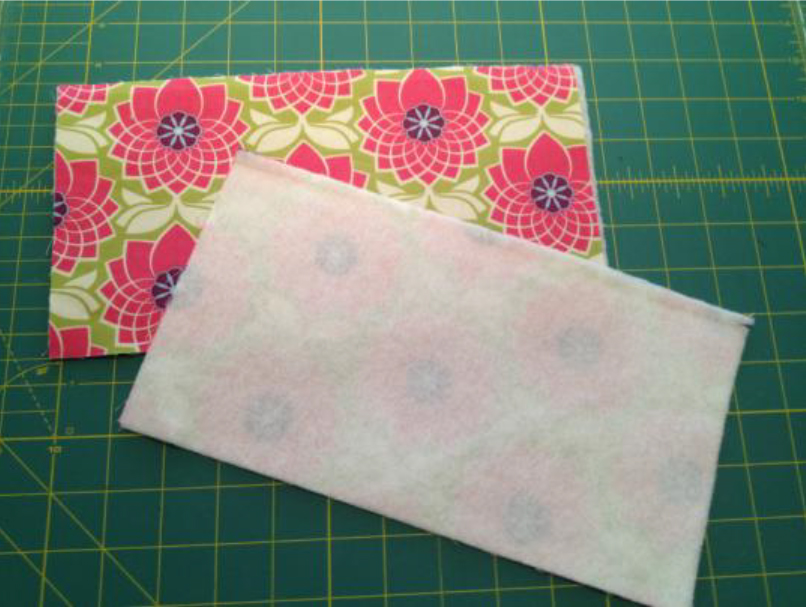 Step 3: Fuse a 4” x 11” piece of interfacing to the two exterior fabric pieces.
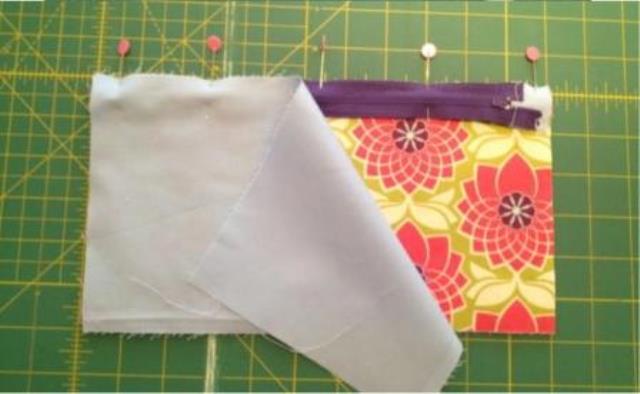 Step 4: Now place the zipper right side down on top of the exterior piece and pin into place. Then add the lining piece face down (so the right side is facing the exterior as well). Pinch the layers near the pin, remove it, and put it back in catching the exterior, the lining, AND the zipper so all three are pinned together.
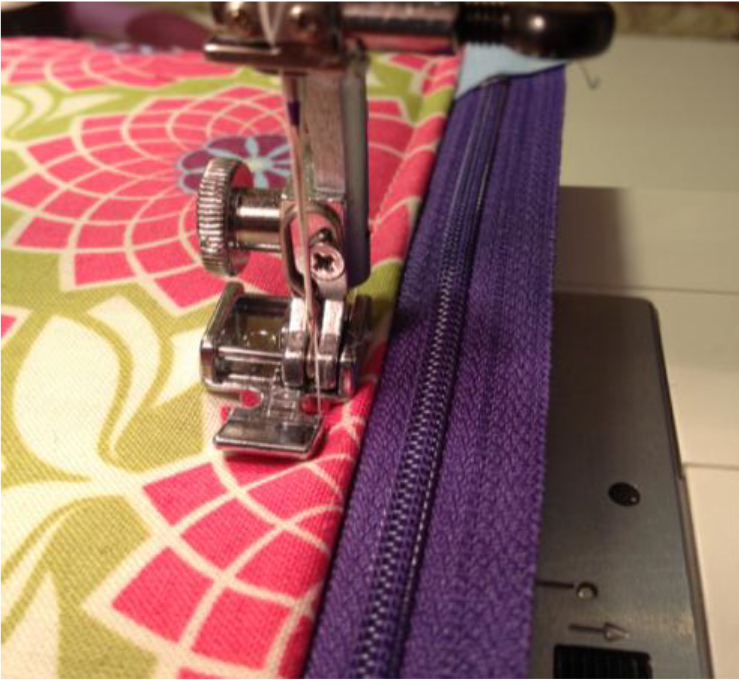
 Step 5: To sew the panels to the zipper, use a zipper foot and sew an approximate ¼” seam to get all 3 layers stitched together.
TIP 1: Stitch with the fleece side up! This prevents the lining from bunching.
TIP 2: Reach under the layers and move the zipper head out of your way as you sew so you don’t have to swerve around it!
 Step 6: Now you’re going to topstitch the panels. First press both the lining and the exterior away from the zipper, then topstitch down the edge of the fold near the zipper.
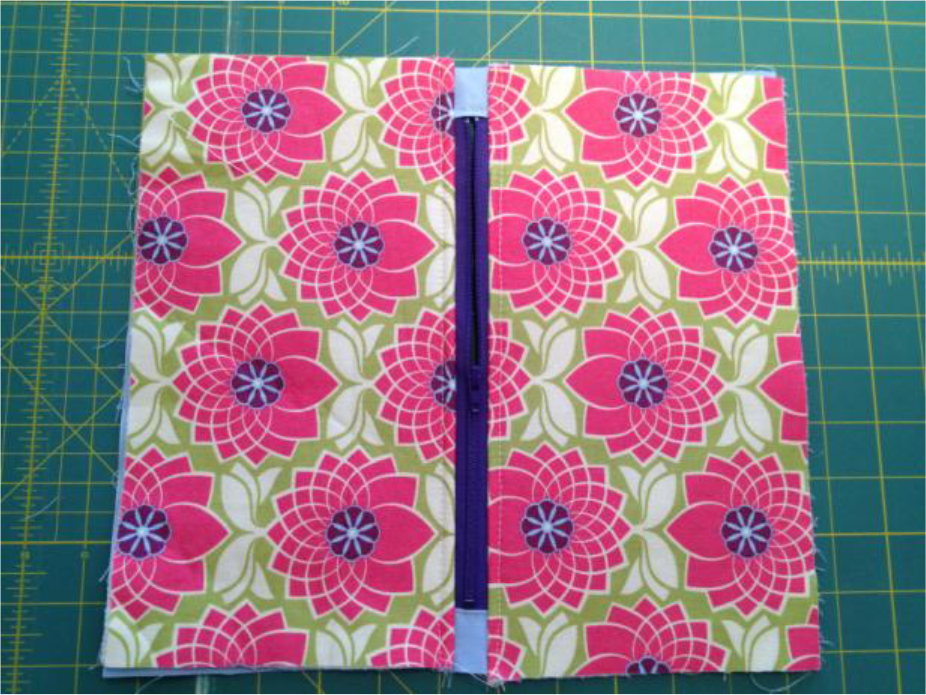 Step 7: Repeat steps 5 and 6 with the other exterior and lining panels and sew them to the other edge of the zipper. (Now you it’s like you have a zipper with wings!)
 Step 8: Now you’re going to start sewing the pieces together. First, fold the panels over so the front right sides are together, and the lining right sides are also together. (Hint: Open the zipper halfway to get the zipper head out of the way!)
When matching the front sides together, make sure the topstitching on each side of the zipper matches perfectly. This will leave the extra zipper tape on the inside folded toward the lining side.
 Step 9: Using your iron-off pen, mark a space at the bottom of your lining that will remain unsewn so you can turn the bag inside out when done sewing. Using the image as a guide, start at A and sew a ¼” seam along the edge, and stop at C. Then, start again down at B, sew a ¼” seam along that edge, again stopping at C.
TIP: When you follow the above instructions, you sew the same direction across the zipper. This makes your zipper tab lay much nicer on both sides.
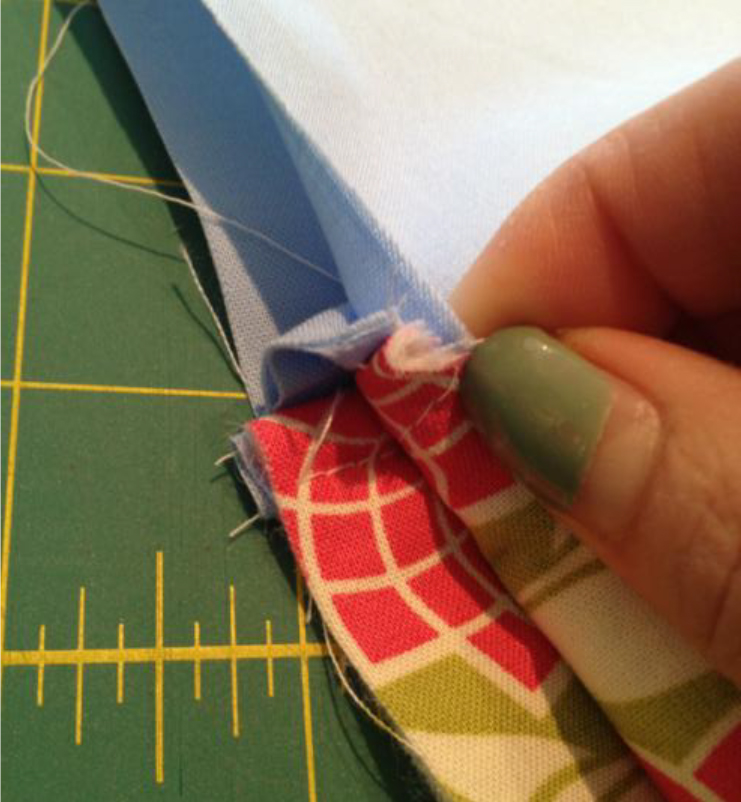
 Step 10: Now, pinch each corner of your lining and exterior together so the side seam and bottom seams are touching. This will form a little triangle.
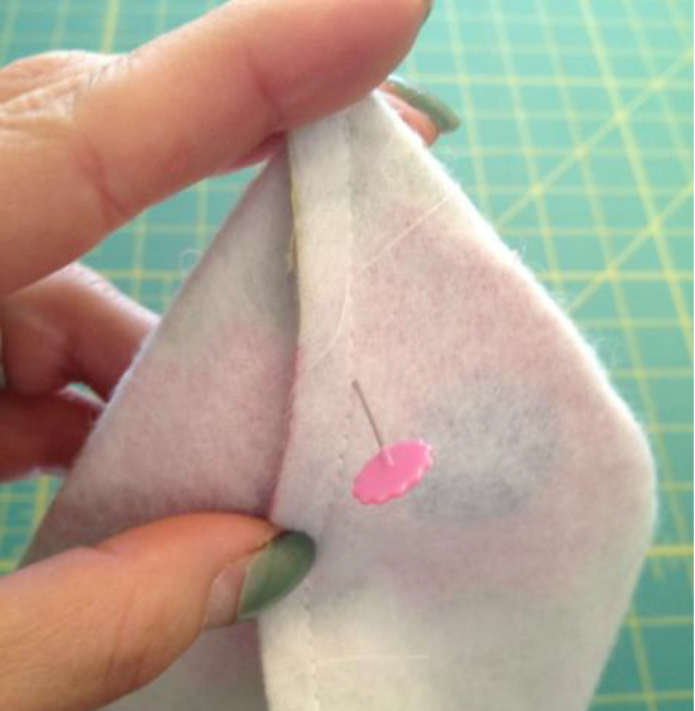 Step 11: Verify that the seams are matching by sticking a pin through the stitching on one side, and see where it comes out on the back. Then pin into place so the seams stay matching.
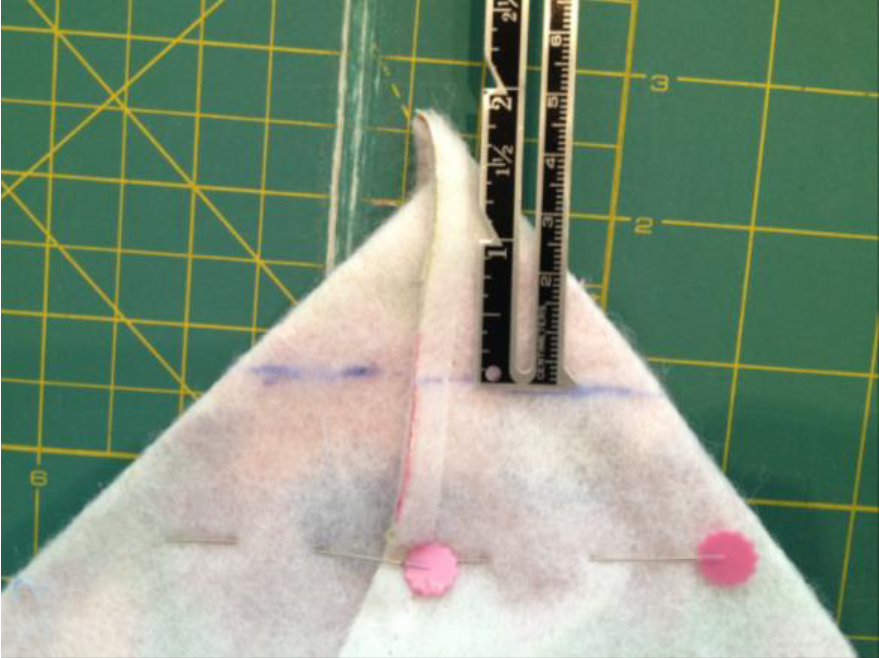 Step 12: Now measure down the seam 1 ½” and draw a line across the little triangle. This will make a 3” gusset on the outside of your bag. (Hint: Measure down 1” to make a 2” gusset. It’s in half!) Do this for all four corners: two on the fleece and two on the lining fabric.
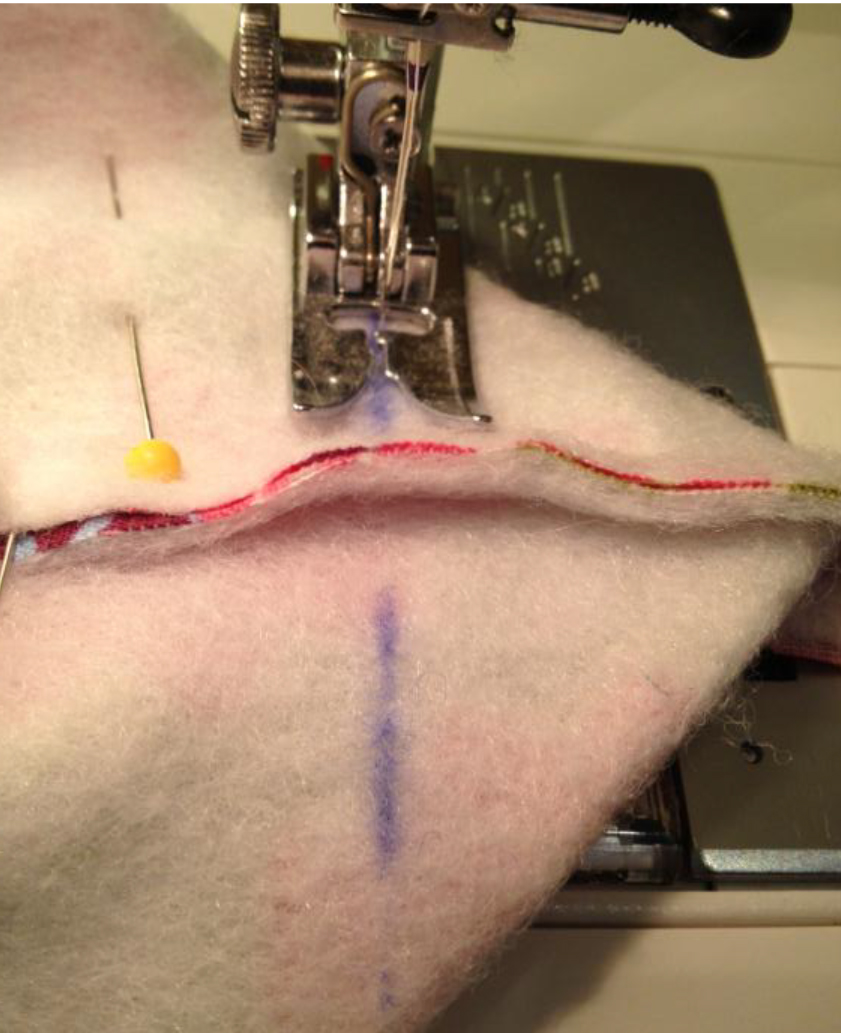 Step 13: Now sew right down all four lines that you drew on each pinched corner.
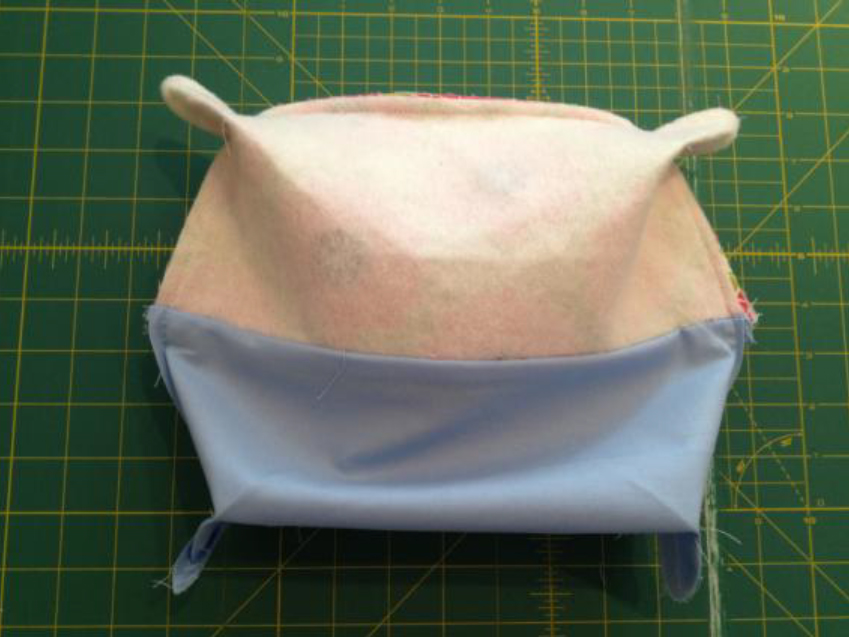 Step 14: This is what your bag should look like now – with little ears on each corner.
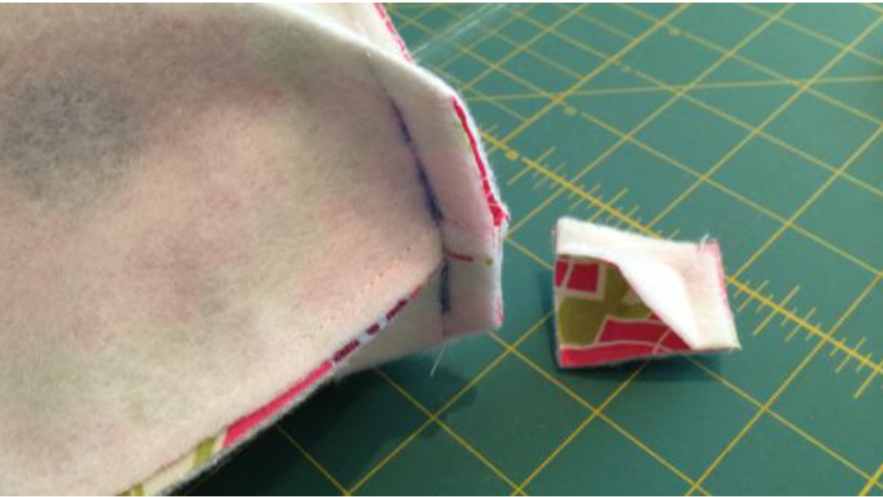 Step 15: Next, you will trim off those little ears, leaving about a ½” seam allowance on each.
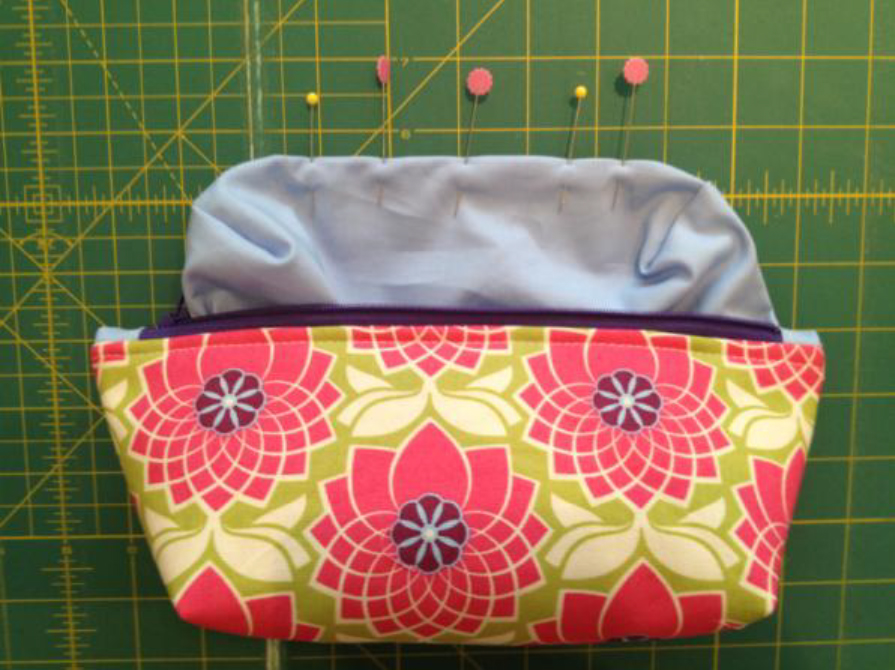 Step 16: Turn the bag inside out, and use a chop stick or the eraser side of a pencil to poke the corners out. Then pull the lining out of the bag, match the hole you used for turning nicely, and pin it into place.
 Step 17: Then use your zipper foot, and topstitch the hole closed.
There you have it – your cute little zippered pouch is complete! You can easily adapt the size of the finished project by simply changing the exterior and lining dimensions, as well as the gusset size. Time to make a whole fleet of bags!
Happy sewing!
Related Video: How to Sew a Zippered Pouch
Get in touch! Leave a comment or email editor@nationalsewingcircle.com.


❤️
Thanks so much! Cute, thinking about making some birthday gifts! Great little bags to fill with goodies.
Have sewn many purses and bags. Never made a pouch. I will try it
thank you for the pattern. I am going to try to make this. Looks like great instructions. thanks again.
I will try to sew this. Thank you for pattern.
I’ll sew a pouch.
Looks a great pattern.
Thankyou for the pattern
I enjoy small projects and hopefully I will go on to medium size and then larger projects.
Thanks for sharing the pattern . Will be nice gift.