In this article, National Sewing Circle instructor Ashley Hough (formerly Ashley Briggs) shares a personal story of a sewing project very near and dear to her heart. Photos by Carrie Schneider of Carrie Lynn Photography.
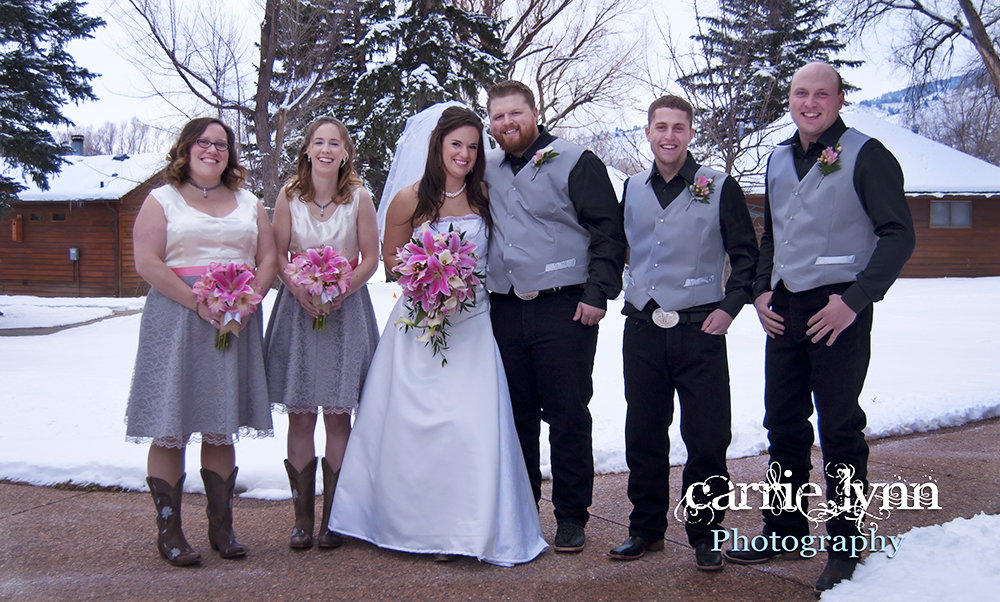
Pictured from left to right: Jessica Giardino, Lindsay Briggs, Ashley Hough, Chad Hough, Jeff Williams, and Brett Arnzen. © Carrie Lynn Photography
Even before I got engaged in December of 2014 I knew I wanted to make my own wedding dress. I hadn’t necessarily been dreaming about my wedding or making my dress since I was little, but rather once I started sewing more difficult clothing items in high school and college, I knew it was something I wanted to do. I also knew I wanted a fairly simple dress, nothing too fancy, but even those can get expensive at dress shops. Being able to make the dress how I wanted it to look and save money in the process was just too good of an option to pass up. And, since we planned to be engaged for a little over a year before the wedding, I not only had time to make my dress, but the bridesmaid dresses as well as my fiancé’ and his groomsmen’s shirts and vests.
 Another reason I decided to make everything, which may come as a surprise to some, was that it was a lot less stressful. Even though it was a large project to take on, it was one I had plenty of time to do and one that I could work on at my own pace and on my own schedule. Given that we had four members in our wedding party living in four different states (none even in the same state as us!) it would have been hard to find a time to get everyone together to go shopping for everything. Sewing everything also allowed me the freedom to alter things if I didn’t like them – like the bridesmaid dresses. I had one nearly completed before I realized that I didn’t really like the color. Rather than having to return it, I just took apart what I could re-use and started over!
Like many brides-to-be out there I planned on hitting the gym a few times before the big day, meaning I needed to save making my dress for last, just in case my measurements changed. I decided to start with the men’s clothes first.
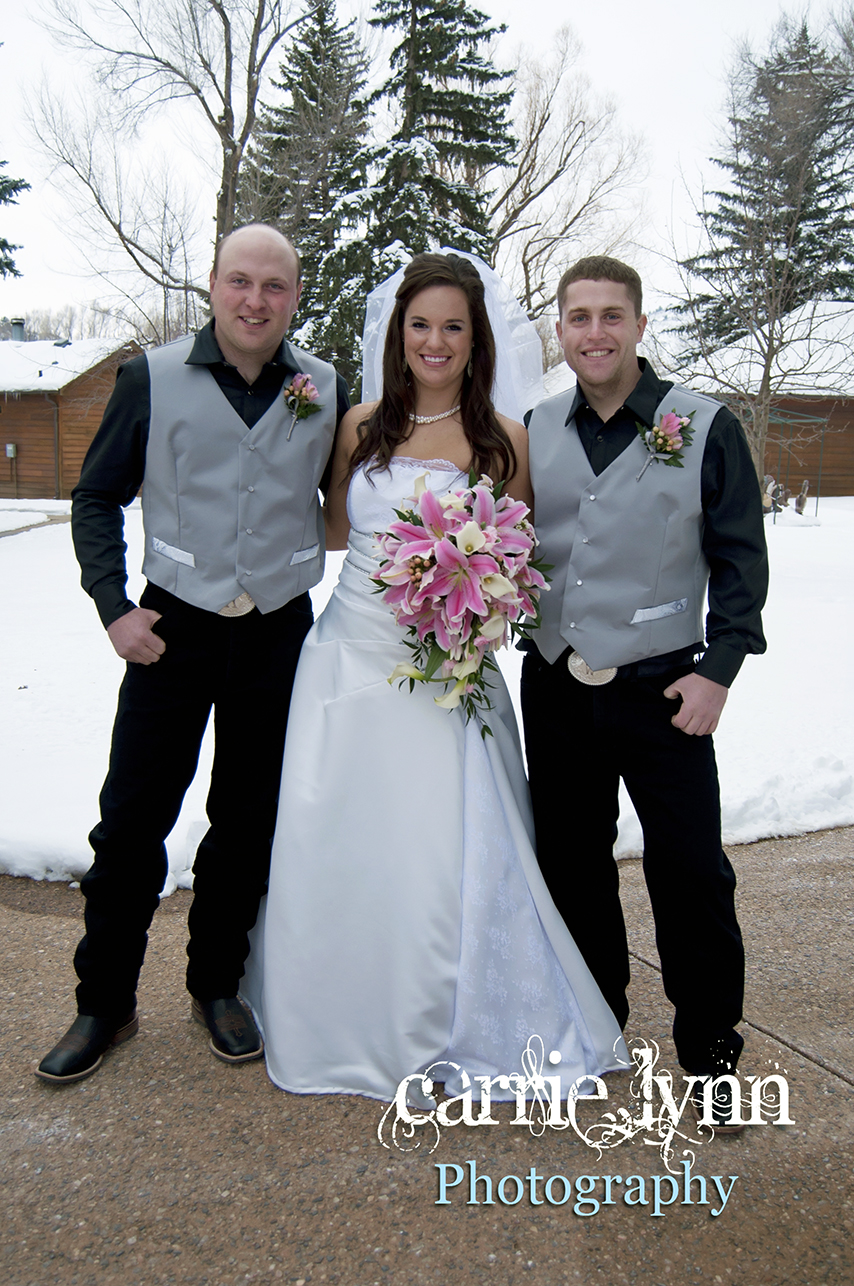
 The men’s shirts were going to be made from a basic button down shirt pattern and cotton fabric, and the vests from another simple pattern and a heavy satin fabric. One of our groomsmen visited us shortly after our engagement and I was able to get his measurements, and the other went to a local tux shop and had them take his. If you go to a tailor they will probably end up giving you every possible measurement, which can be overwhelming (and even be more information than you need). If you plan on making a nice button down shirt the important measurements to get are the neck, chest, arm length, and the length from the back of the neck to where they would like the shirt to come down to.
Since we were planning a rustic wedding at a ranch I used pearl snaps on the shirts and vests rather than buttons. I thought this was going to be easier since button holes can sometimes be a pain to sew, but I was wrong. If you haven’t made a lot of things with snaps before, I would definitely recommend practicing several times on scrap fabric first. Since I had pearl snaps for their finished shirts and vests I bought some cheaper plain snaps to practice with. After practicing numerous times with the snap insertion tool that came with the snaps, it was clear it just wasn’t going to work for me. I was having a hard time keeping the snaps lined up, then getting the tool in the right place, clamping down and having all the teeth of the snap grab the other side. I ended up using a combination of a hammer to initially set the snap and then a regular pair of pliers wrapped in felt (to protect the pearl on the snap) to clamp it the rest of the way down. And while this may have been an unconventional way to do it, it worked! Always remember that there is more than one way to get something done, and use whatever method works best for you.
Other than the snaps, the men’s clothes came together pretty quickly and easily and didn’t require any additional fitting changes – which was good since the groomsmen didn’t get their shirts and vests until the day before the wedding!
 The bridesmaid dresses also came together rather easy. Grey and pink were our colors, but I also wanted to incorporate some cream into their dresses as well. I chose a dress pattern that was made up of eight panels: two of each front, side front, back, and side back. This is a great type of dress pattern to make if you think you might have to alter the size a bit to fit someone else because there are many seams where you can add or take away without having to create a pleat or anything. I then took each of the pattern pieces and cut them along the “lengthen or shorten here” line located near the waist. I cut the top portion of each pattern piece out of cream satin and the bottom of each piece out of grey satin with a lace overlay, which I treated as one piece. After stitching the top and bottom of each piece back together and finishing the seams, I could then assemble the dresses according the pattern. Both bridesmaid dresses needed only a few small tucks to fit perfectly!
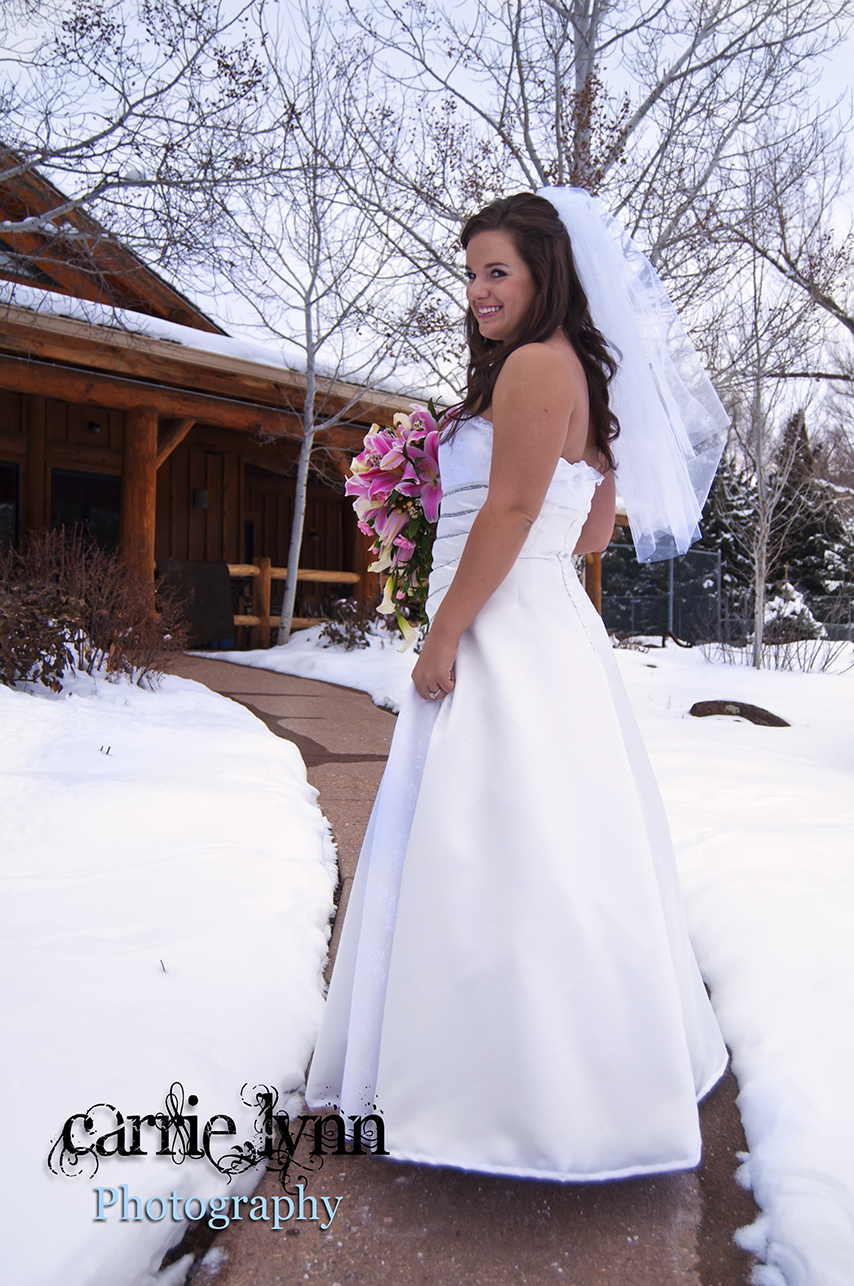 With all of the bridal party and the groom taken care of, it was time to start on my dress. The dress pattern itself was fairly simple, but the hard part was cutting it out because the pieces were larger than my cutting table! My dress had a bodice with a lace overlay as well as a lace godet, folds across the front where I was able to add some rhinestone trim, and a few dozen buttons up the back. The most complicated part of the dress construction was adding the boning to the bodice because it is not something I regularly use. However, it is now something I definitely recommend always putting in formal wear because of the extra shaping it adds to a top.
The one component of my dress that I definitely needed help with was hemming. I needed to put the dress on and have someone pin the hem in place for me, and luckily my Mom came to town a week in advance to help out! She also helped me come up with how to fix the one fitting issue I had.
After trying the dress on and moving around a bit in it, I decided the top was not as tight as I would like it to be for me to feel comfortable that it would stay up. However, I had already stitched all the buttons to the back and inserted the boning into the seams, so there wasn’t a lot of options as to how to fix it. In the end, we were able to insert some elastic into the top of the dress between the front and lining fabric, and hand tack a “casing” every couple inches to keep the elastic from falling down. Stitching the casing by hand allowed the stitching to be hidden by the lace overlay. The elastic worked great! It made the dress fit more comfortably snug, and while you could tell it was there when it was hanging on a hanger, once I put it on you couldn’t tell at all.
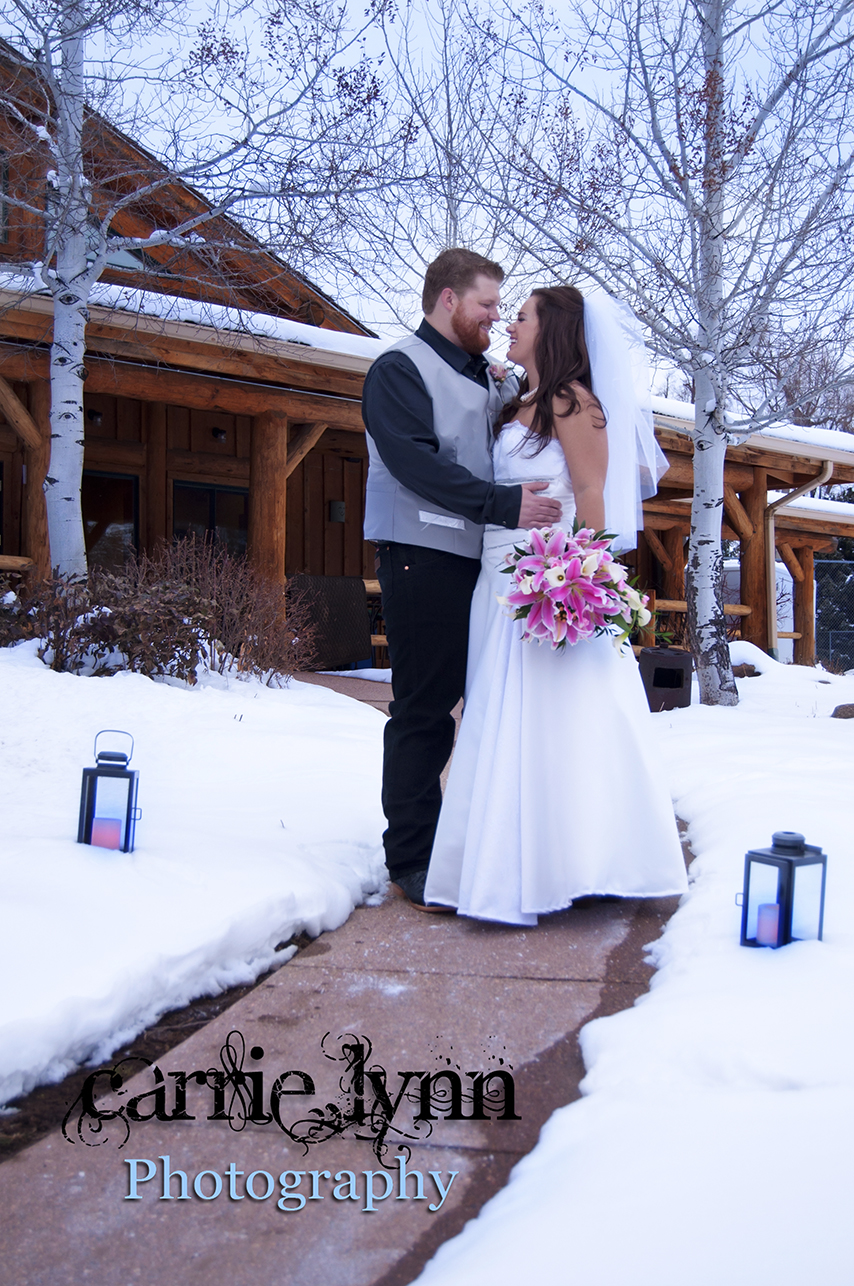 Sewing the shirts, vests, and dresses for our wedding not only saved us money but helped make the process of putting everything together even more fun and memorable! We got lots of great comments on everything, and not just because they were handmade, but because they looked great on everyone!
One of the best compliments you can get on something you made is having someone think you spent a bunch of money on it in a store. I will definitely never forget the process of making everything and seeing it all come together on our wedding day. And despite a few sewing hiccups along the way, I wouldn’t change a thing!
Big thanks to Carrie Schneider of Carrie Lynn Photography for our photography!
Get in touch! Leave a comment or email editor@nationalsewingcircle.com.

What a beautiful story. I sewed for my self and my bridal party over 26 years ago. I hand stitched the bodice and sleeves with seed pearls and sequins, it was a labor of love. I also made the cathedral length veil and trimmed it with the pearls and sequins. It was so satisfying knowing that I had made everything 2 bridesmadis,2 flower girls and my gown and all the head pieces. Someone said "you didn't get anyone to fuss about you" but I preferred not to, the comments from everyone in attendance were amazing. It is a day I will never forget. Best Wishes for a wonderful life filled with love!!
I like the courage you had to decide to do your bridal parties dresses. I once did my sister's wedding dress and I dare agree with you that it is the most fulfilling thing when you see your artwork on other people- leave alone the saving! Congratulations! The party really look stunning!
How lovely! Congratulations on you nuptials and all that beautiful sewing! What wonderful memories you have created.
i really love nsc and will do online couses later on when i get a credit card.
Sweetly done! Nicely coordinated for your whole party. Everyone looks comfortable and well-fitted! Best wishes for a long, happy marriage filled with many mores sewing successes!
Nicely done! I sewed for all but one of the gals in my bridal party for my first wedding, over 30 years ago, but only had 3 months in which to make my gown, 2 bridesmaid, and 2 other dresses. And I was working as a live-in carer for my best friend, who had MS, which was about an 18 hour a day job! So I was a bit stressed, and didn't finish my twin sisters' dresses until the morning of the wedding. I was so stressed, in fact, that I forgot to take my wedding dress with me when I left for the church, 13 miles away!! I don't even remember how we resolved that issue! I love your gown and bridesmaid dresses! Great idea, dividing the pattern at the "cut here" line. I'll have to give that a try! Best wishes for a long, happy marriage!!