Who doesn’t love a pair of cozy pajama pants? Perfect for lounging around the house, PJ bottoms are my go-to for lazy weekends. This pattern is very simple to make up, and the pants feature a comfortable elastic waistband and cute cuffs on the bottom. Try making the cuffs in a contrasting fabric for an extra cute factor!

Related Video: How to Make Pajama Pants
All seam allowances are 1⁄2" throughout the pattern, except where noted.
Supplies Needed:
- 2-5/8 yards fabric for pants
- ¼ yard contrasting fabric for cuff
- ¾" elastic for waistband (as needed for waist measurement)
- Pattern: click here to download
Pattern printing instructions: Download and print out all pattern pieces. All sizes are included on the pattern; simply follow the size line of your choice when cutting out the pattern. To tape the pattern pieces together, lay the printed pages next to each other, not overlapping, and align the marks and corresponding numbers. For example, the ‘1’ on Front page 1 should match up with the ‘1’ on Front page 2.
Pattern Sizing Information:
- Small: waist (24"-25"), hip (33"-35")
- Medium: waist (26”- 28”), hip (36”- 38”)
- Large: waist (29”- 32”), hip (39”- 42”)
- X Large: waist (41”- 44”), hip (43”-46”)
Sewing the Legs
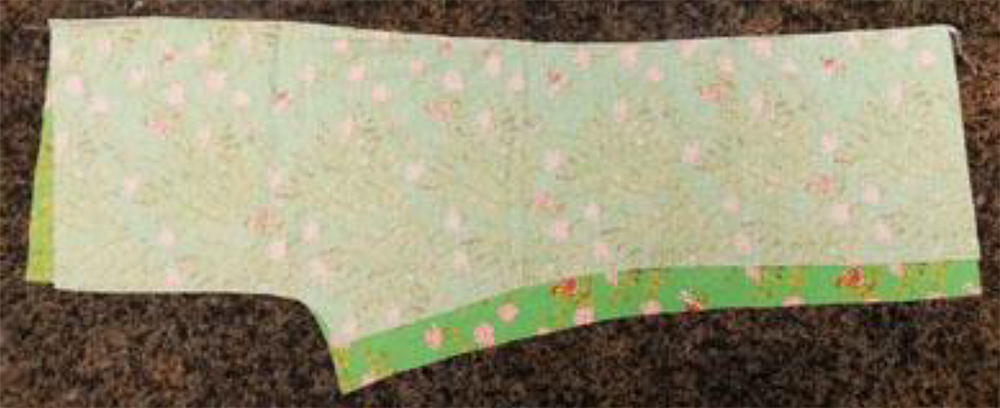
Step 1: After cutting out your pieces, find a front leg and a back leg and match them right sides together along the long edge. Sew together.
Step 2: Finish the seam allowance by running it through a serger, or sewing a zig zag stitch down the seam allowance.

Step 3: Now match the short sides of the legs (keep in mind you will have to pull the front over so they line up), pin, sew, and finish that edge as well.
Step 4: Repeat this process with the other leg!
Sewing the Legs Together
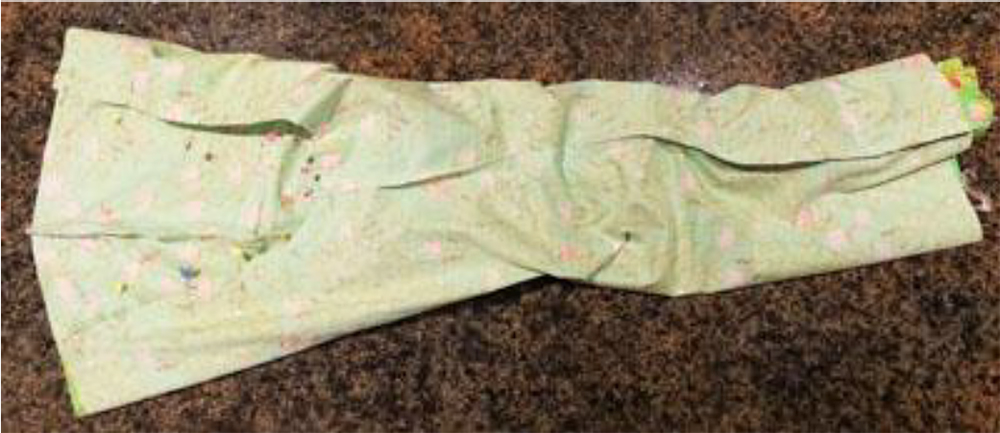
Step 5: Turn one finished leg right side out, and stuff it into the other leg, matching up the seams at both sides (the right sides should be together).
Step 6: Match the seams, and pin all along the curved inseam. (Not the waist!)
Step 7: Sew the U-shaped inseam, and finish the seam allowance with a serger or zig zag.
Step 8: Pull the one leg back out of the other, and flip them right side out. They should look like pants!
Creating the Waistband
Step 9: Fold the waist down ½” all the way around the top of the pants, pressing as you go.
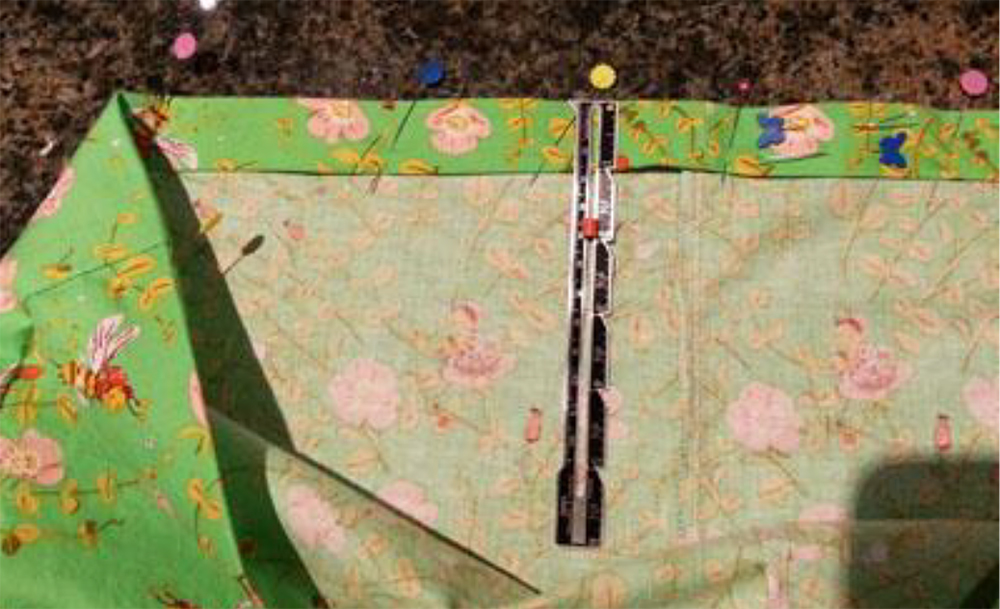
Step 10: Then, fold the pants down another 1”, pressing and pinning as you go. This 1” channel will hold the ¾” elastic once sewn.
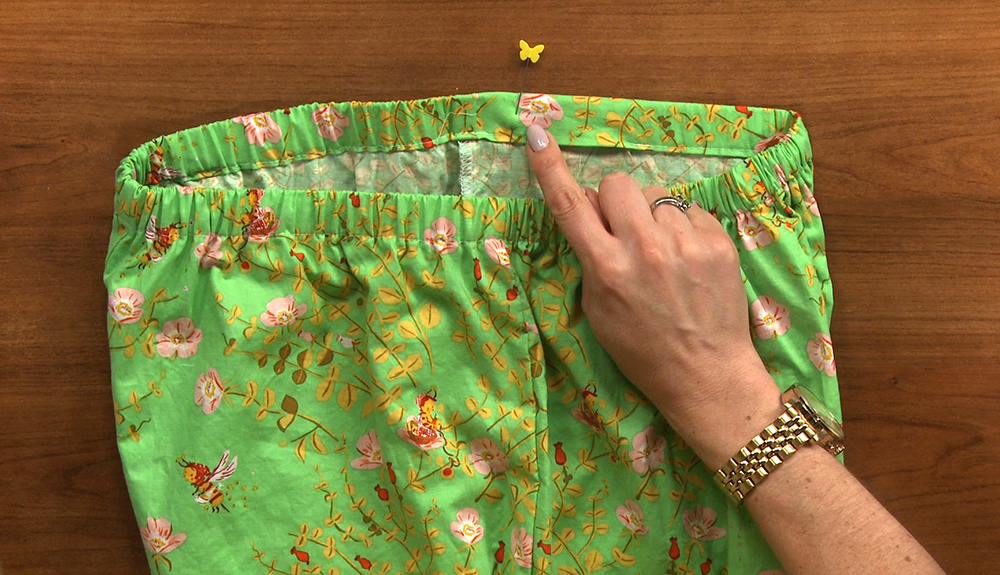
Step 11: Place a pin sideways to remind yourself to leave a hole for the elastic to go in.
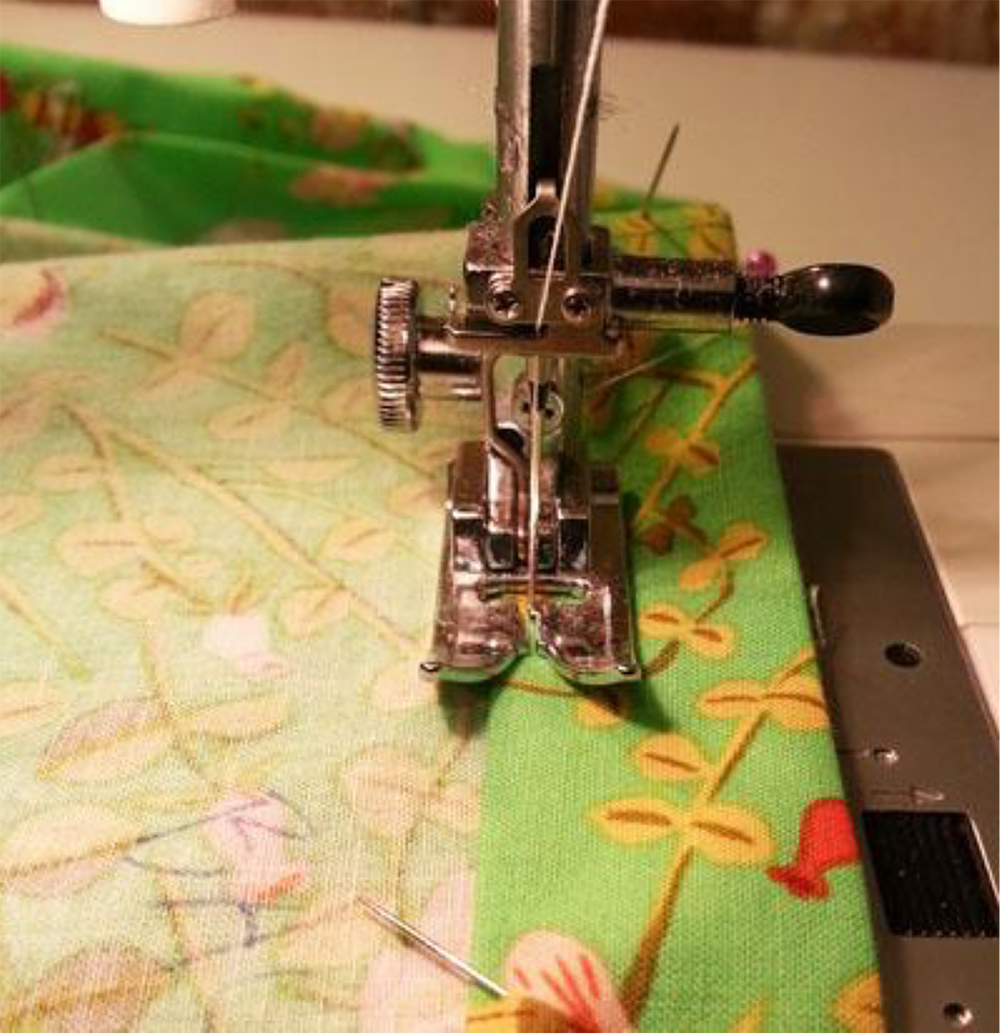
Step 12: Stitch very close to the inside folded edge to create the channel! Don’t forget to backstitch at either end of the elastic opening, but don’t sew it shut!
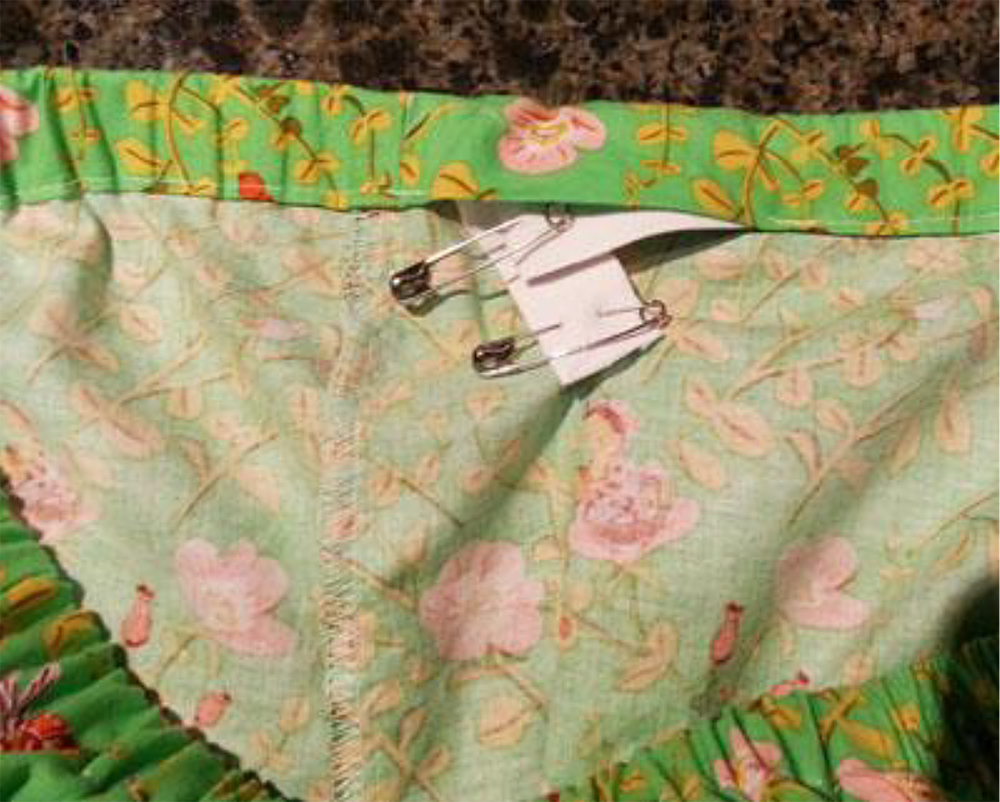
Step 13: Pinning one end of the elastic to the pants (so it doesn’t slip too far in as you pull), place a safety pin on the other end, and thread it all the way around the waist through the channel until it comes out the other side.

Step 14: Pull some slack in the elastic, and overlap the edges ½” (being careful not to twist!), then sew a zig zag stitch all the way down the overlapped elastic, then backstitch all the way back to the beginning. This will secure your elastic waist into place!
Step 15: Tuck the elastic into the channel, and finish stitching the hole closed.
Sewing the Cuff
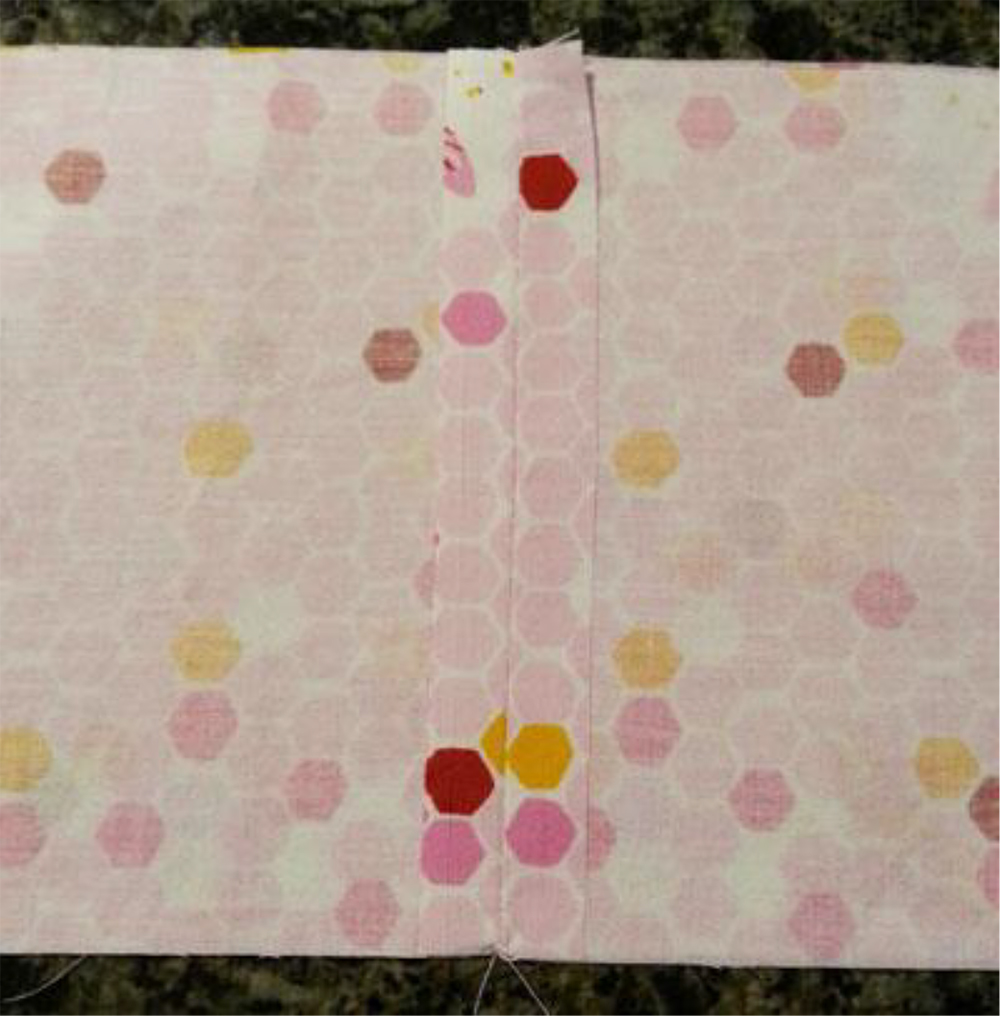
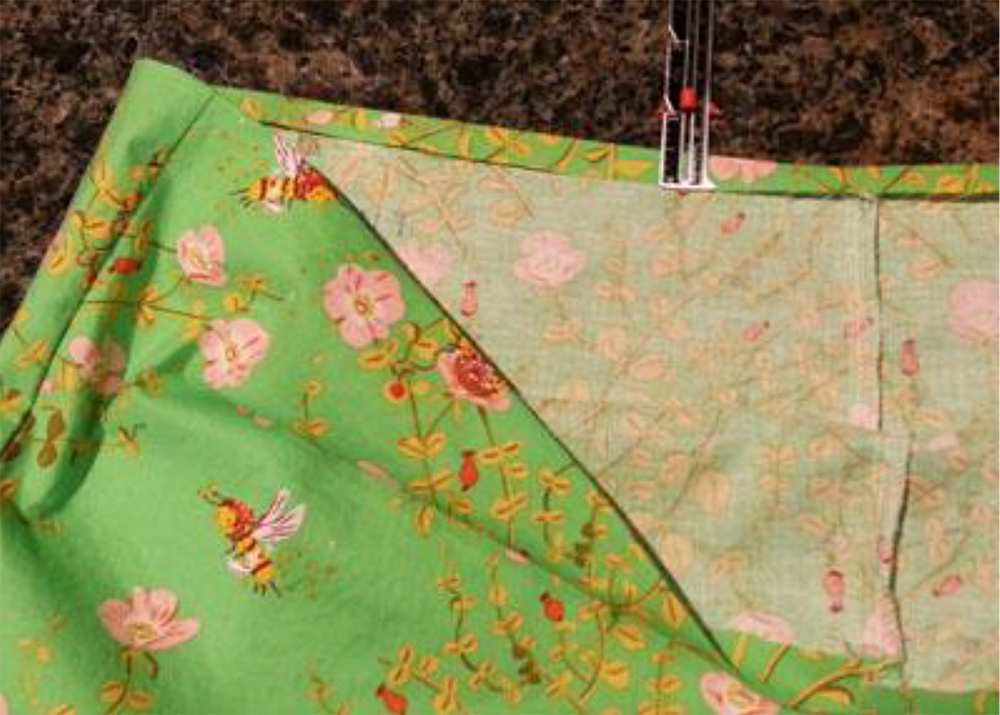
Step 16: Fold the cuff in half (hamburger style) so the short edges are matched with right sides together.
Step 17: Sew the short sides together, and press the seam open.
Step 18: Turn the pants wrong side out, and place the cuff inside the pant leg at the ankle so the right sides are together. I like to put the seam on the cuff to match the seam on the inside of the leg.
Step 19: Sew together, finish your seam with a serger or a zig zag stitch, and then press the seam down toward the cuff.
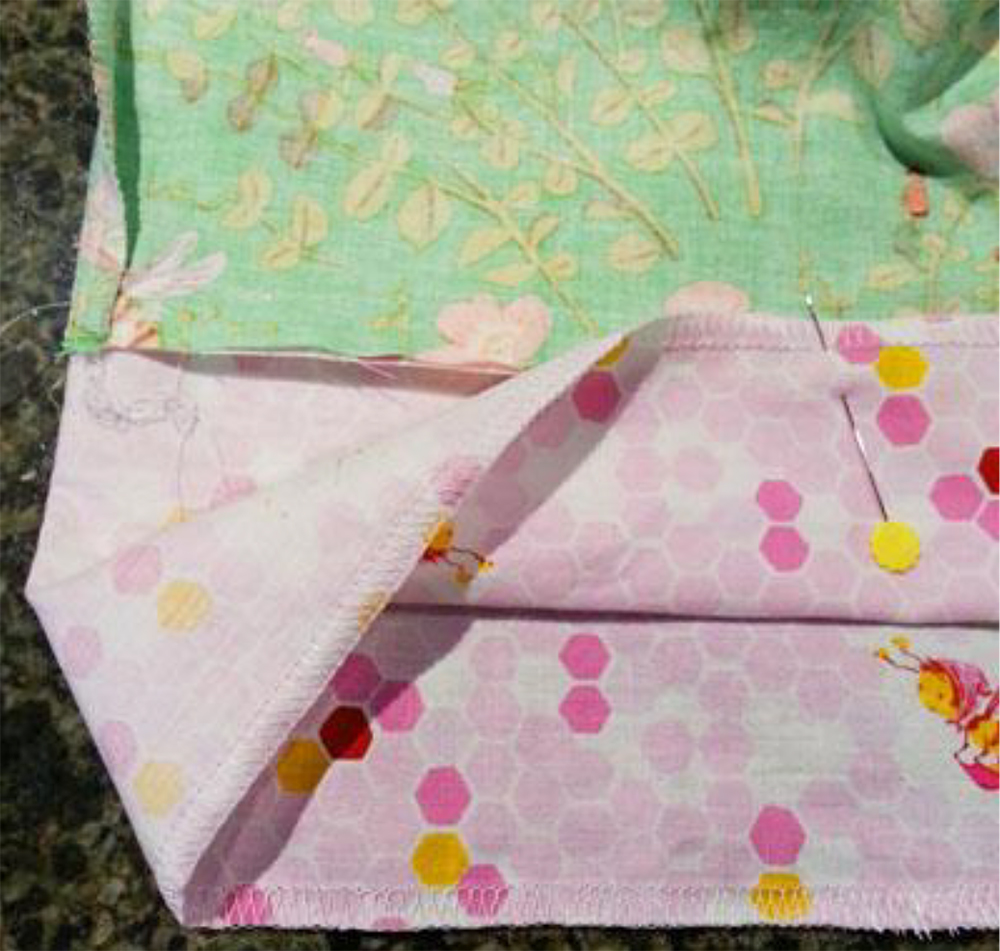
Step 20: Fold the bottom of the cuff up ½” (as you did with the waist). In this picture, I have finished the edge, so I did not fold the ½”. You do not need to finish this edge; simply fold it over ½”, then when you fold it over again, it will hide the raw edge.
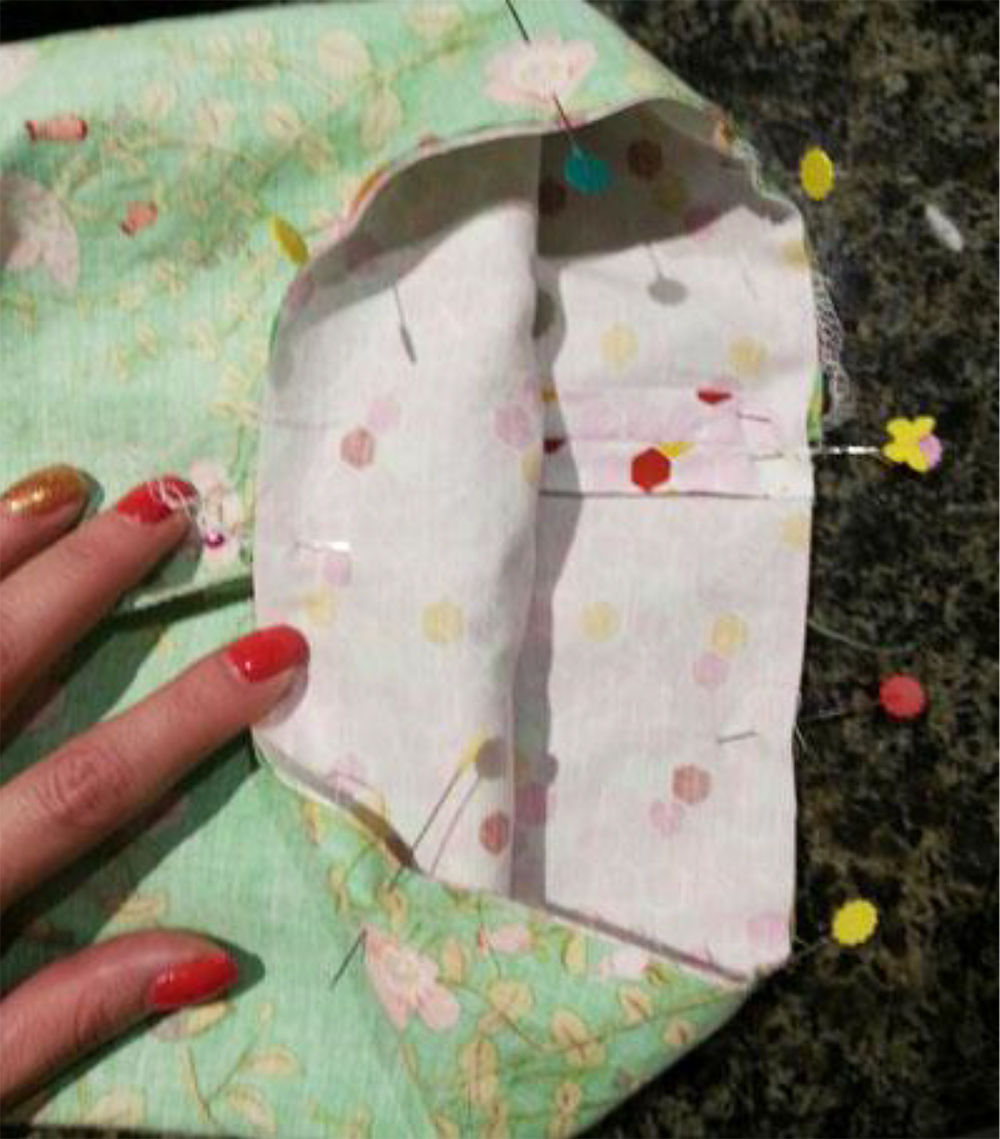
Step 21: When you are pinning the inside of the cuff upward to the pant leg, make sure that your cuff is covering the seam that has sewn your cuff to the pants! This way, you will not miss the cuff edge in the next step.
Also, be sure to put the pins perpendicular to the seam since you will not be able to see them, as you will be sewing on the front side!
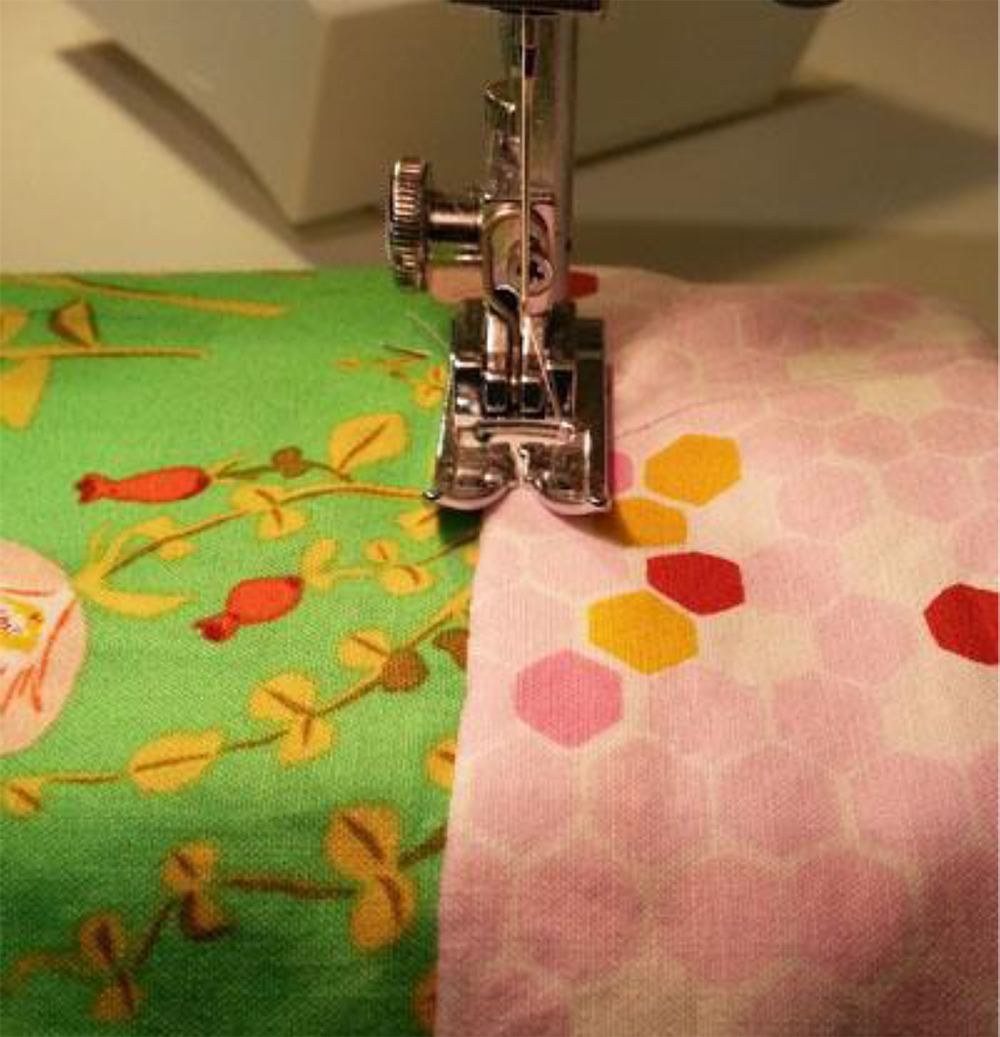
Step 22: Gently turn the pants inside out, trying not to stab yourself with all of the pins.
Step 23: Stitch (using a 3.5” stitch length) on the cuff fabric very close to the pant leg. This will catch the folded over cuff on the underside, and hold it in place!
And there you have it! Now pop a bowl of popcorn, grab your favorite movie or book, and tuck in for a cozy evening in your new PJ pants!
To follow along with step by step instruction, check out this video
Happy sewing!
Have something to add? Leave a comment or email editor@nationalsewingcircle.com.

Thank you
Should XL Waist read 33”-36” ?
I am having surgery in one month and I am looking for something comfortable to wear.
I am just in the process of getting the pattern but can’t wait to try & make these. This will be my first attempt at going by a pattern.
Question: after I've printed the pattern as directed (100%, no scaling), how wide is the waist supposed to measure? I get 10.5" for each leg on the pattern, or 42 inches total for a SMALL, which is supposed to fit a 24-25" waist. How wide is it supposed to be? Thank you.
Hello! I have not yet made these fabulous PJ pants - but I will be making them soon. THANK YOU for the pattern and the instructions and the video! Your efforts and generosity are appreciated. Your patience in handling all the comments is extraordinary! Again, thank you for this free pattern and instructions!
I want to make these
Are these pj pants unisex? I'm thinking of making some for my husband. But he has a 36" waist; what size would I use? The large is 29"-32" (too small) but the XL is 41"-44" (way too large!). Thanks for any guidance!
Please send pajama pants pattern
inspired