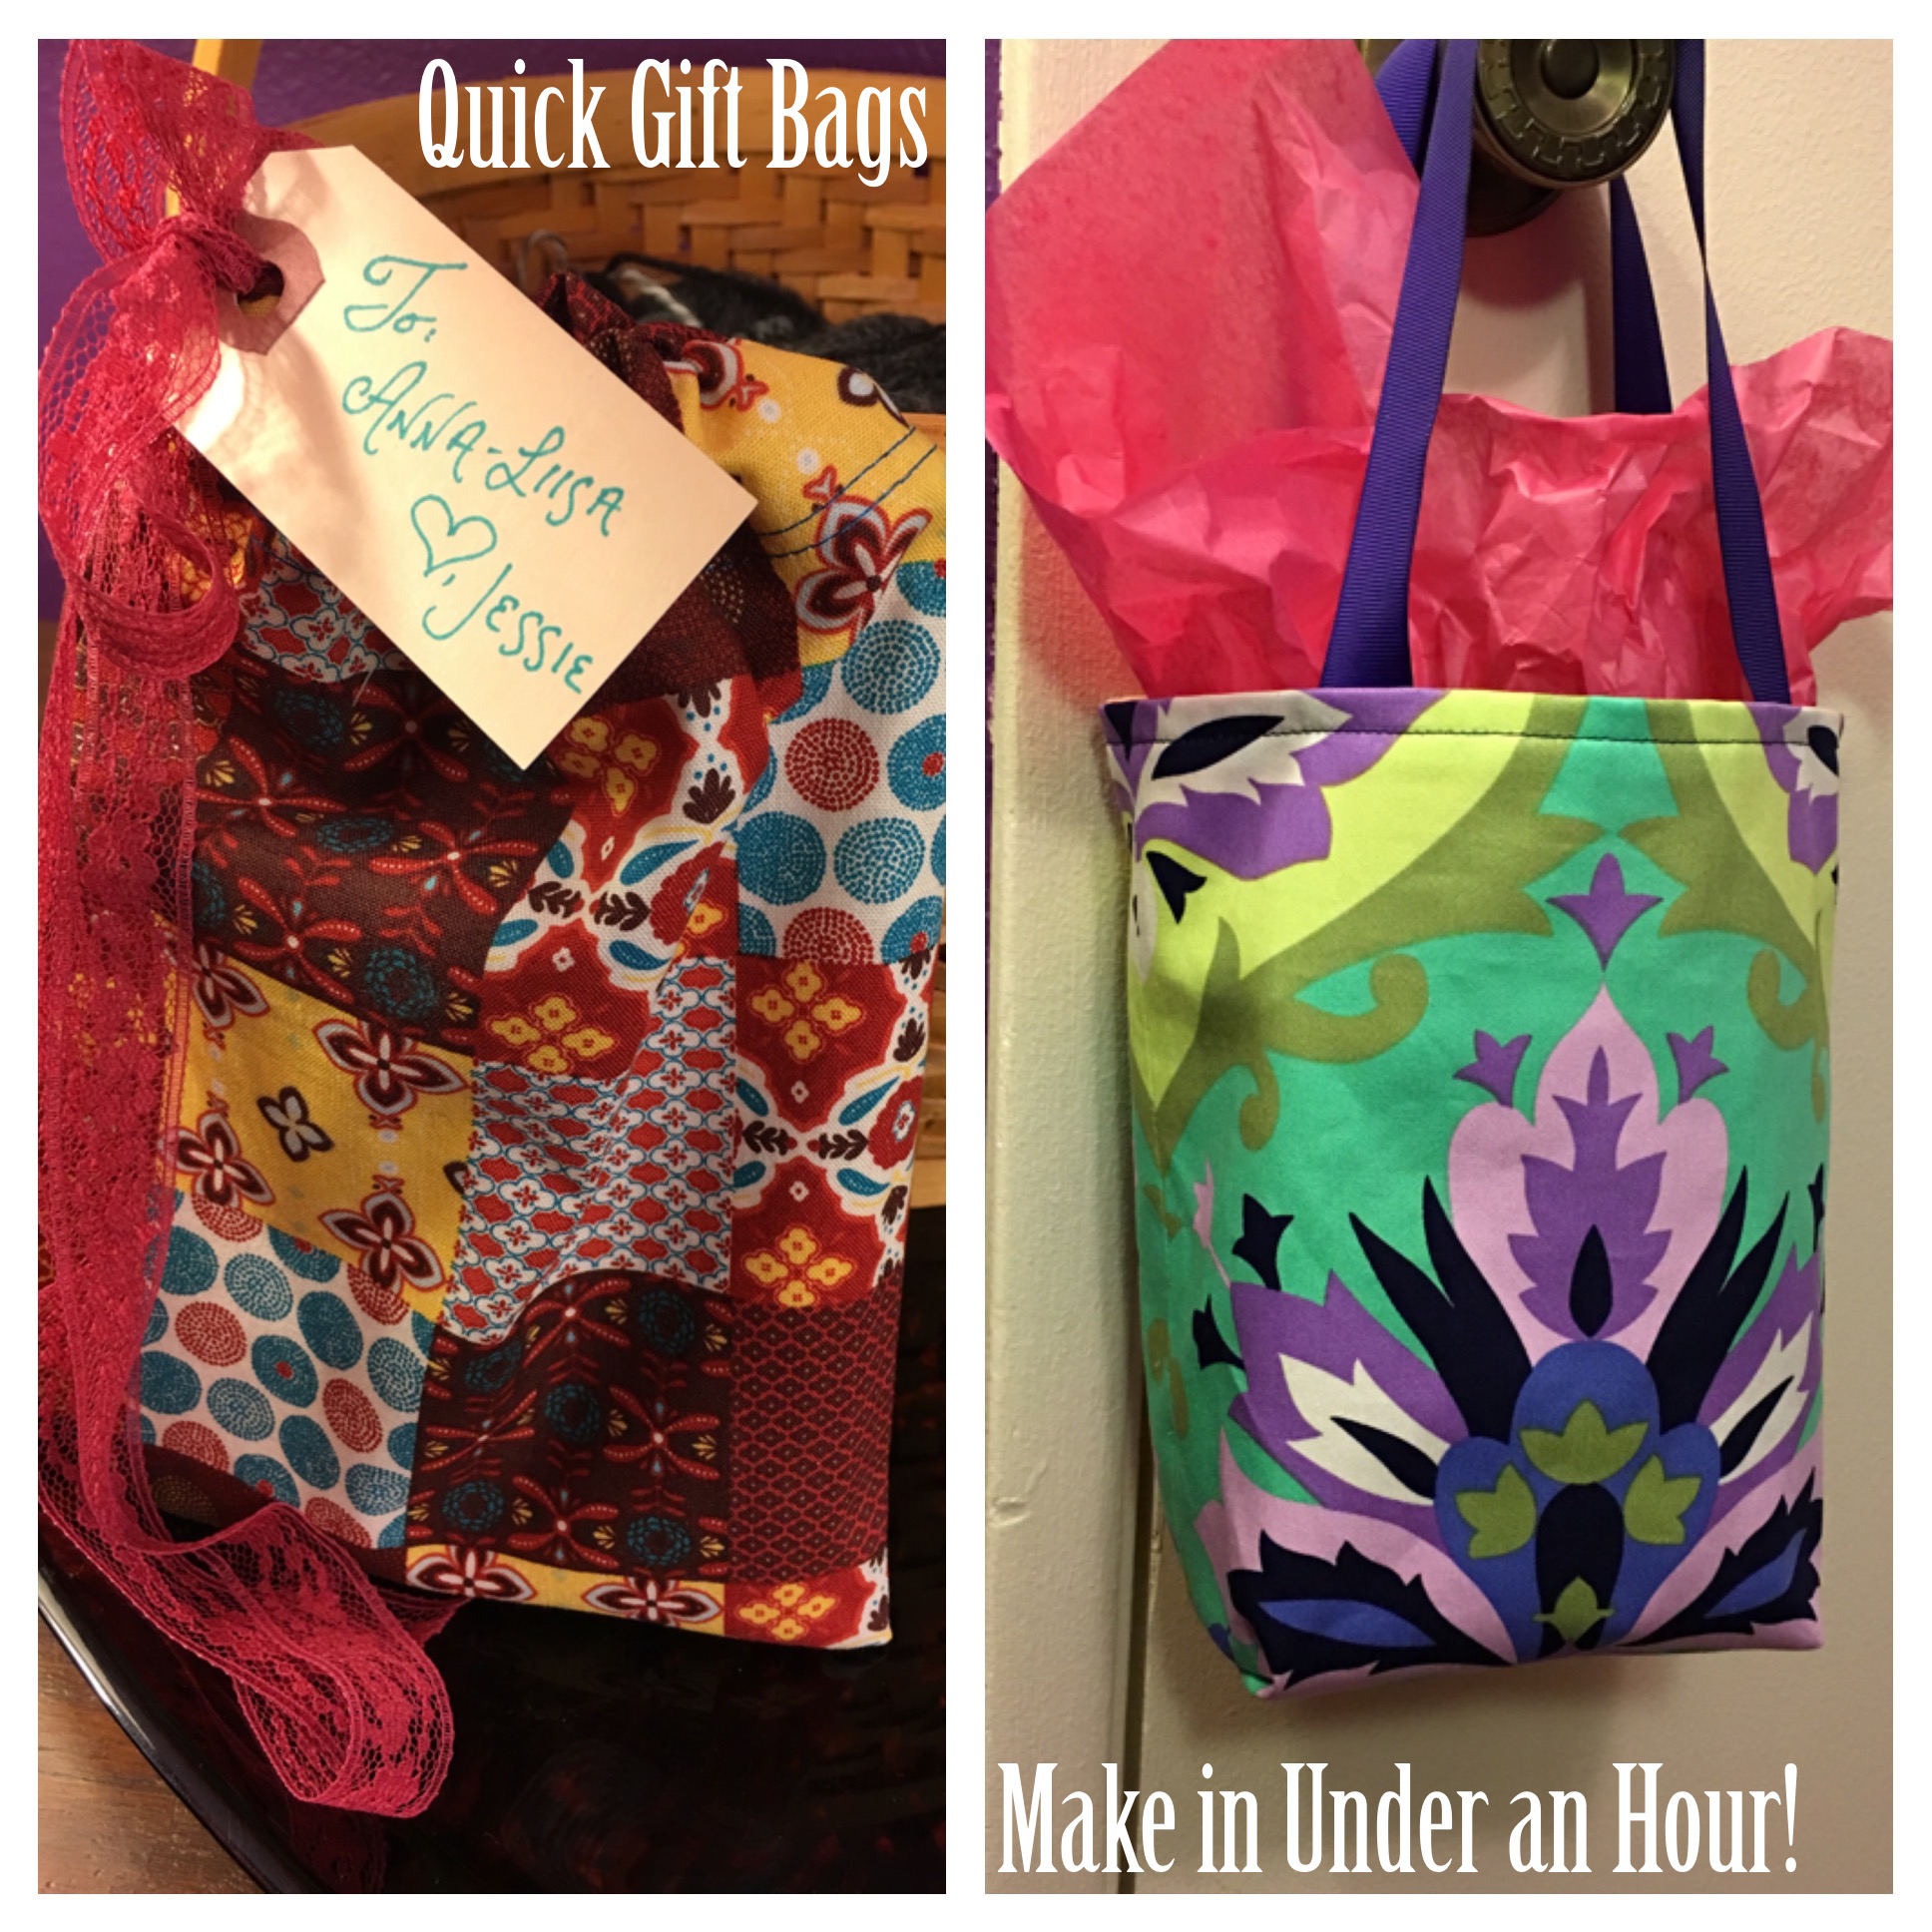
 Whether you need to wrap a gift in a hurry, or you want to make one-of-a-kind gift wrap, these two bags will suit your every need. Both gift bags will add a personal touch to any gift giving opportunity. They will also please and delight the gift receiver!
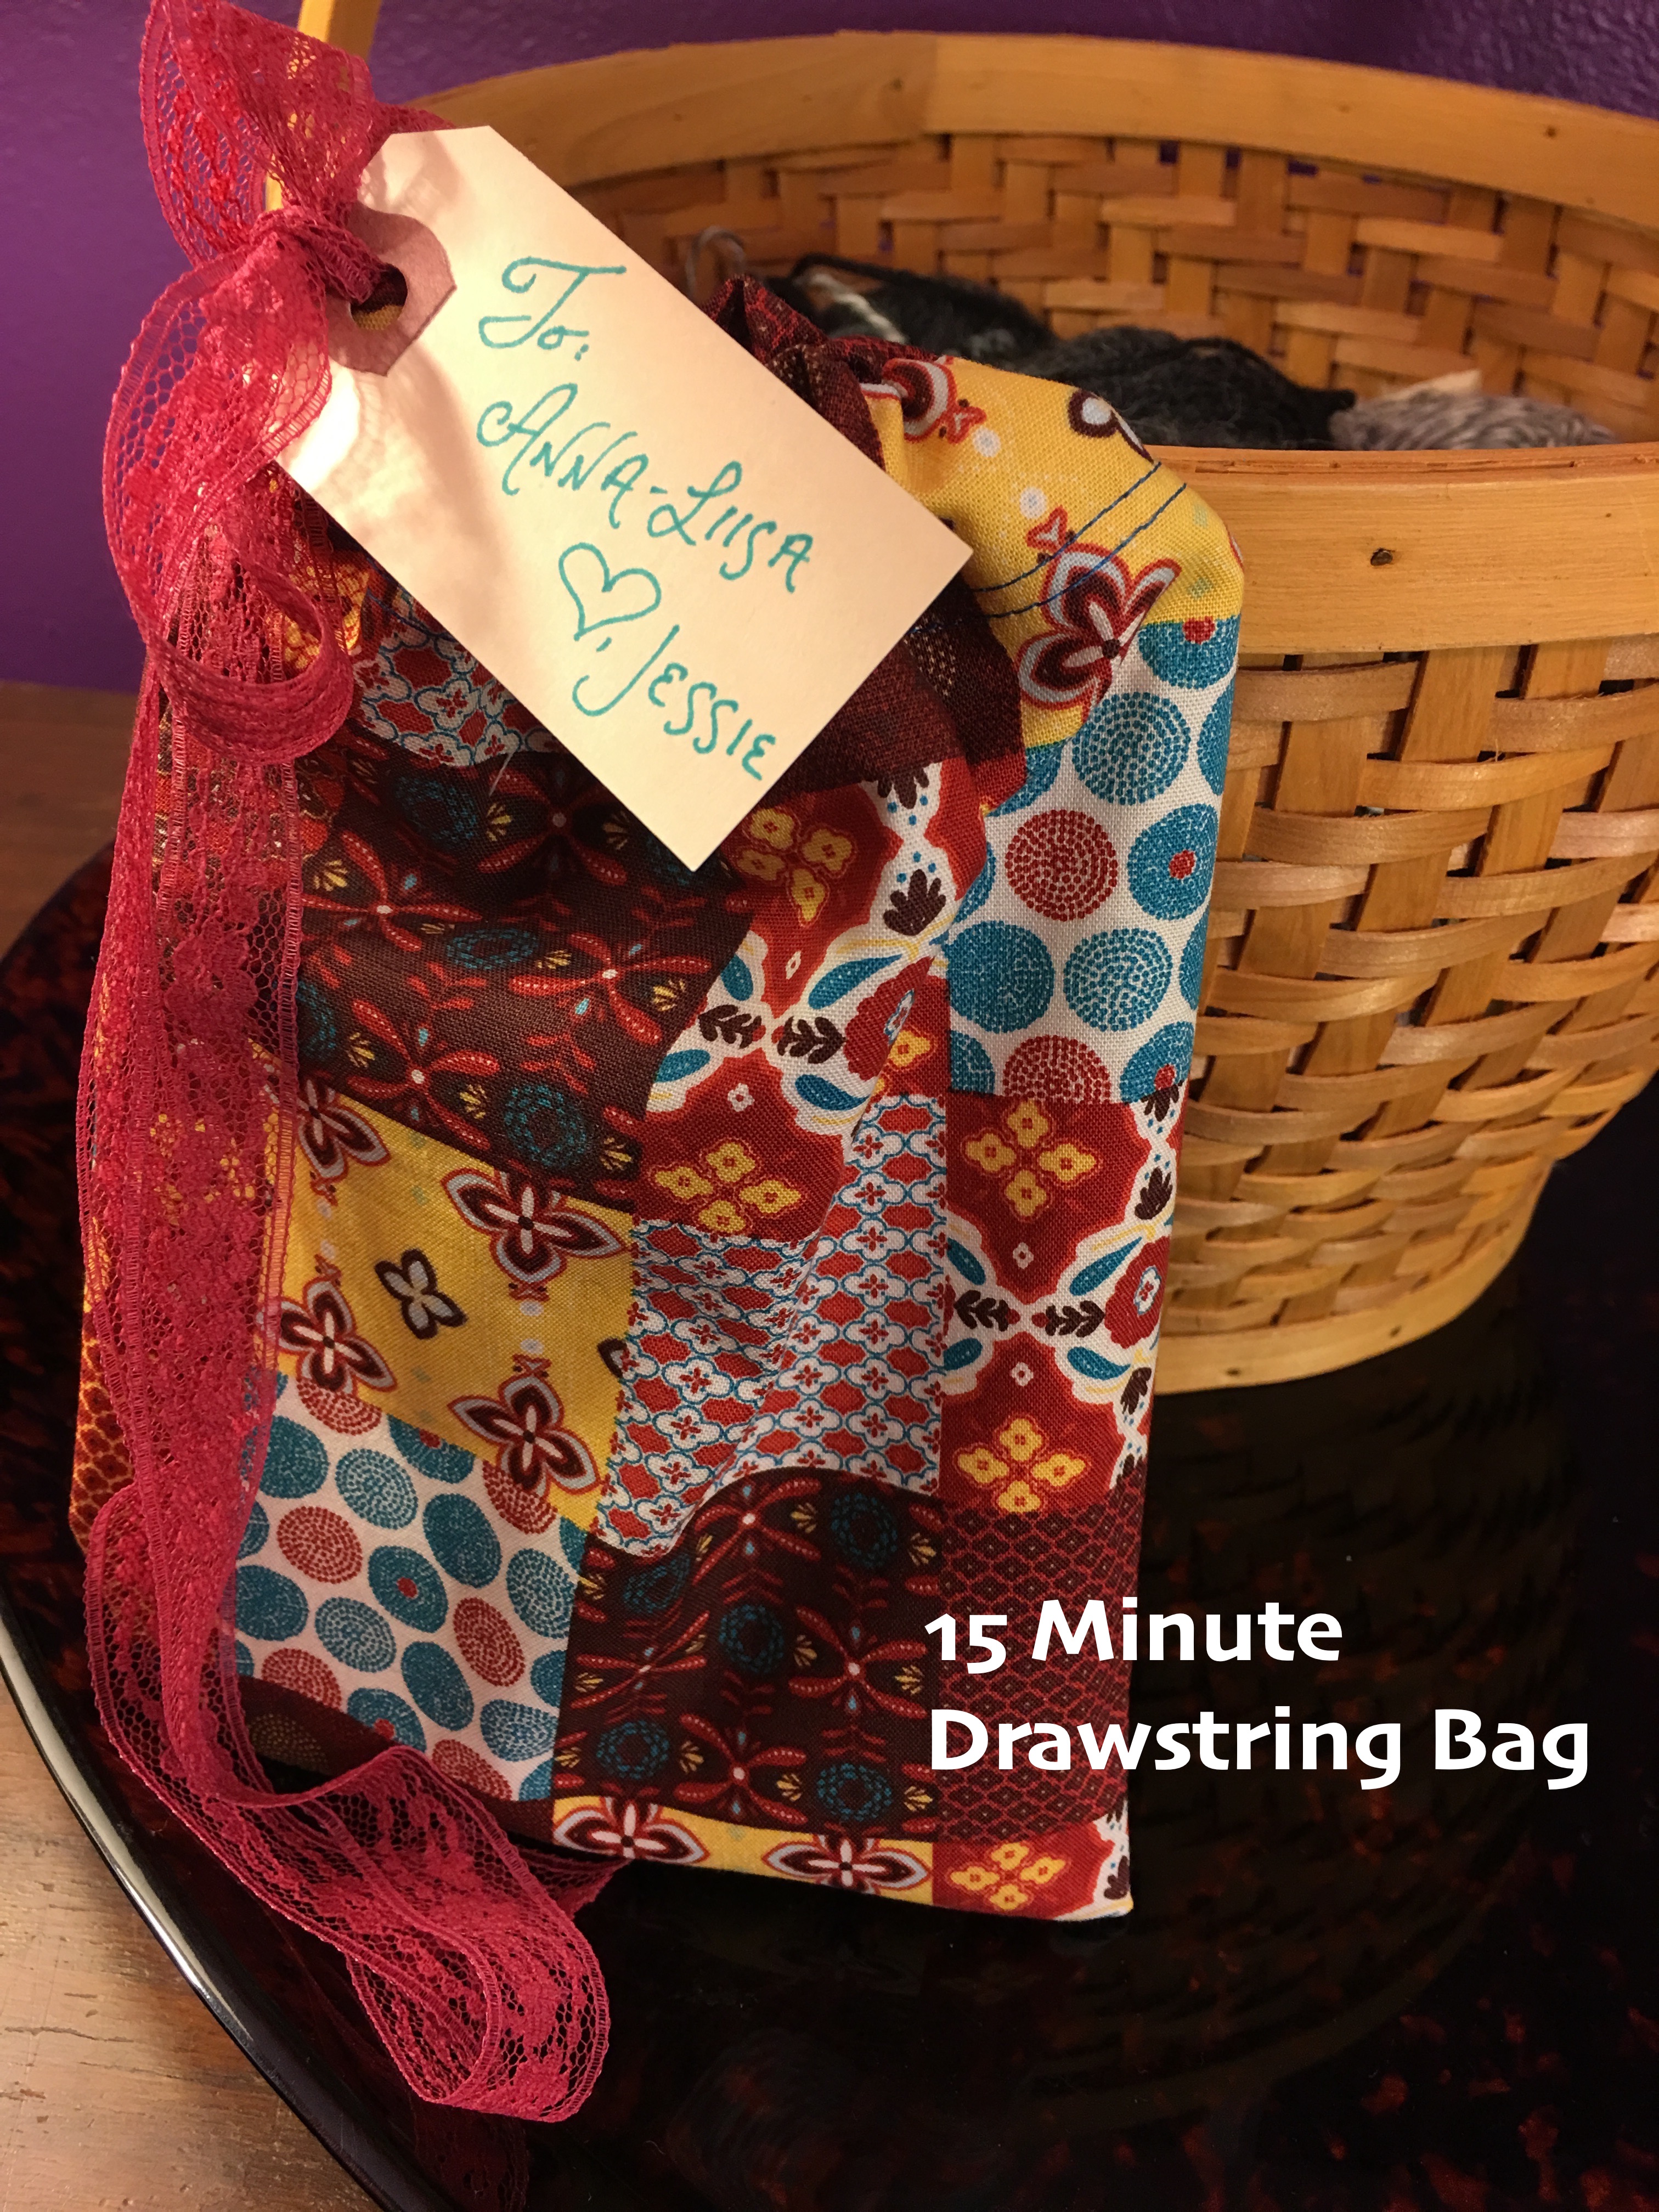
15-Minute Drawstring Bag
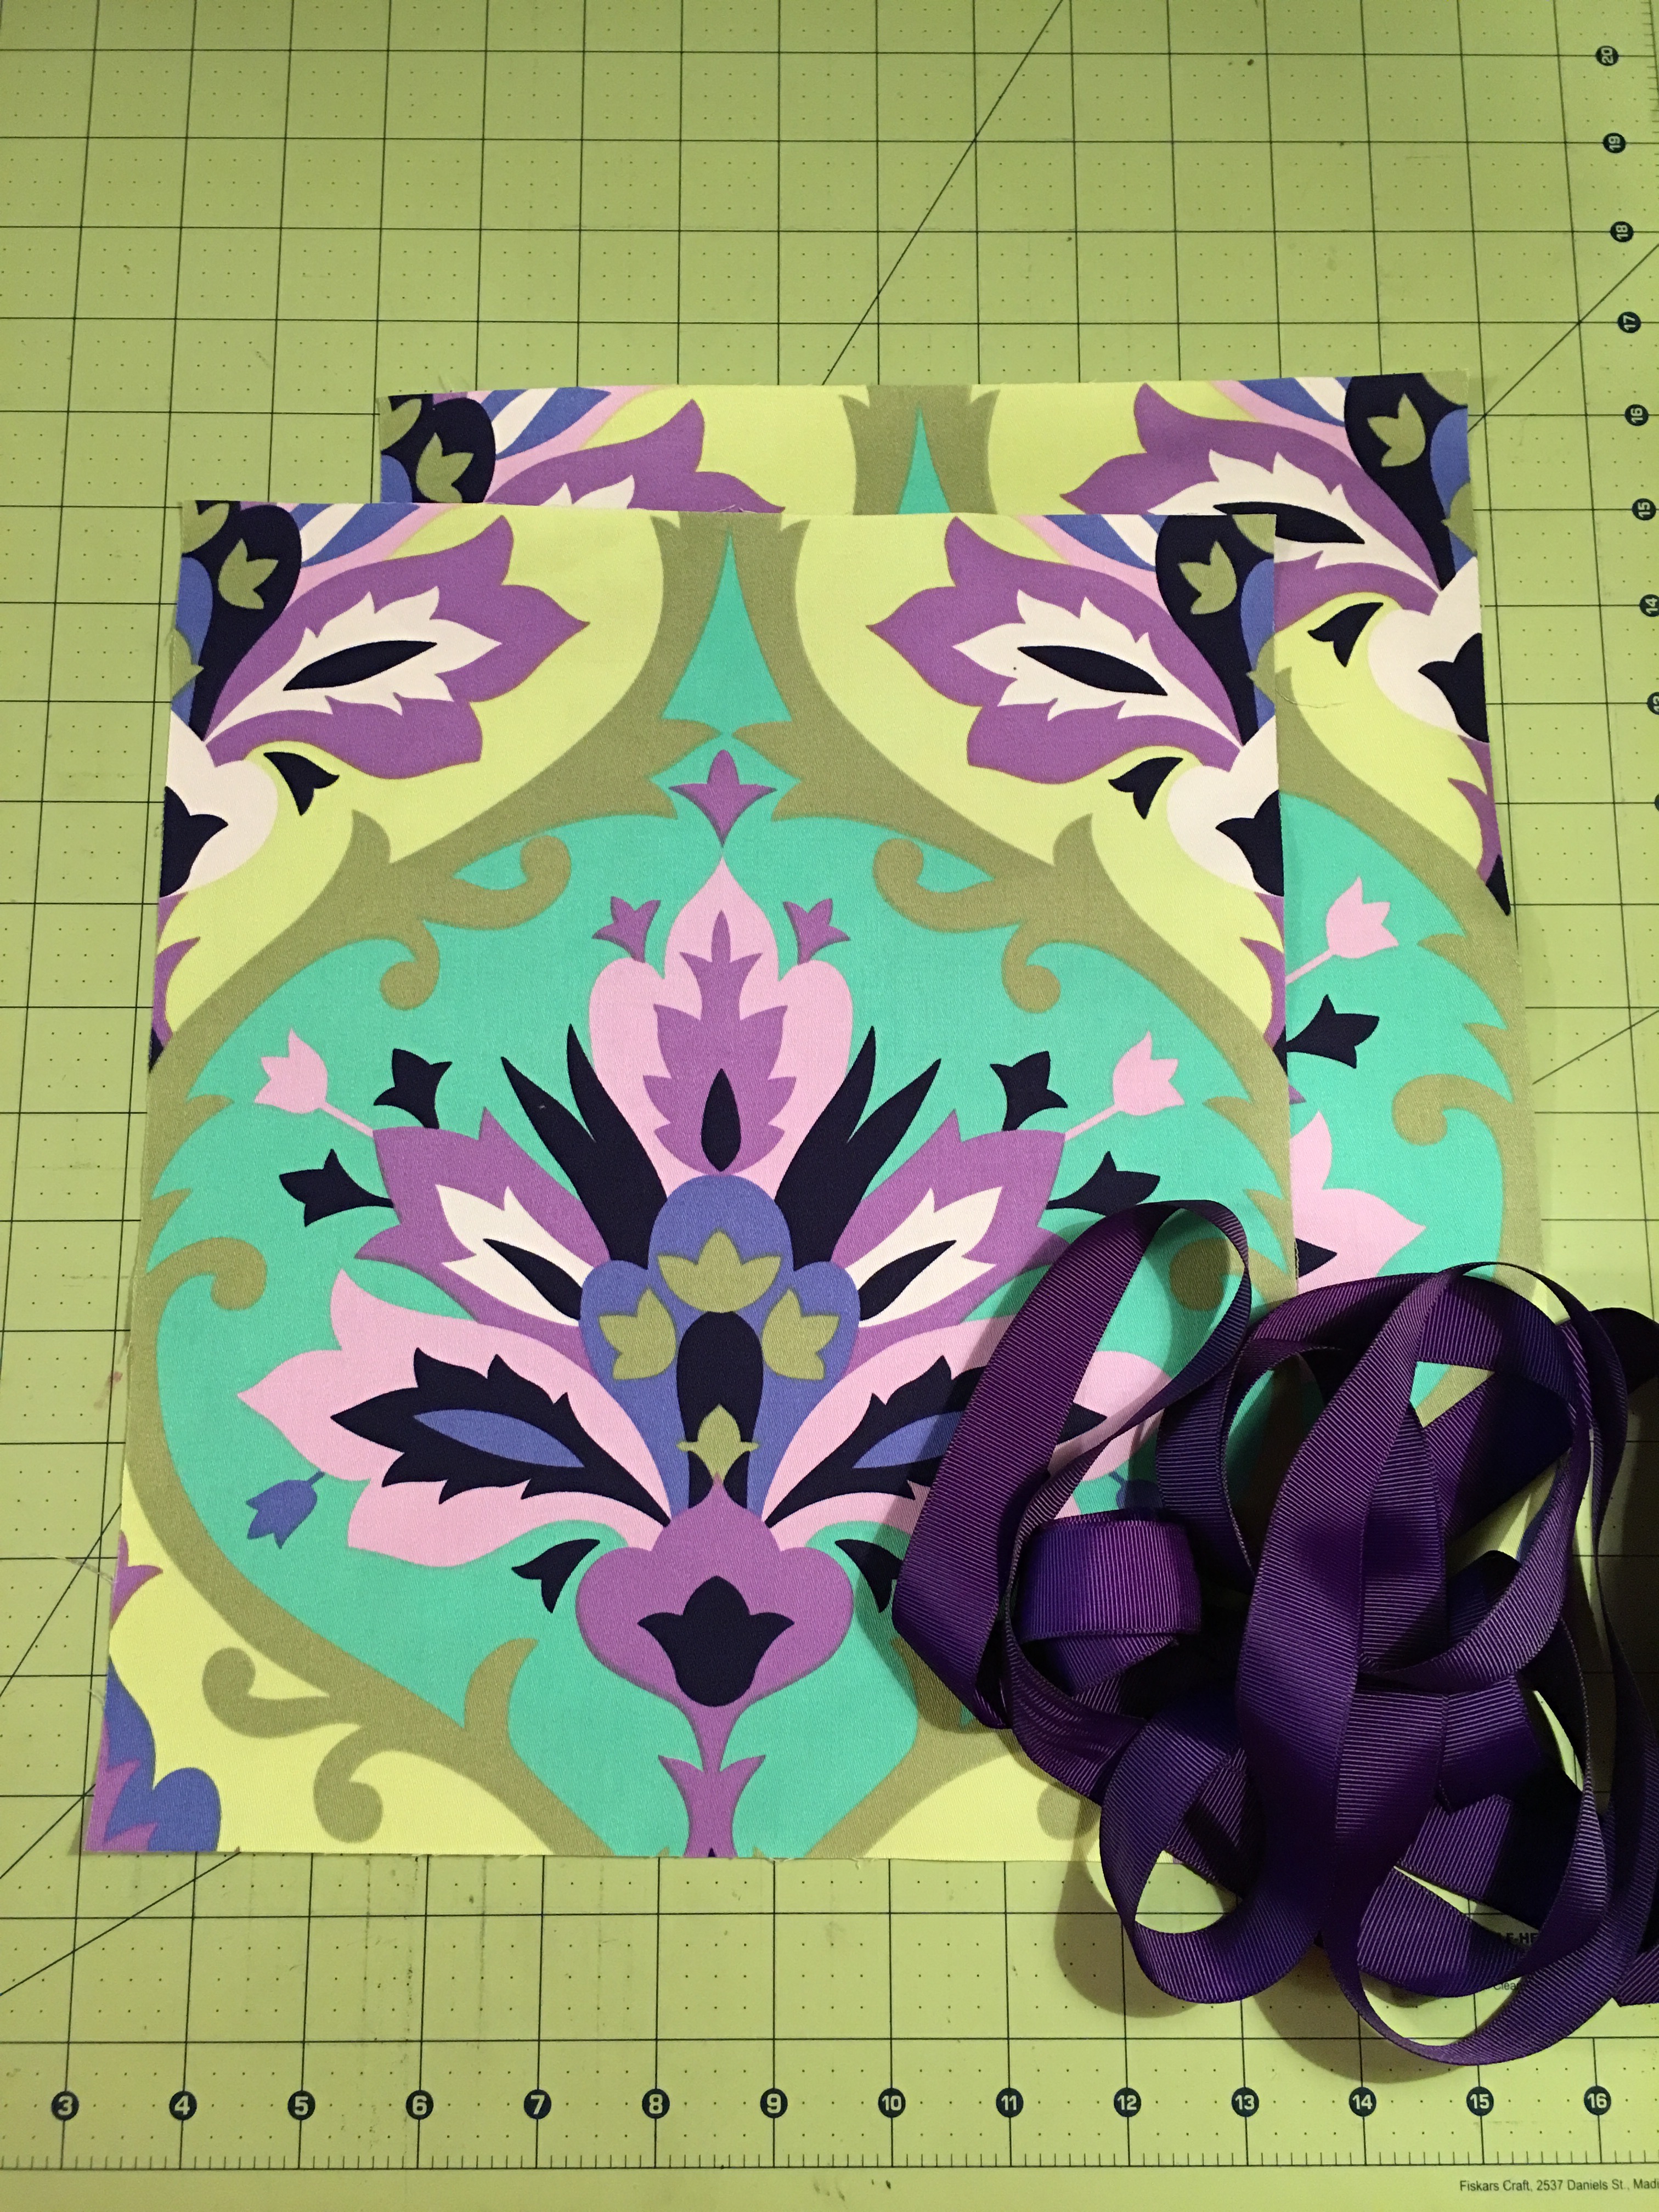
You can make this cute bag in just 15 minutes. It might actually take you longer to pick out the fabric and ribbon than it will to actually make the bag! Here are the materials and supplies you’ll need to complete this project:• Quilting cotton (amount determined by size of gift, see measuring step)
• Ribbon, trim, shoestring, ric-rac, or lace (amount determined by size of gift, see measuring step)
• Matching thread
• Pinking shears
• Measuring tape or acrylic ruler
Measuring
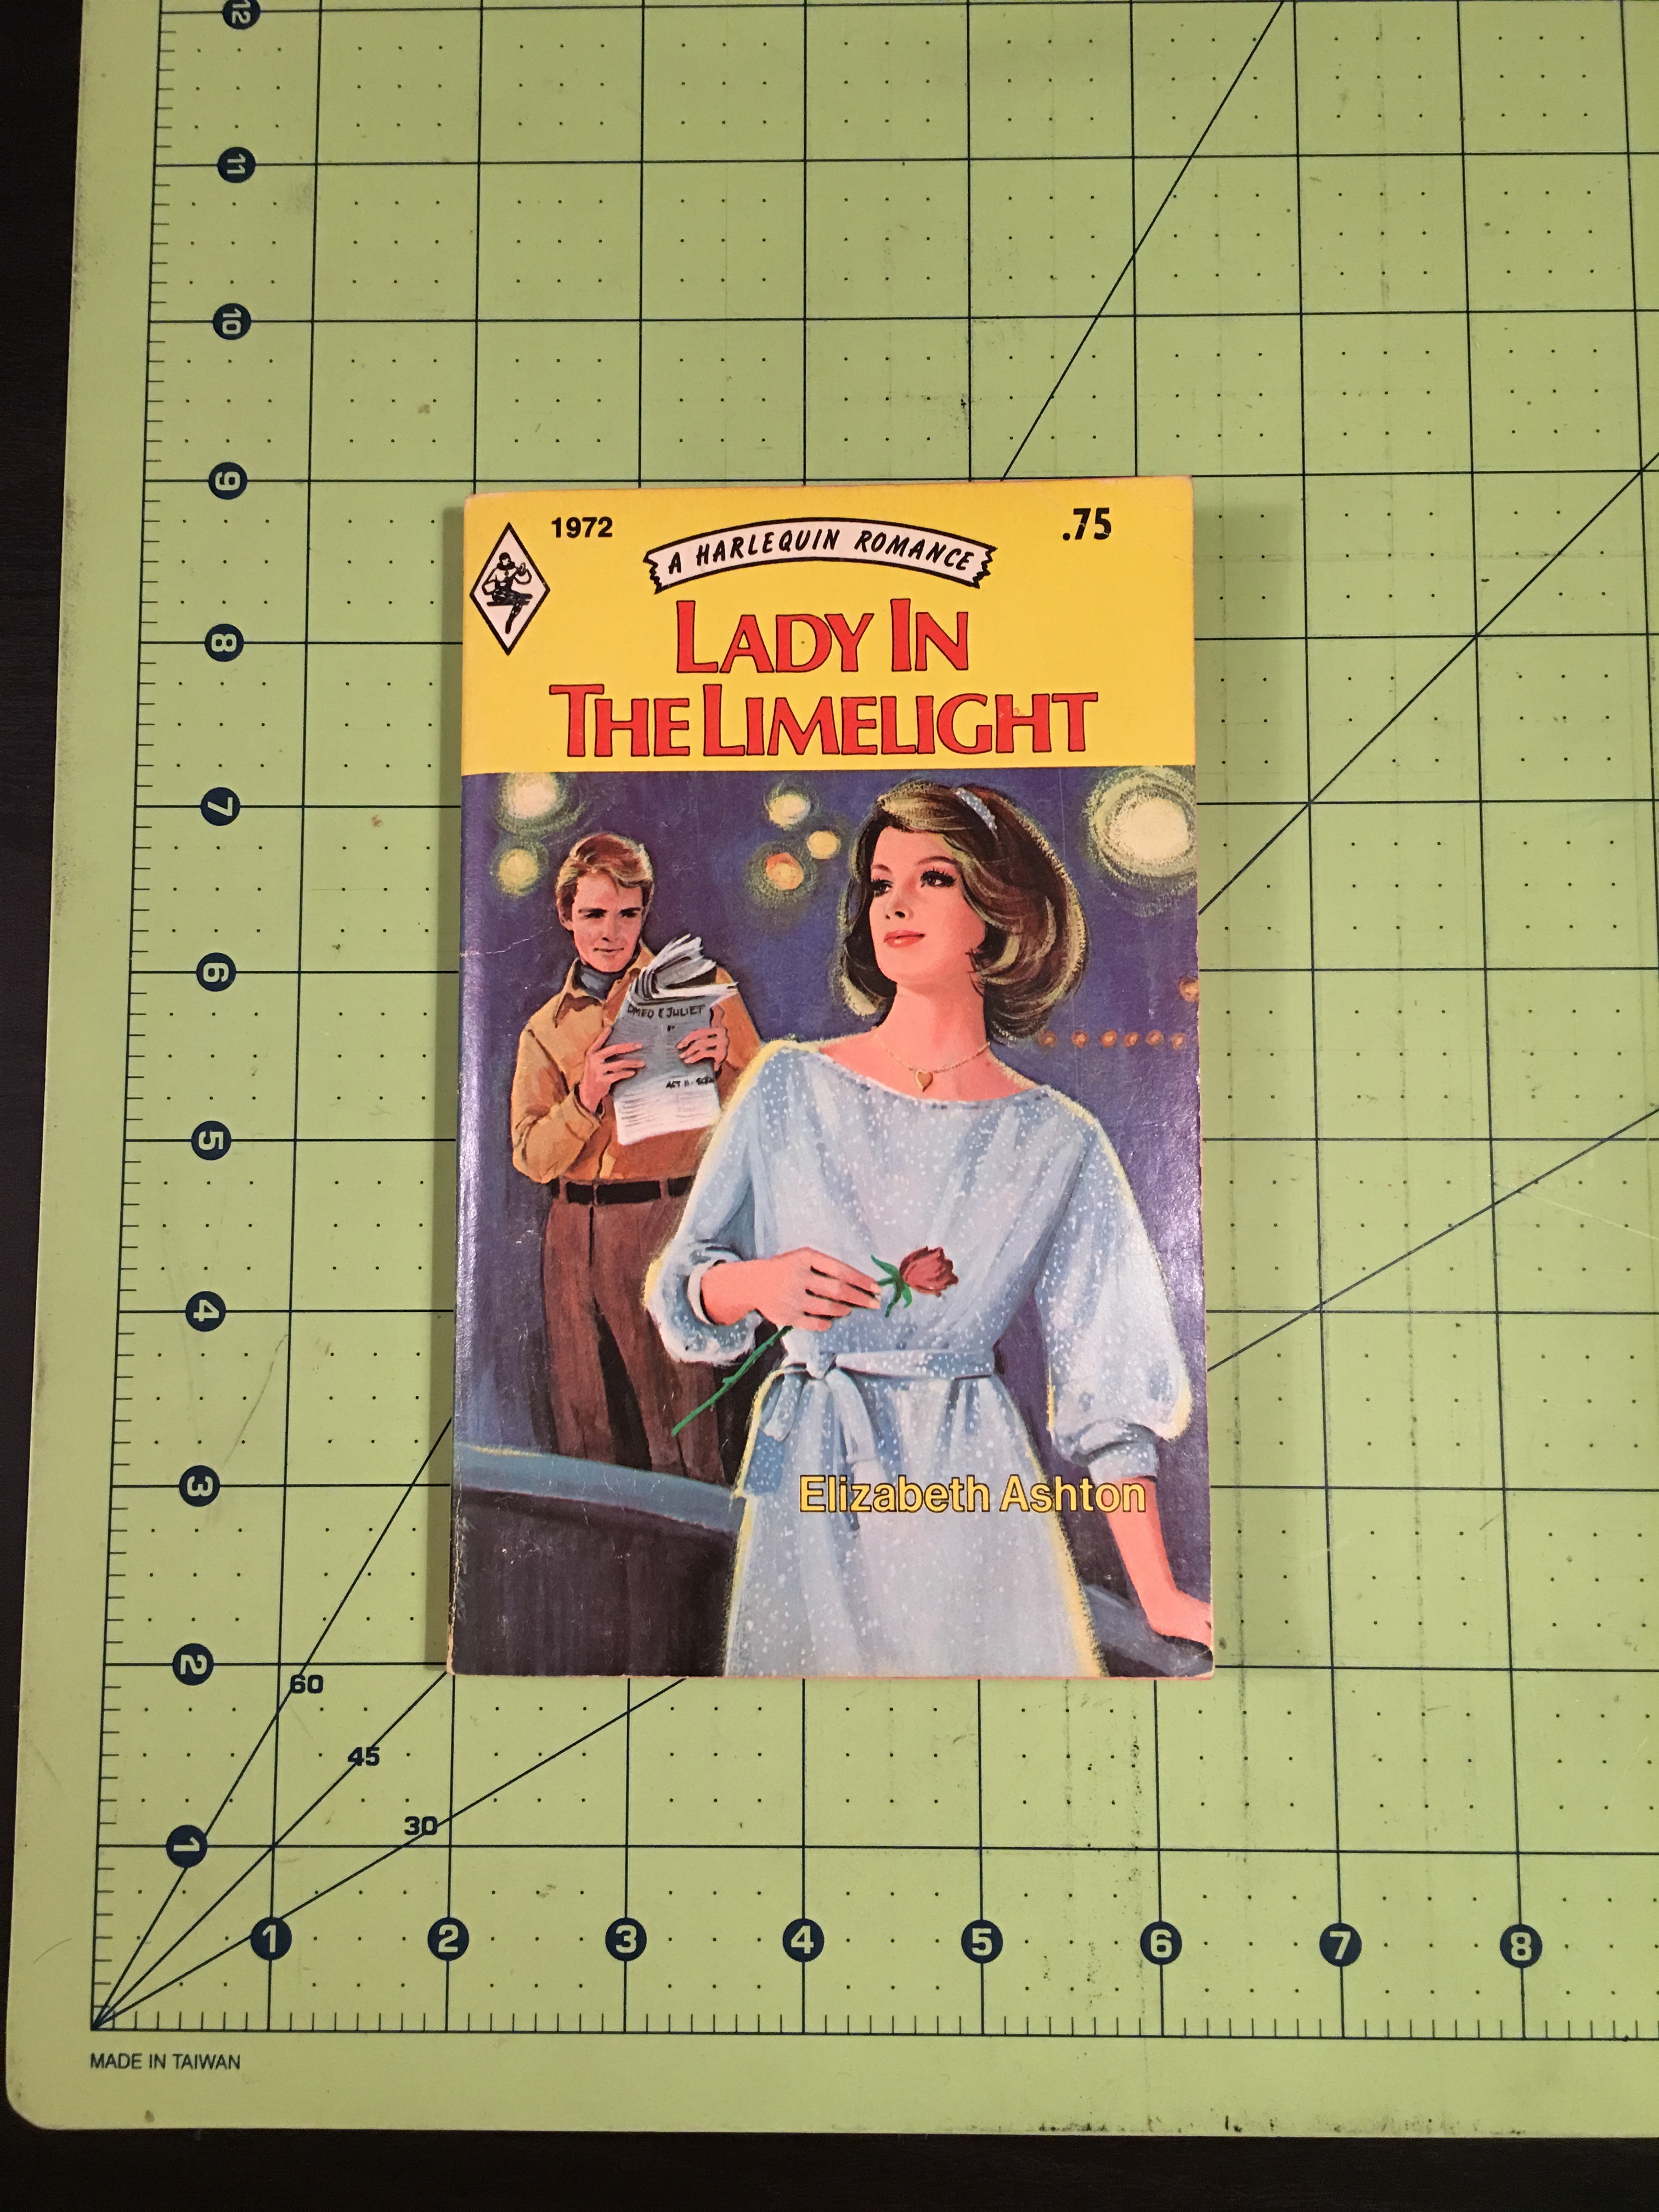
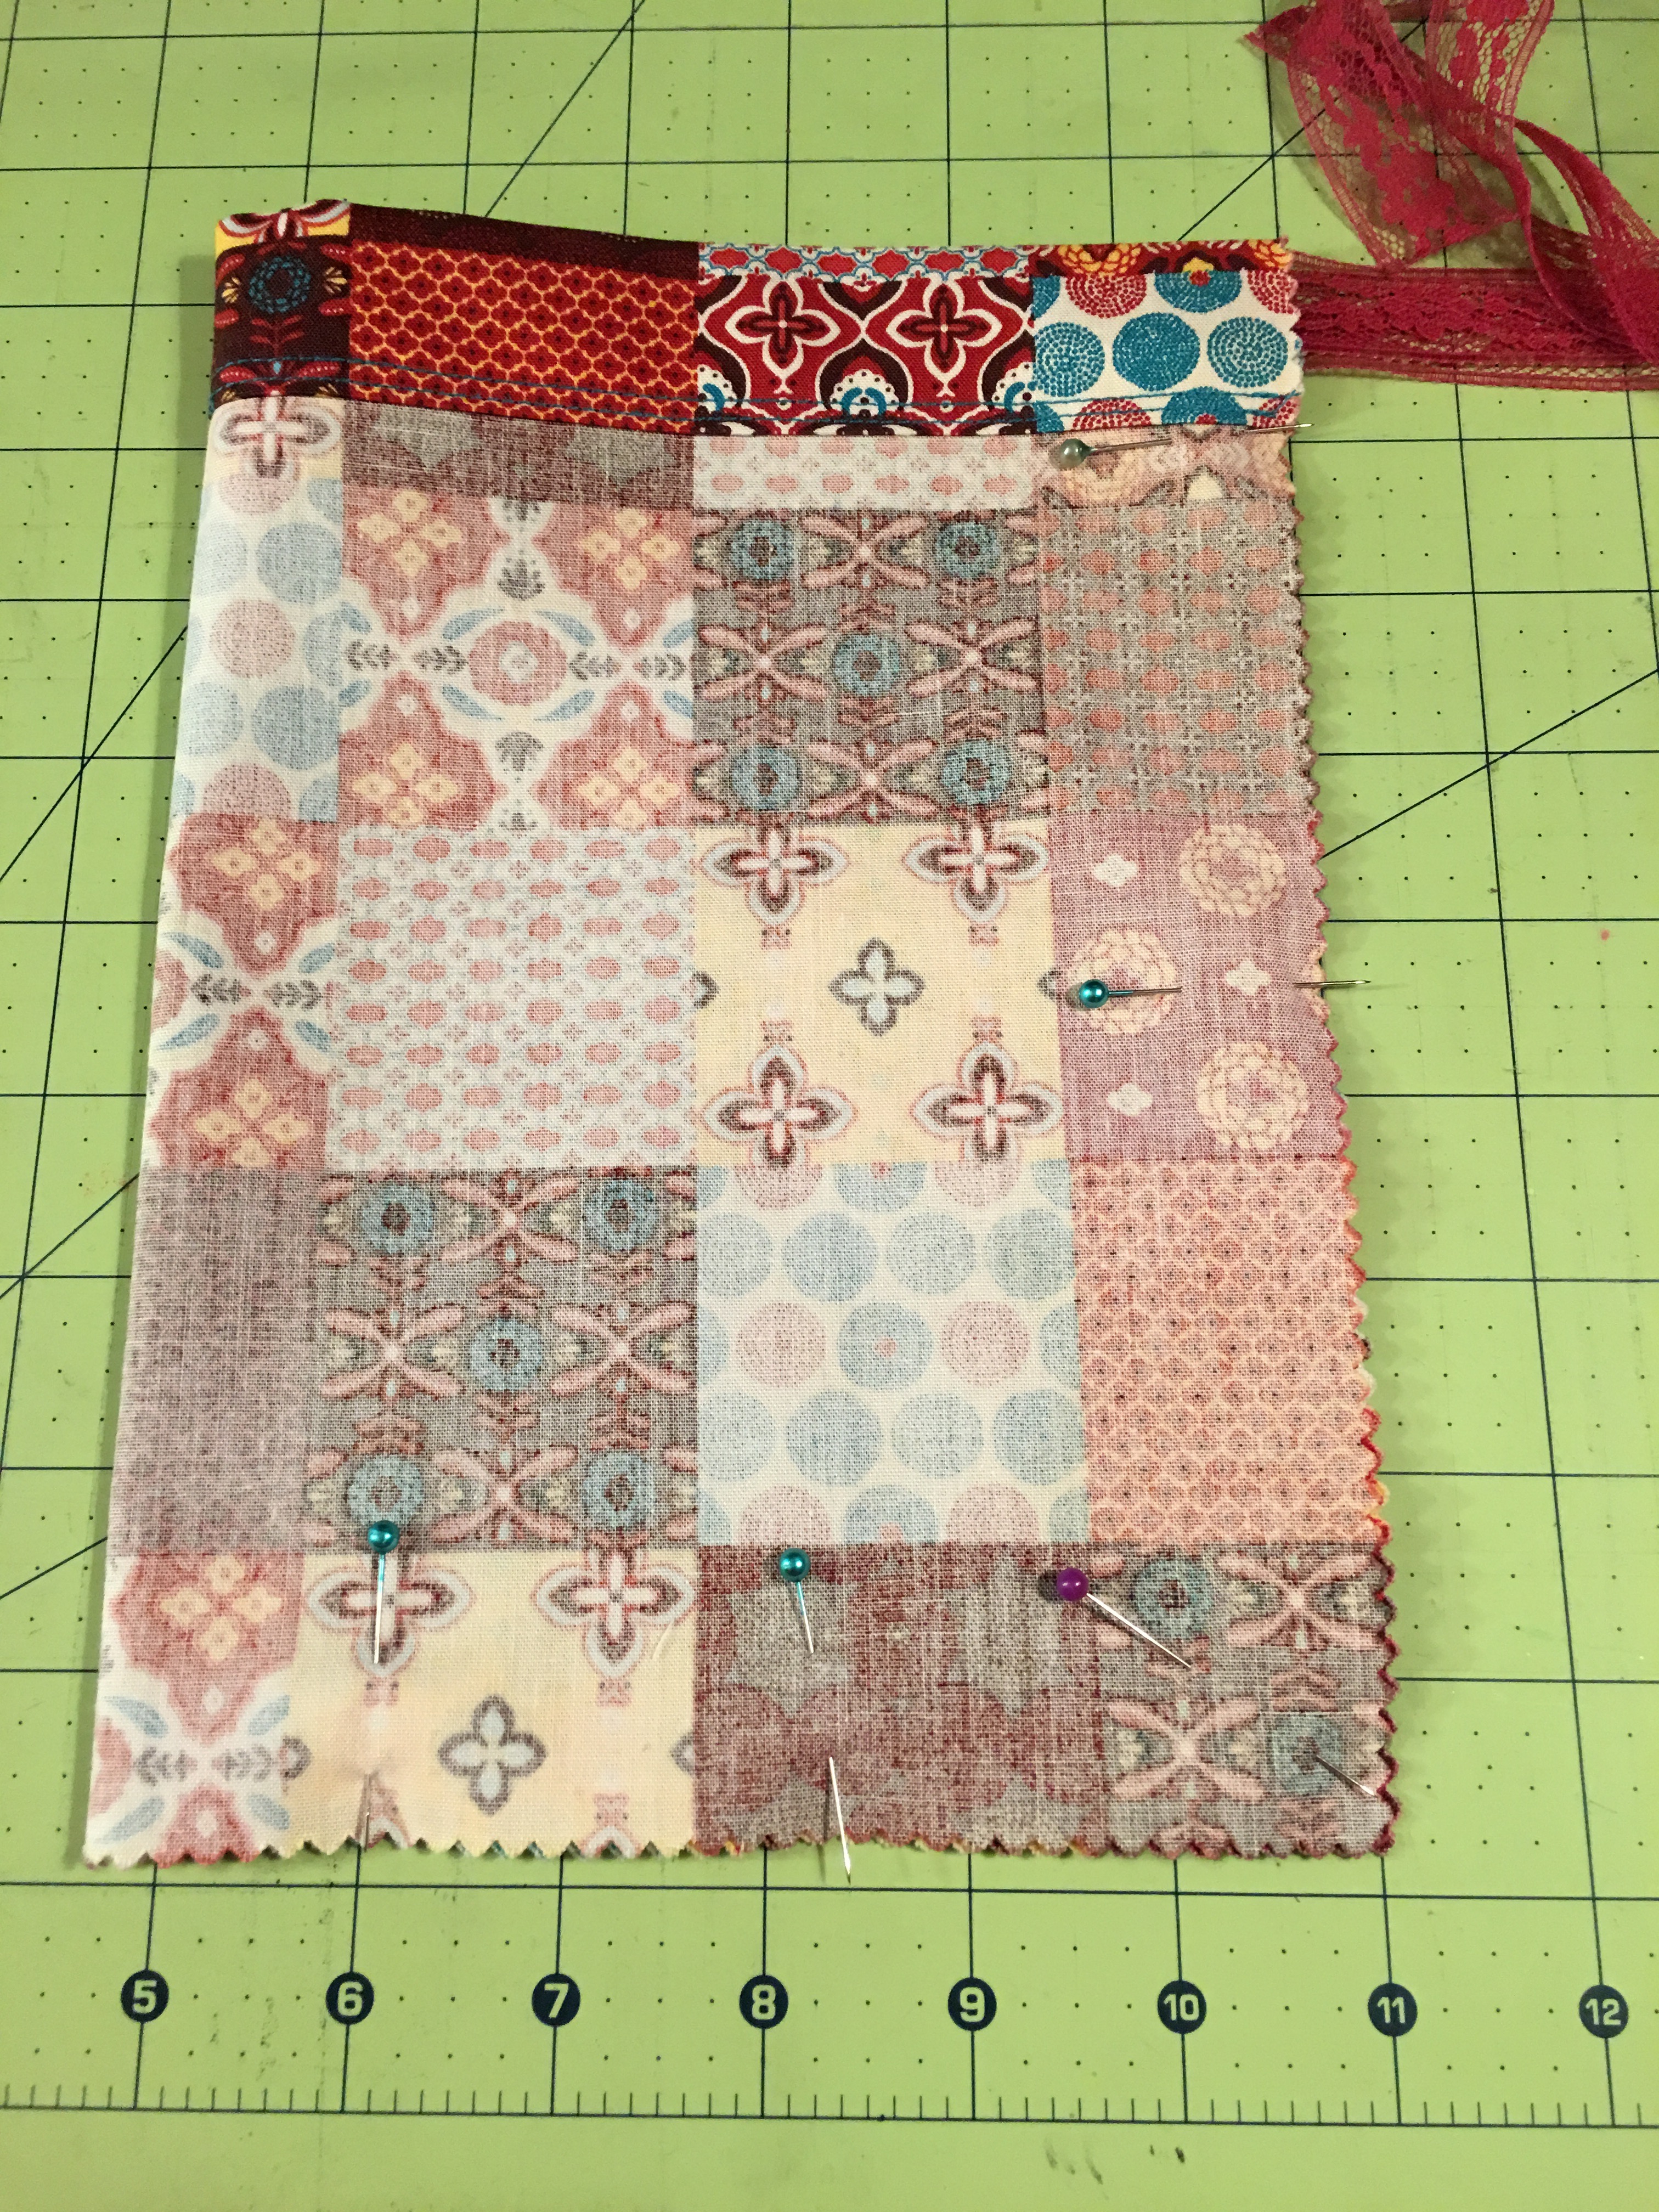
Step 1a: Measure the gift being given. Record the width, length, and height of the gift. This vintage romance novel measured 4¼” x 6¾” x ½”. Step 1b: Double the height measurement and add the result to the width and length measurements. For this romance novel the doubled height is 1” added to the width and length, the results are 5¼” and 7¾” respectively.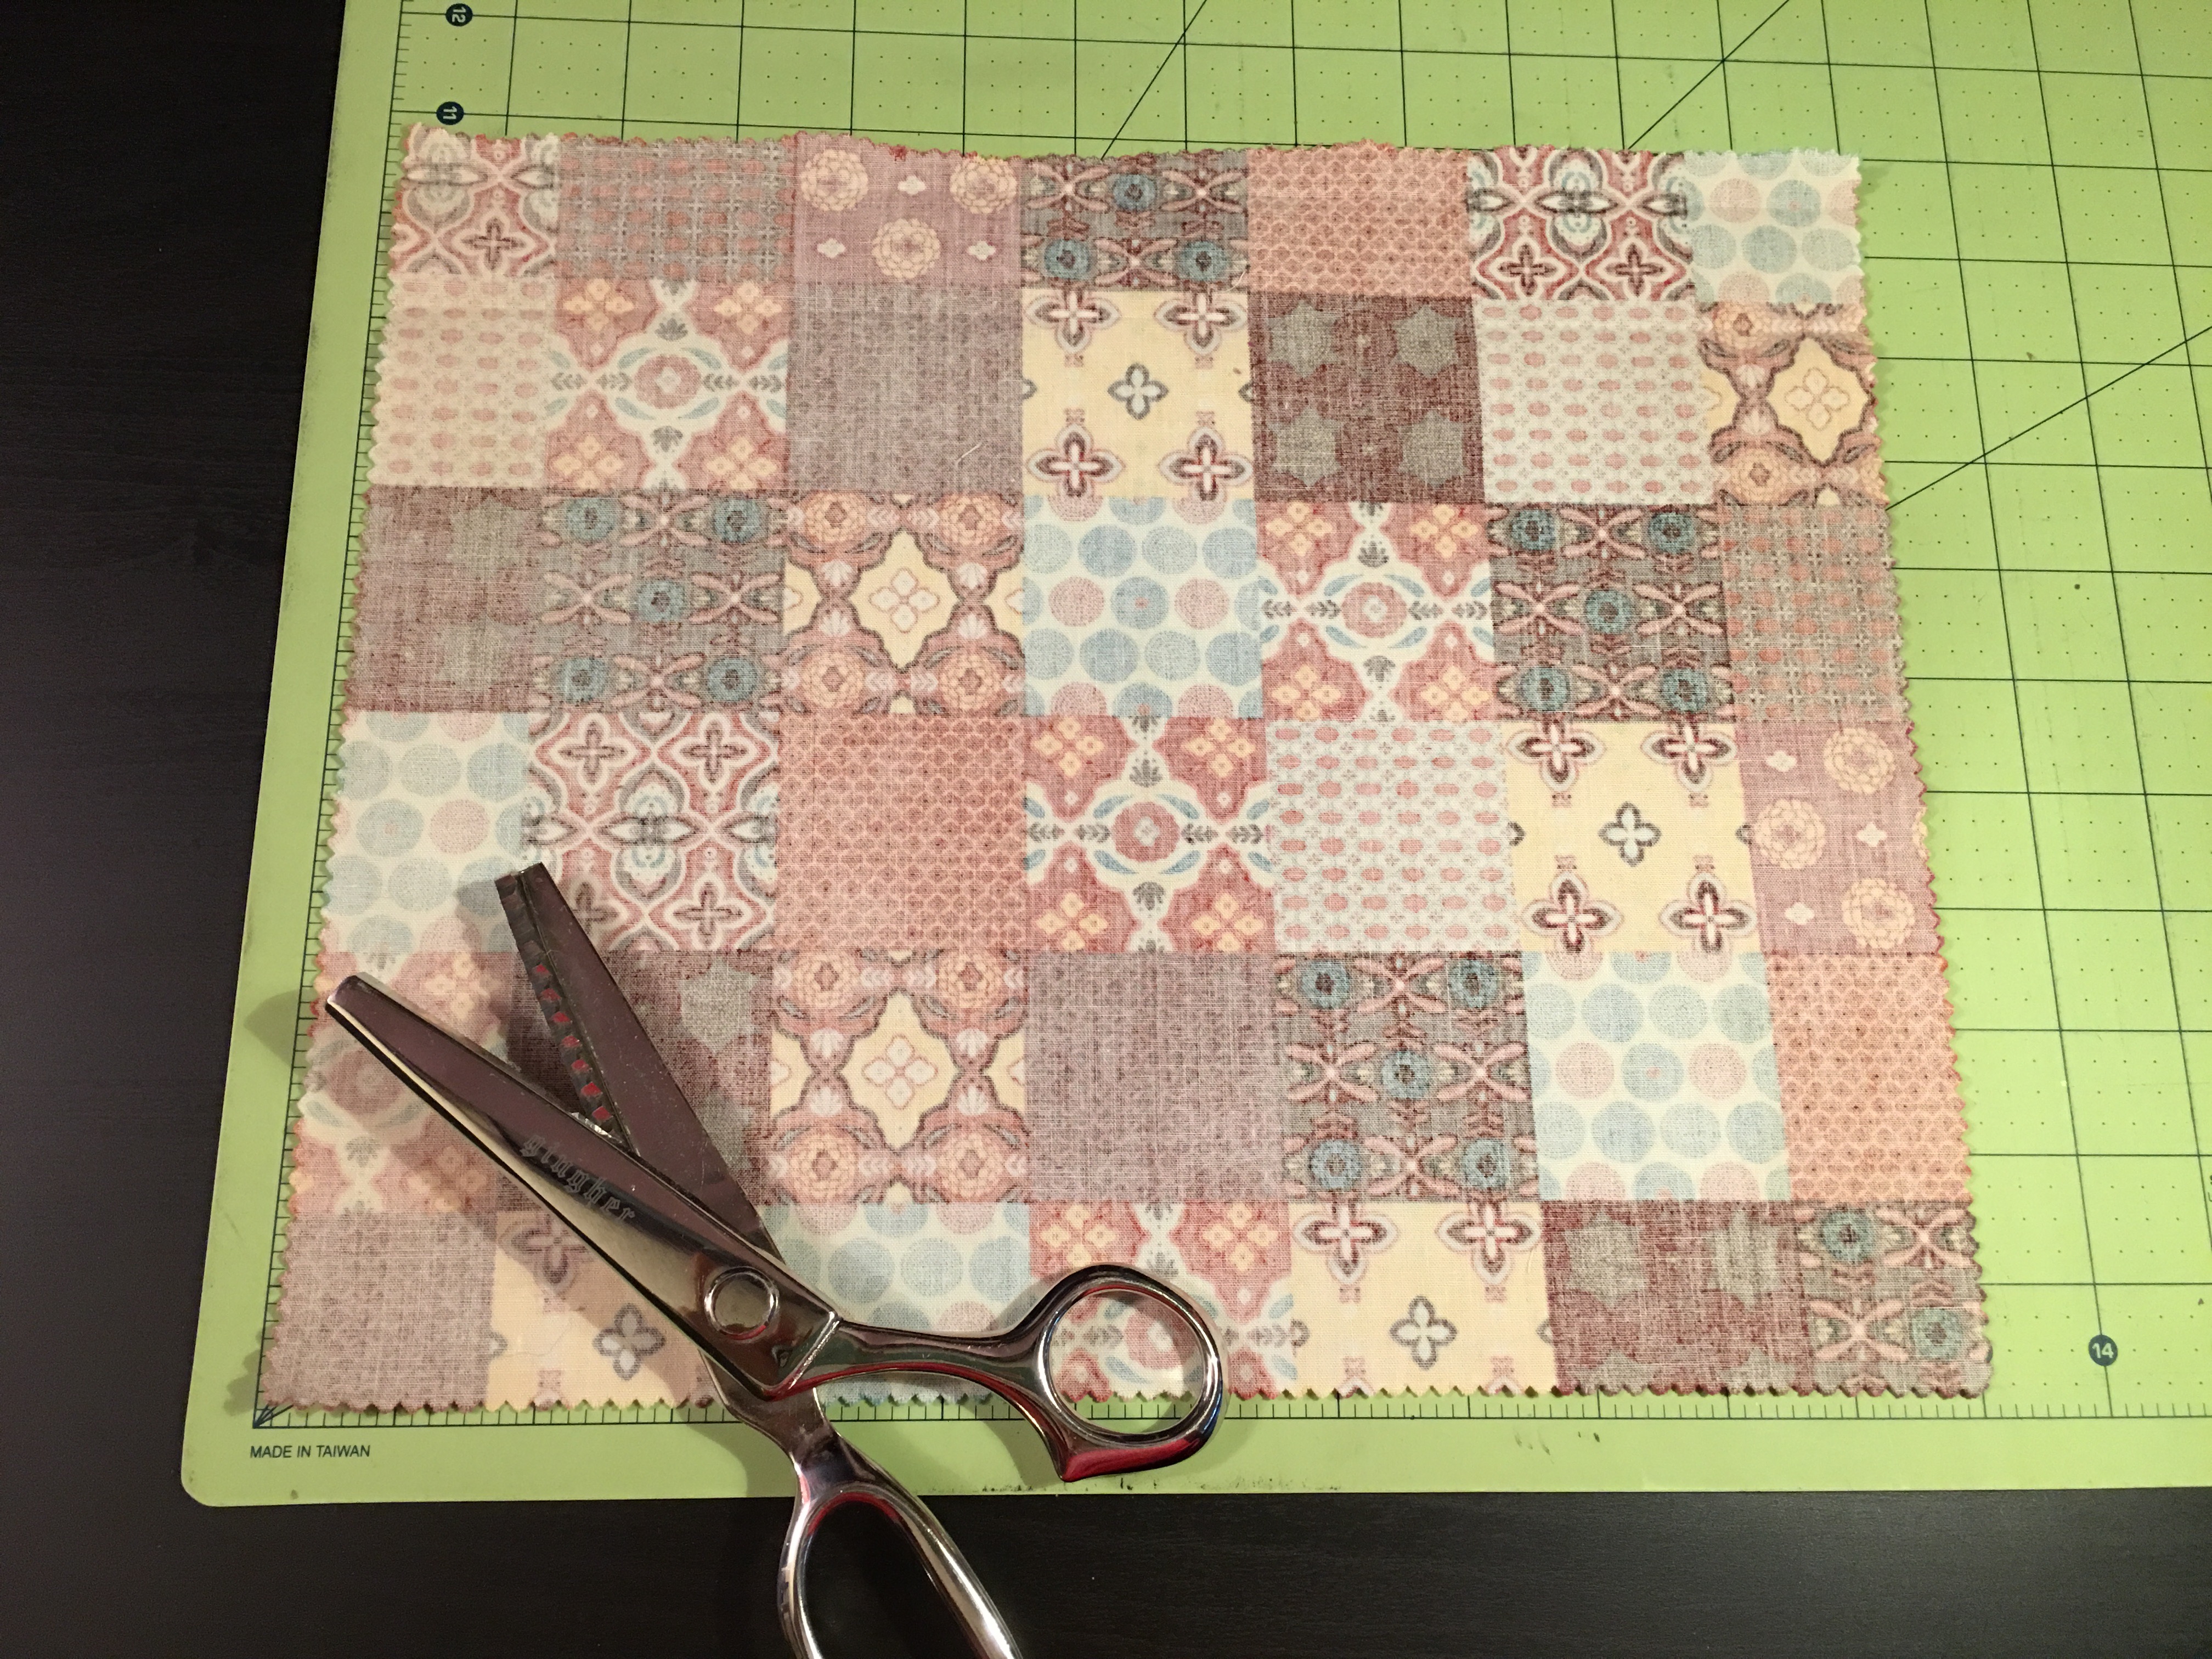
Cutting
Step 2a: Cut out a rectangle of fabric matching the results from the measuring portion above. The featured project’s rectangle is 11” x 13”. Step 2b: Pink all edges.Construction
Step 3a: In the same way the gift was measured, designate one edge as the upper edge, the opposite edge as the lower edge, and the remaining edges as the sides. In the featured project the upper and lower edges were 13” as those would be folded in half to cover the bag’s width.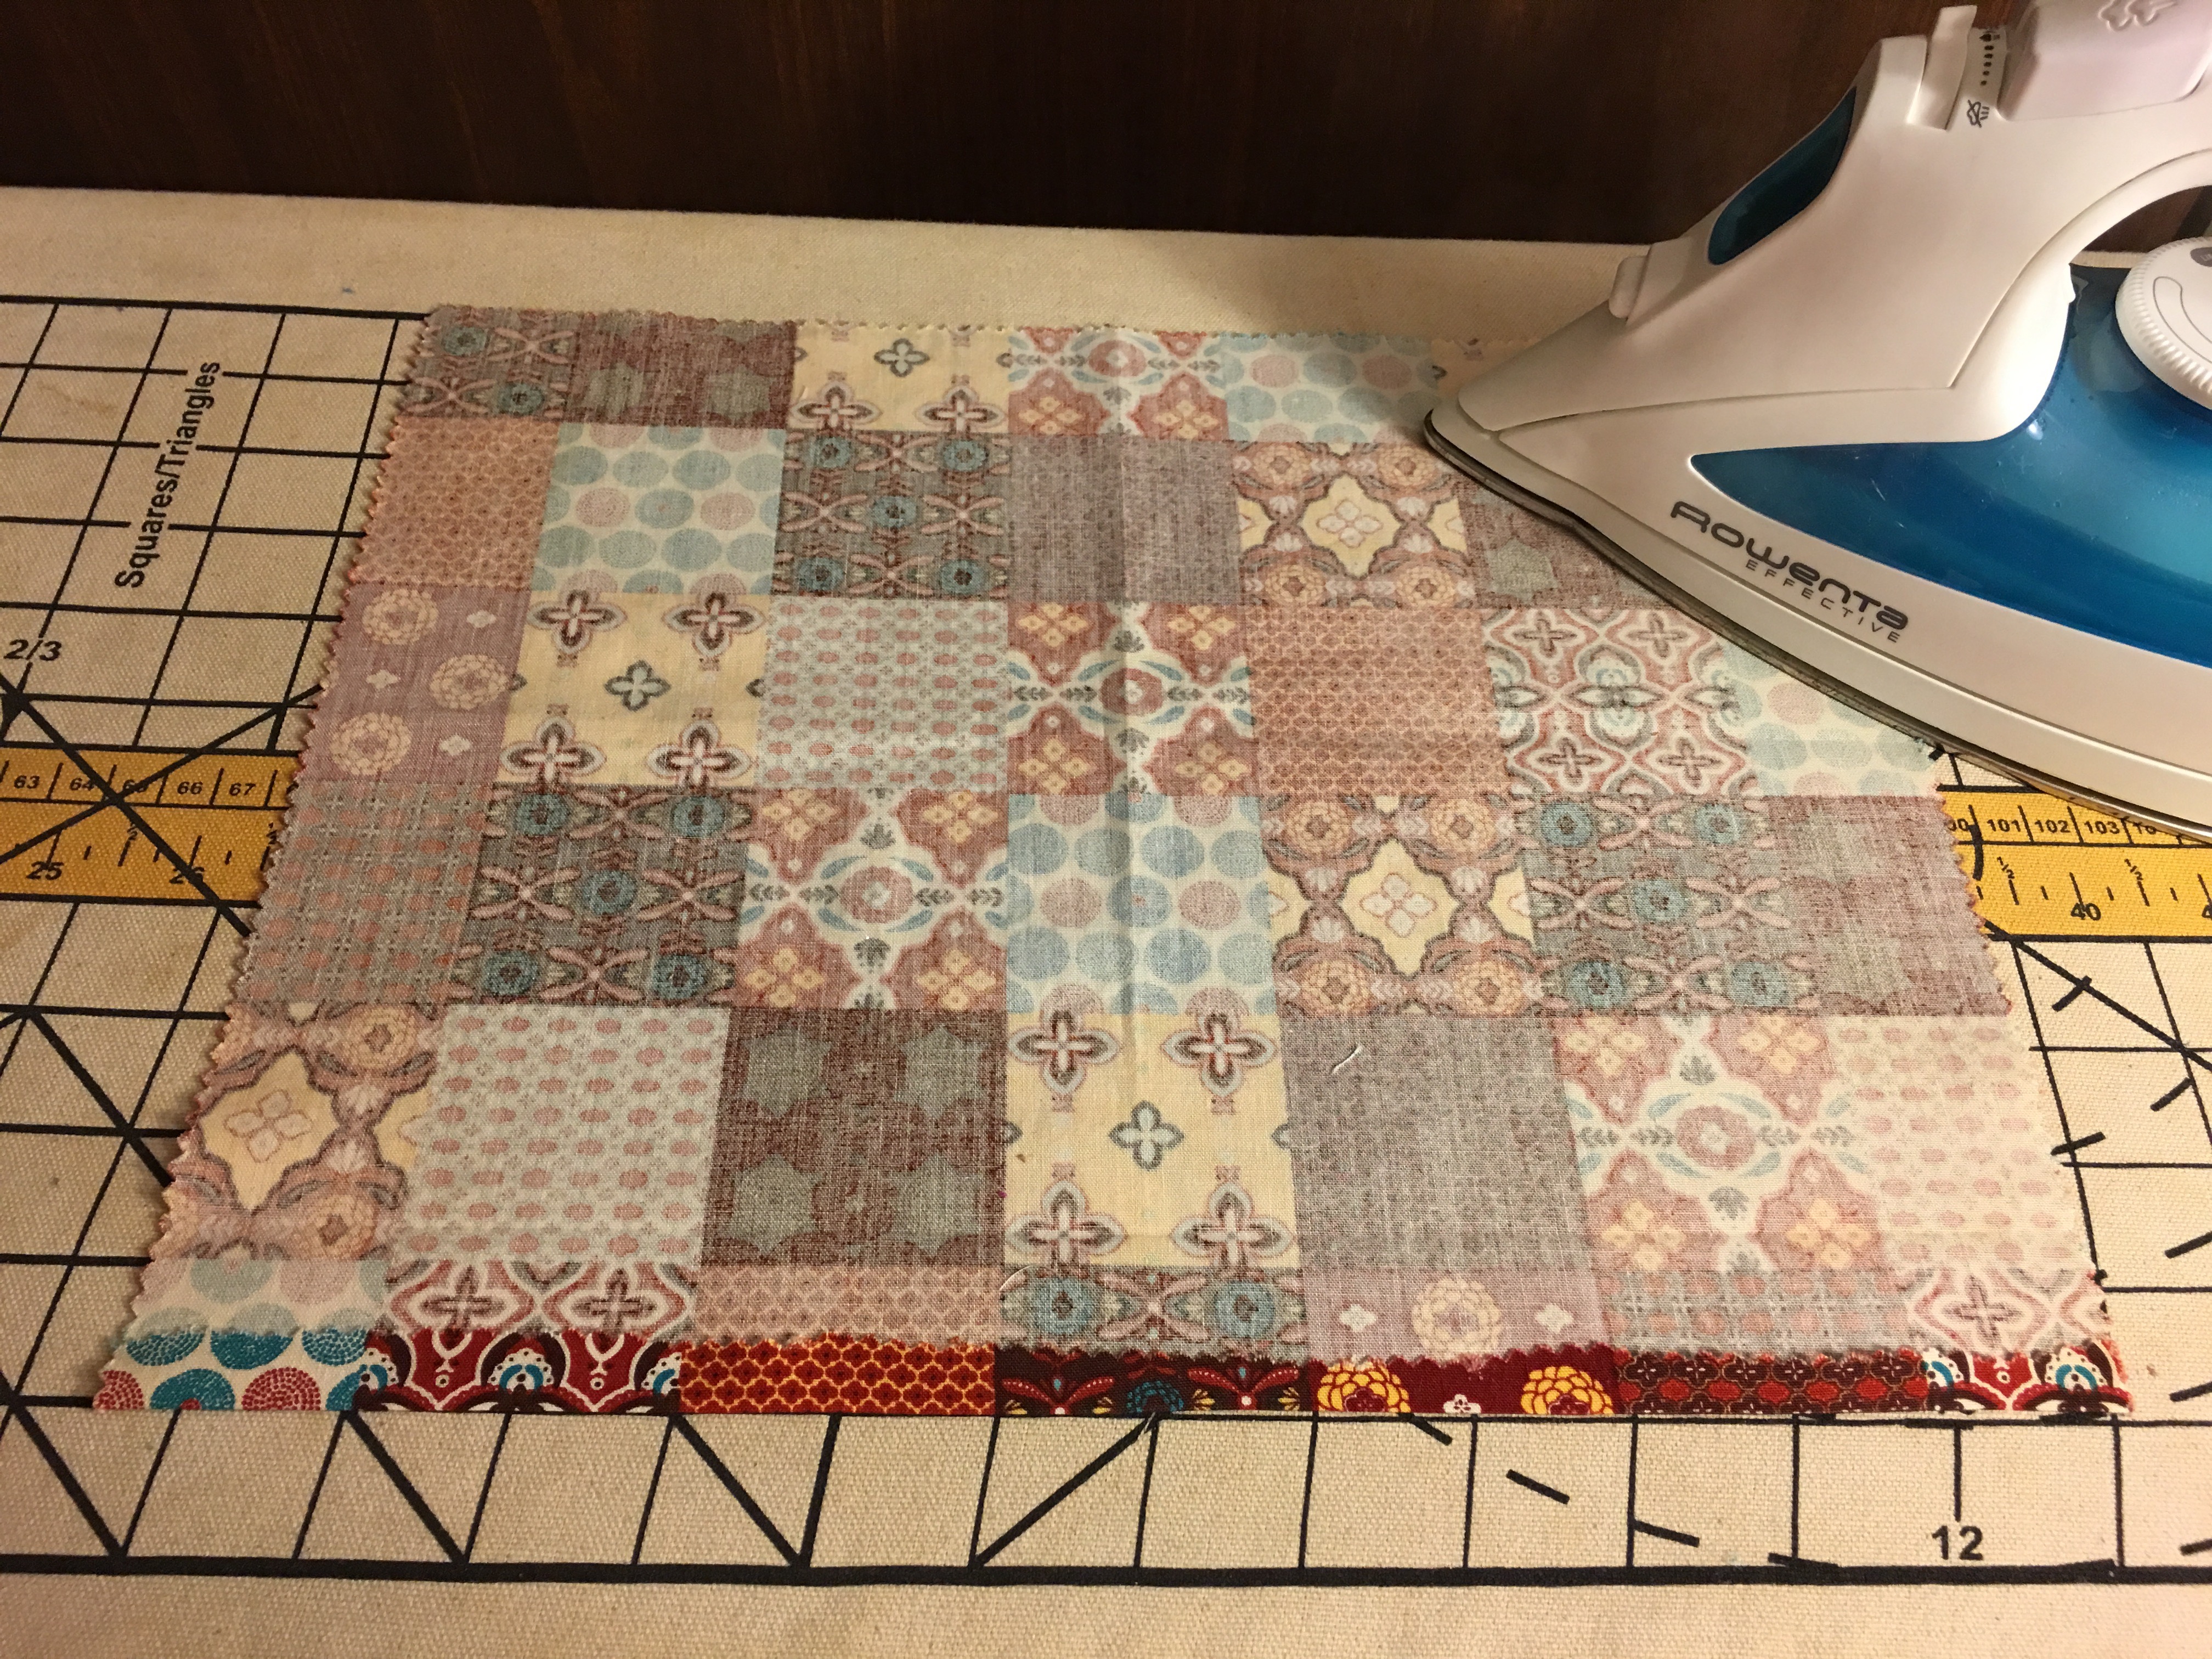 Step 3b: Press the upper edge ¼” to the wrong side.
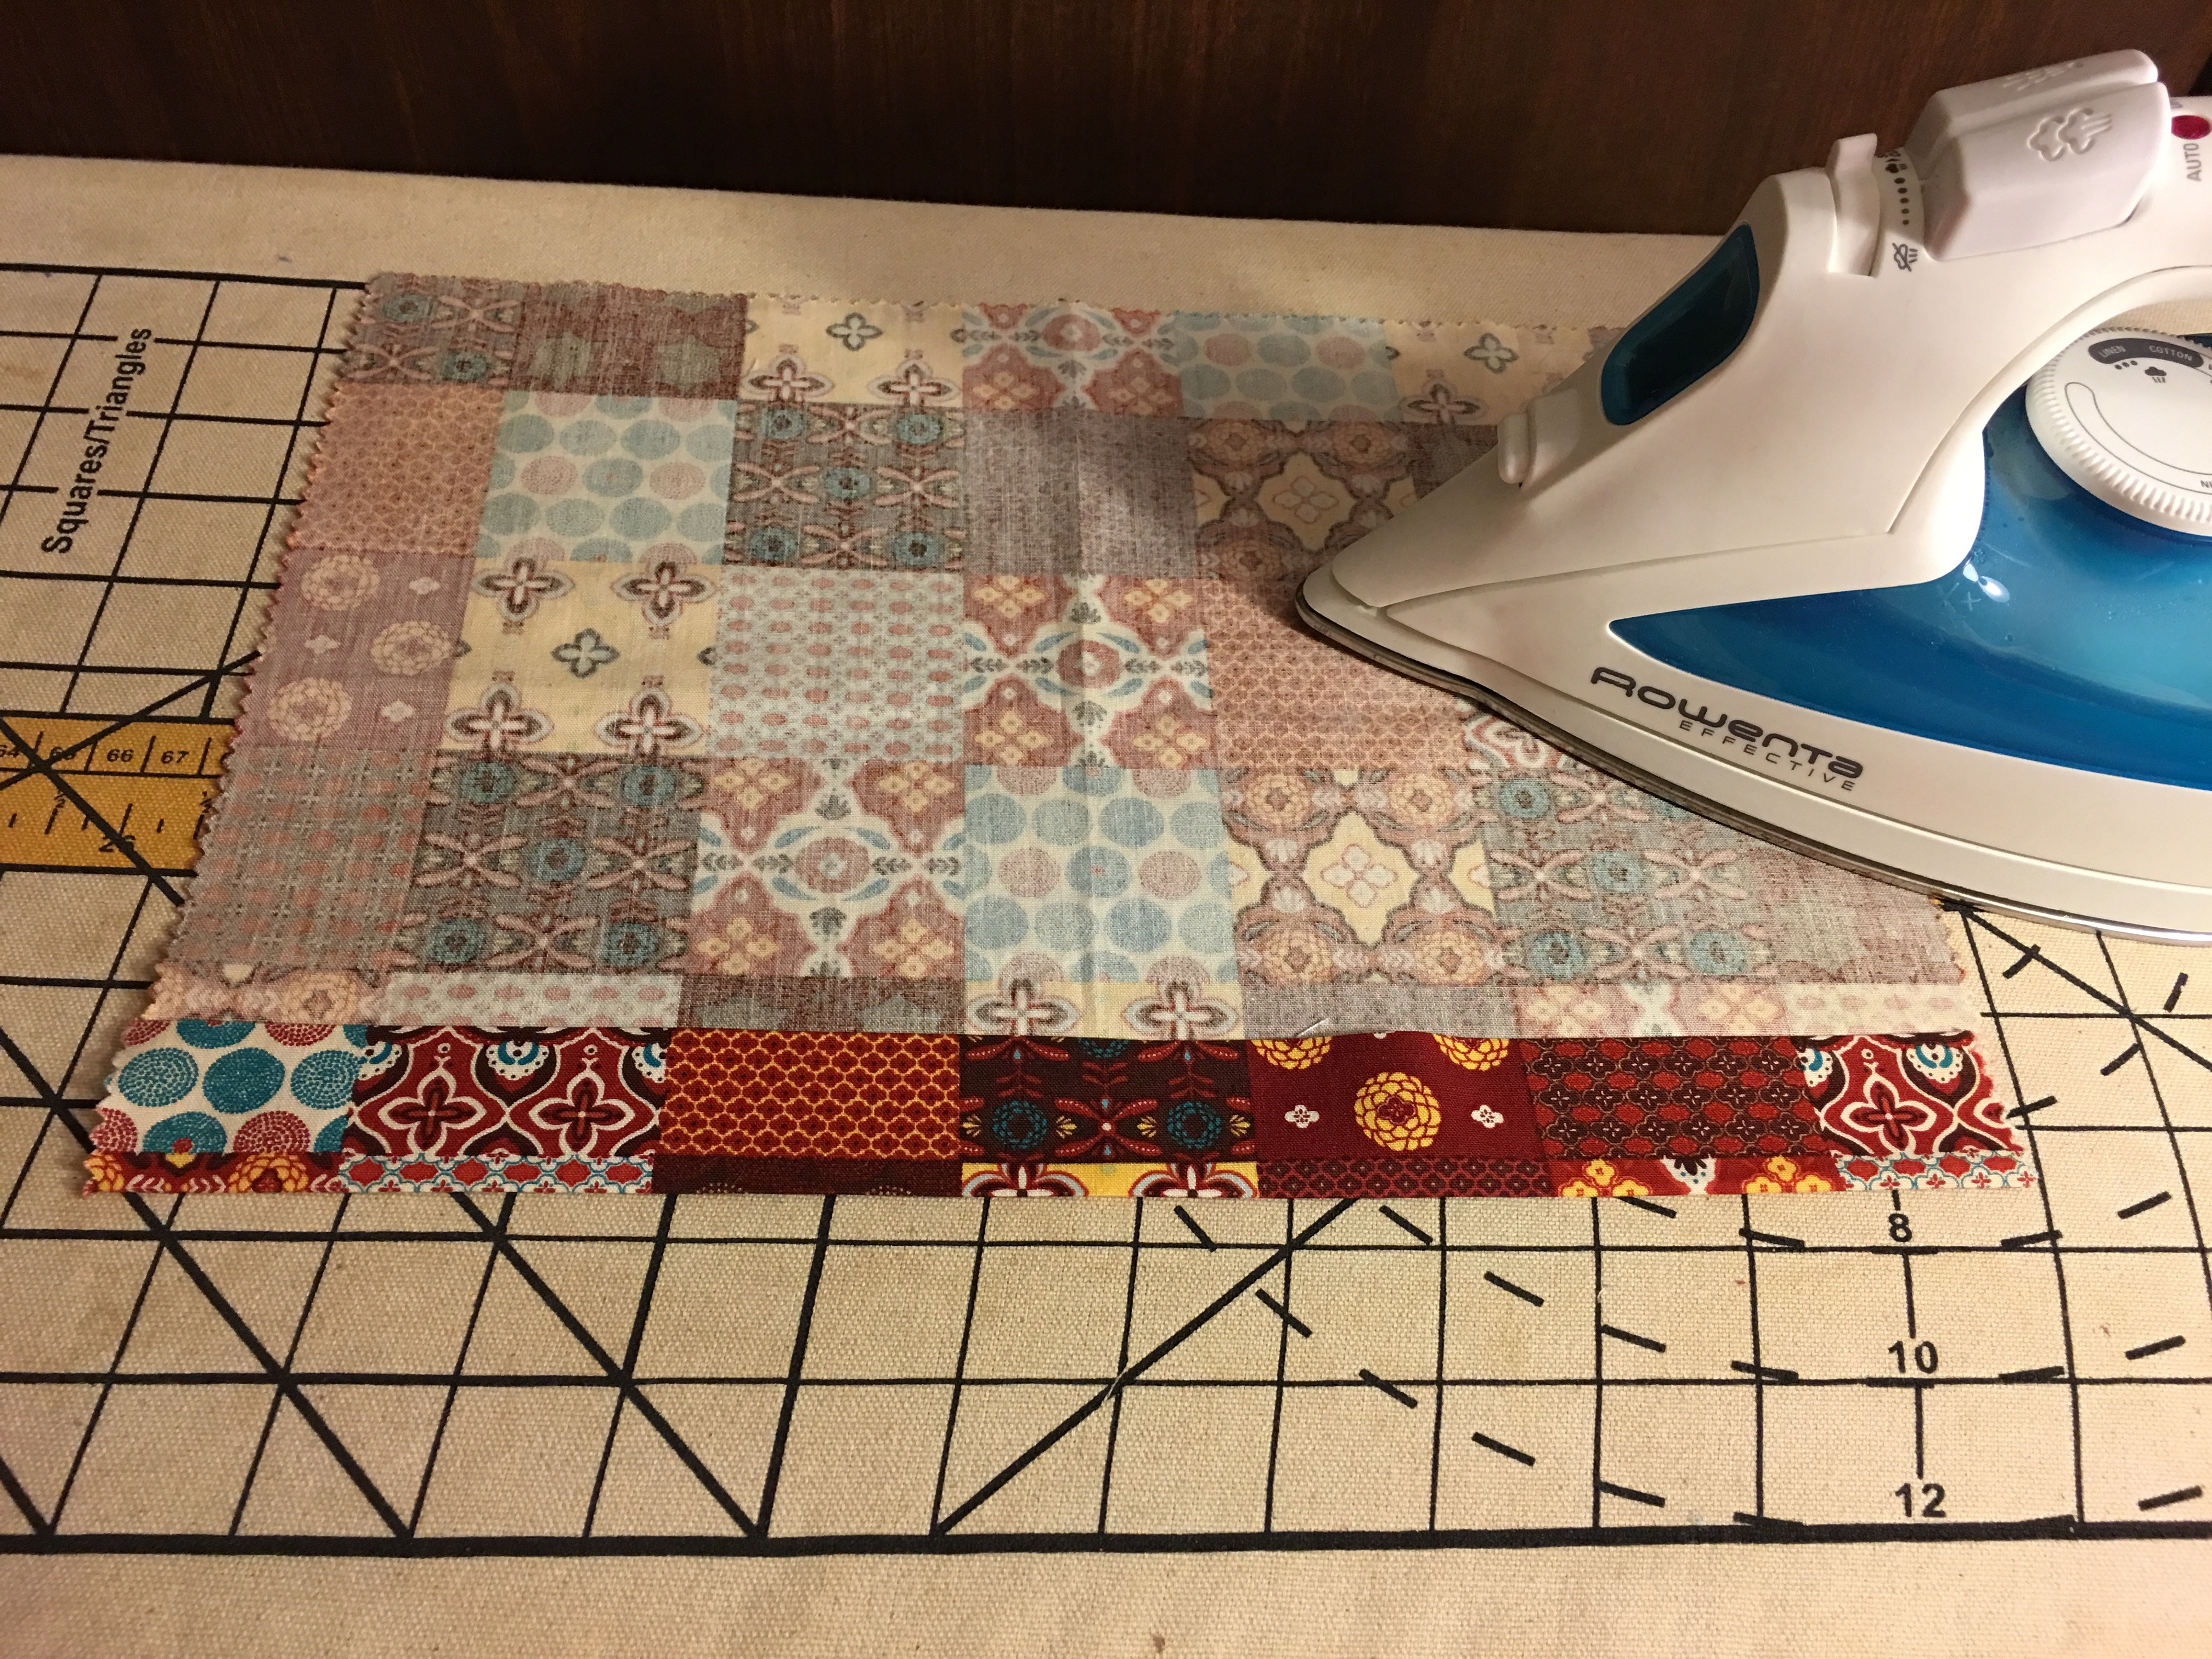 Step 3c: Press the upper edge an additional 1” to the wrong side.
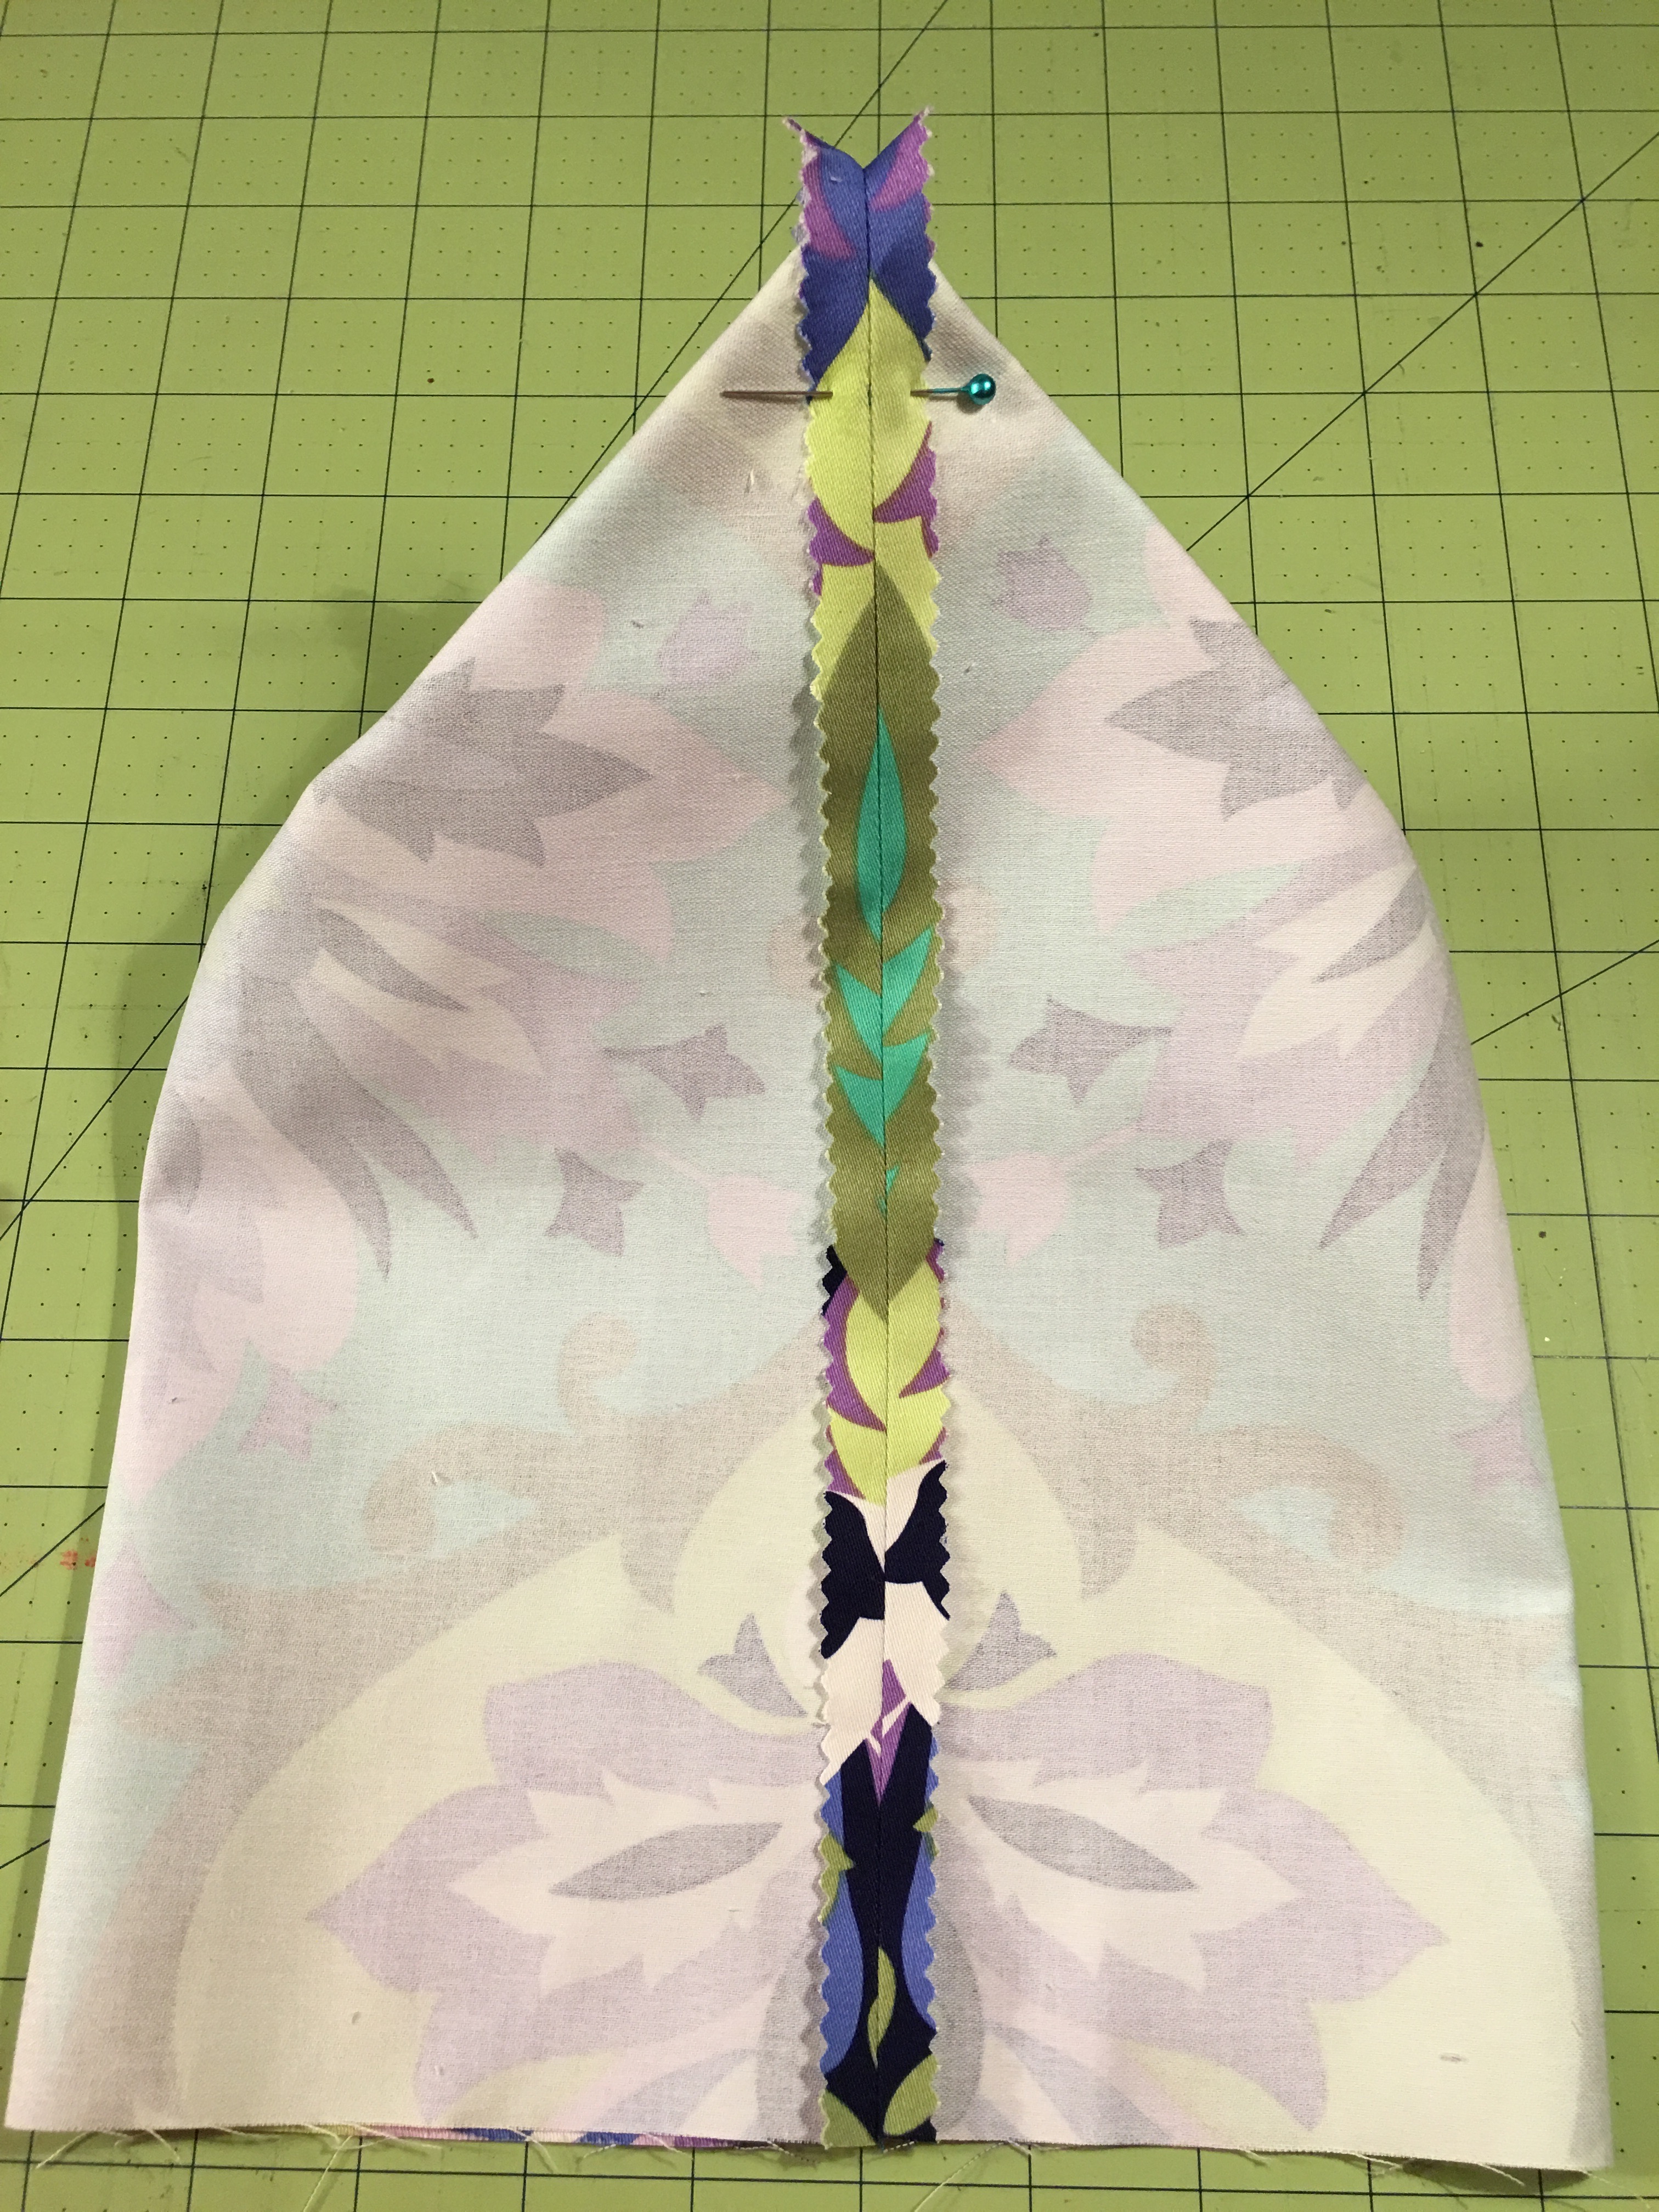
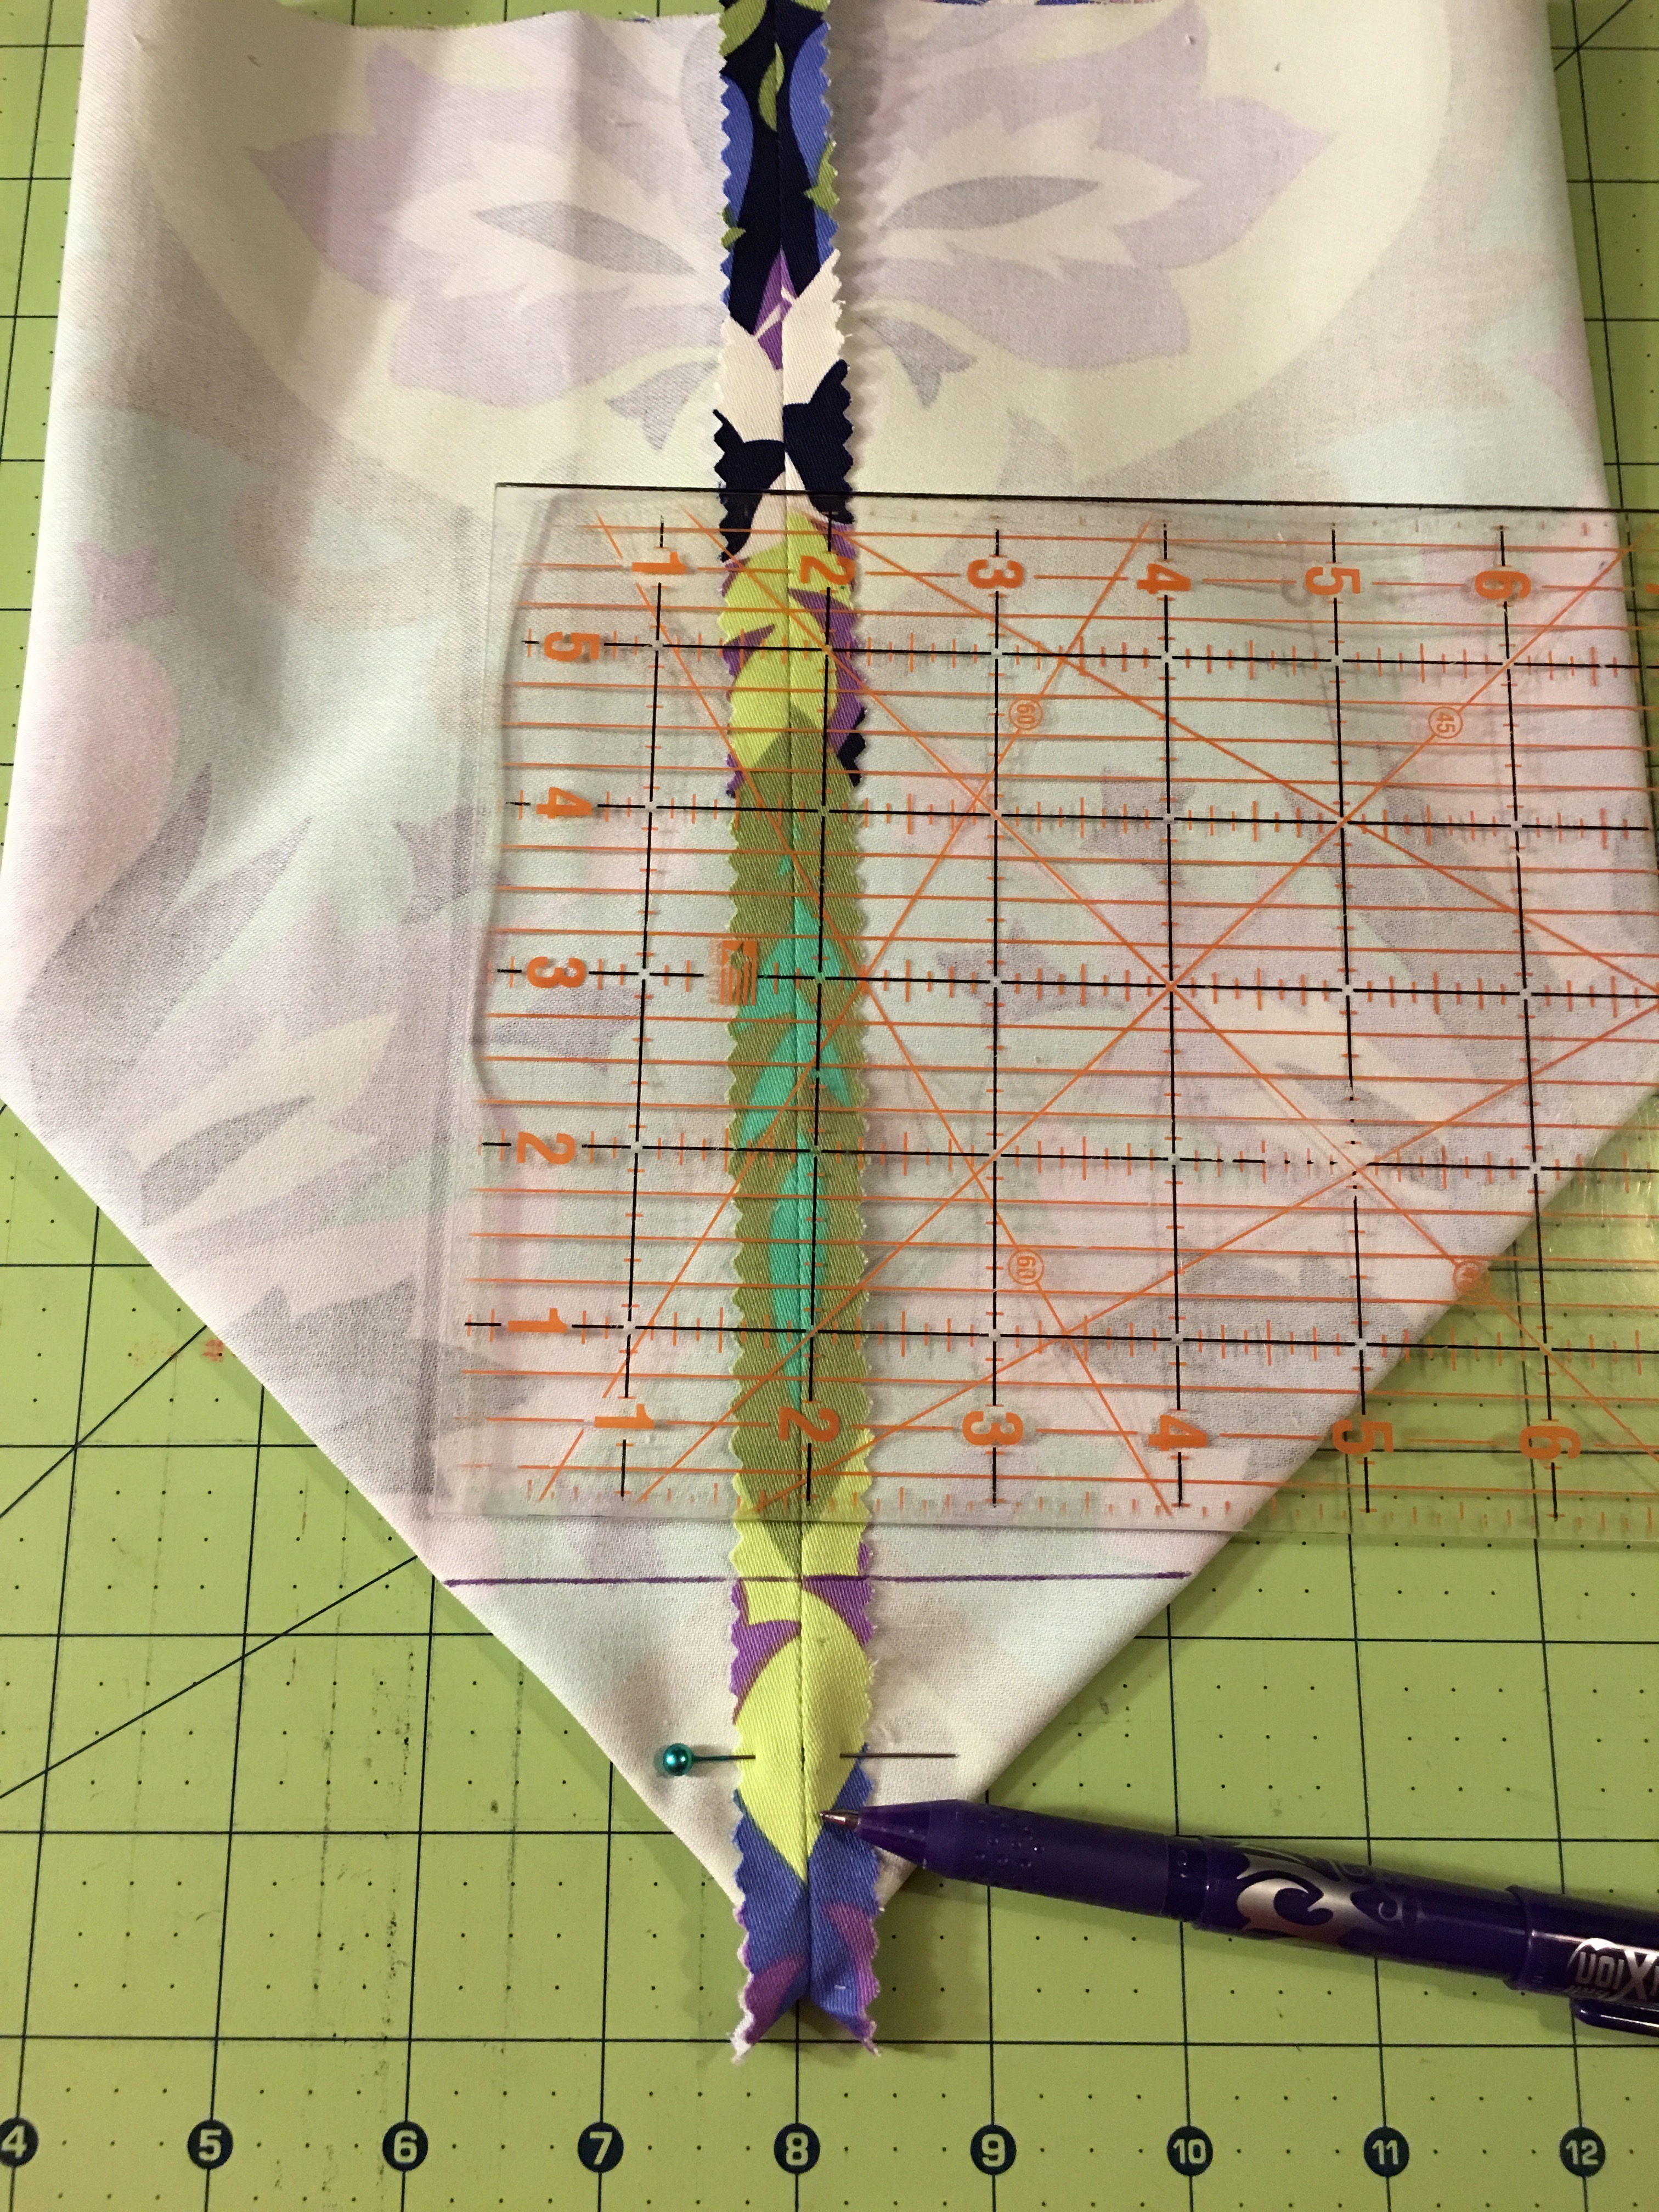
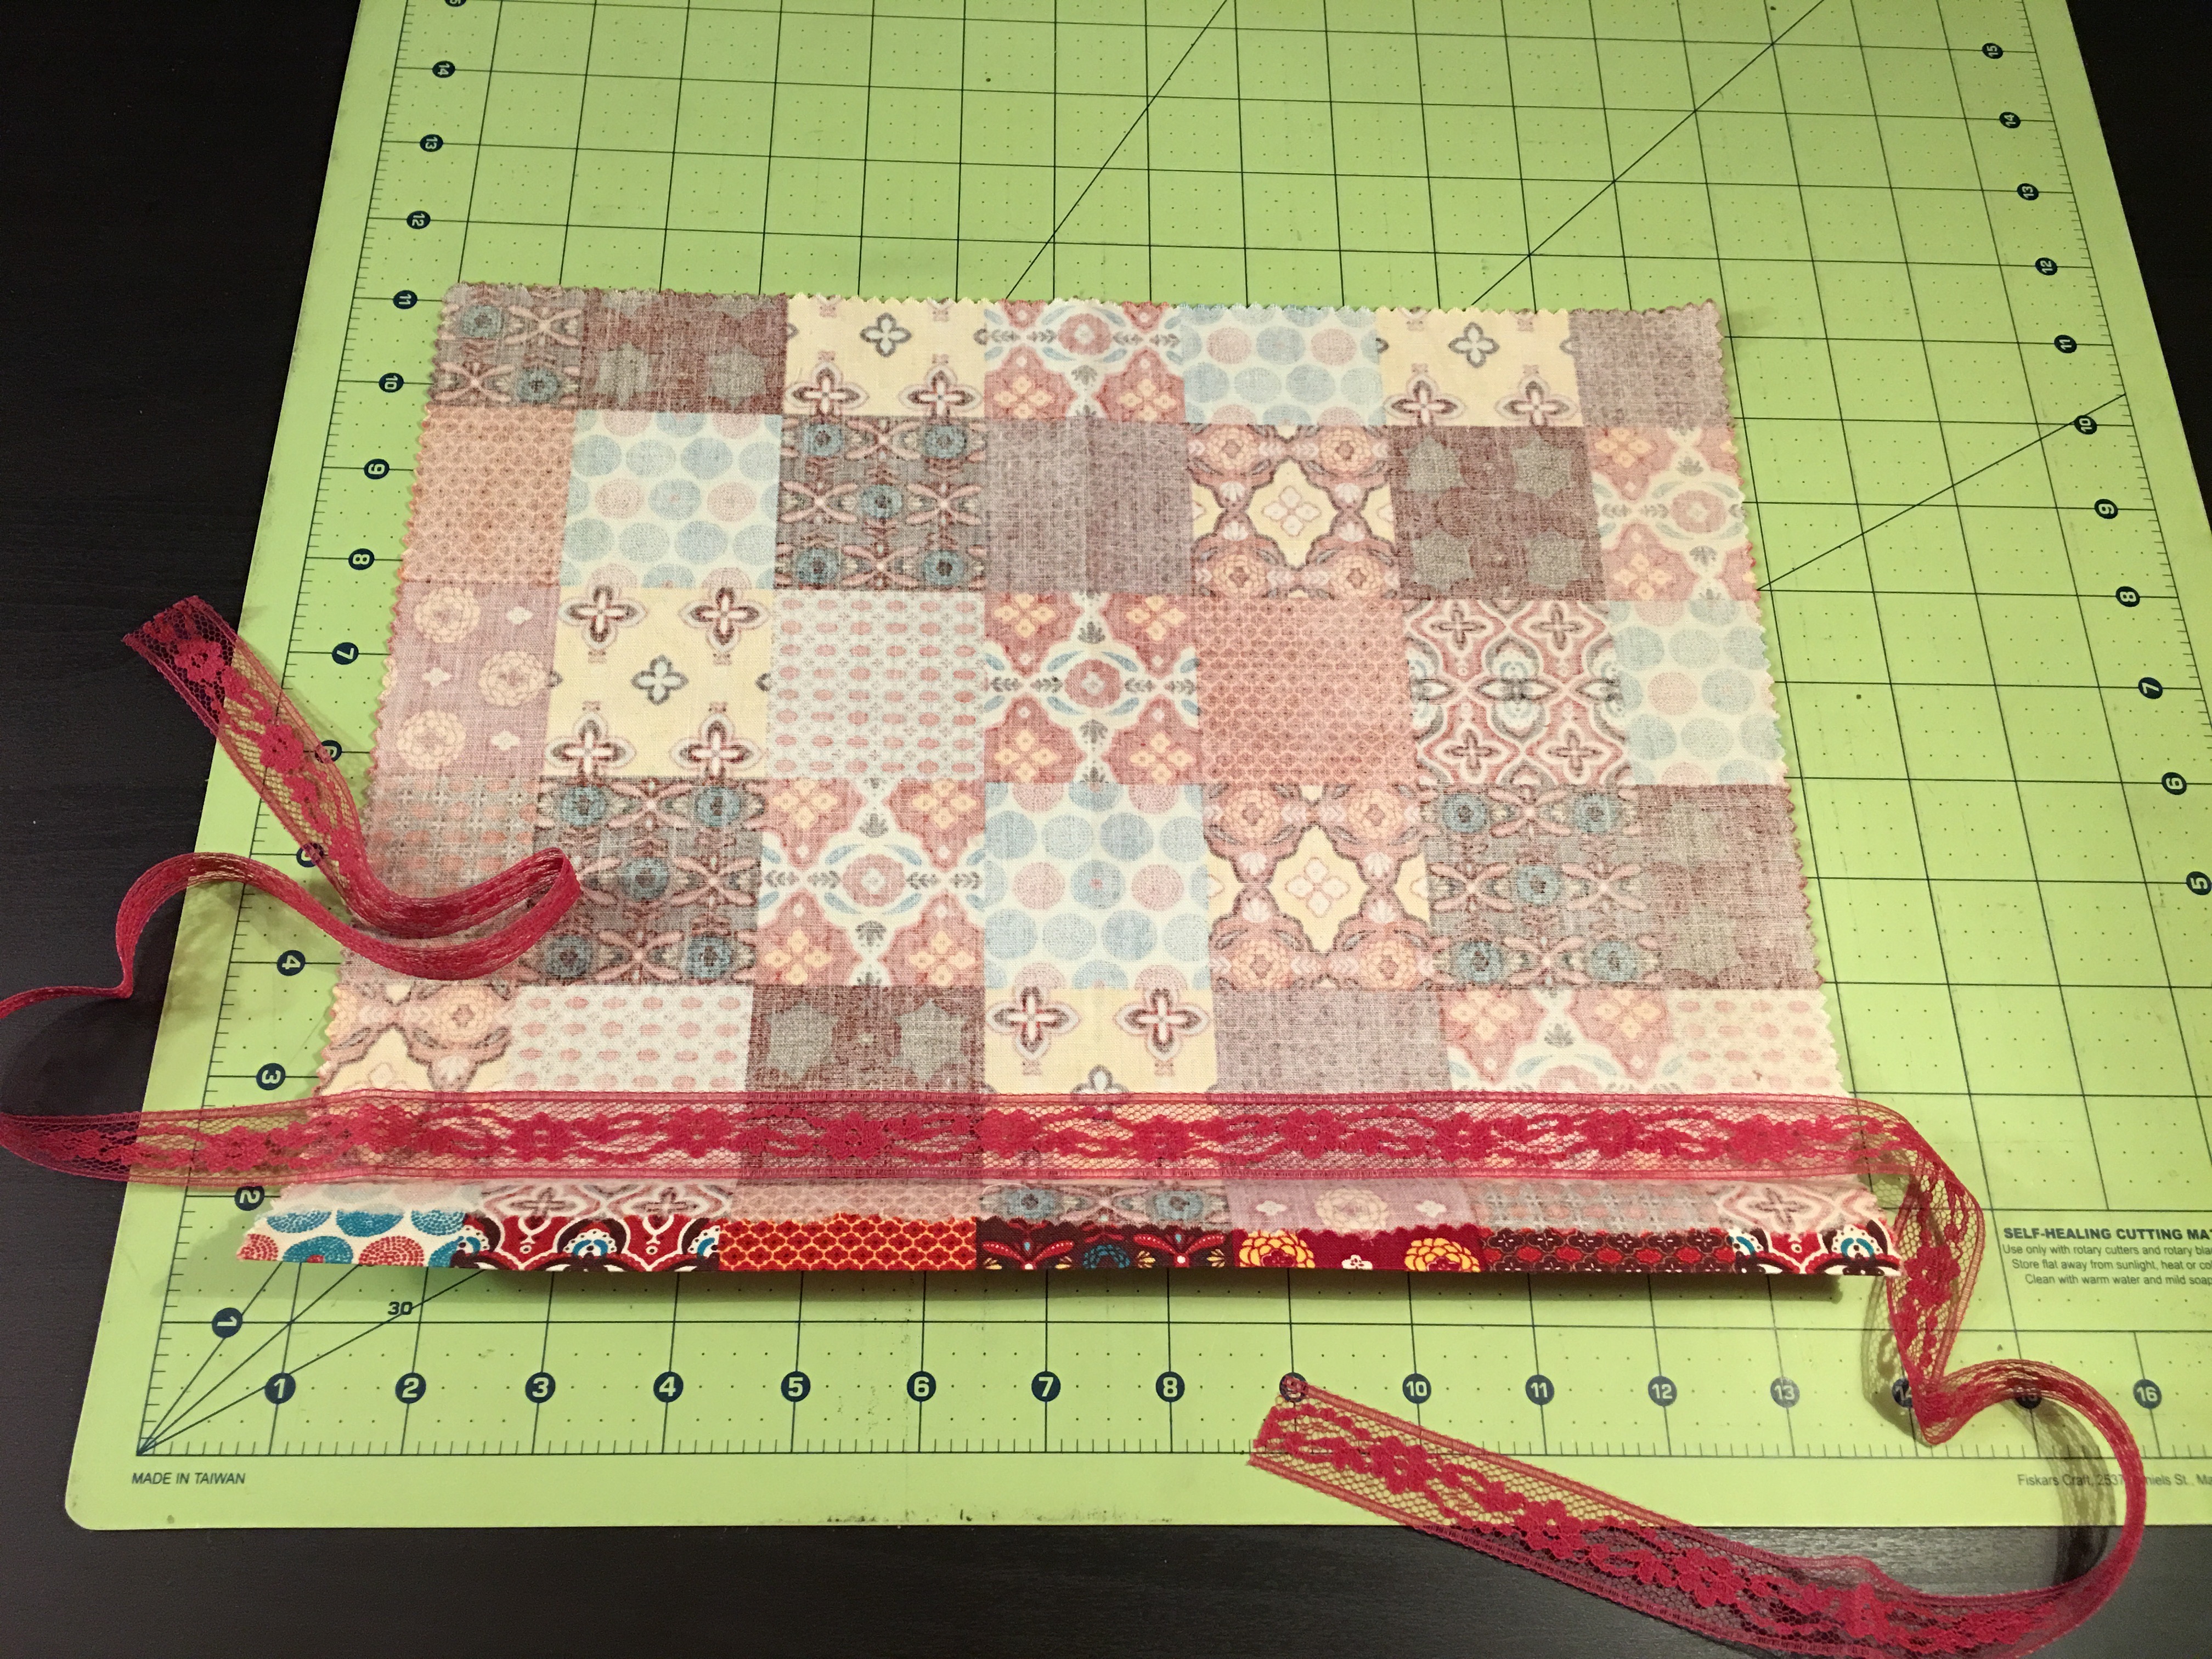 Step 3d: Place the length of trim inside the 1” fold, making sure to align the trim carefully with the crease. Fold the fabric over the trim, encasing it. Pin in place.
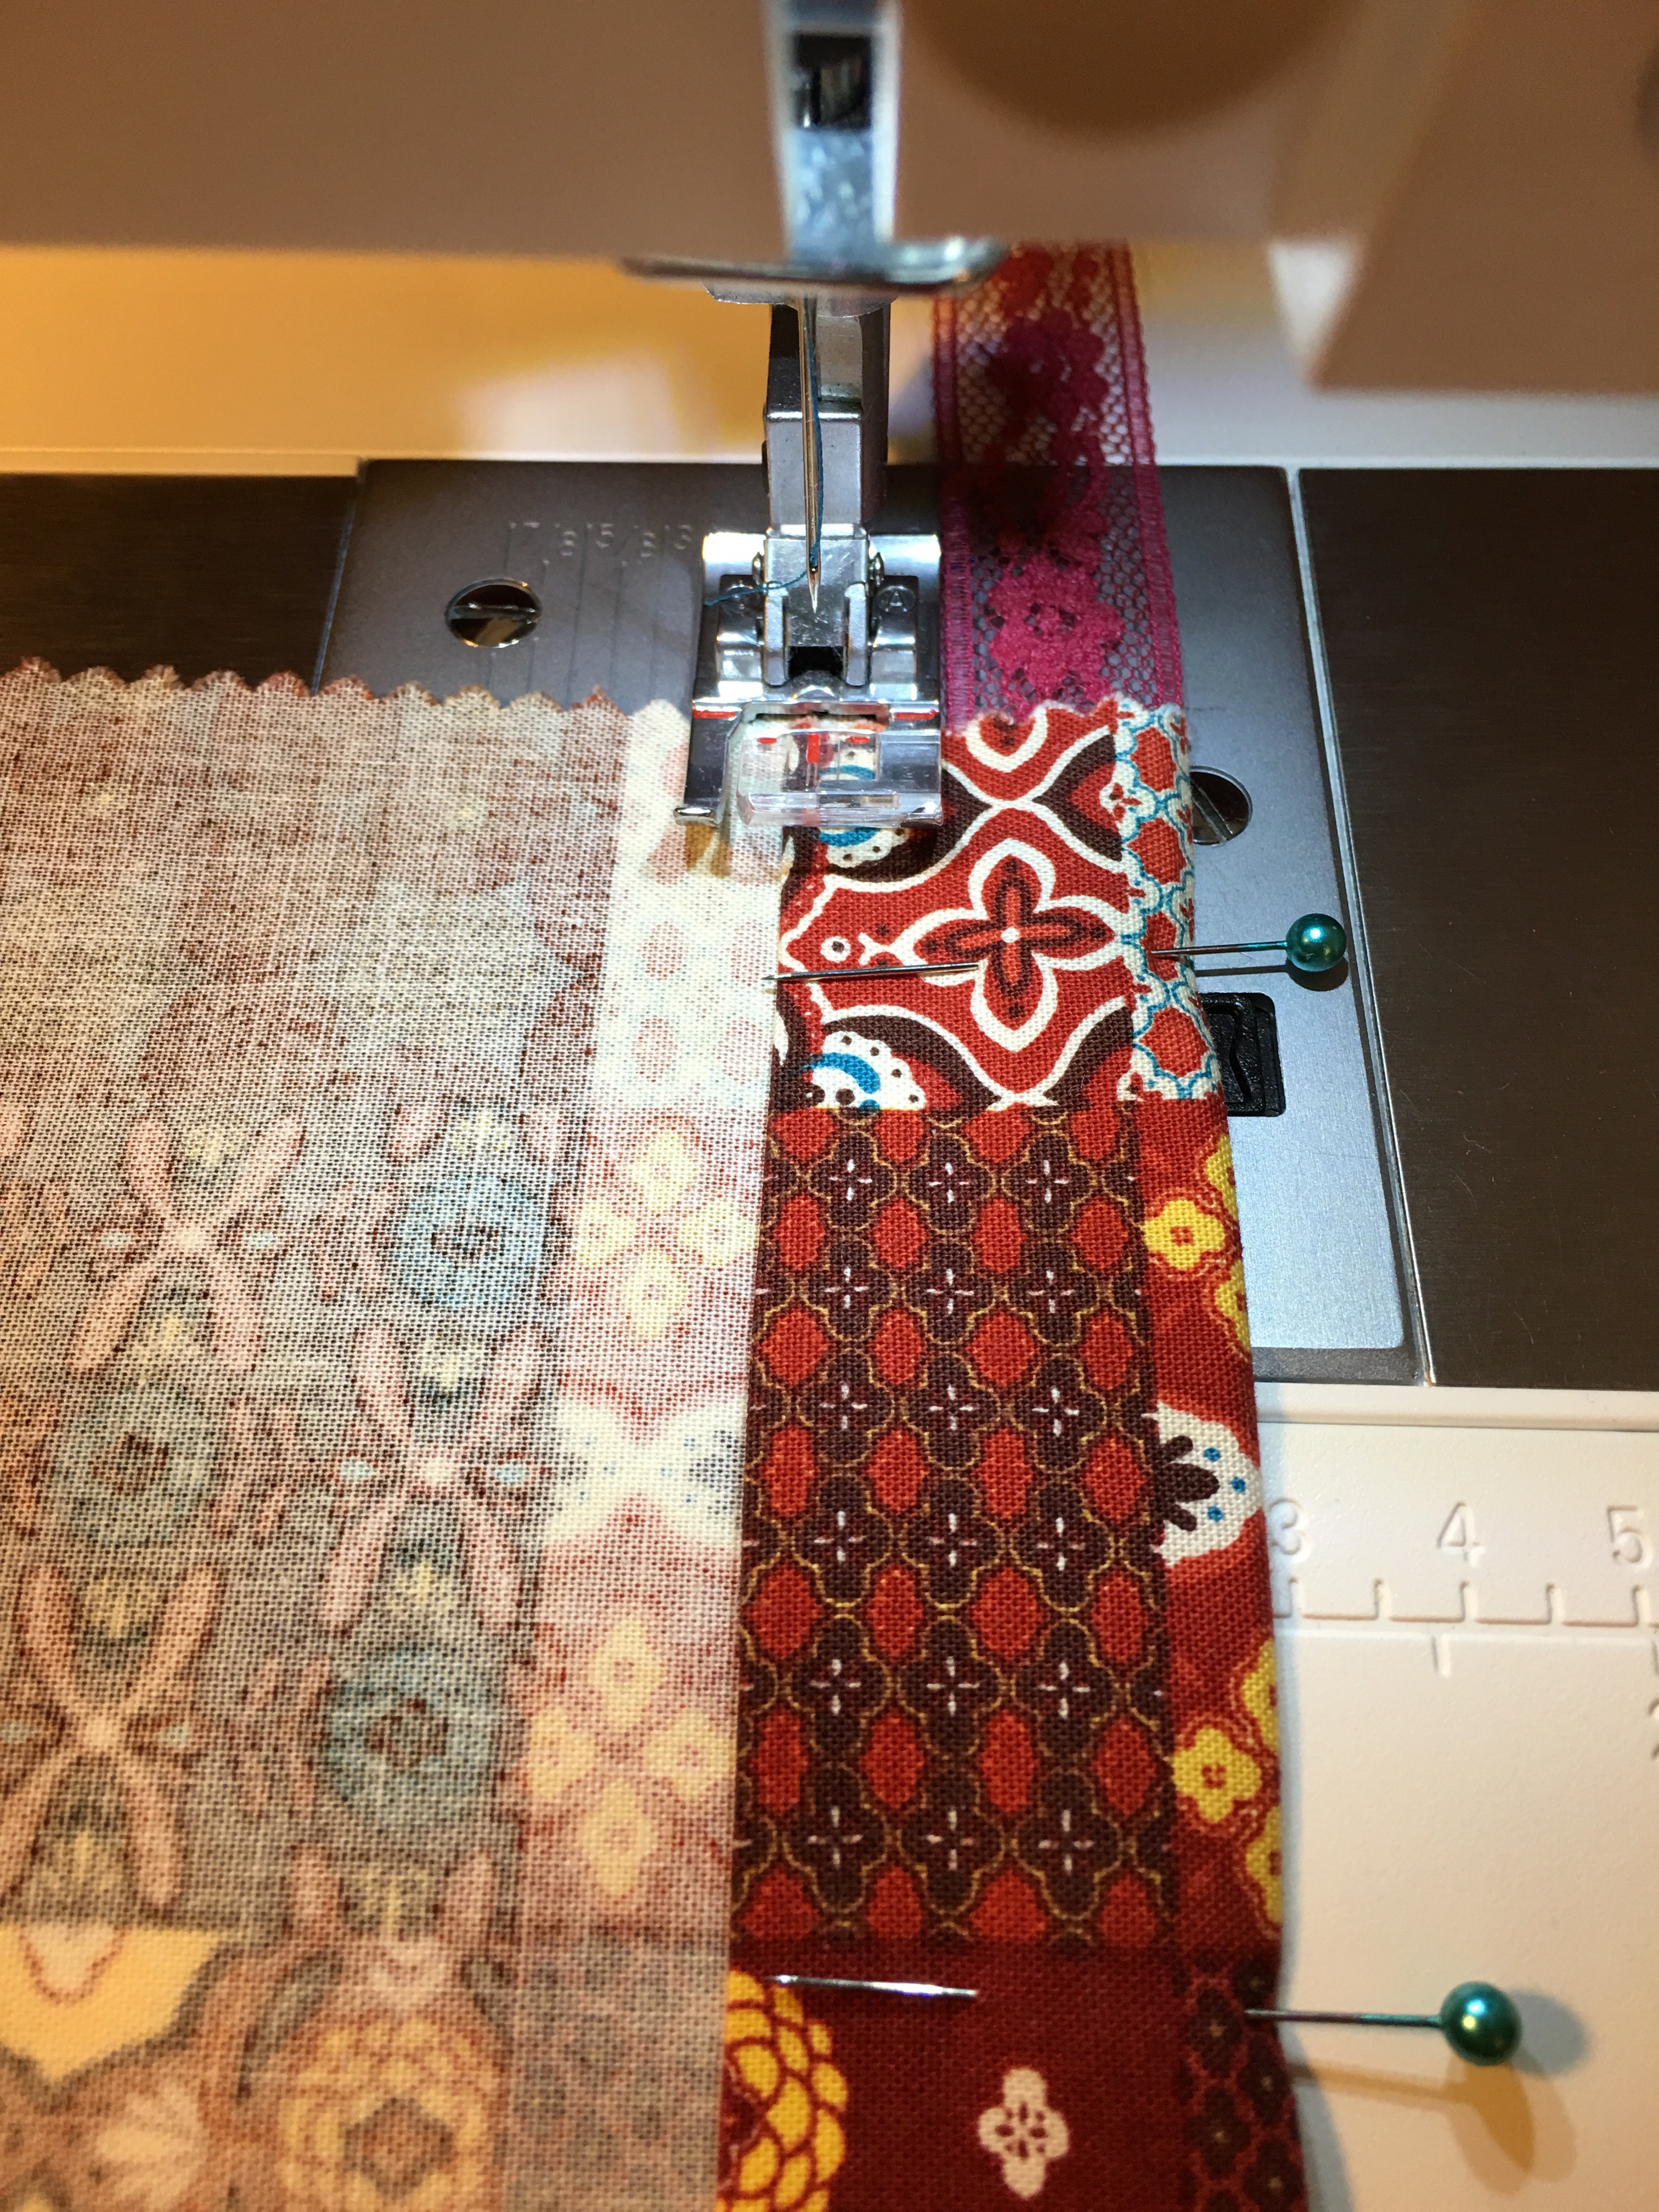 Step 3e: Align the presser foot with the pressed edge, making sure to not stitch through the trim that will act as the drawstring. Stitch across the width of the bag, keeping close to the edge.
 TIP: Consider using a decorative stitch for this, even a zigzag would look cute. Alternatively, if your fabric is especially busy use one or two single lines of stitches.
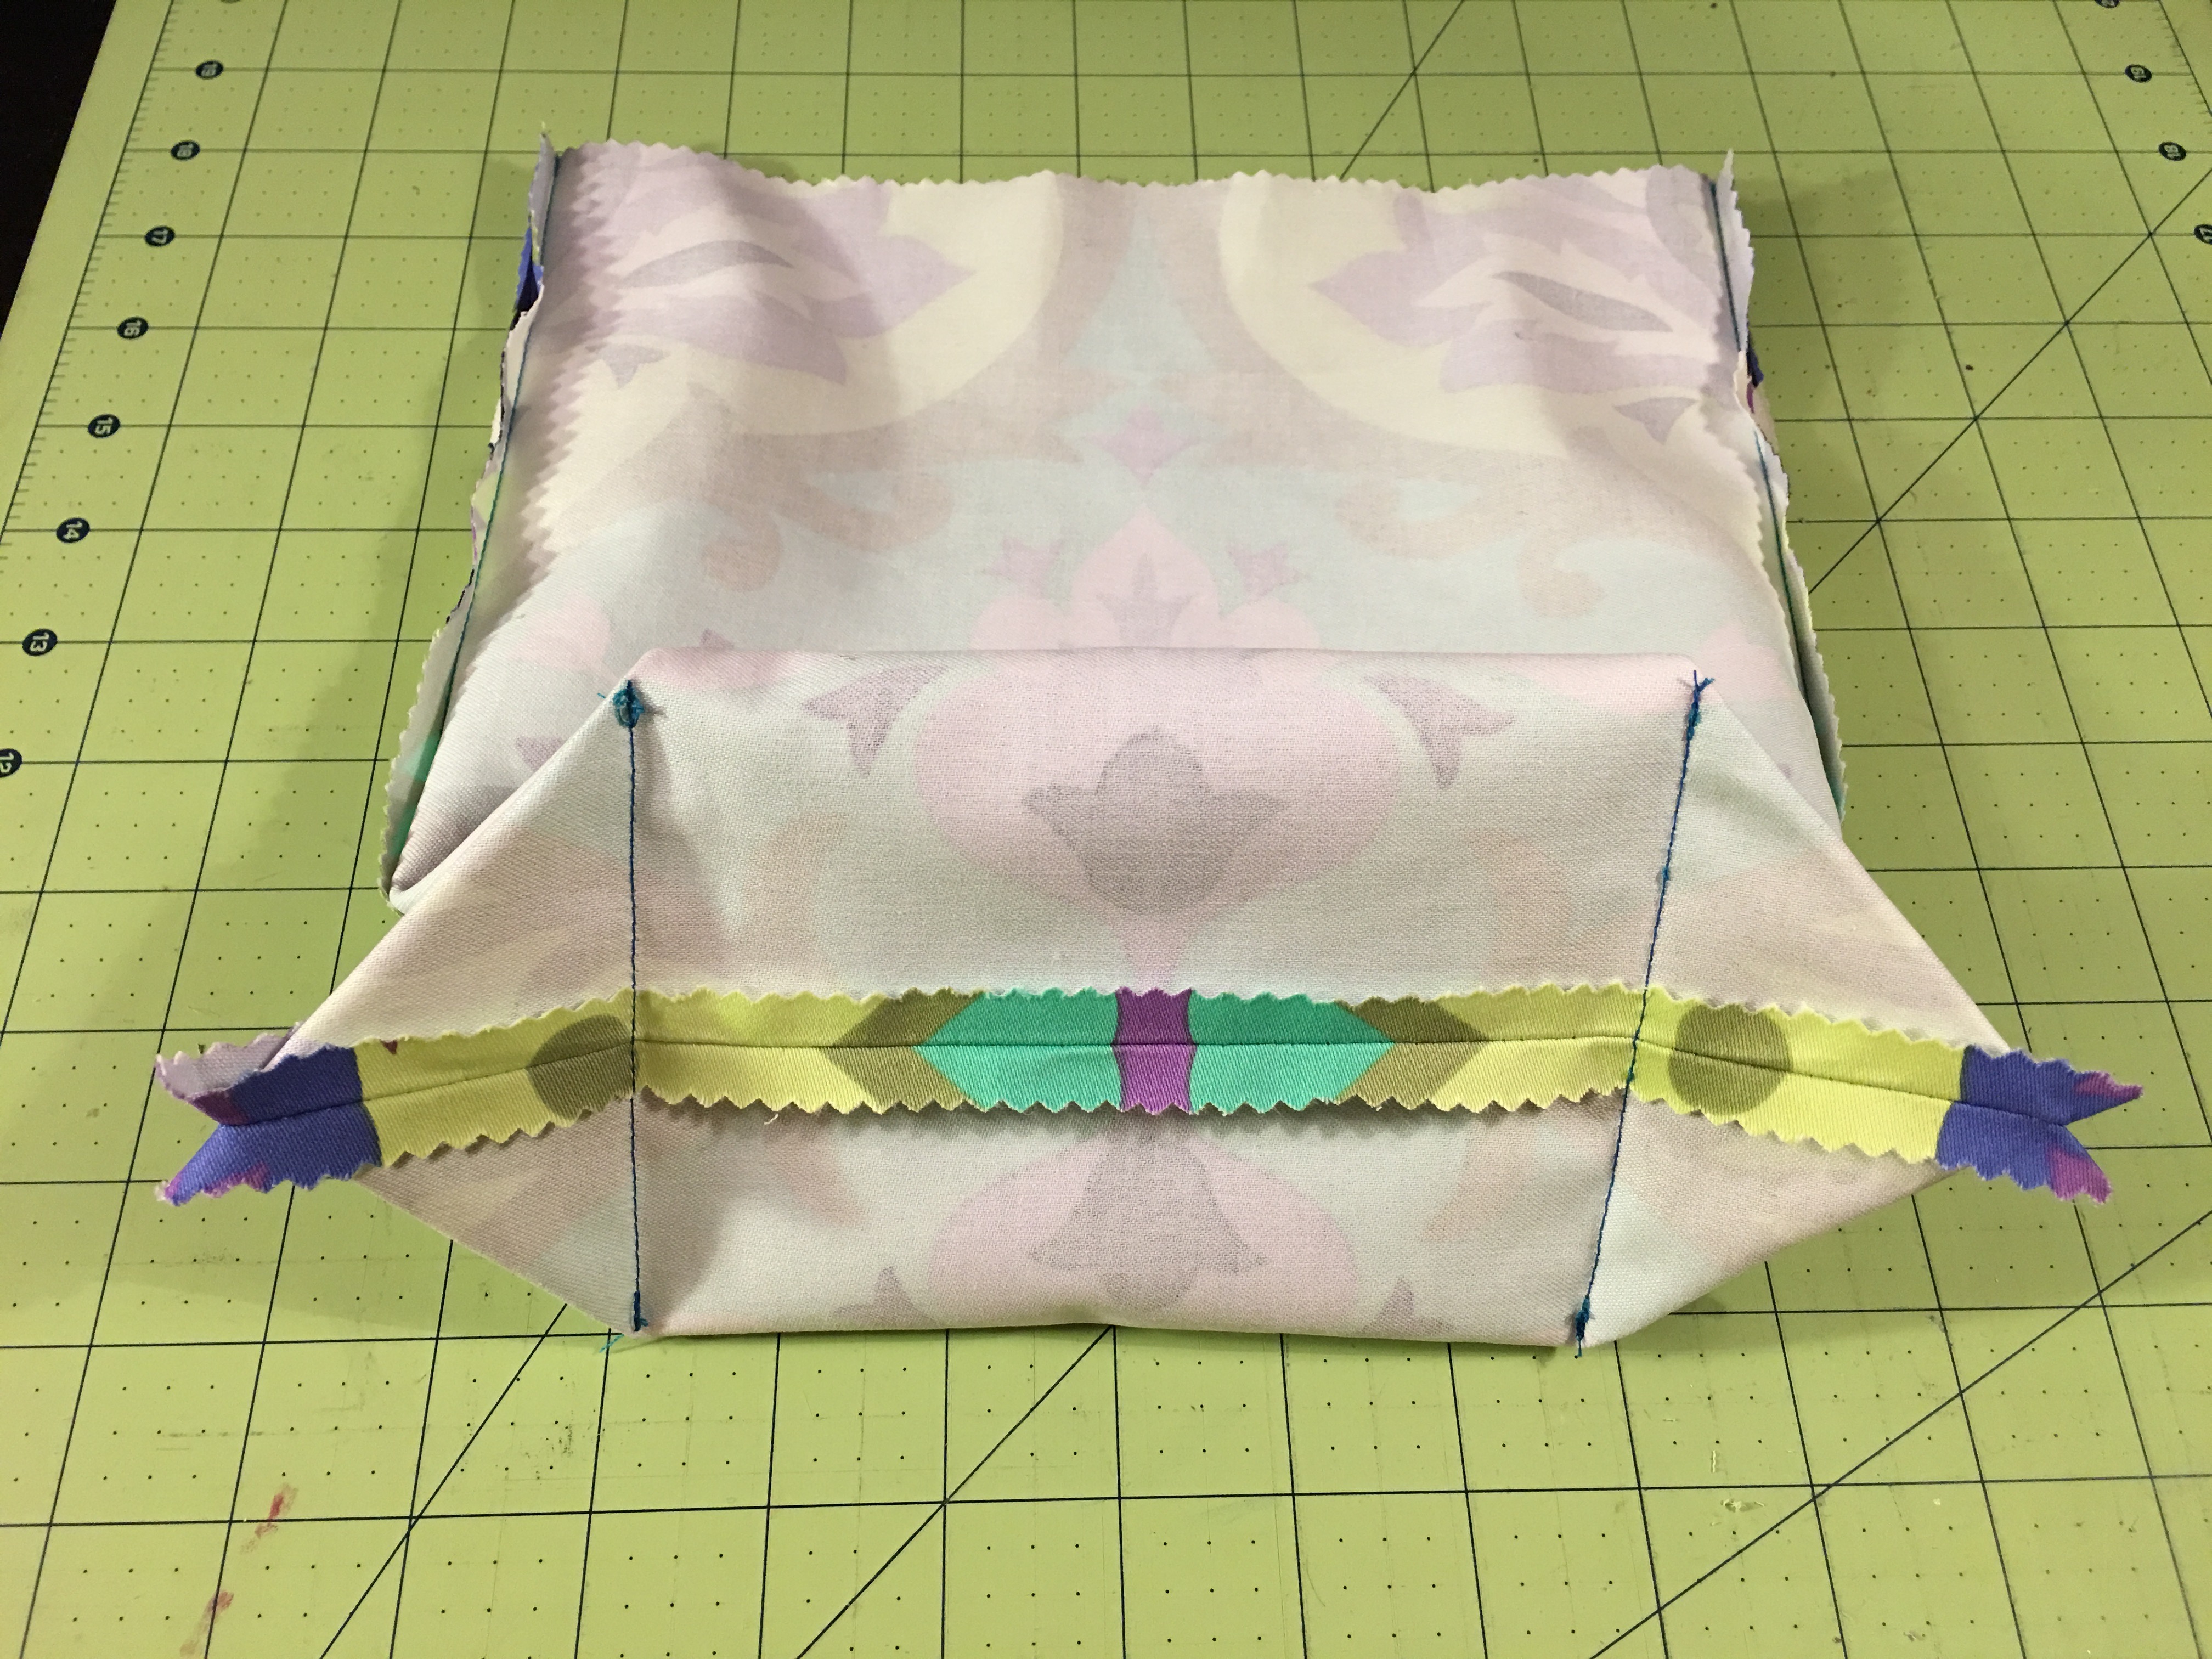
 Step 3f: Fold the bag in half right sides together. Match side edges and lower edge, pin in place.
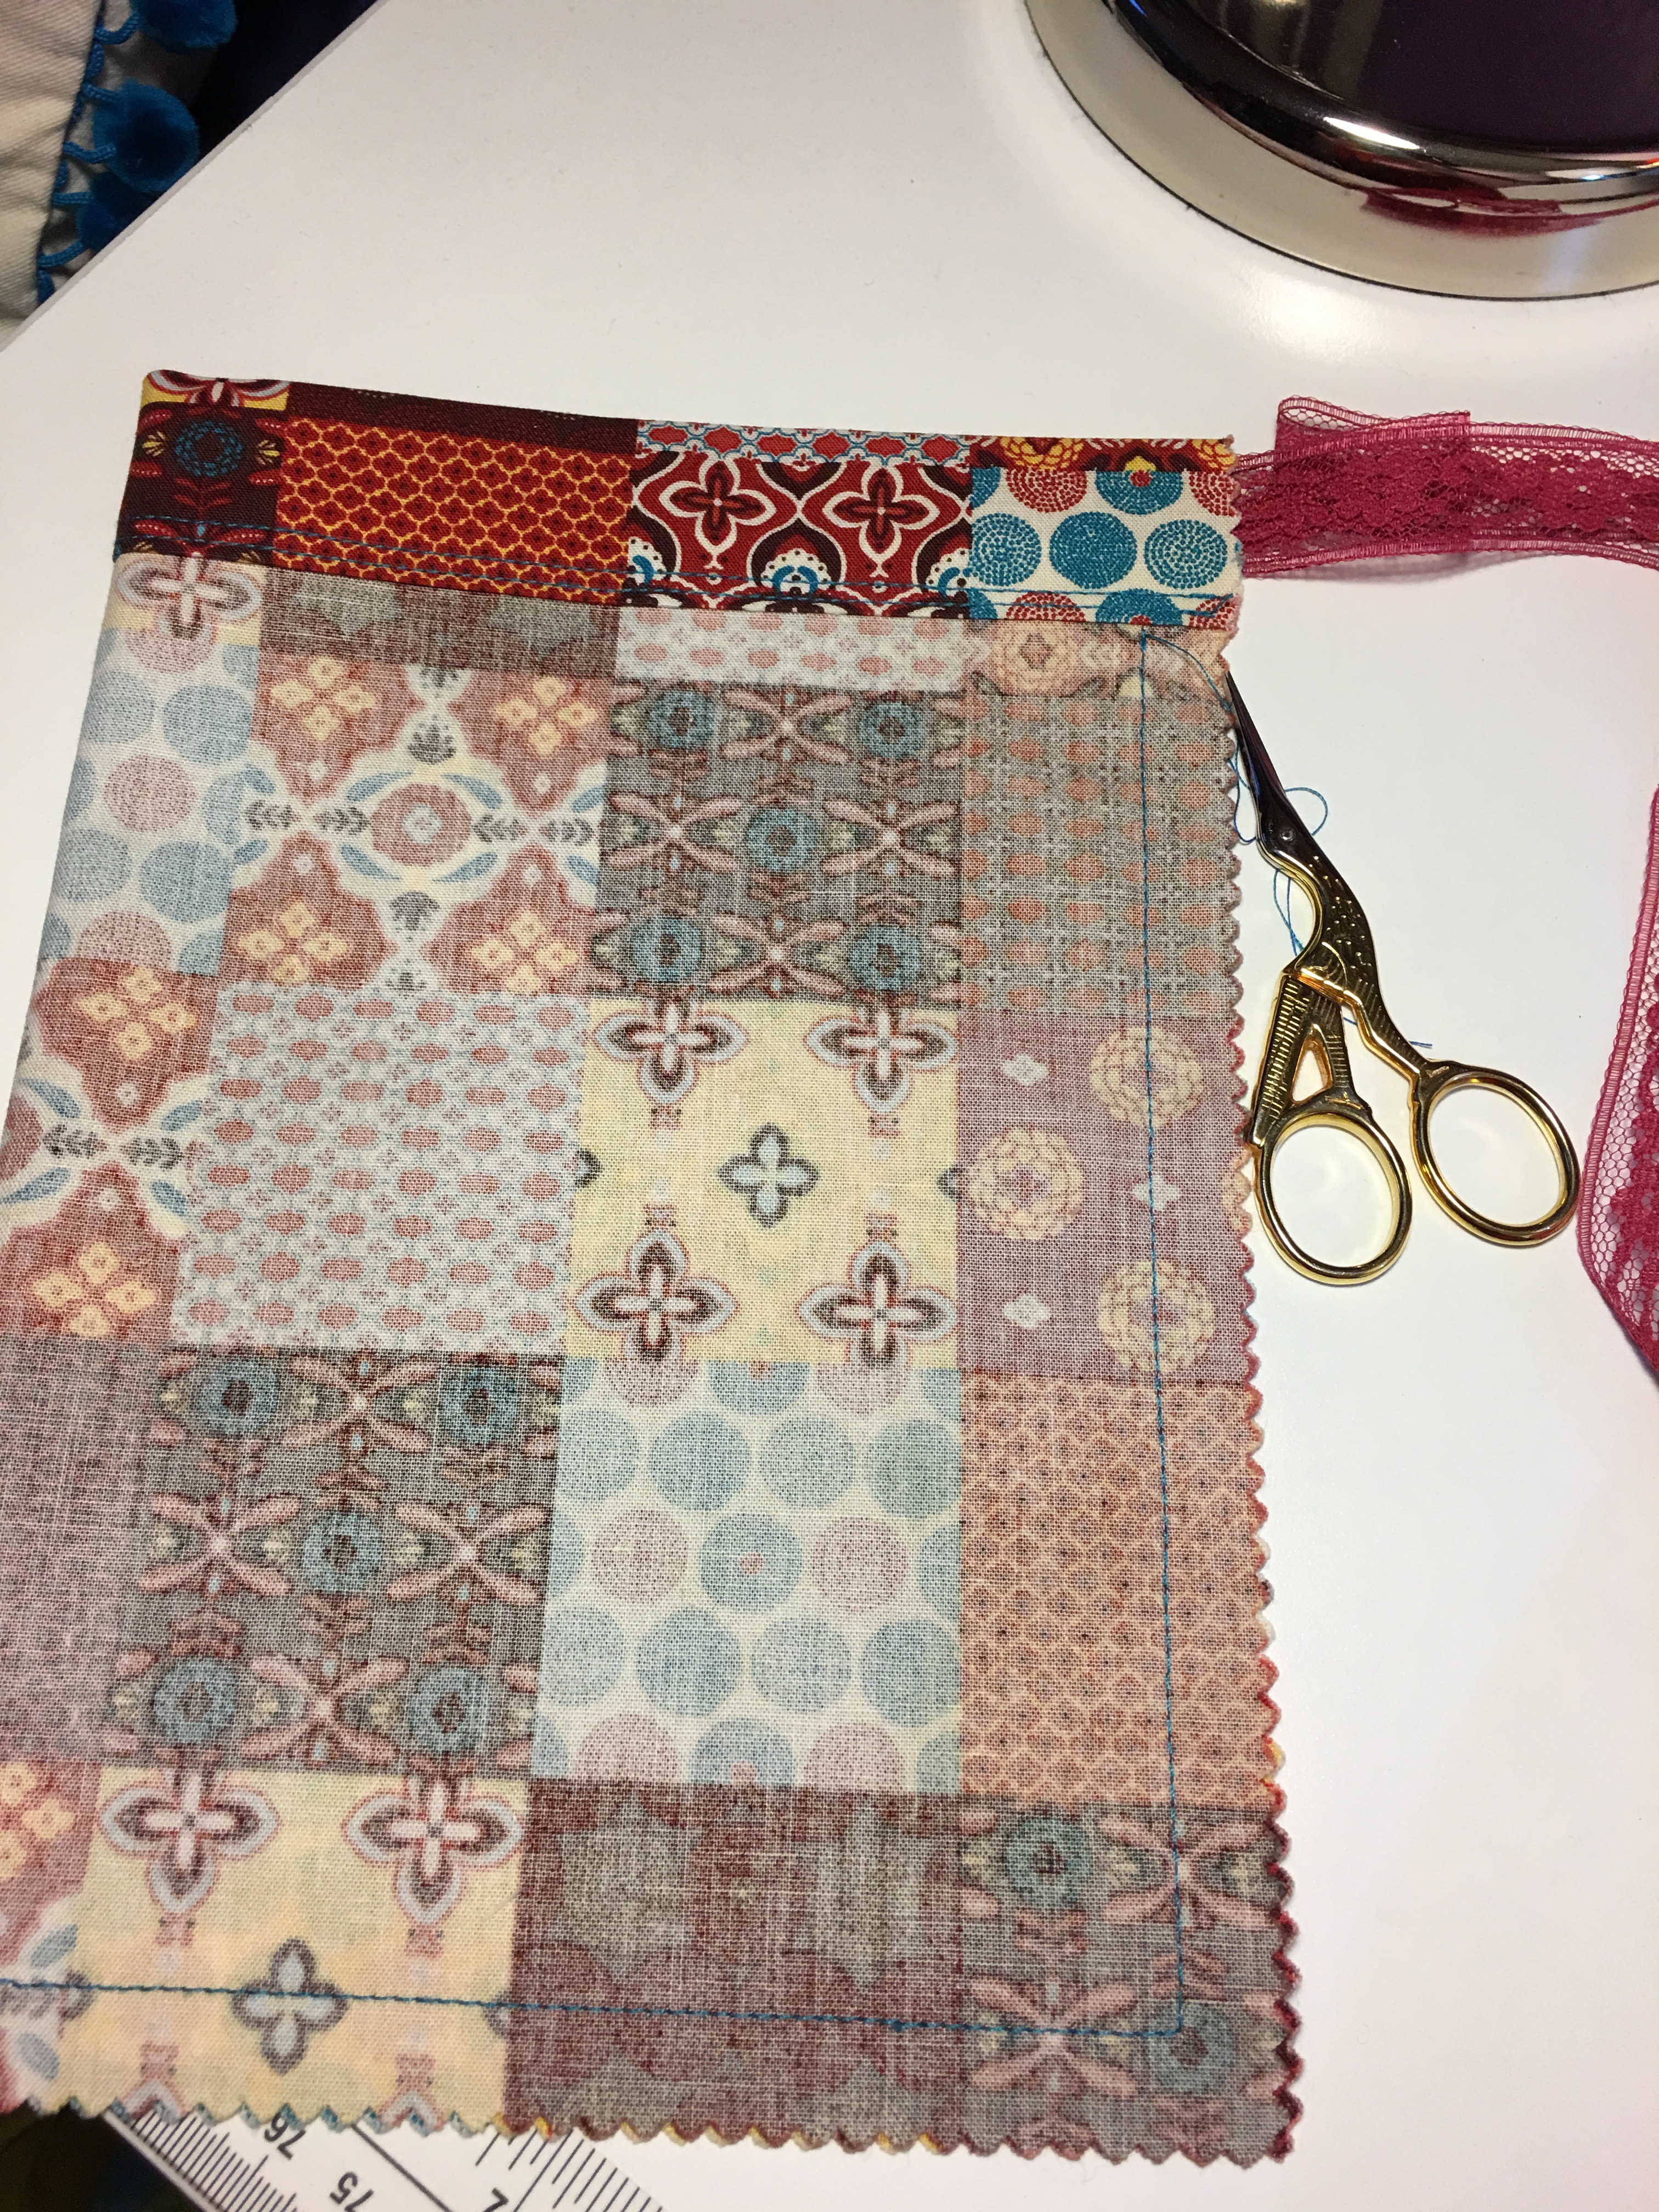 Step 3g: Using ½” seam allowances, stitch from just below the drawstring closure down to the corner, pivot and across the lower edge.
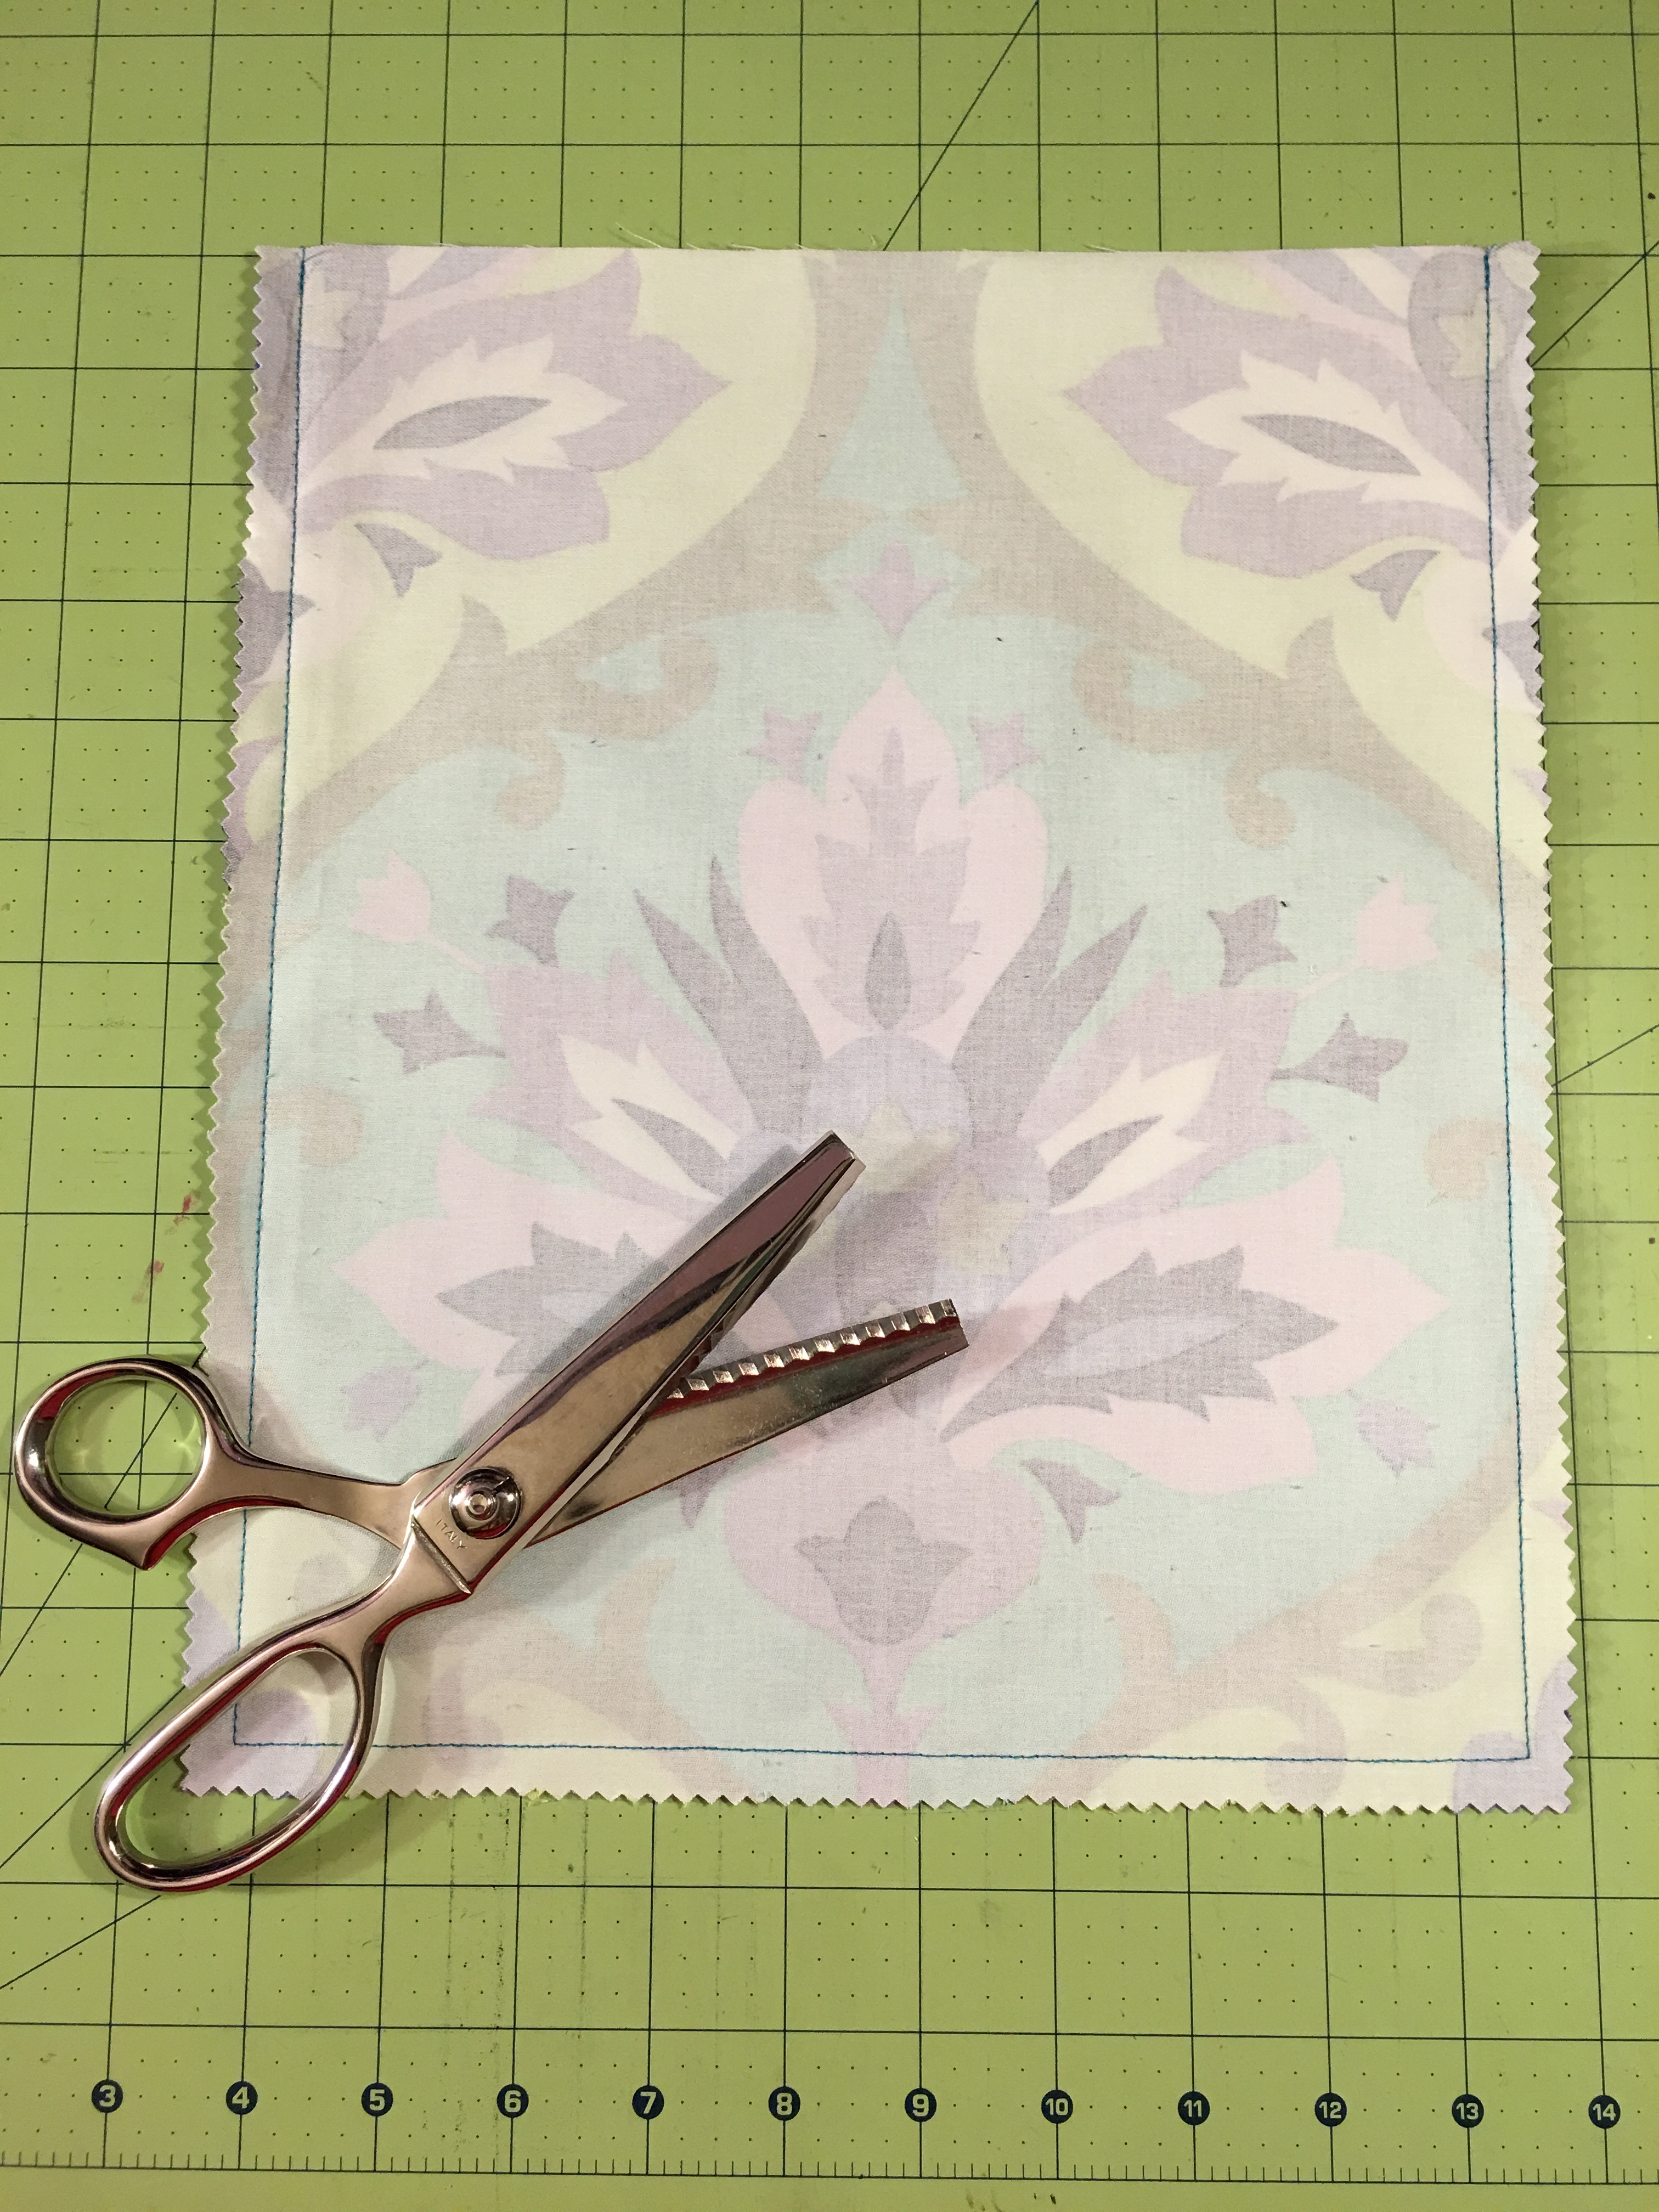
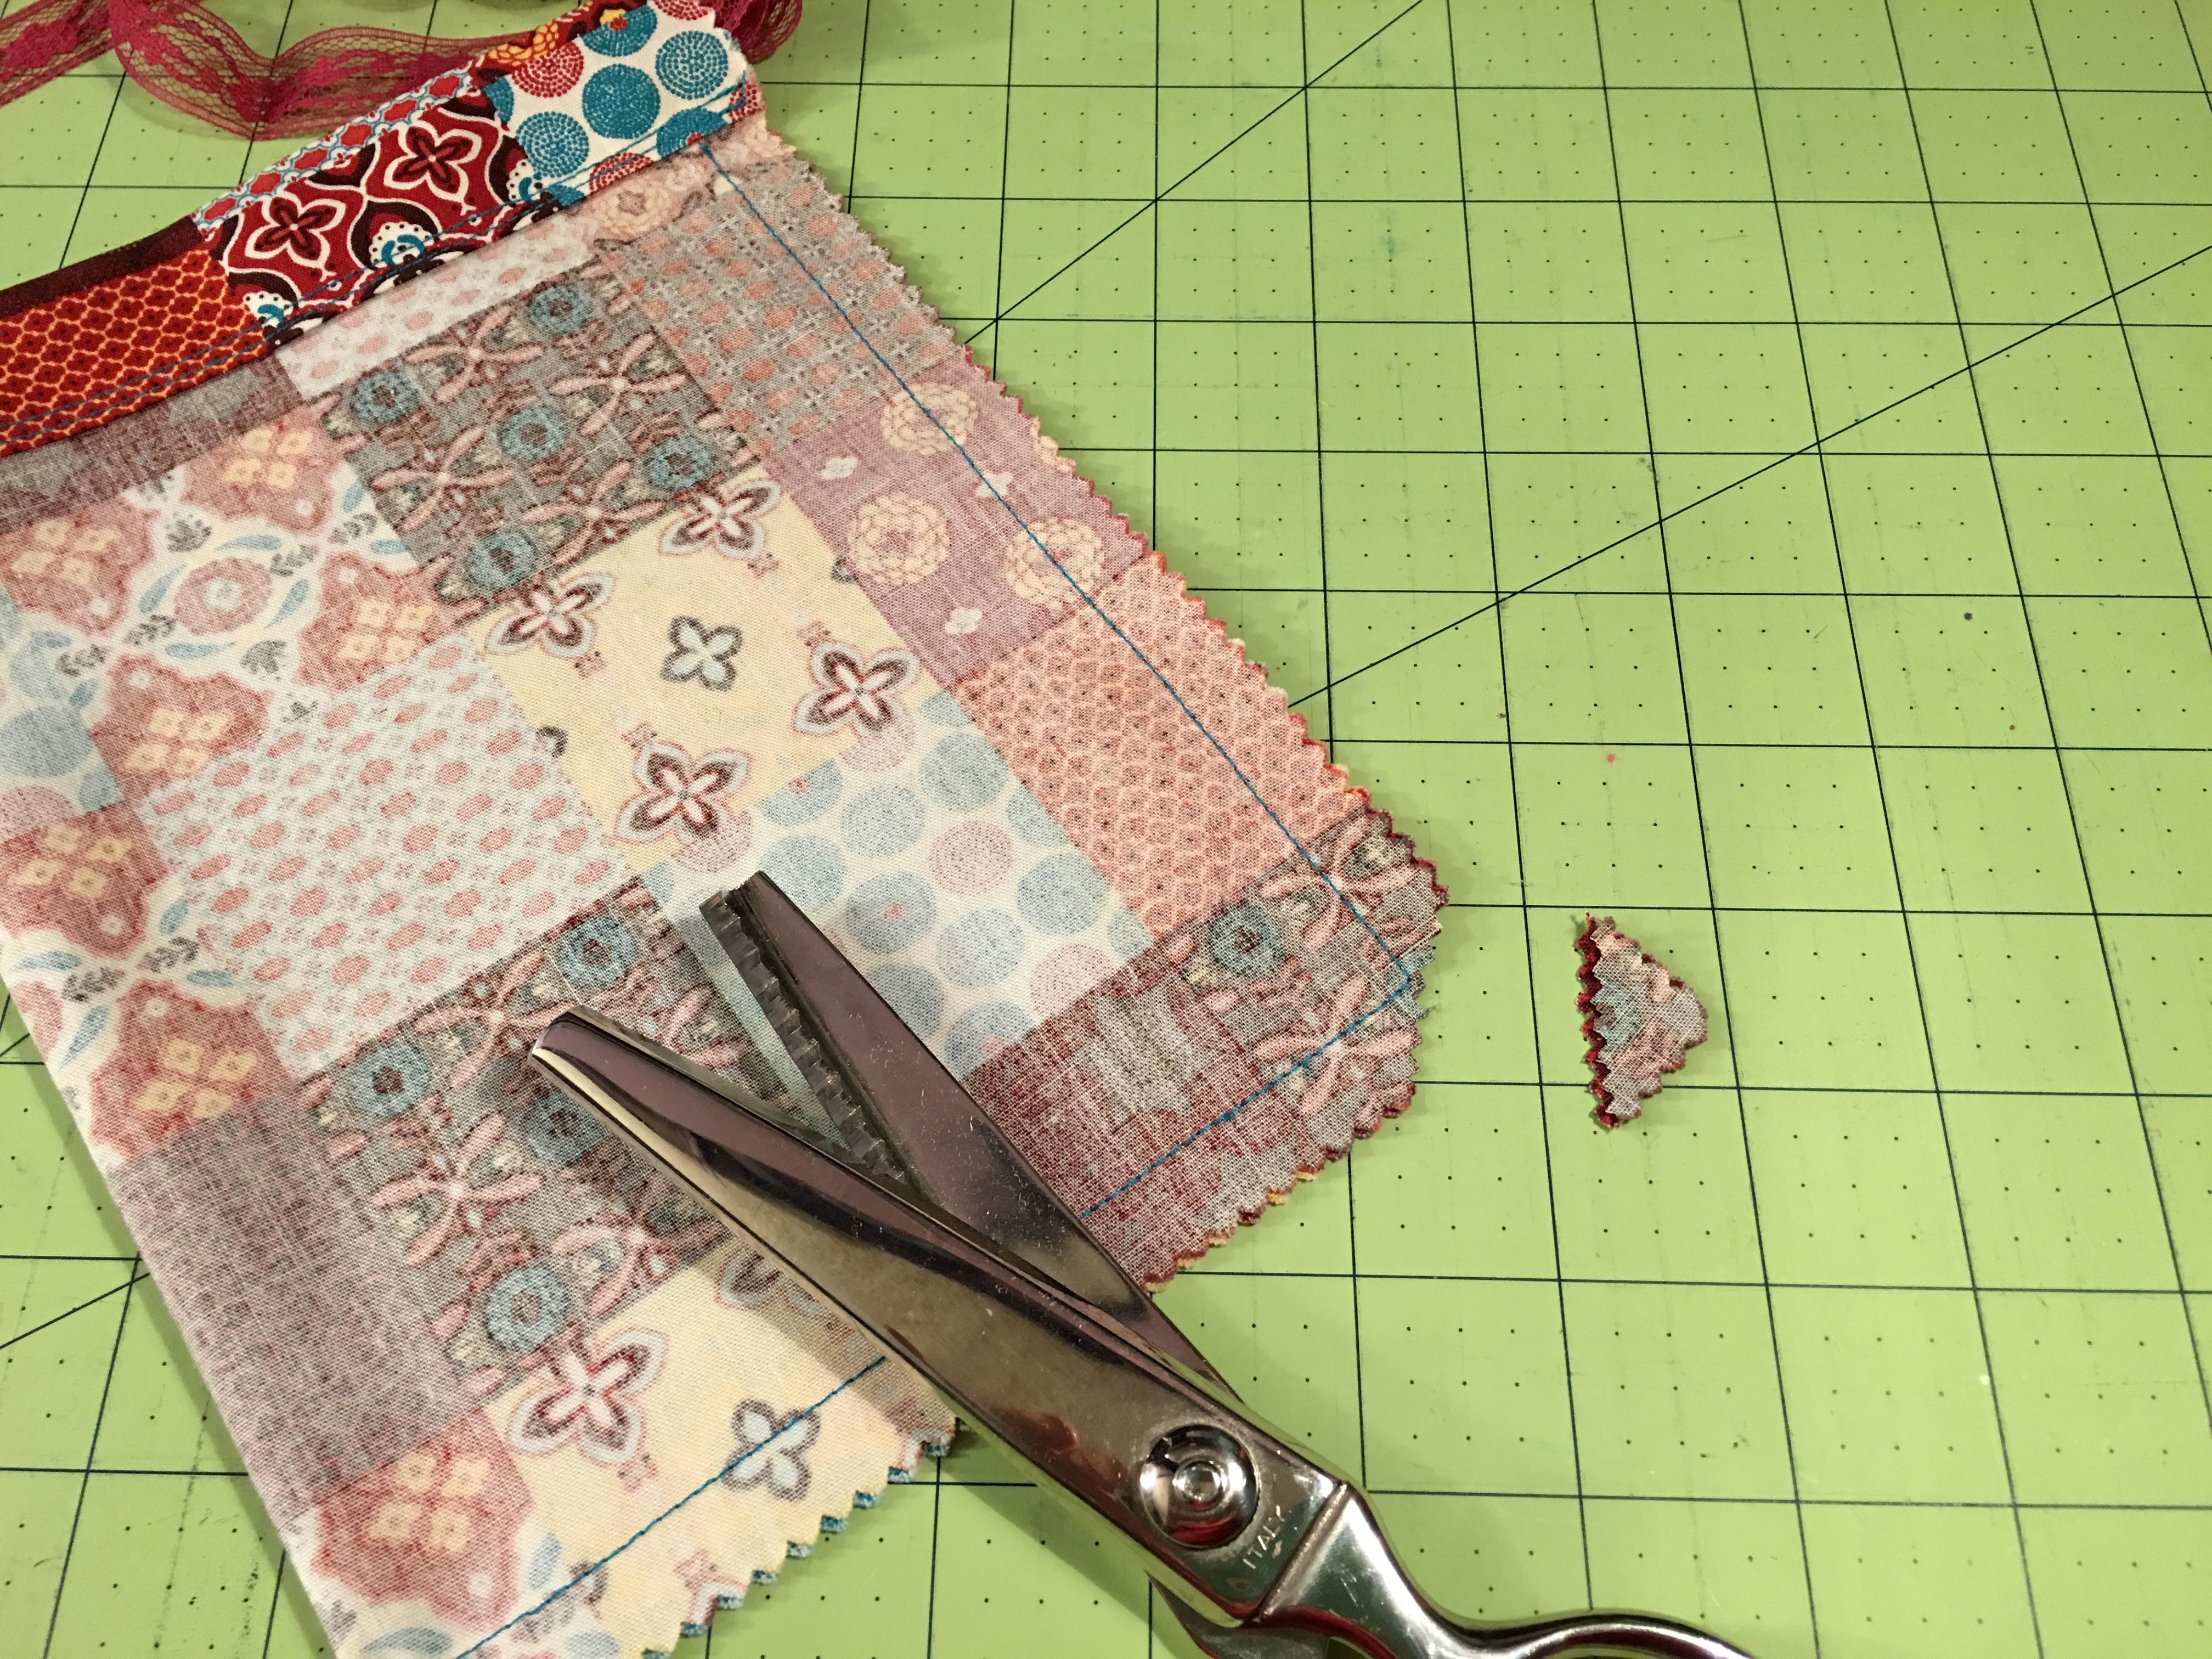 Step 3h: Using the pinking shears, clip the bag’s corners.
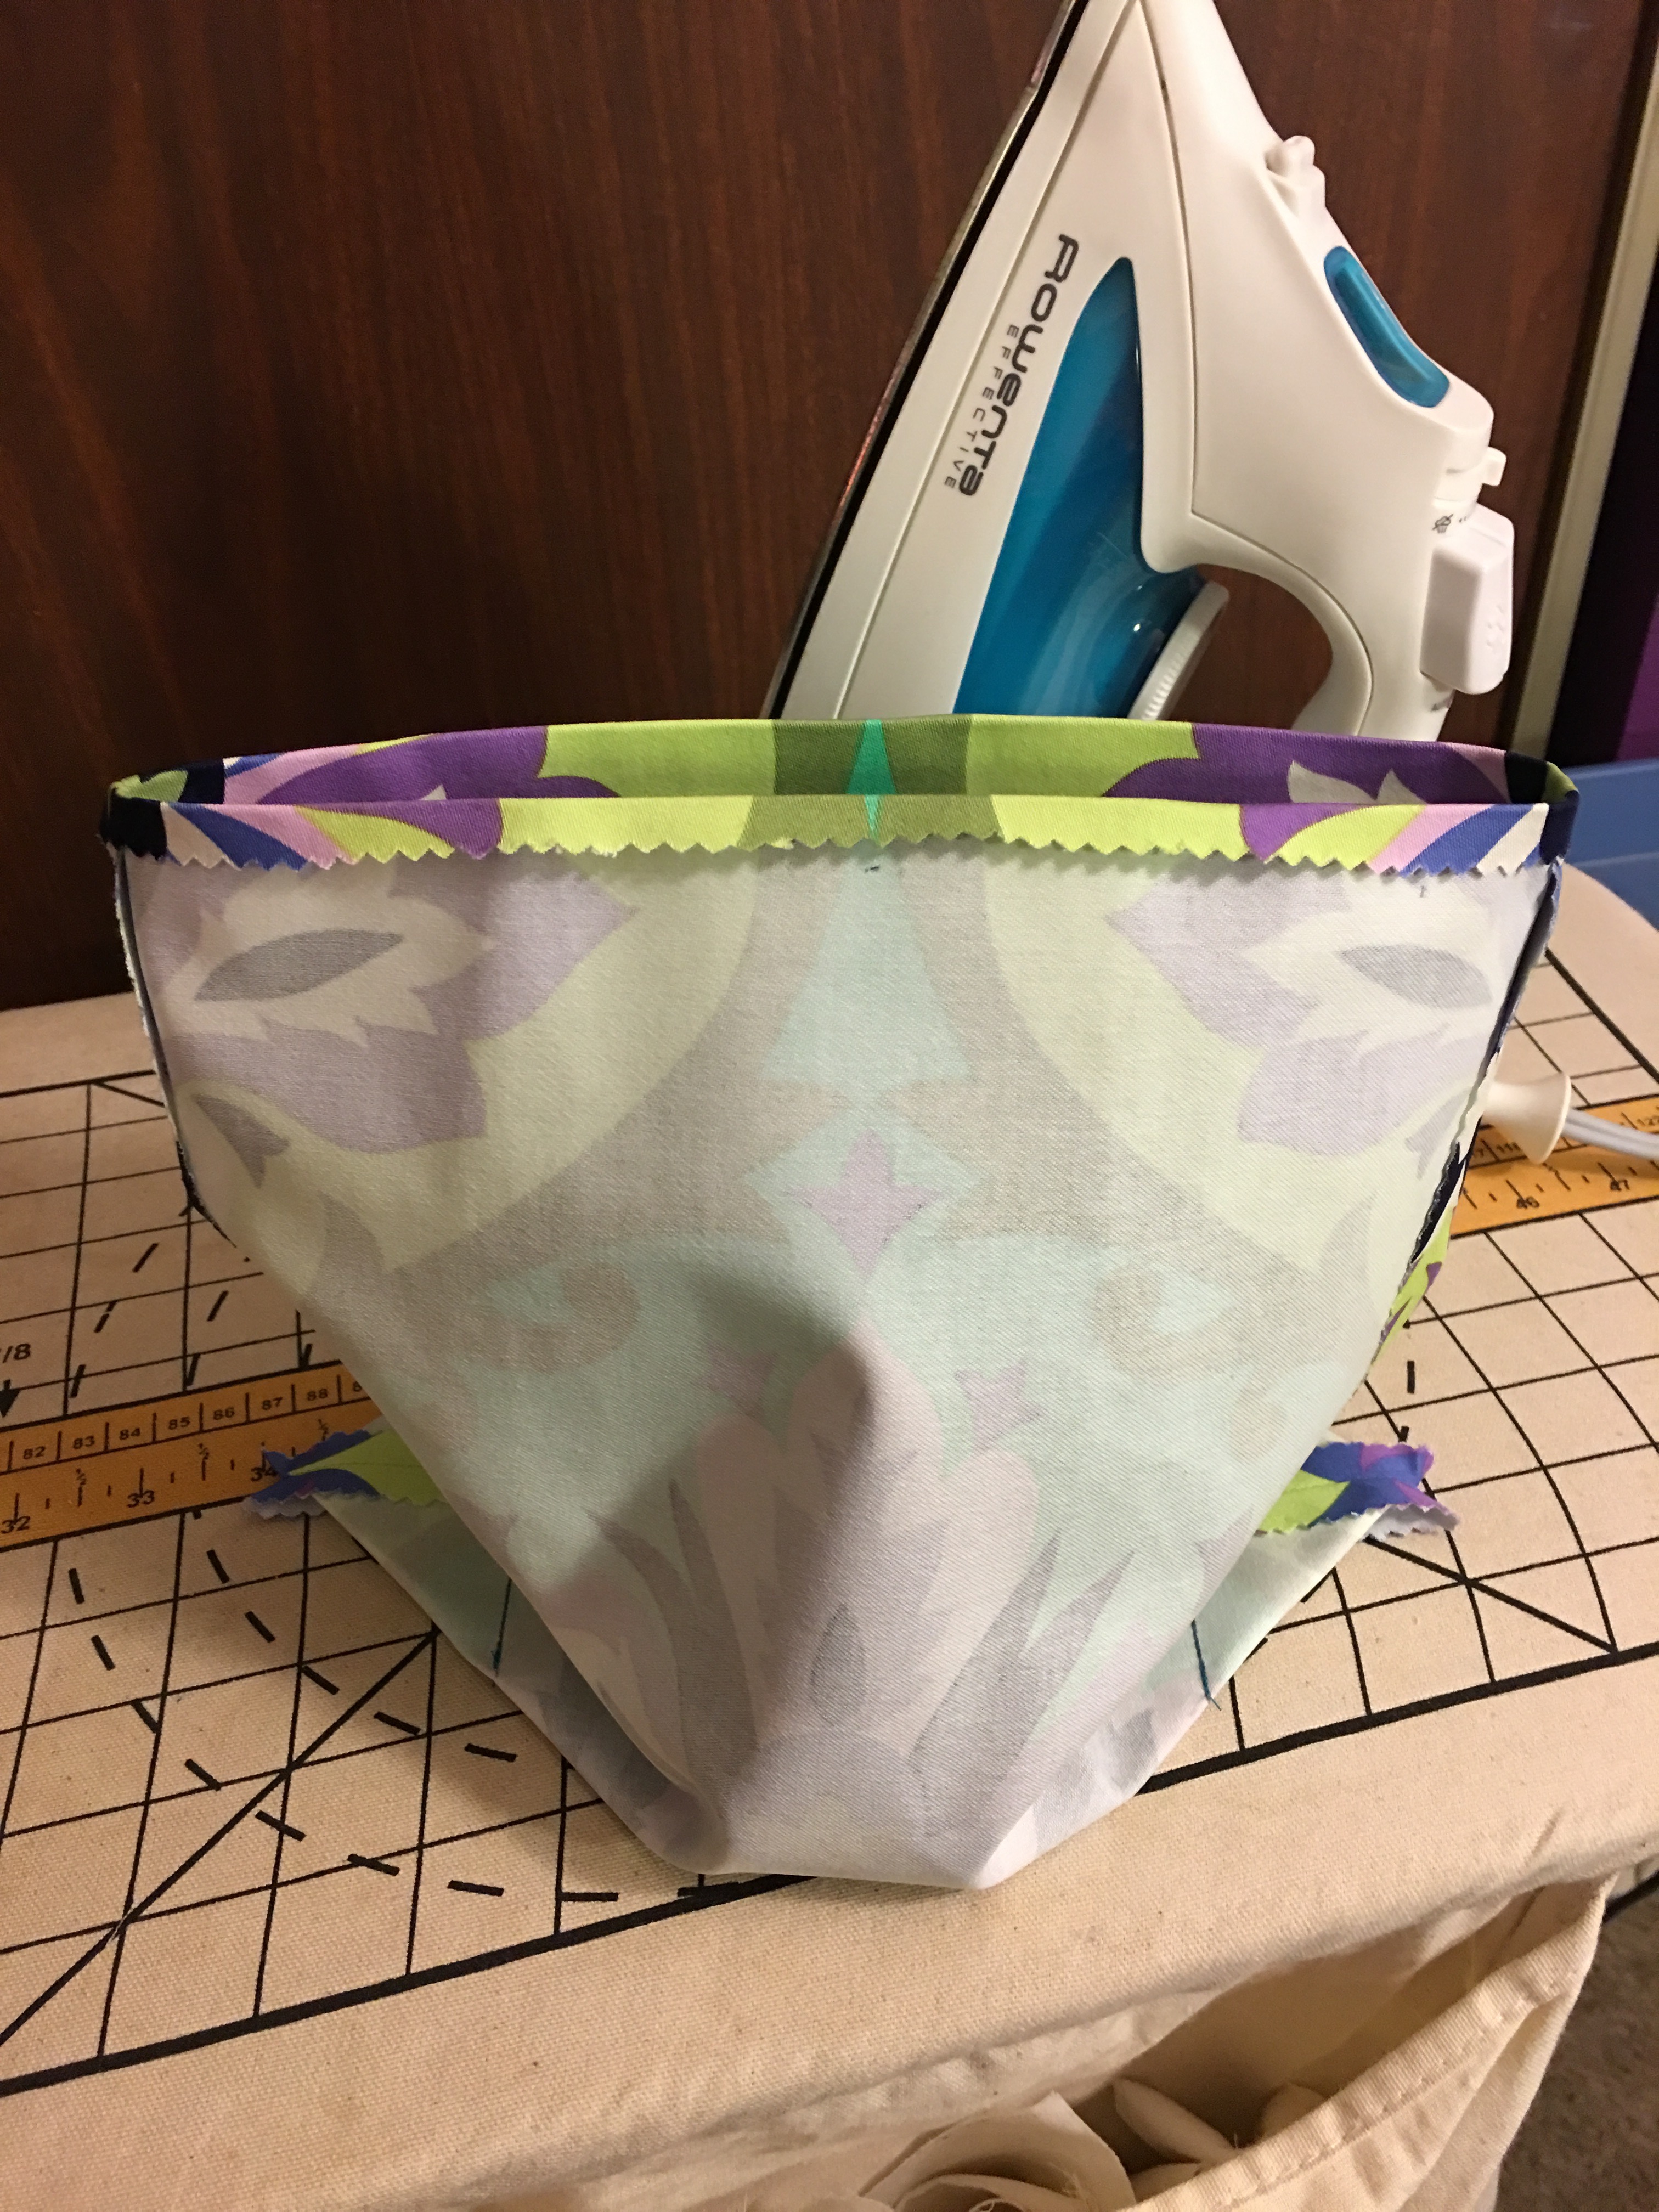
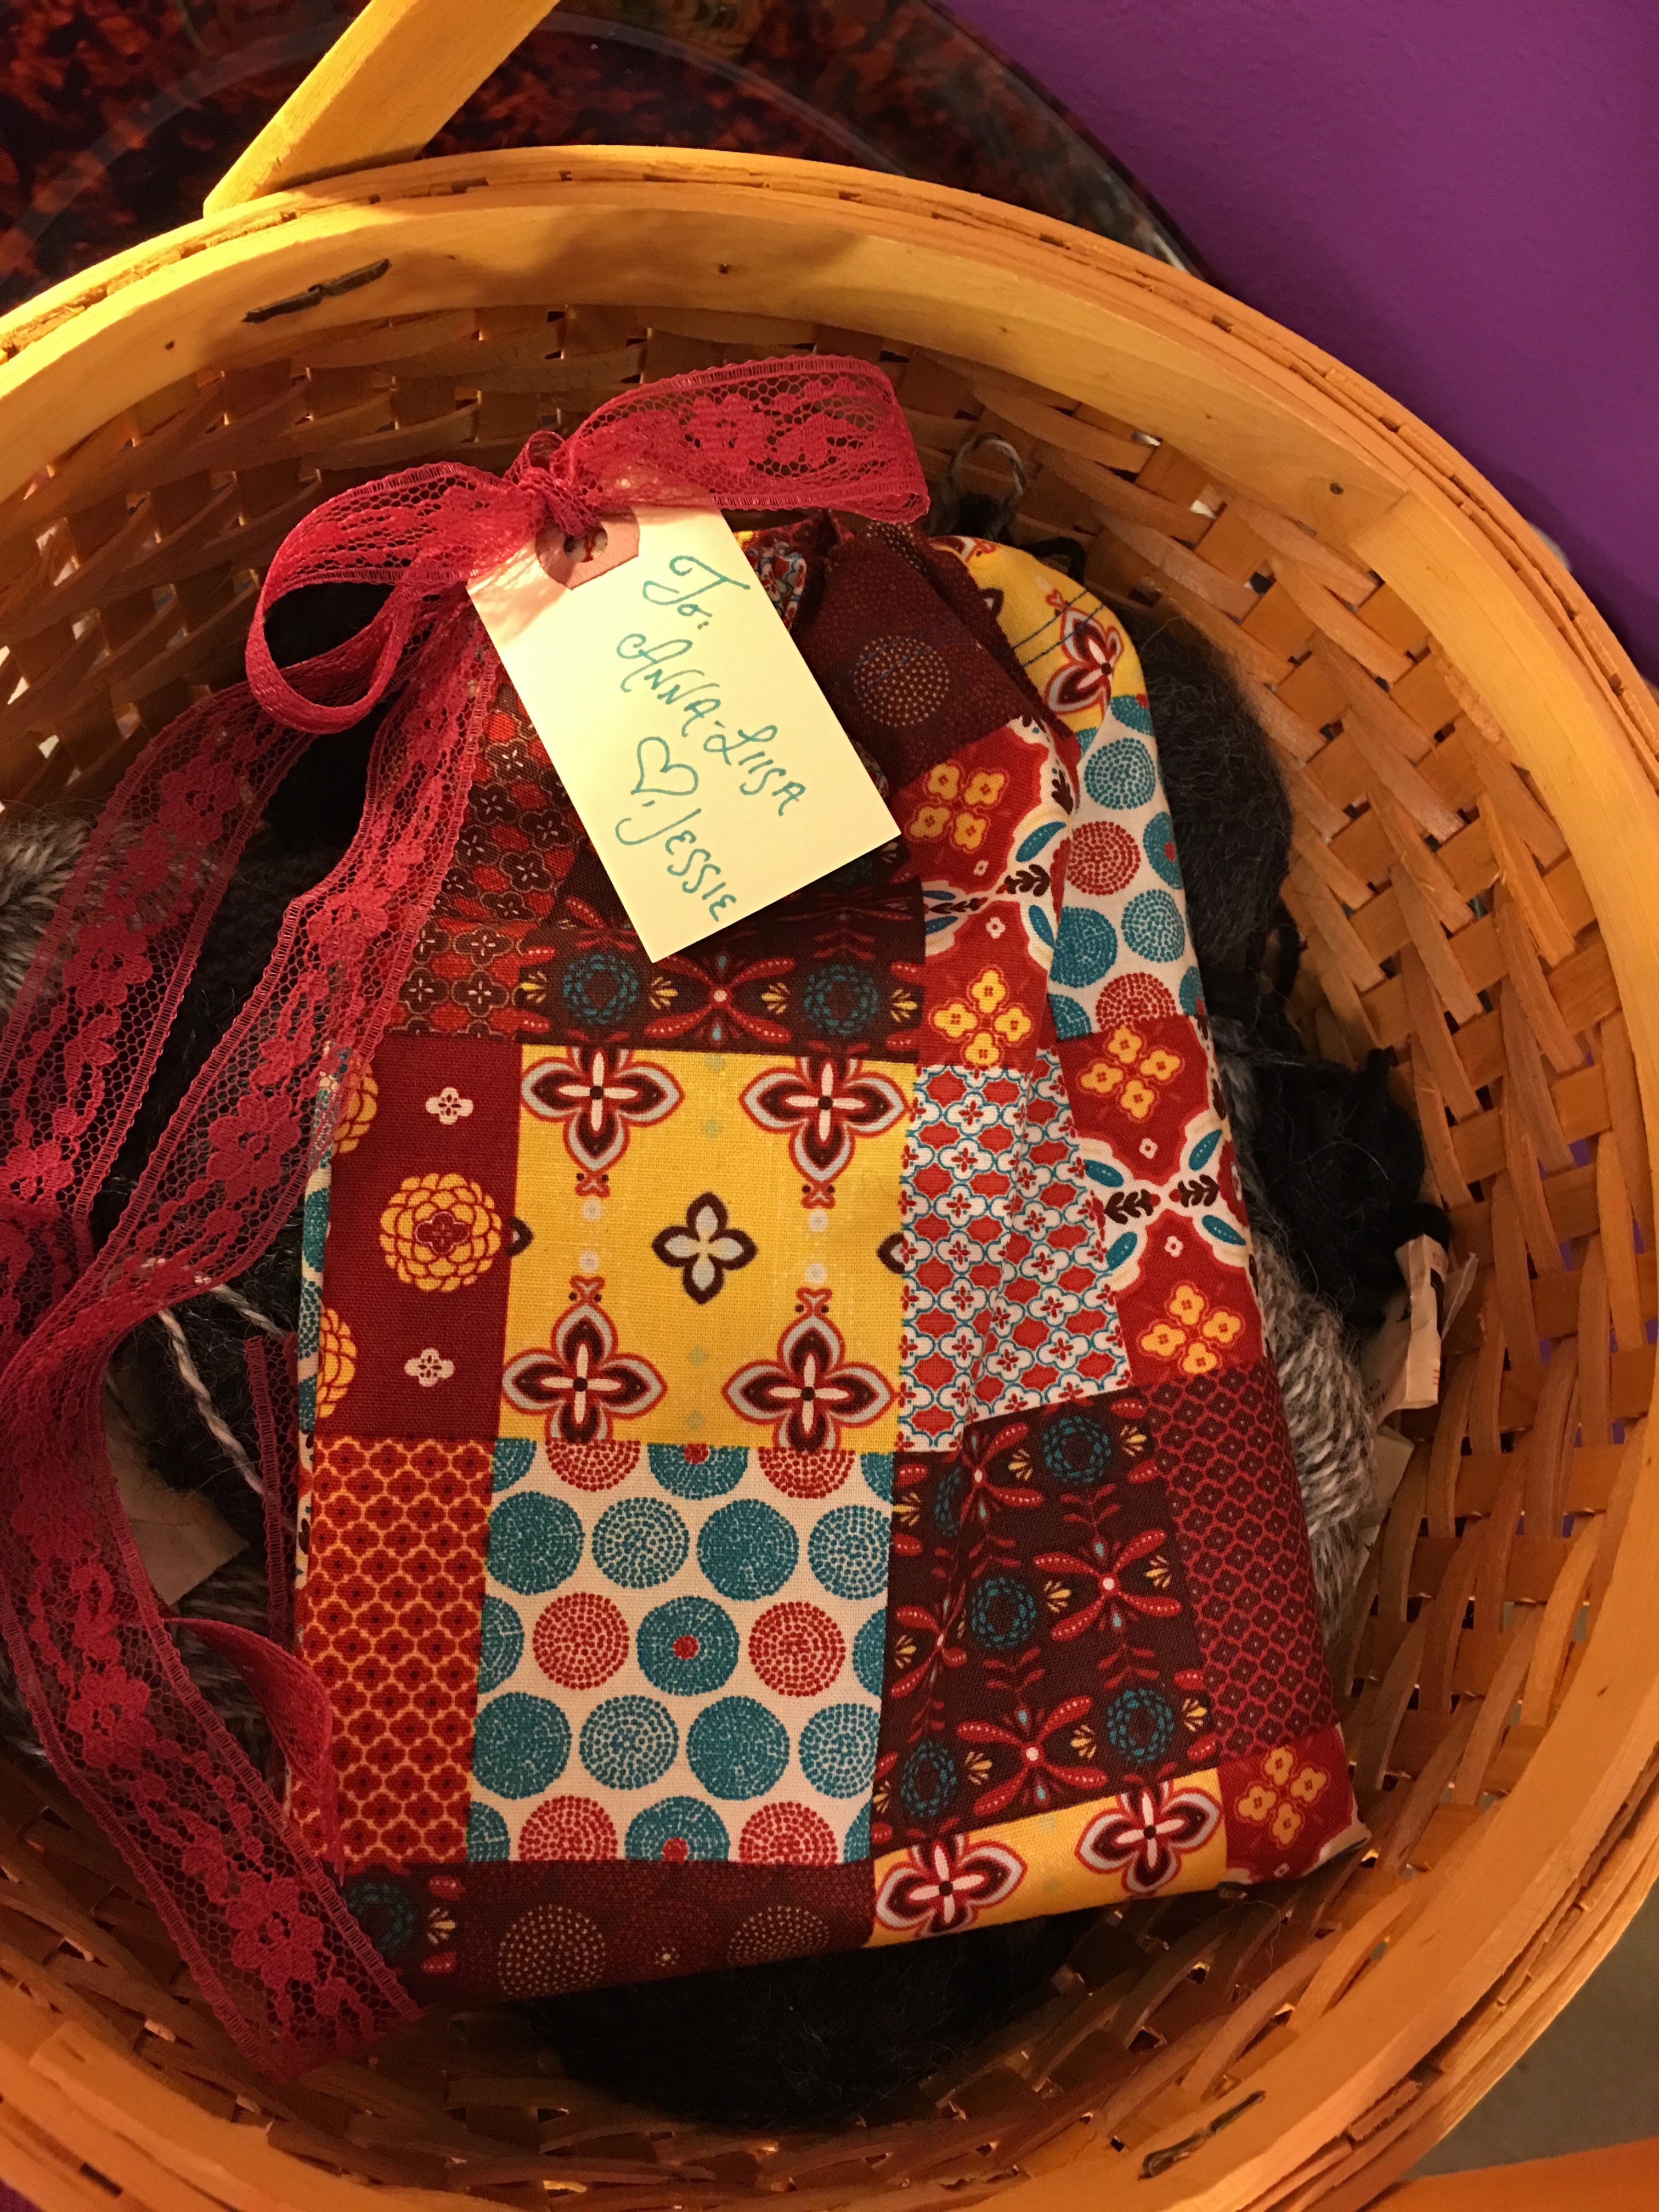 Now fill the bag with your gift, tie the drawstring closed, and add a gift tag to the outside. The recipient of the gift will never know that this delightful bag was made out of a fabric scrap in hardly any time at all.

30 Minute Handled Gift Bag
 If you’ve got a bit more time or are looking for a different look, you could also make this cute gift bag in just a half an hour! This bag is made to be a standard 5½” x 8½” x 4” gift bag size. Create any sized bag by increasing the length and width described below. As in the bag above, measure the gift and determine the ideal gift bag size by adding ½” seam allowances and wiggle room.
• 1/3 yard home-dec weight cotton fabric
• 1 yard of 1½” wide matching ribbon
• Coordinating thread
• Pinking shears
• Removable fabric marker
• Acrylic ruler
Cutting
Step 1a: From the fabric cut two 10½” x 12½” rectangles. Step 1b: From the ribbon cut two 16” strips. Step 1c: Pink the ribbon ends.Construction
Step 2a: Designate one 10½” edge of both rectangles as the upper edges of each.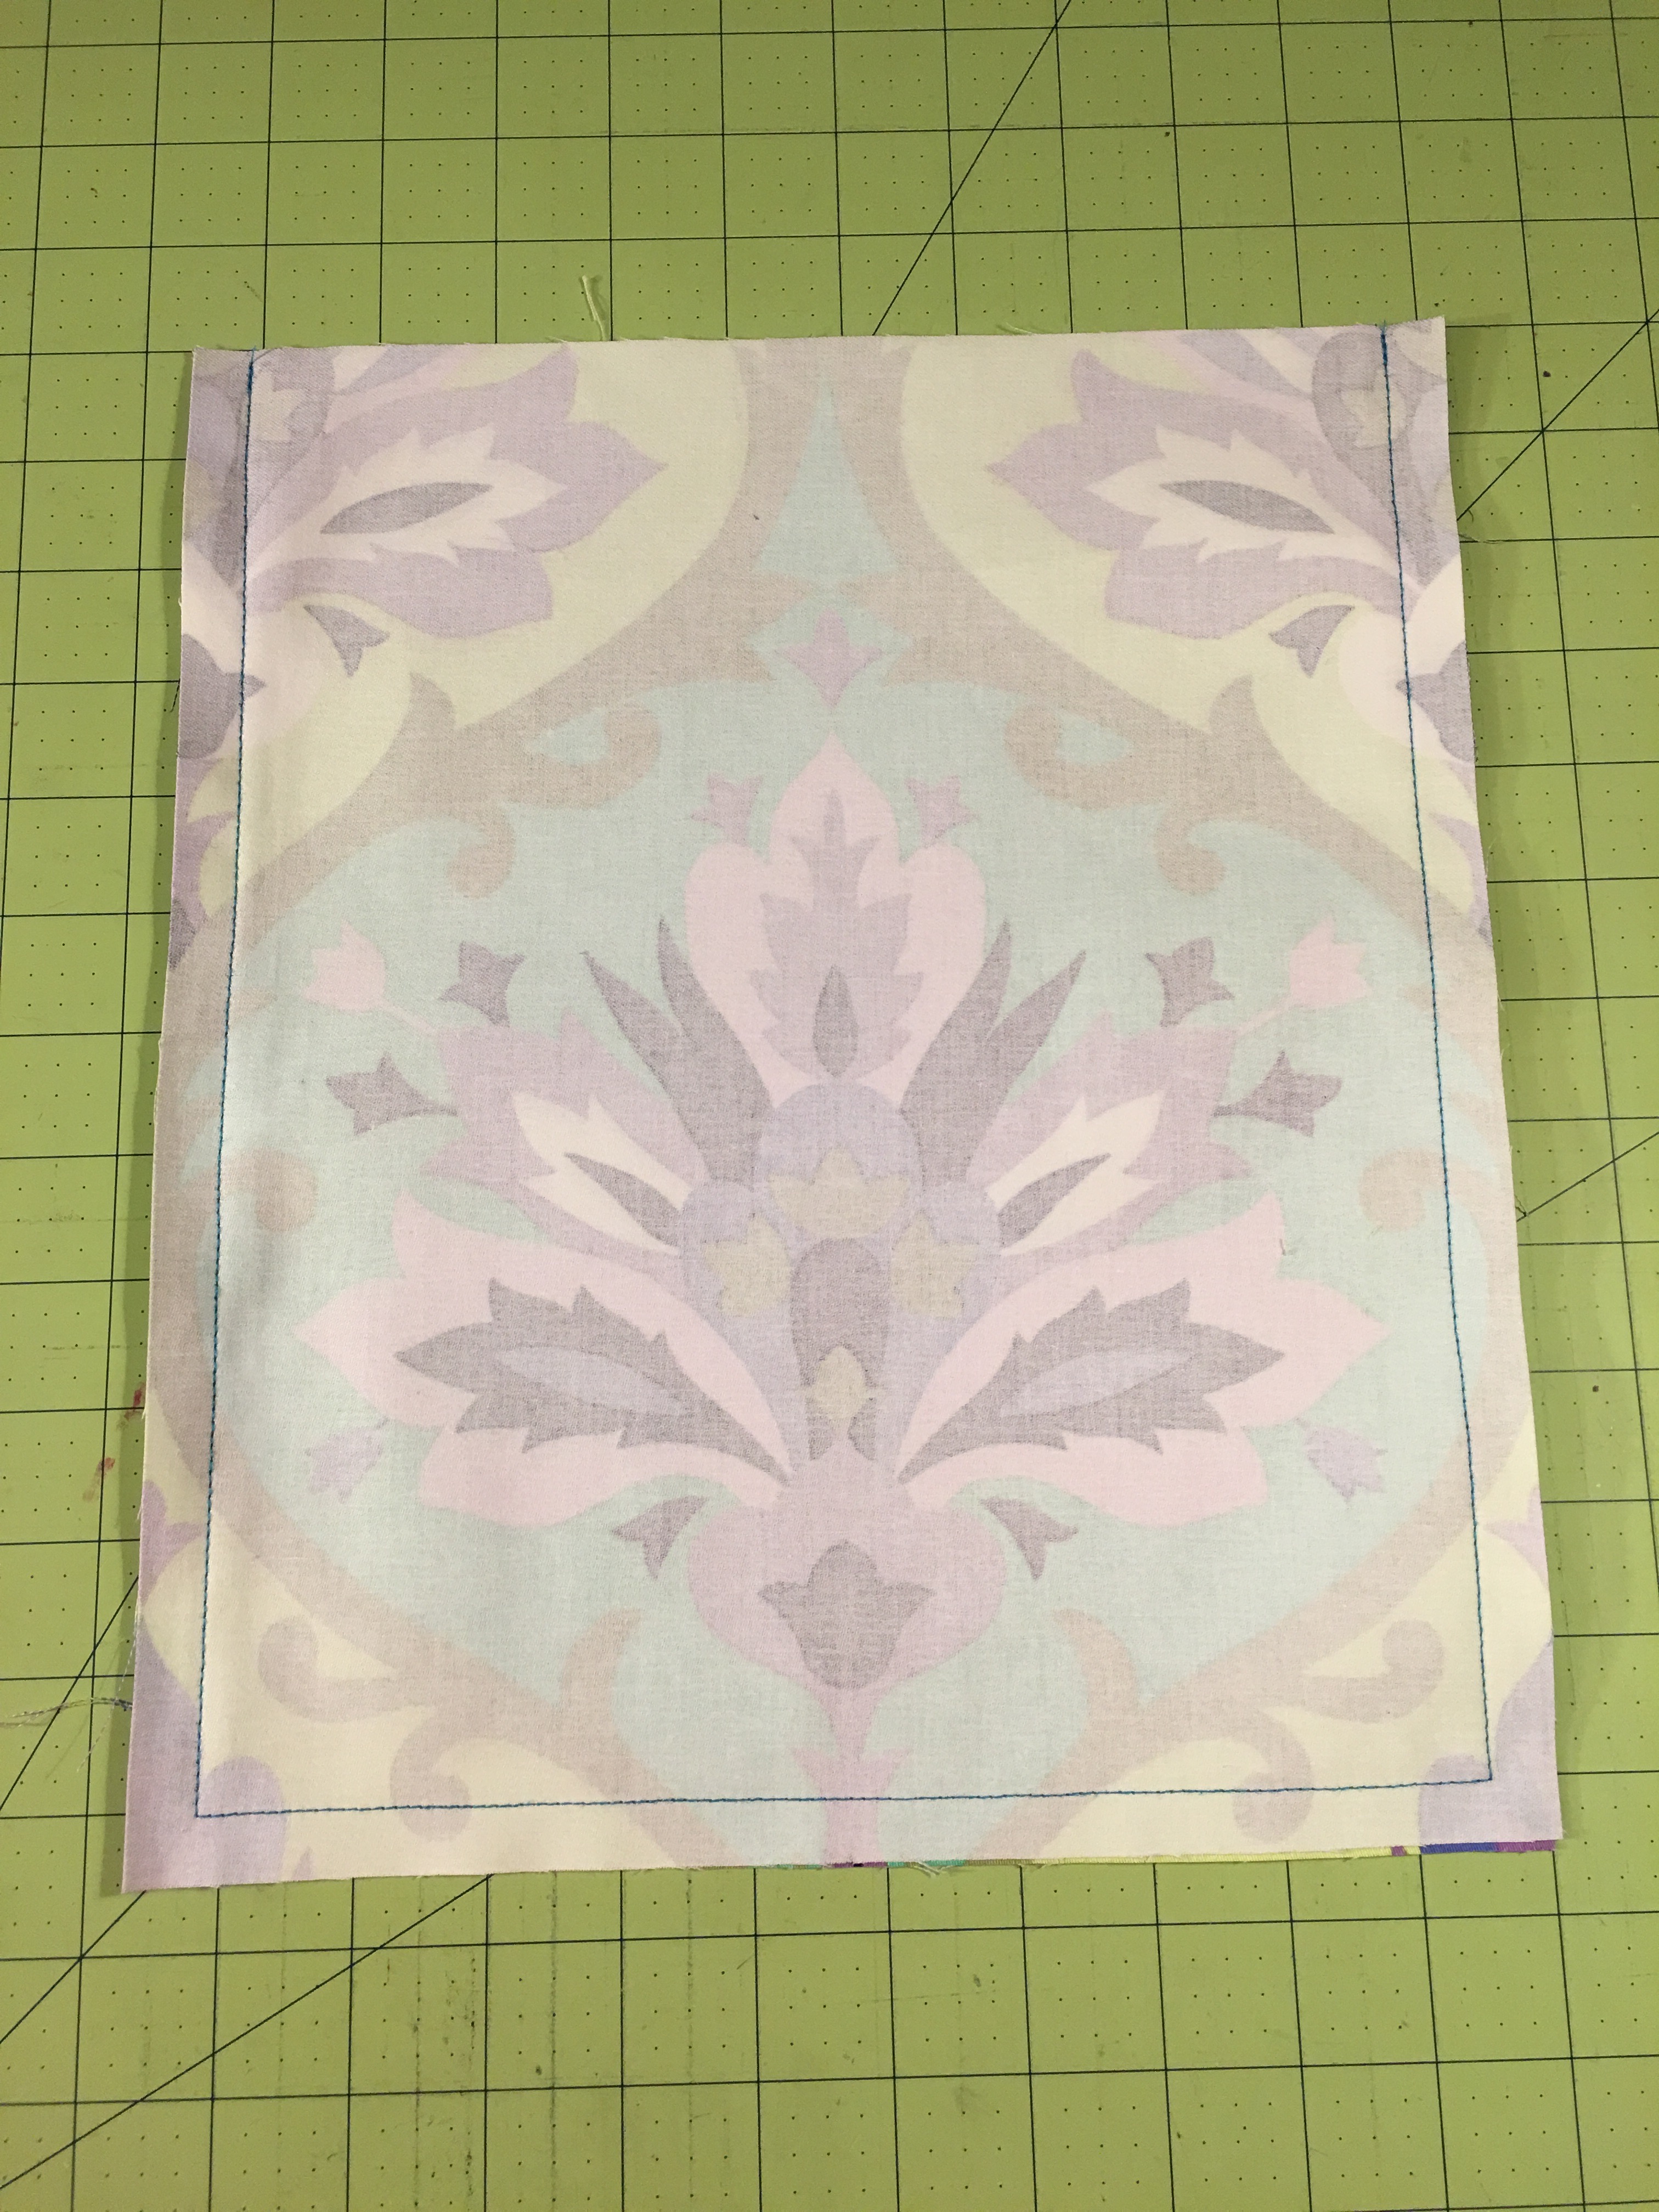 Step 2b: Using ½” seam allowances, stitch down one side, pivot at the corner, along the lower edge, pivot again, and up the remaining side.
 Step 2c: Pink along the seams allowances.
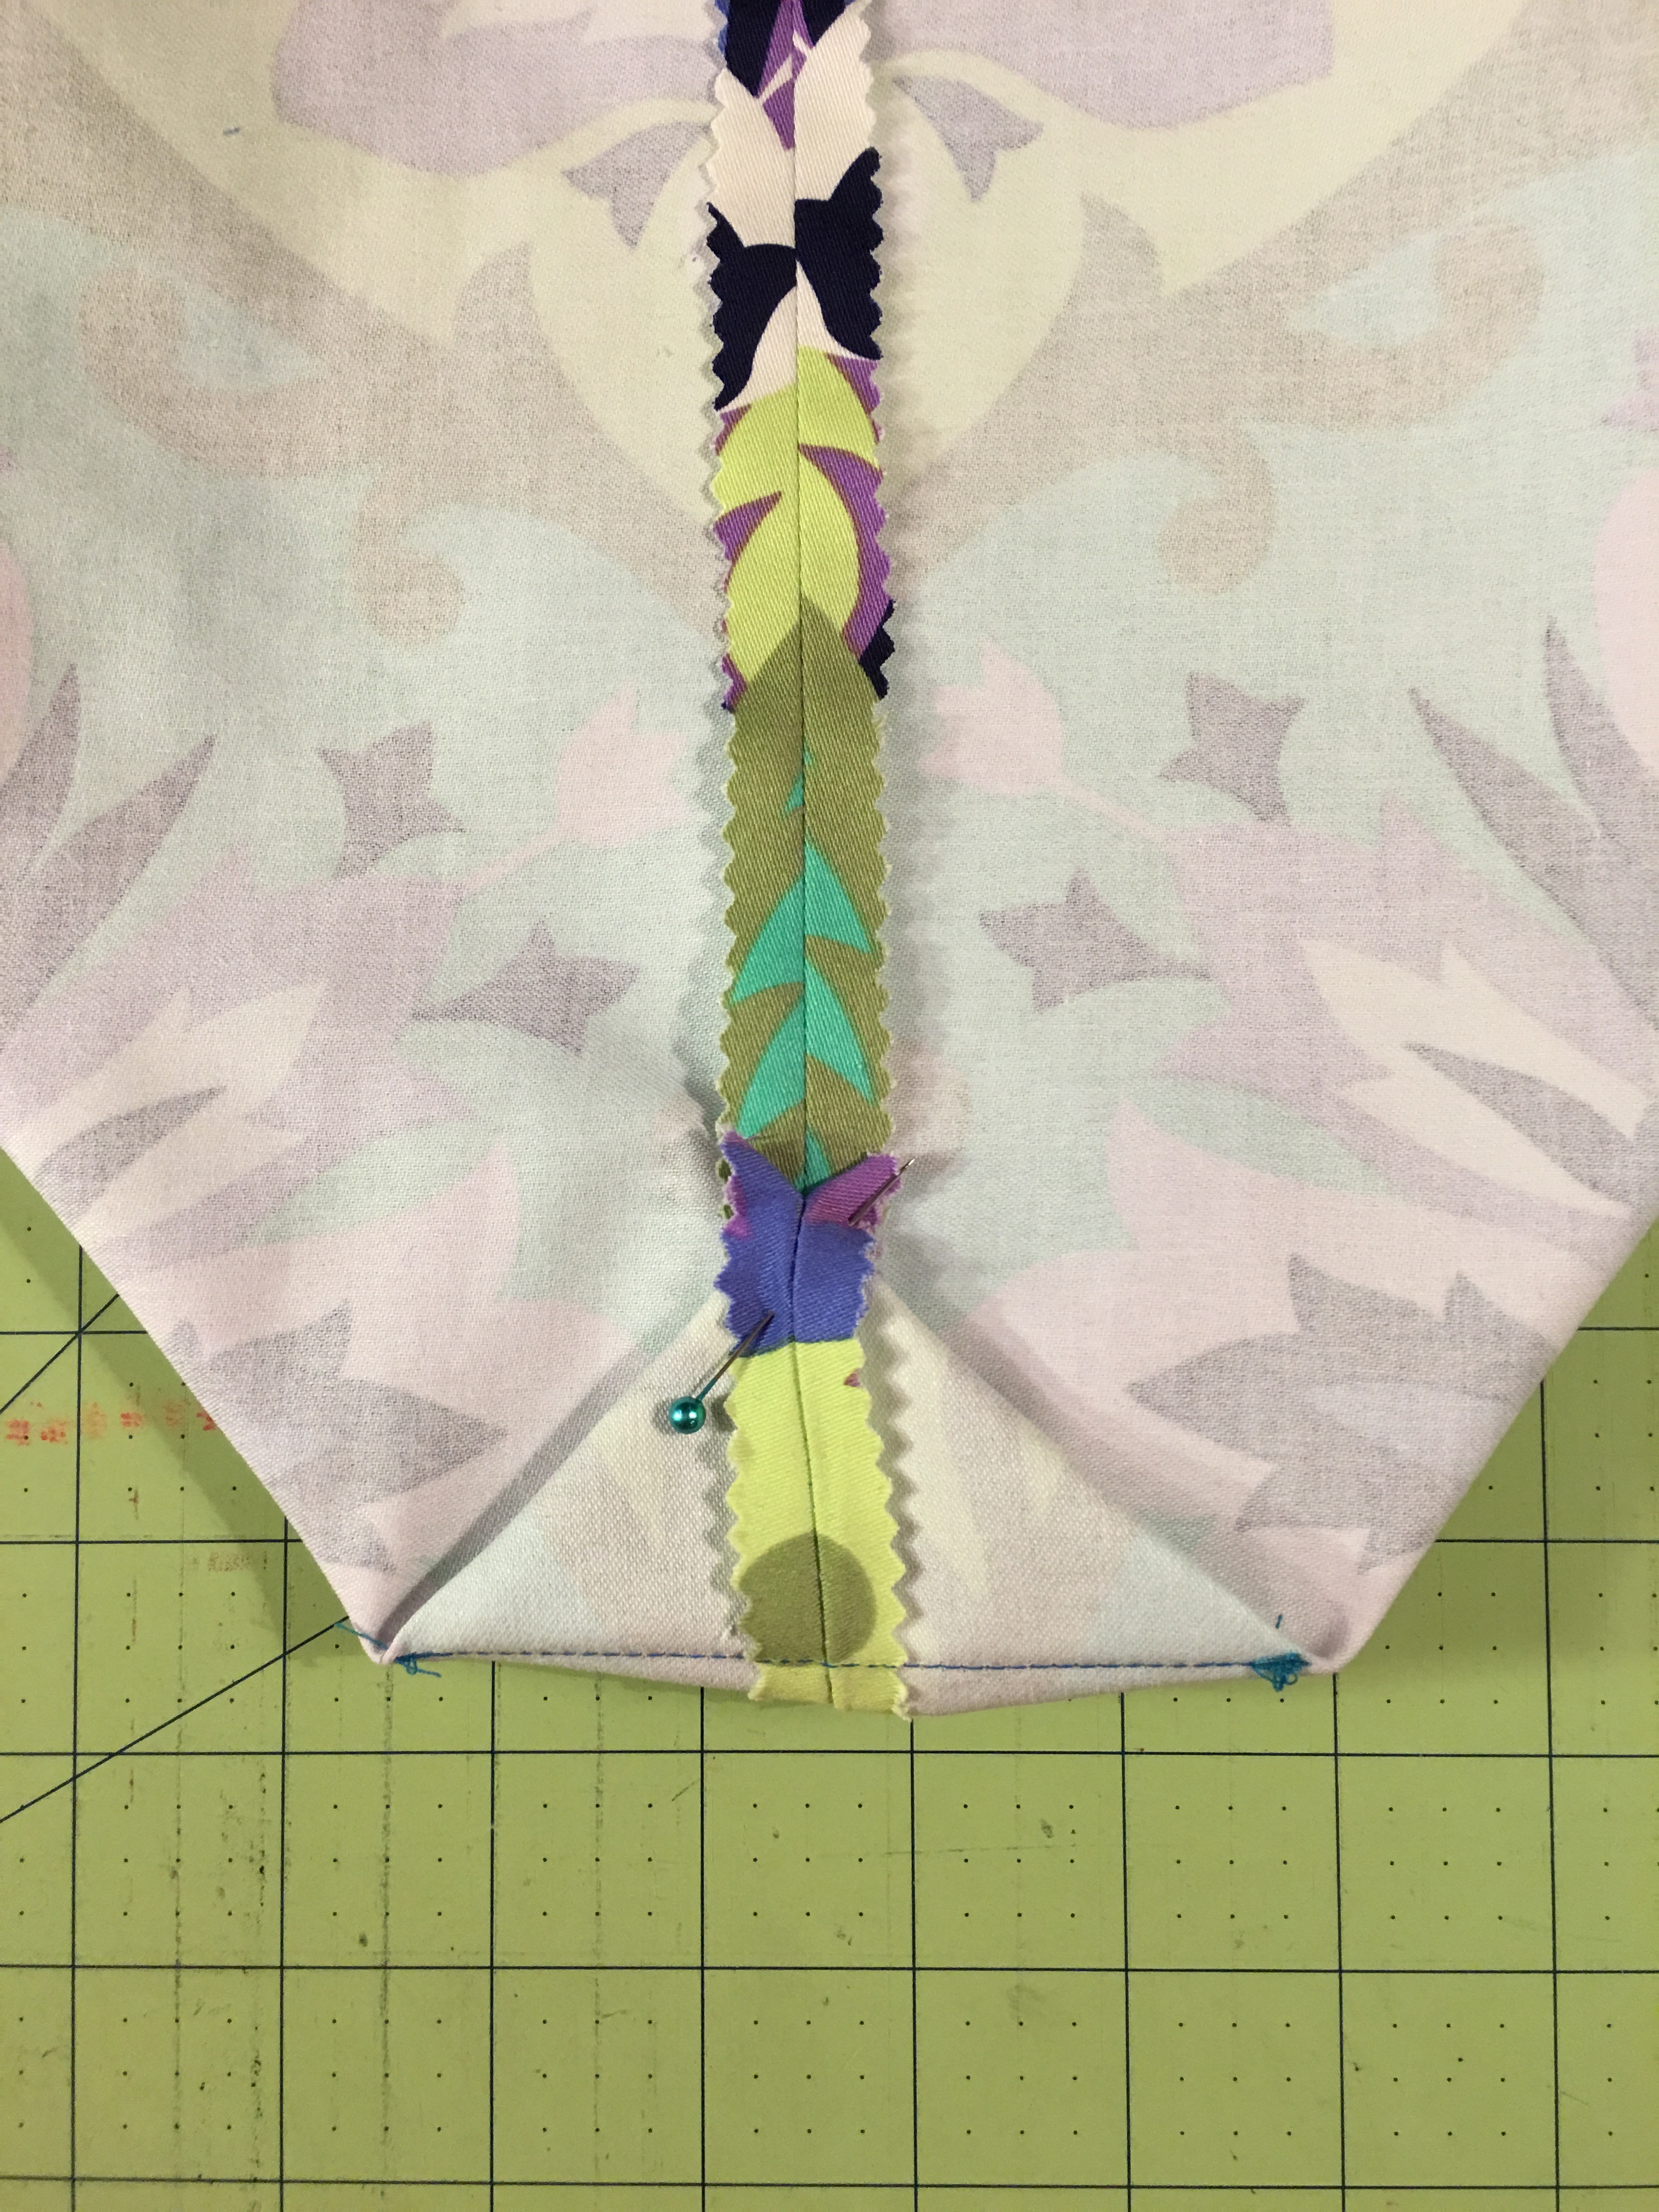
 Step 2e: Matching the side seam with the lower edge seam, pin the lower edge to the side. This is the beginning of creating a gusset.
 Step 2f: Measure 2” from the corner to where the bag expands to 4”, mark. Repeat to mark the remaining corner.
 Step 2g: Stitch across the marks on both bag corners.
 Step 2i: Press down the upper edge ¼” to the wrong side.
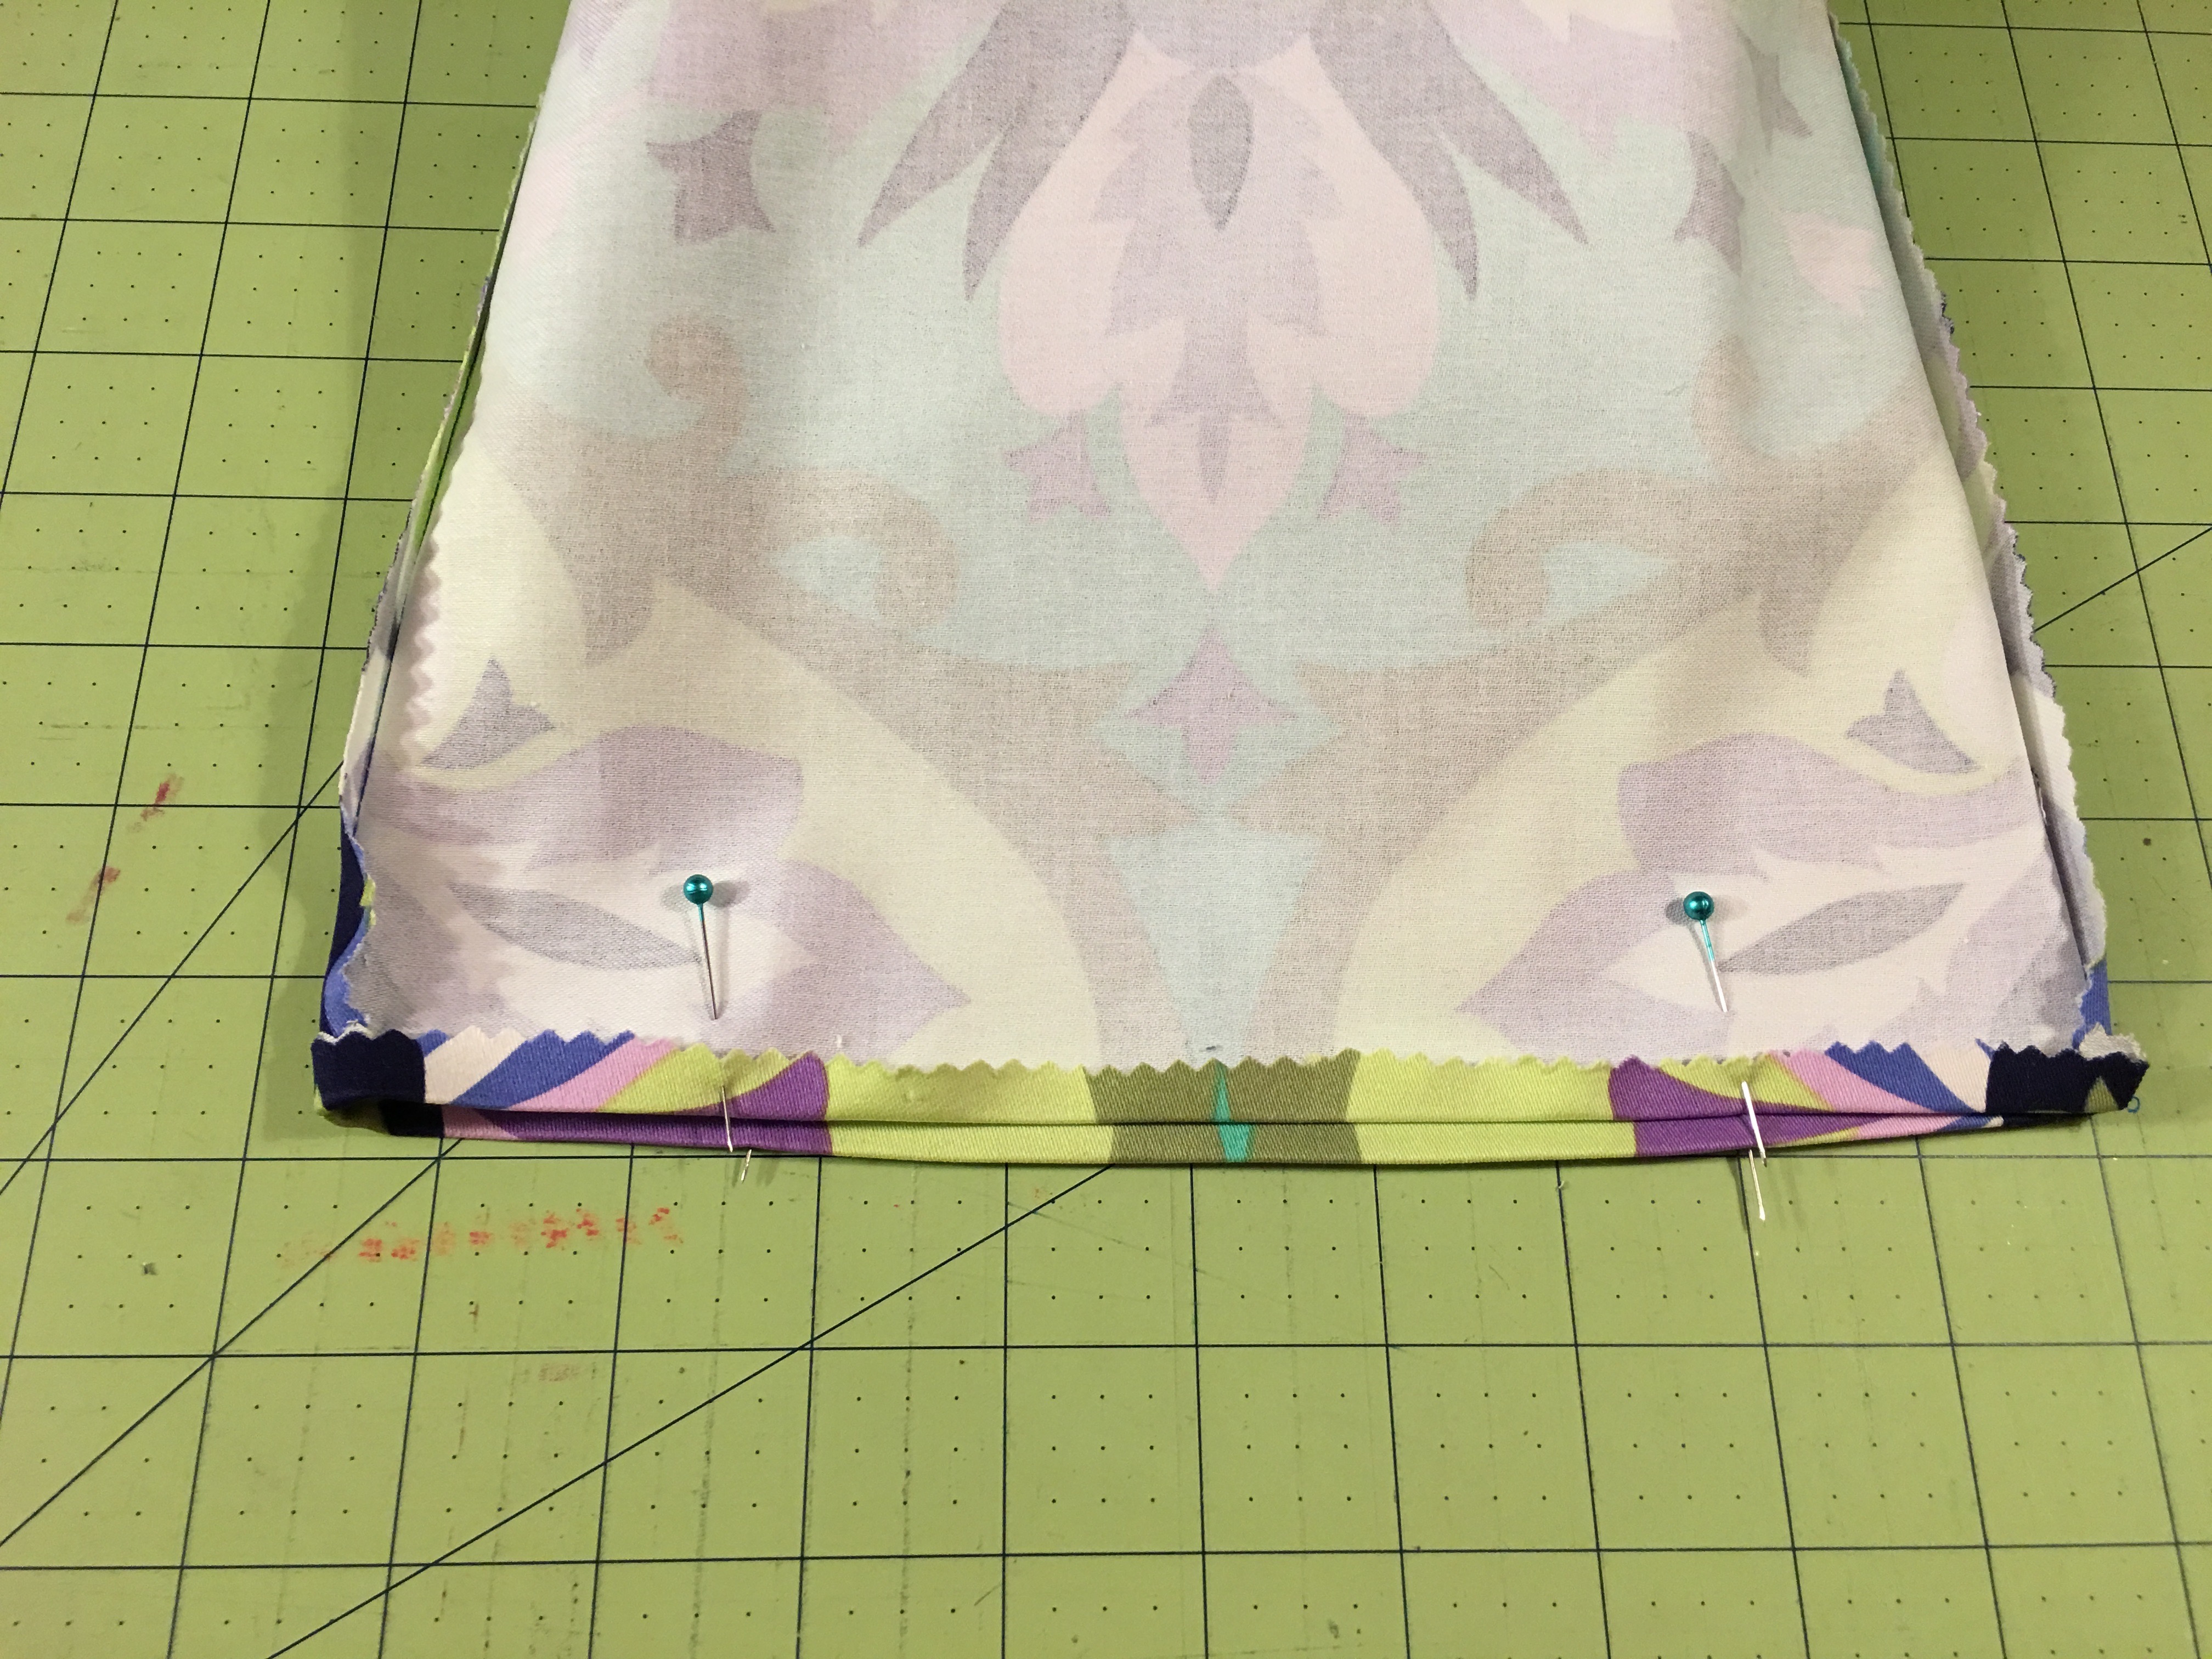 Step 2j: Measure in 2” from each side seam, mark with a pin.
 Step 2k: Pin the ribbon ends to the inside of the two pins. Make sure that the ribbon isn’t twisted.
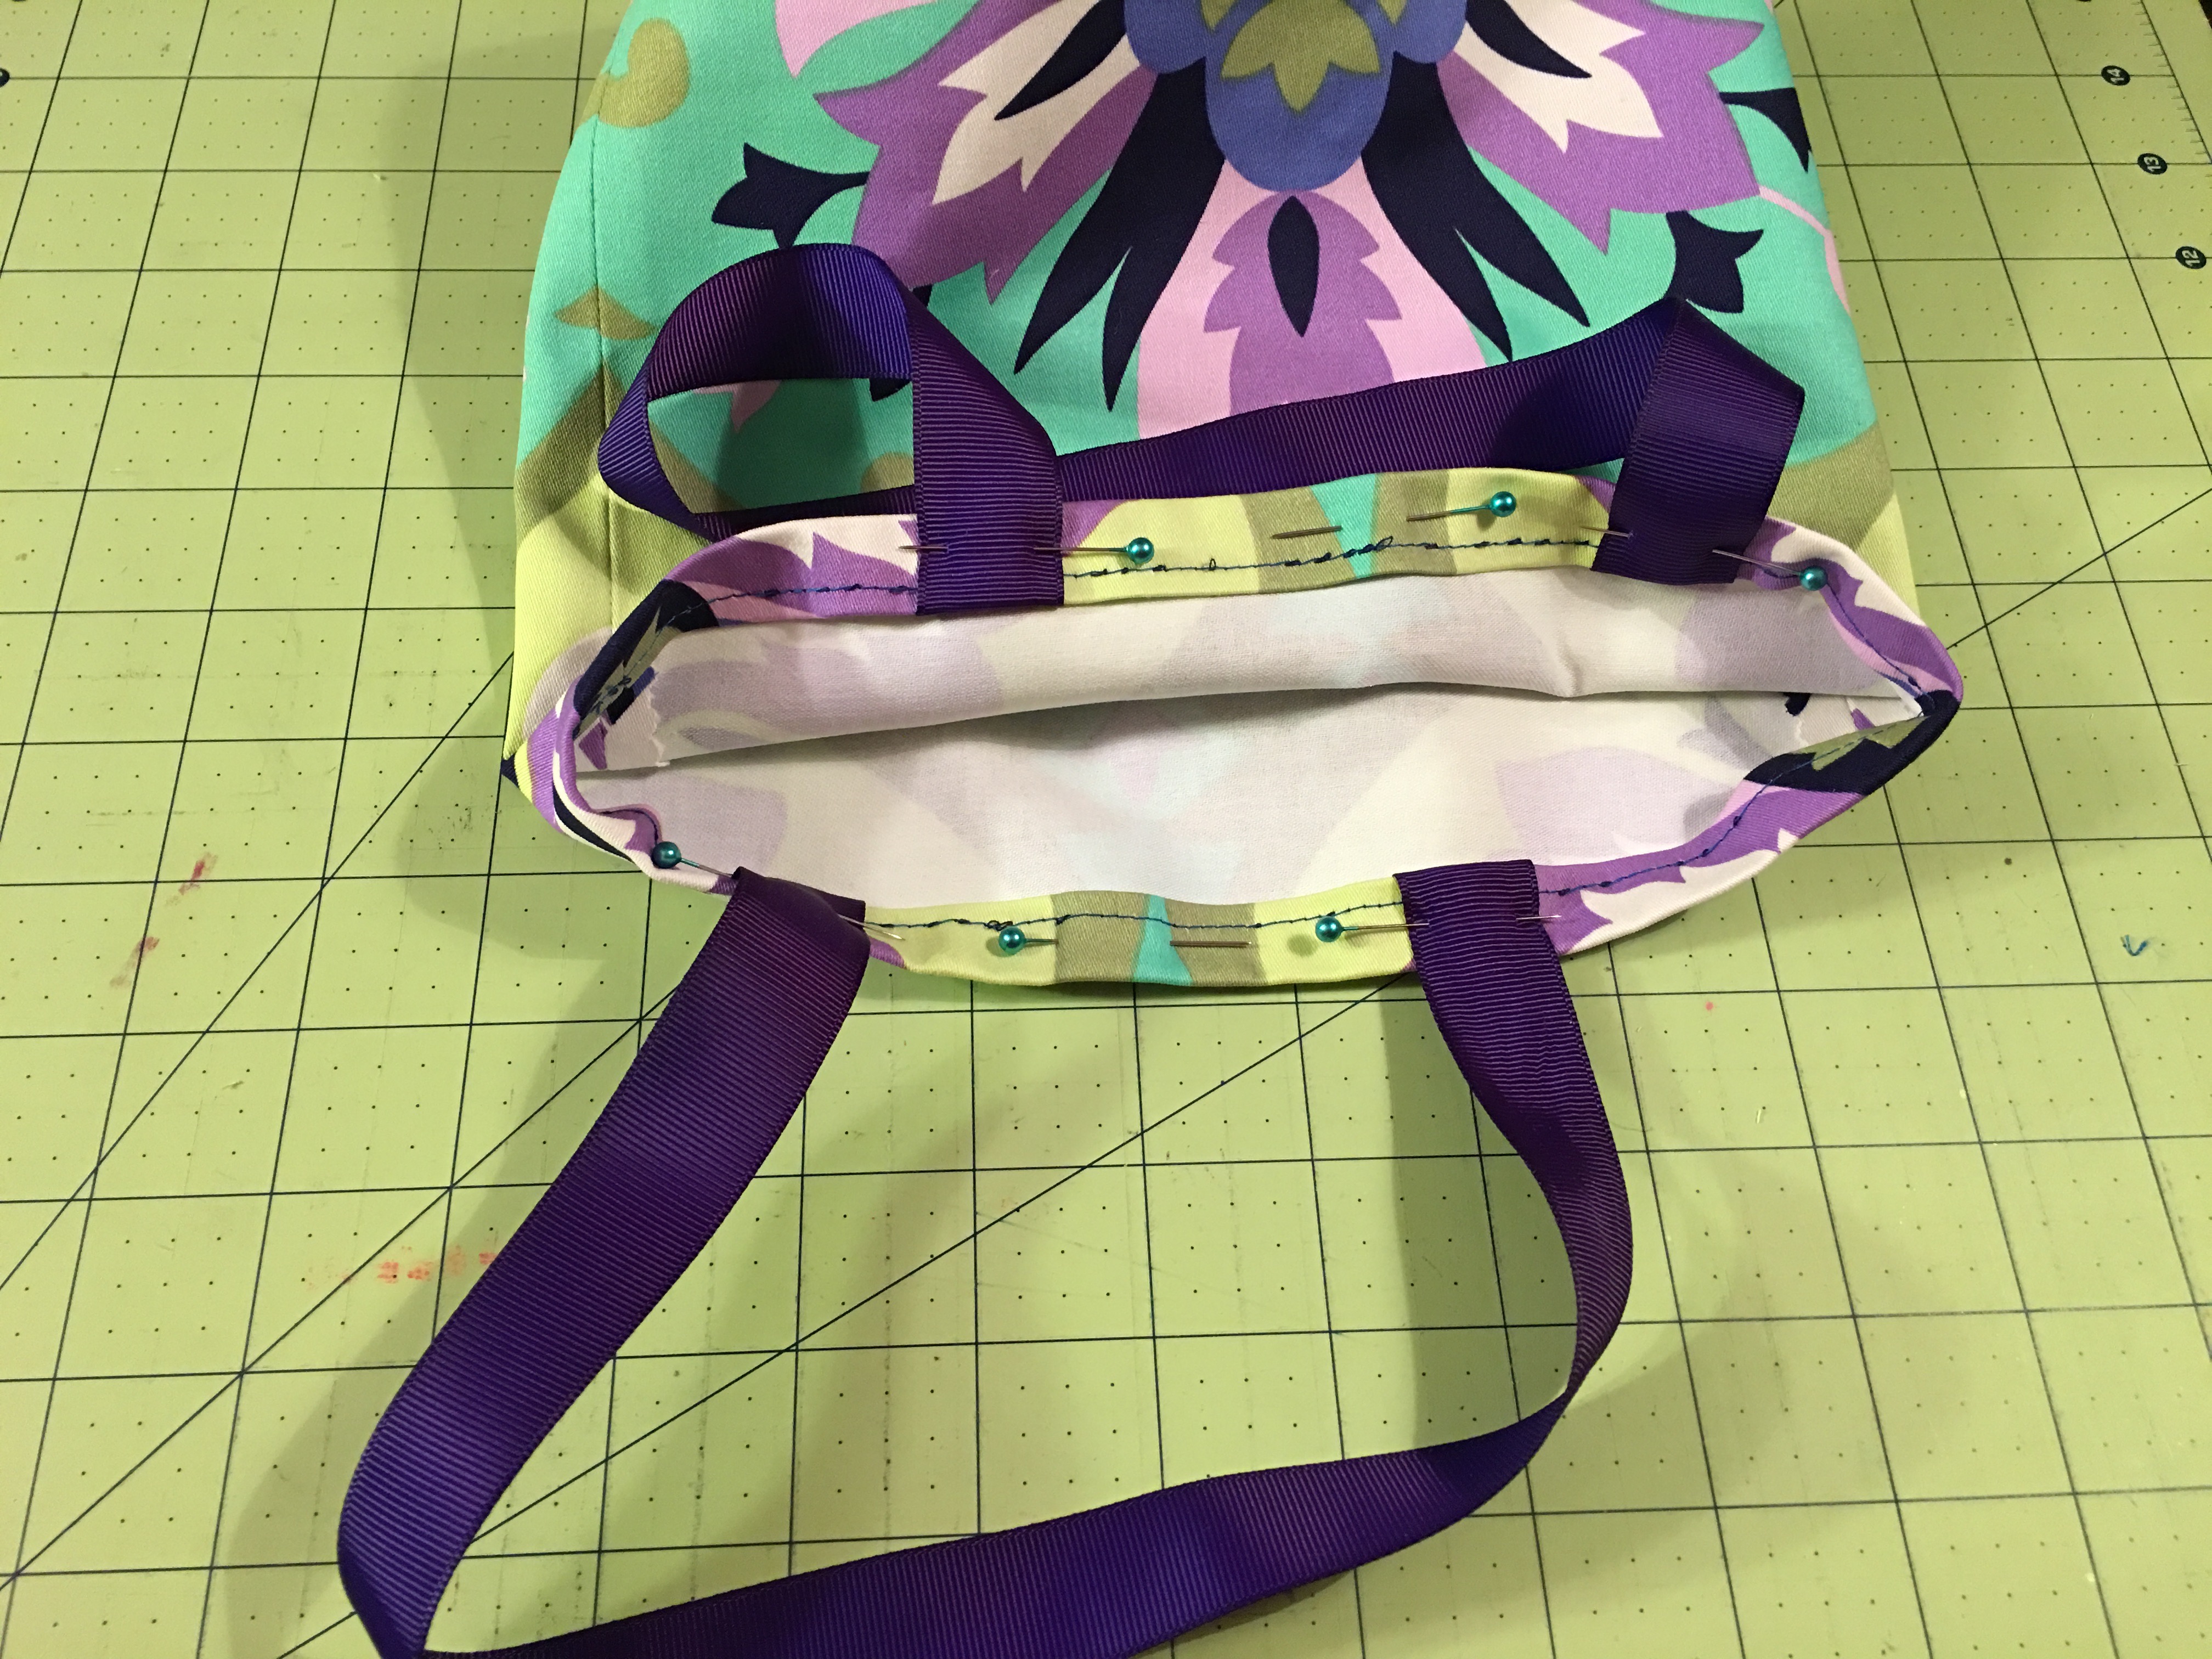 Step 2m: Fold the upper edge down ½” to the bag’s wrong side. This will fold the ribbon down as well, pin in place.
 Step 2o: Pin the gussets up to the side seams.
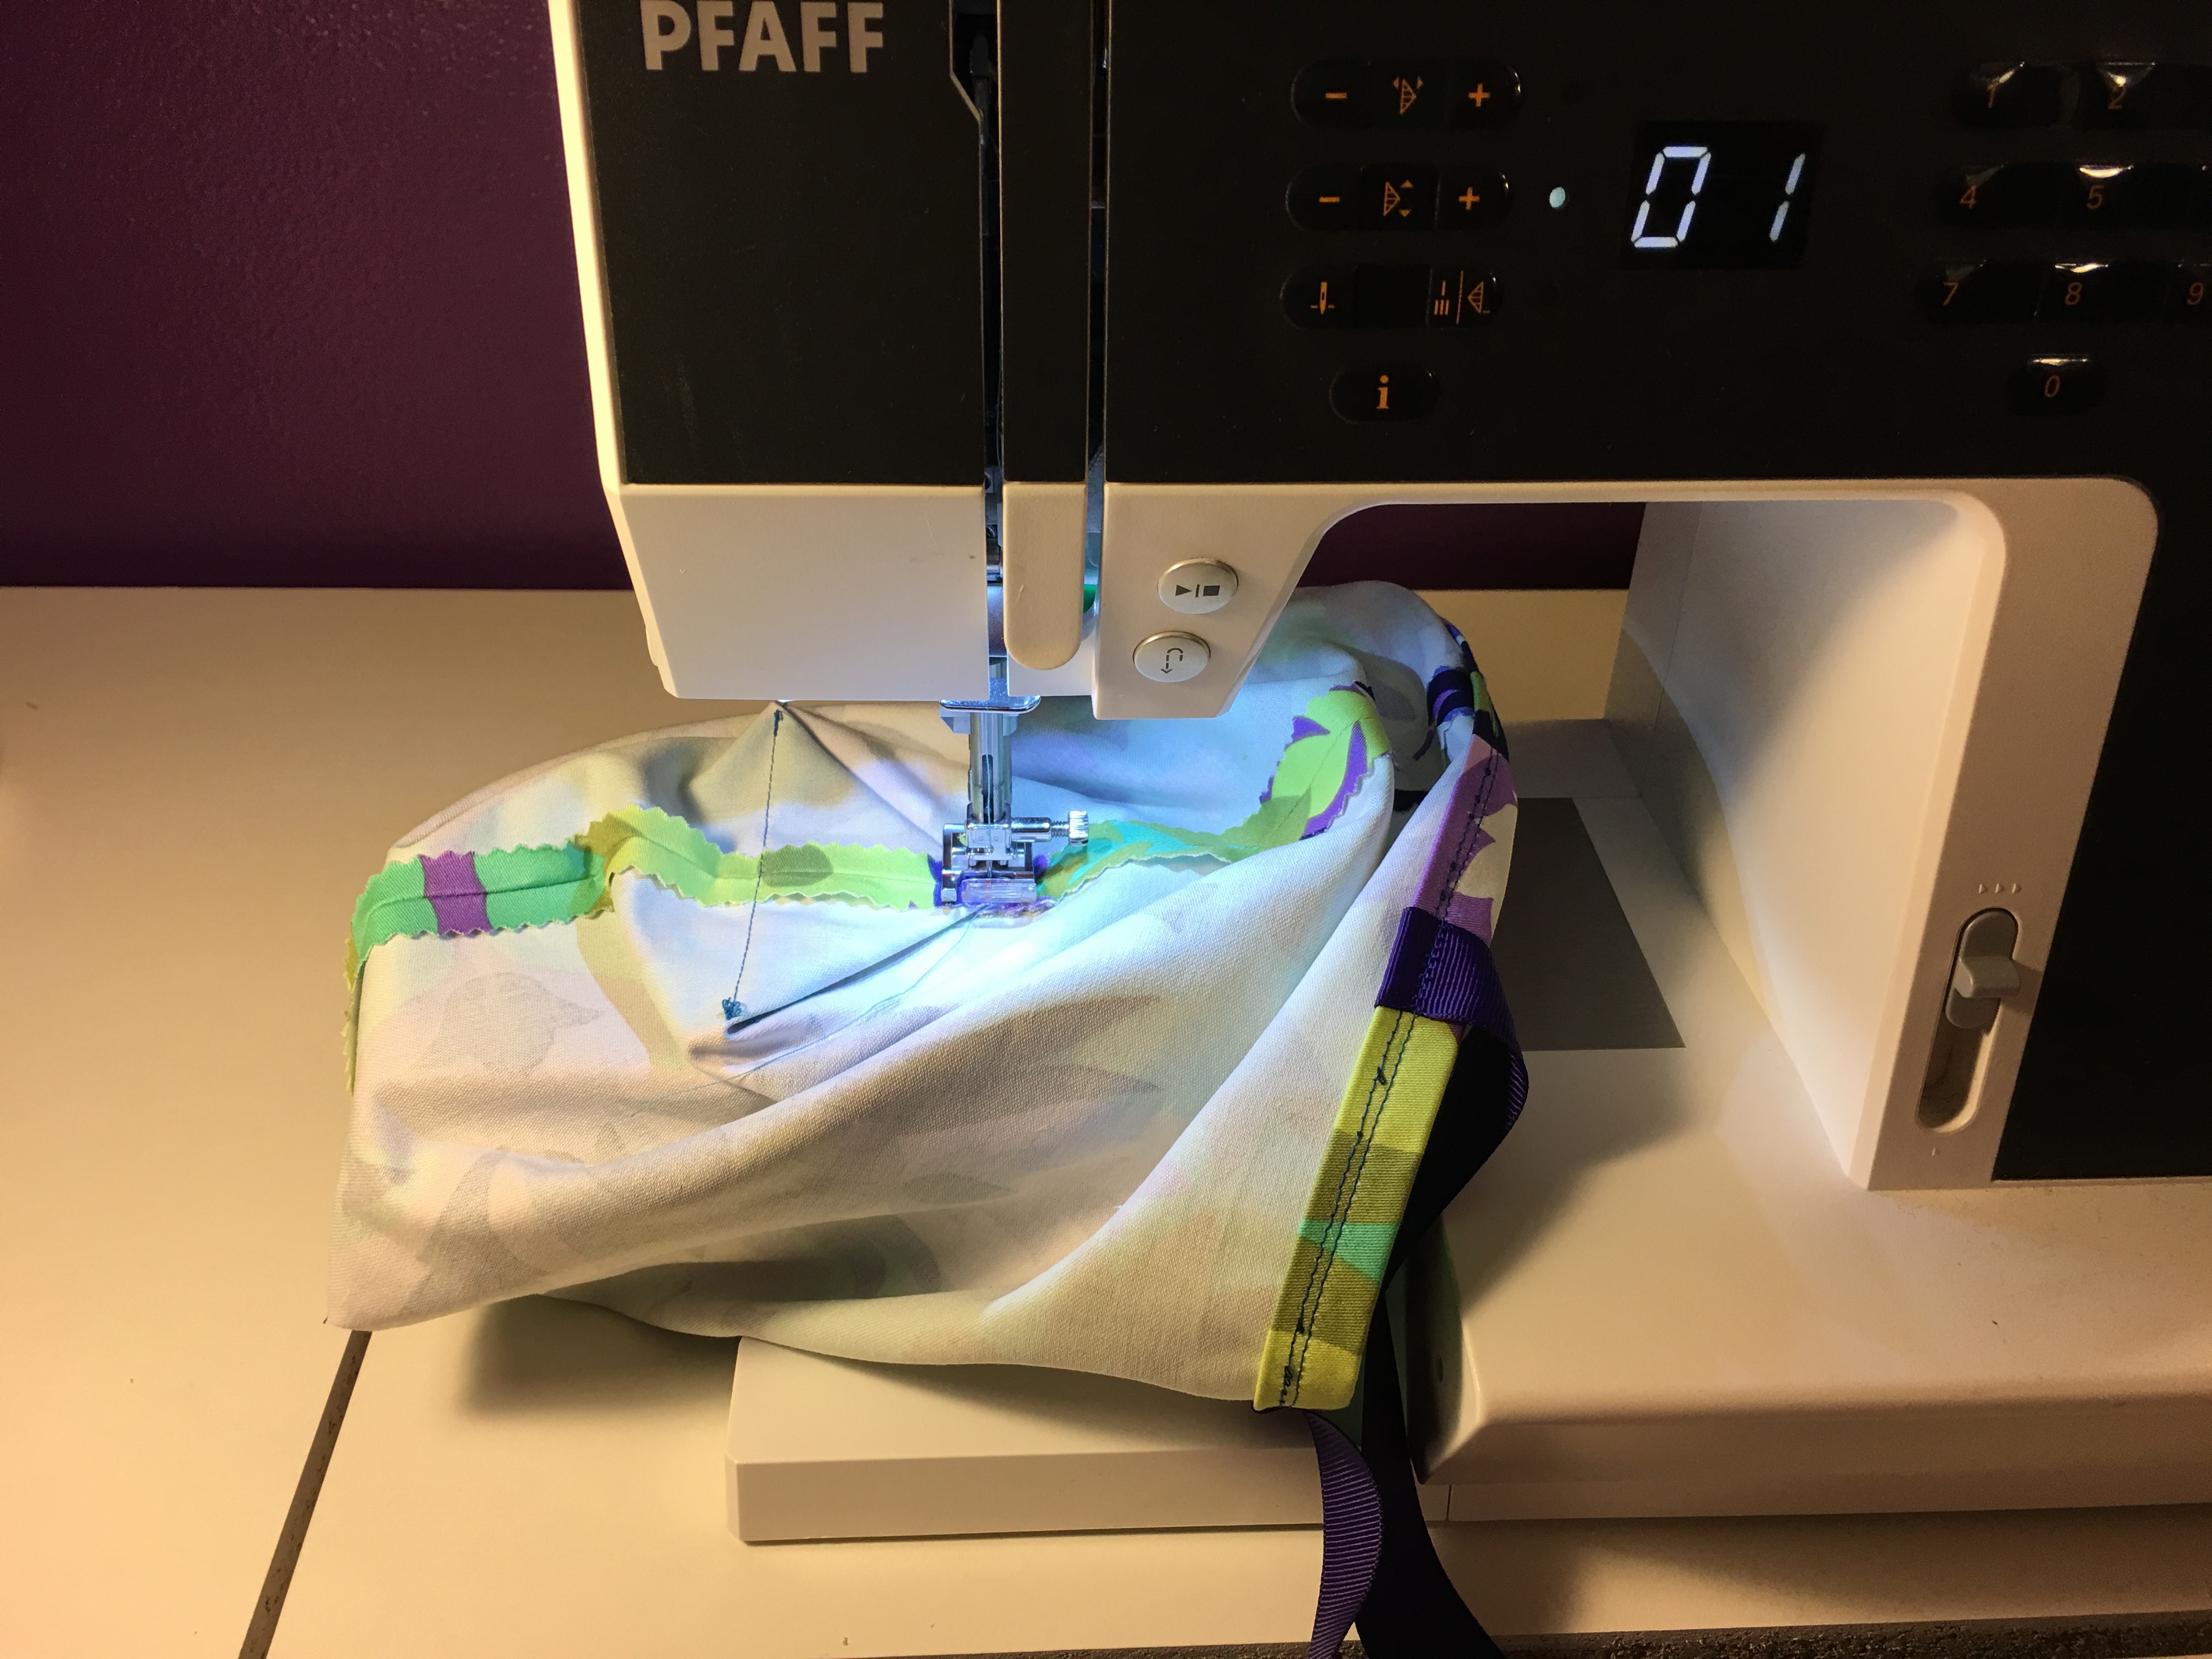 Step 2p: Tack the gussets in place using a short stitch and reversing a few times. Use a matching color of thread that will blend into the fabric.
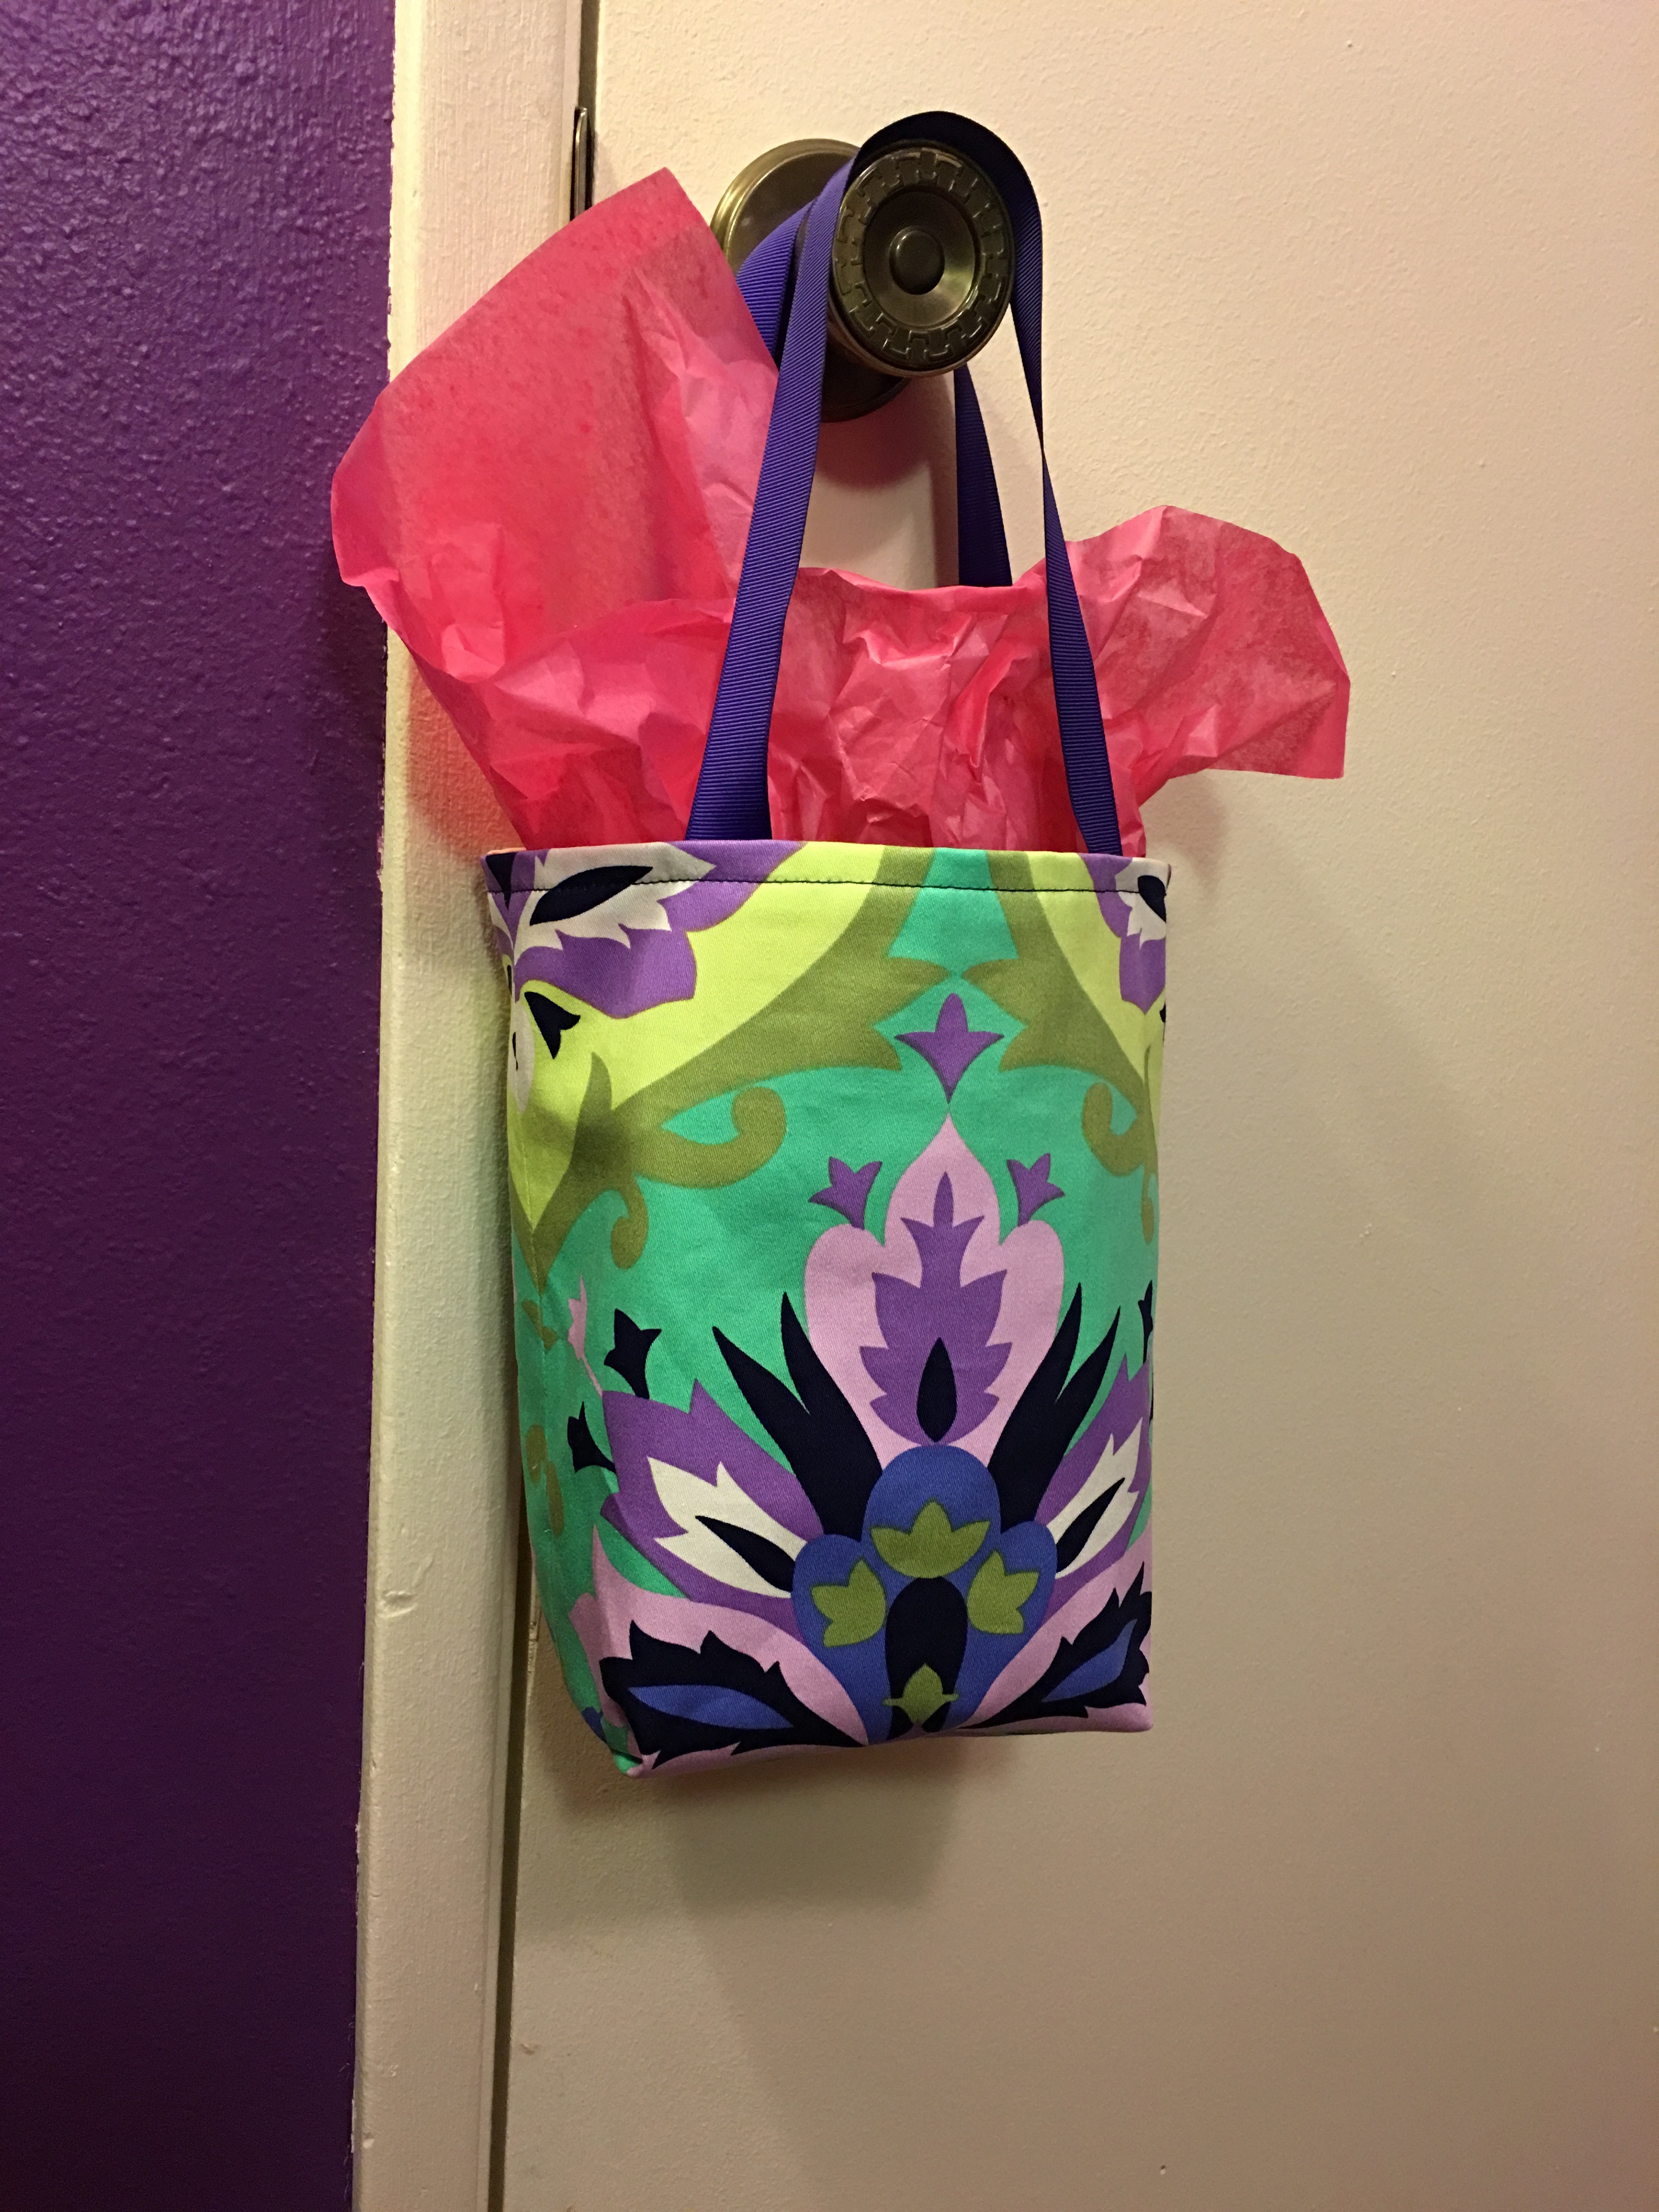 Now throw a gift into the bag and prepare to give it someone you care about. This fabric bag looks incredibly cute and will please anyone. To give the bag more body make it out of fleece or add fusible fleeces inside the bag.
A tip for reinforcing the bag: buy a pkg of the thin plastic cutting boards found at discount stores and cut a piece out that is approximately, 1/8” narrower than the bottom of the bag. Then give a snip to each corner to Round the sharp edges(Cuticle scissors or a corner die cutter will make a nice clean round). When your bag is finished, just drop the plastic piece in the bottom. I do this for all my fabric grocery bags.
Love the both bags really lovely, will try it out
How do you make a lining for the inside of the bag?
Thank You!
What A great Idea !!! I have wrapped Gifts in fancy fabric... but never did it occurred to me to make these bags.. KUDOs !
I’m excited about these patterns/instructions. I haven’t used a sewing machine in 30 years and these are simple /fun projects to get back into the swing of it now that I’m retired. Thanks!
Sorry, but I have an uneducated question. Why do you fold the gussets up the sides? My initial thought was to fold and stitch across the bottom. Thank you! I will be making several.
Great idea with the gift bags, I will definitely try it. Thank you. Evy
Can't wait to make the gusseted bag! I couldn't figure out how to do gussets, these instructions make it look easy. Thanks!
Great Idea. I am going to make a few this holiday season.