Hemming a skirt can be a tricky task. How do you know what the perfect length for you is? How do you ensure you will have an even seam all the way around? Here are the top 3 things you need to remember when sewing skirt hems, plus one crucial tip to always keep in mind!
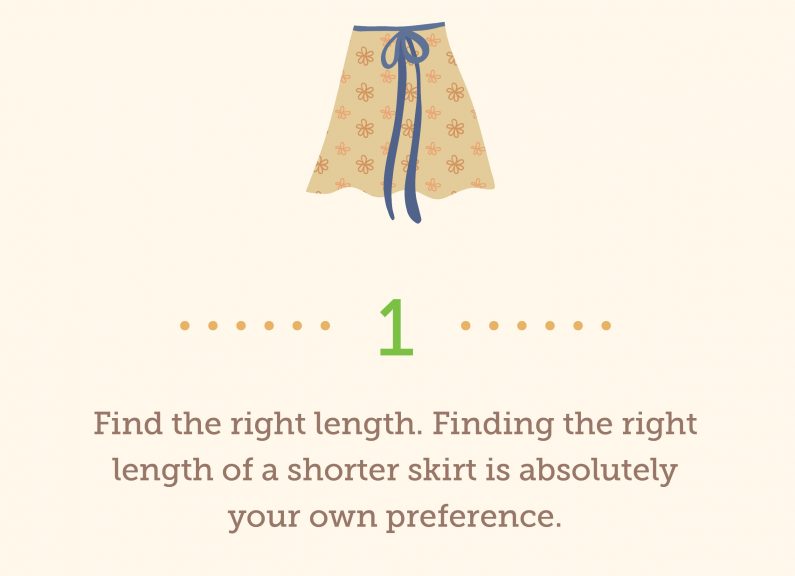
Find the right length. I like to try my skirt on and pin up the front a bit so I can see exactly where it looks the most flattering on me (and makes me look the tallest!). This will be your starting point.
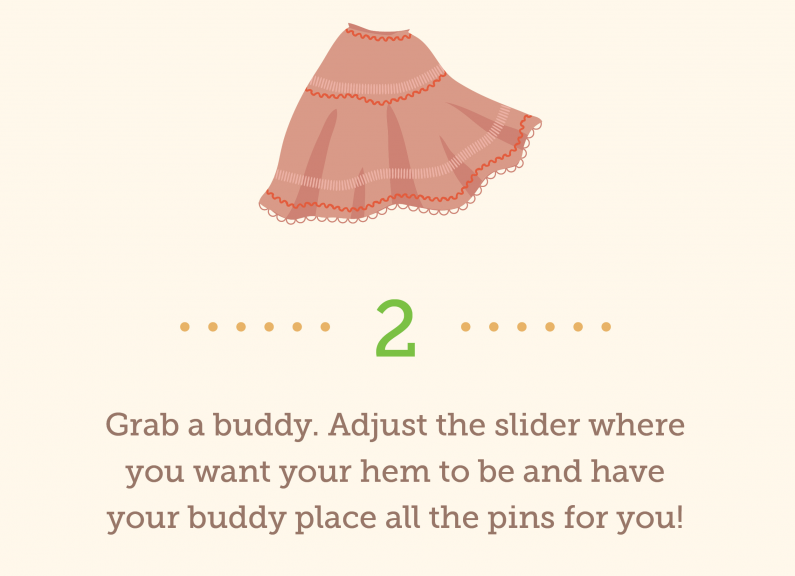
Grab a buddy. Using your hem tool (and a buddy), find a step stool, ottoman, or dining chair that you can set the tool on.
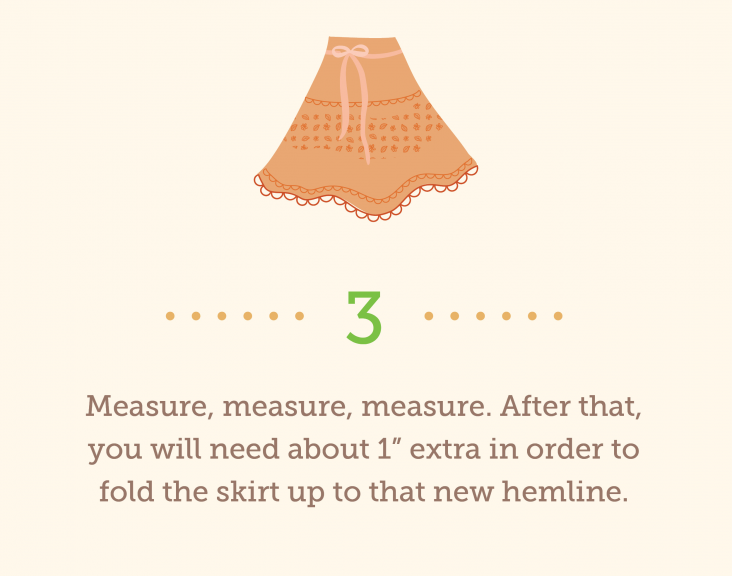
Measure, measure, measure. From there, you will need to measure down about 1” in order to have enough to fold the skirt UP to that new hemline.
Happy sewing!
Related Video: How to Hem a Skirt
Get in touch! Leave a comment or email editor@nationalsewingcircle.com.


Don’t have a website.
I think I would enjoy this
These are good tips for marking the length of the skirt. BUT sewing is also tricky unless it is a pencil skirt with absolutely no flare in or out. How about tips for that?
Hello Karen!
I appreciate your feedback and I will forward it along to the proper department. Your comments are important and help with the development of our programs!
Sincerely,
Jessica
National Sewing Circle Video Membership
The reason that skirts look shorter in the back (which is really LONGER in front) is that some of us have waistlines that are lower in front than in back because of our fuller tummy. Tie a belt around your waist and look sideways in a full-length mirror and you will see it. If you also tie a horizontal string around the mirror at the level of your waist back to use as a comparison, it is really evident. The place to make the length correction is where the problem is– at the waistline. Take care of that and the hemline takes care of itself. I know that my front waistline is 2″ lower than my back, so when cutting out my skirt, I cut it 2″ lower in the front, tapering from the side waist seam. (Don’t make a point at center front, just curve it so the front is more level.) Think about it! This also retains the integrity of the horizontal grainline at the hem, especially important if you are working with a plaid or horizontal stripe or pattern. I do the same for pants, avoiding that “pouchy” look in front. If I am doing a pattern that simply wants you to turn the top edge down to make an elastic band casing, I usually cut a separate waistband strip, cut away the waistband allowance off of the top edge of the garment, and apply the separate waistband.
Karen, I get what you are saying completely! If you have any amount of weight on you, your waste is usually very high and closer to your breast than your belly. That’s why men are always having problems with keeping their pants up! They buy one size then wear then under their stomach. I told my husband that I was going to alter a pair of his jeans exactly as you just described to see if they would stay up on his butt!
This was a very clever video. Something I never thought of. I guess because I don’t have that problem. Hahaha!
Where can I purchase a hem marker as seen in the video
Hi Judy!
Hem markers can be purchased at a variety of craft stores as well as online. I am not sure where you are located, but here is a link to one available at a Joann craft store:
https://www.joann.com/dritz-deluxe-chalk-hem-marker/5077789.html?amp;CS_003=12311117&CS_010=%5BProductId%5D&gclid=CjwKEAjw_oK4BRDym-SDq-aczicSJAC7UVRtkKKd1q8JCAAfWnHQVo4BGyq84Dn6Kj7t9yjgYXBoyBoCL0_w_wcB&utm_campaign=Shopping+-+Sewing&utm_medium=cpc&utm_source=google&utm_term=&mkwid=1EdGgxUD|dc
You can find many different hem markers online if you would prefer to order one. The best way to find them is to search for a ‘skirt hem marker’.
Thanks!
Madeline
National Sewing Circle Video Membership
Thanks very much for the good tips. I’m a visual learner so videos are a great way for me to learn and remember.
What is the name of the tool that helps measure from the floor up as shown on the video?
Perfect skirts hems!
I’ve never measured from the floor to make the hem length correct in the back. Wish I had known this a lot of years ago. Thanks.
My skirts are always shorter in back. Guess that is why. I need a hem marker too!
Be sure to wear the shoes you plan to wear with the skirt, especially if they are a heeled shoe. This is something I learned back in the 60’s when I was sewing many of my own clothes
Thank you for the great tip! Never thought of that,makes real sense..
Where can I buy that hem “buddy”?
Hi Tracy. Hem markers can be purchased at a variety of craft stores as well as online. I am not sure where you are located, but here is a link to one available at a Joann craft store:
https://www.joann.com/dritz-deluxe-chalk-hem-marker/5077789.html?CS_003=12311117&CS_010=%5BProductId%5D&gclid=CjwKEAjw_oK4BRDym-SDq-aczicSJAC7UVRtkKKd1q8JCAAfWnHQVo4BGyq84Dn6Kj7t9yjgYXBoyBoCL0_w_wcB&mkwid=1EdGgxUD|dc&utm_campaign=Shopping+-+Sewing&utm_medium=cpc&utm_source=google&utm_term=
You can find many different hem markers online if you would prefer to order one. The best way to find them is to search for a ‘skirt hem marker’.
Hope this helps!
Where can I buy hem buddy
How do you do it if you have no one to help you. No one!
There are two ways to do this yourself. You can buy a hem marker that uses chalk dust or you can put a string you have coated in chalk level across an opening. You then turn round and round either rubbing chalk dust off the string or puffing it out the hem marker.
measure and measure and measure, pin and use a mirror, to check, measure again. then hem.
The best way to ensure that your hem is level is to mark the hip line (7 to 9 inches below the waist) while doing a muslin test garment. Then have a friend help you adjust the marked hip line so that it is parallel to the floor. Then make changes to the waist line so that the hip line stays parallel to the floor.
Please add: after folding the hem up, measure and mark a 1” or other consistent width and trim if necessary. The hem line will still look crooked if the turned width is uneven. Or, the hem will look more even if turned up a consistent width.