Pajama Pants Pattern

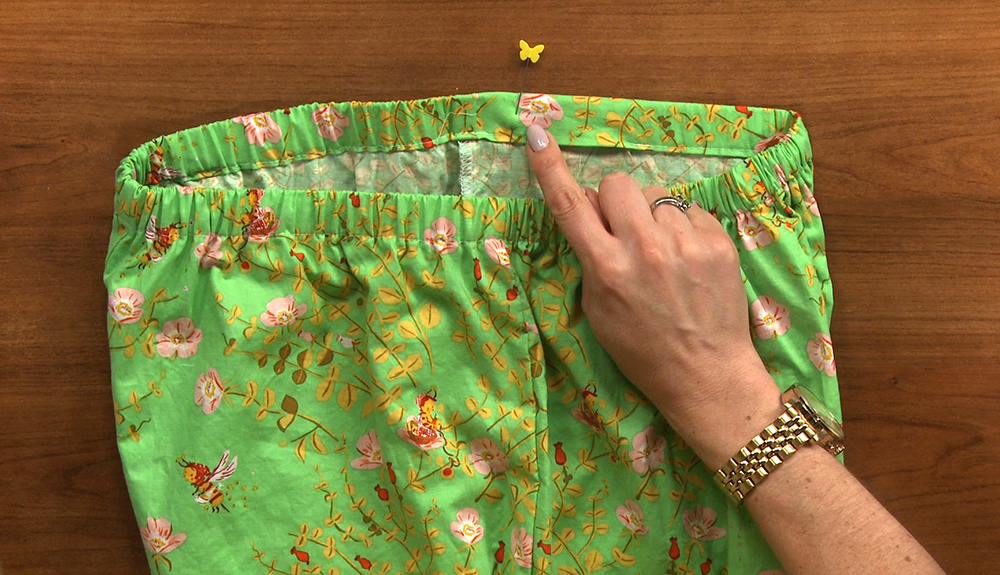
Pointing to the elastic on pajama pants

Who doesn’t love a pair of cozy pajama pants? Perfect for lounging around the house, PJ bottoms are my go-to for lazy weekends. This pattern is very simple to make up, and the pants feature a comfortable elastic waistband and cute cuffs on the bottom. Try making the cuffs in a contrasting fabric for an extra cute factor!

7 Easy Sewing Projects Perfect for Gift Giving

Related Video: How to Make Pajama Pants

All seam allowances are 1⁄2″ throughout the pattern, except where noted.

Supplies Needed:

  • 2-5/8 yards fabric for pants
  • ¼ yard contrasting fabric for cuff
  • ¾” elastic for waistband (as needed for waist measurement)
  • Pattern: click here to download

Pattern printing instructions: Download and print out all pattern pieces. All sizes are included on the pattern; simply follow the size line of your choice when cutting out the pattern. To tape the pattern pieces together, lay the printed pages next to each other, not overlapping, and align the marks and corresponding numbers. For example, the ‘1’ on Front page 1 should match up with the ‘1’ on Front page 2.

Pattern Sizing Information:

  • Small: waist (24″-25″), hip (33″-35″)
  • Medium: waist (26”- 28”), hip (36”- 38”)
  • Large: waist (29”- 32”), hip (39”- 42”)
  • X Large: waist (41”- 44”), hip (43”-46”)

Sewing the Legs

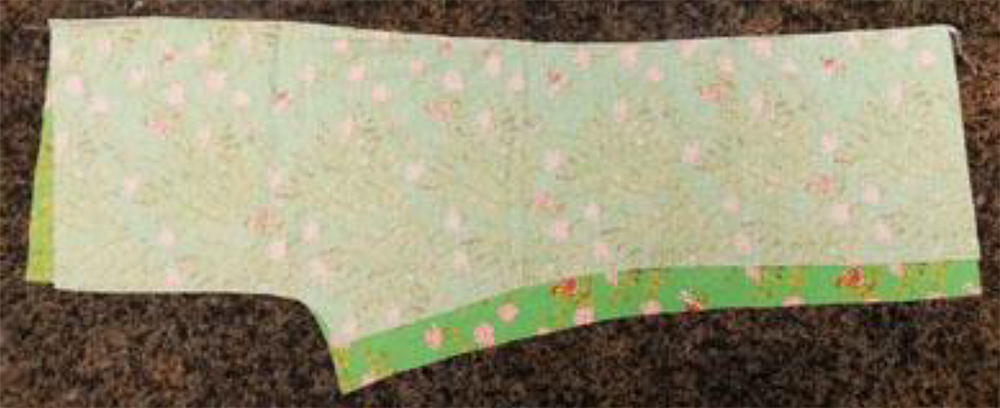
Legs of pajama pants

Step 1: After cutting out your pieces, find a front leg and a back leg and match them right sides together along the long edge. Sew together.

Step 2: Finish the seam allowance by running it through a serger, or sewing a zig zag stitch down the seam allowance.

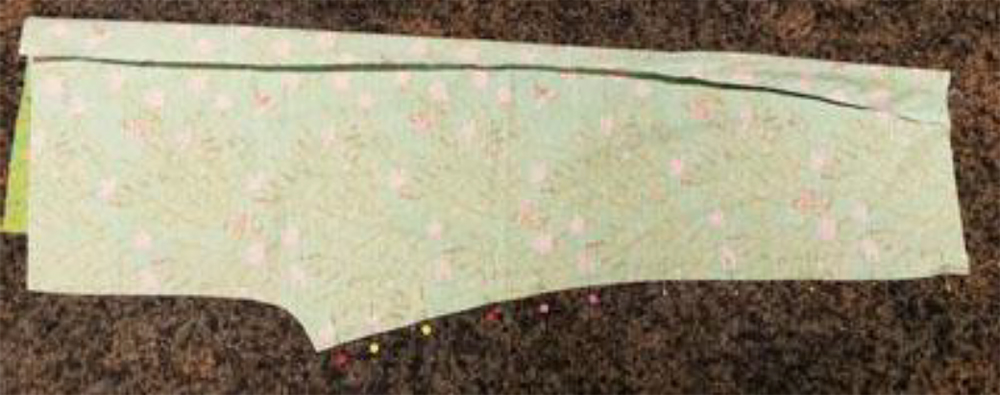
Legs of pajama pants unsewn

Step 3: Now match the short sides of the legs (keep in mind you will have to pull the front over so they line up), pin, sew, and finish that edge as well.

Step 4: Repeat this process with the other leg!

Sewing the Legs Together

Inside out pajama pants

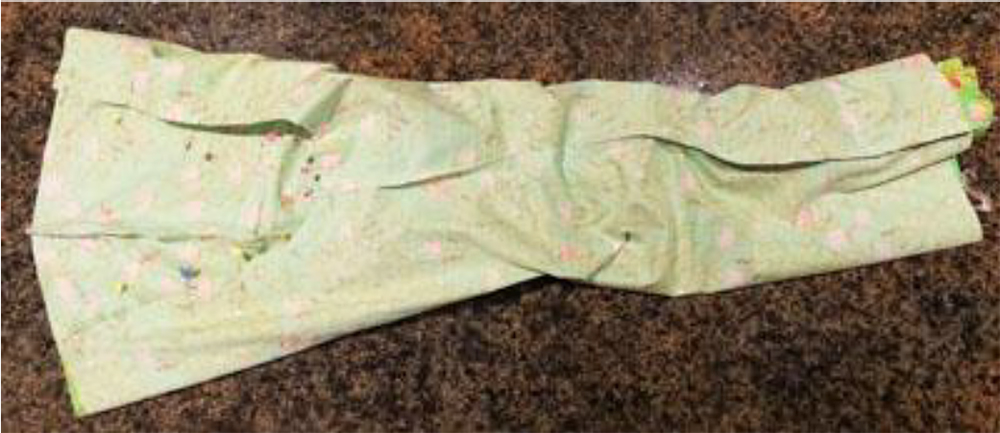
Step 5: Turn one finished leg right side out, and stuff it into the other leg, matching up the seams at both sides (the right sides should be together).

Step 6: Match the seams, and pin all along the curved inseam. (Not the waist!)

Step 7: Sew the U-shaped inseam, and finish the seam allowance with a serger or zig zag.

Step 8: Pull the one leg back out of the other, and flip them right side out. They should look like pants!

Creating the Waistband

Folded waist on pajama pants

Step 9: Fold the waist down ½” all the way around the top of the pants, pressing as you go.

Sewing pajama pants

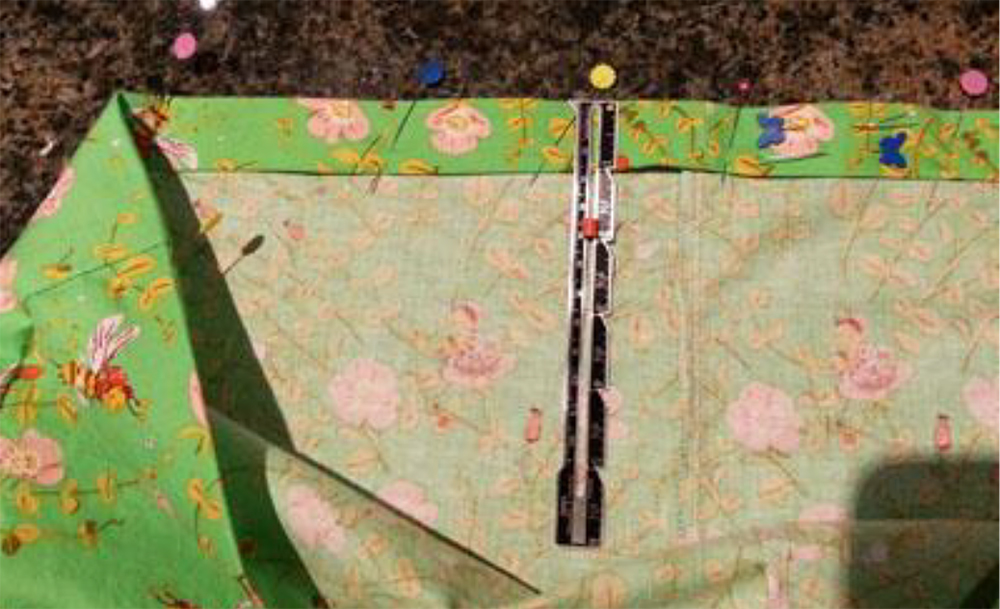
Step 10: Then, fold the pants down another 1”, pressing and pinning as you go. This 1” channel will hold the ¾” elastic once sewn.

Step 11: Place a pin sideways to remind yourself to leave a hole for the elastic to go in.

Using a sewing machine to make pajama pants

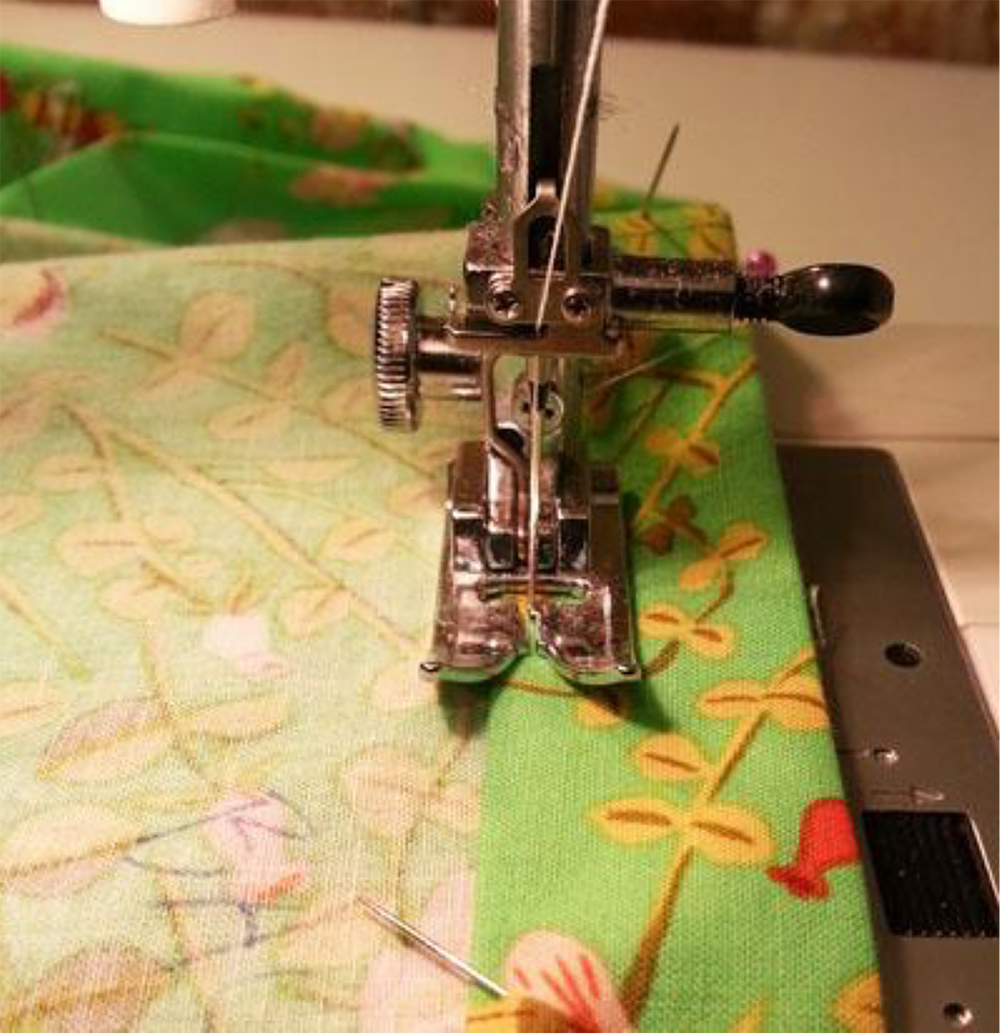
Step 12: Stitch very close to the inside folded edge to create the channel! Don’t forget to backstitch at either end of the elastic opening, but don’t sew it shut!

Safety pinned elastic

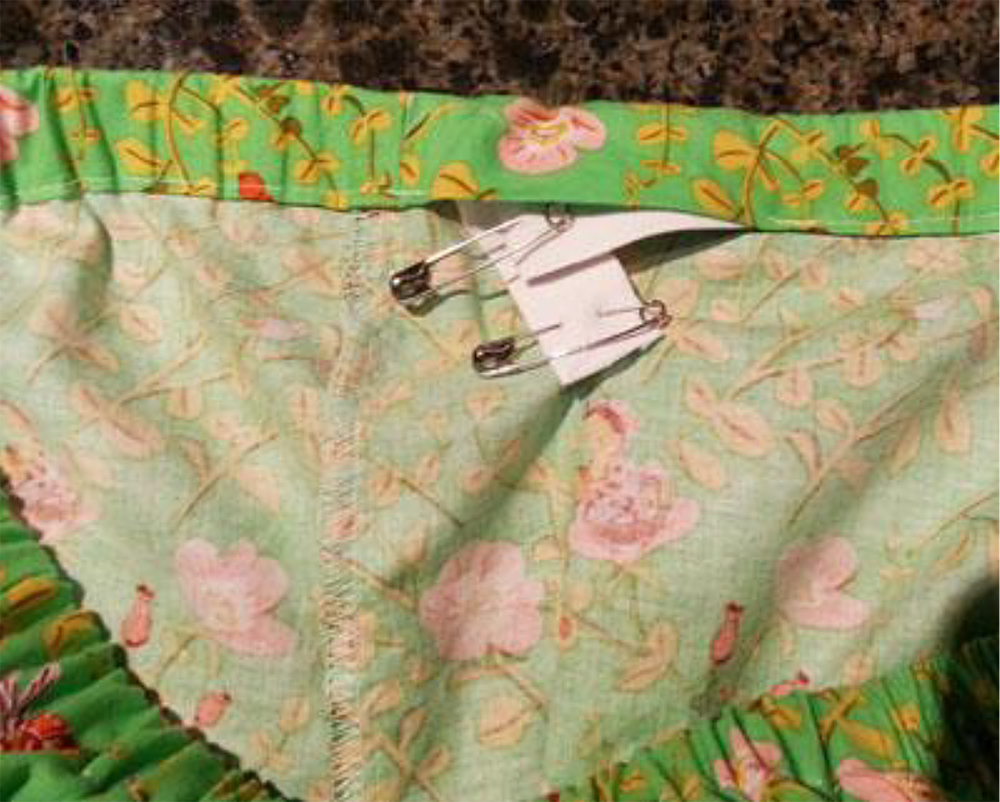
Step 13: Pinning one end of the elastic to the pants (so it doesn’t slip too far in as you pull), place a safety pin on the other end, and thread it all the way around the waist through the channel until it comes out the other side.

Sewing the elastic for the waistband of pants

Step 14: Pull some slack in the elastic, and overlap the edges ½” (being careful not to twist!), then sew a zig zag stitch all the way down the overlapped elastic, then backstitch all the way back to the beginning. This will secure your elastic waist into place!

Step 15: Tuck the elastic into the channel, and finish stitching the hole closed.

Sewing the Cuff

Fabric

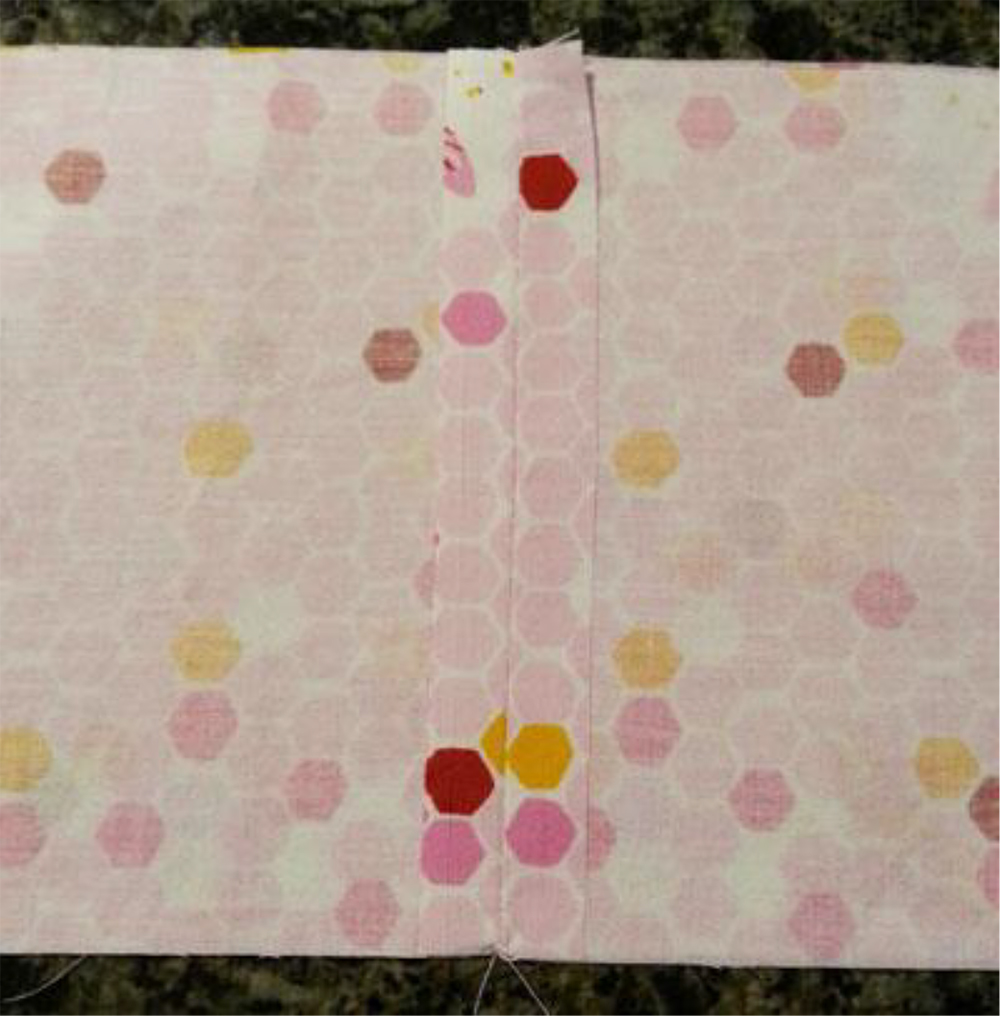
Step 16: Fold the cuff in half (hamburger style) so the short edges are matched with right sides together.

Step 17: Sew the short sides together, and press the seam open.

Pinned fabric pieces

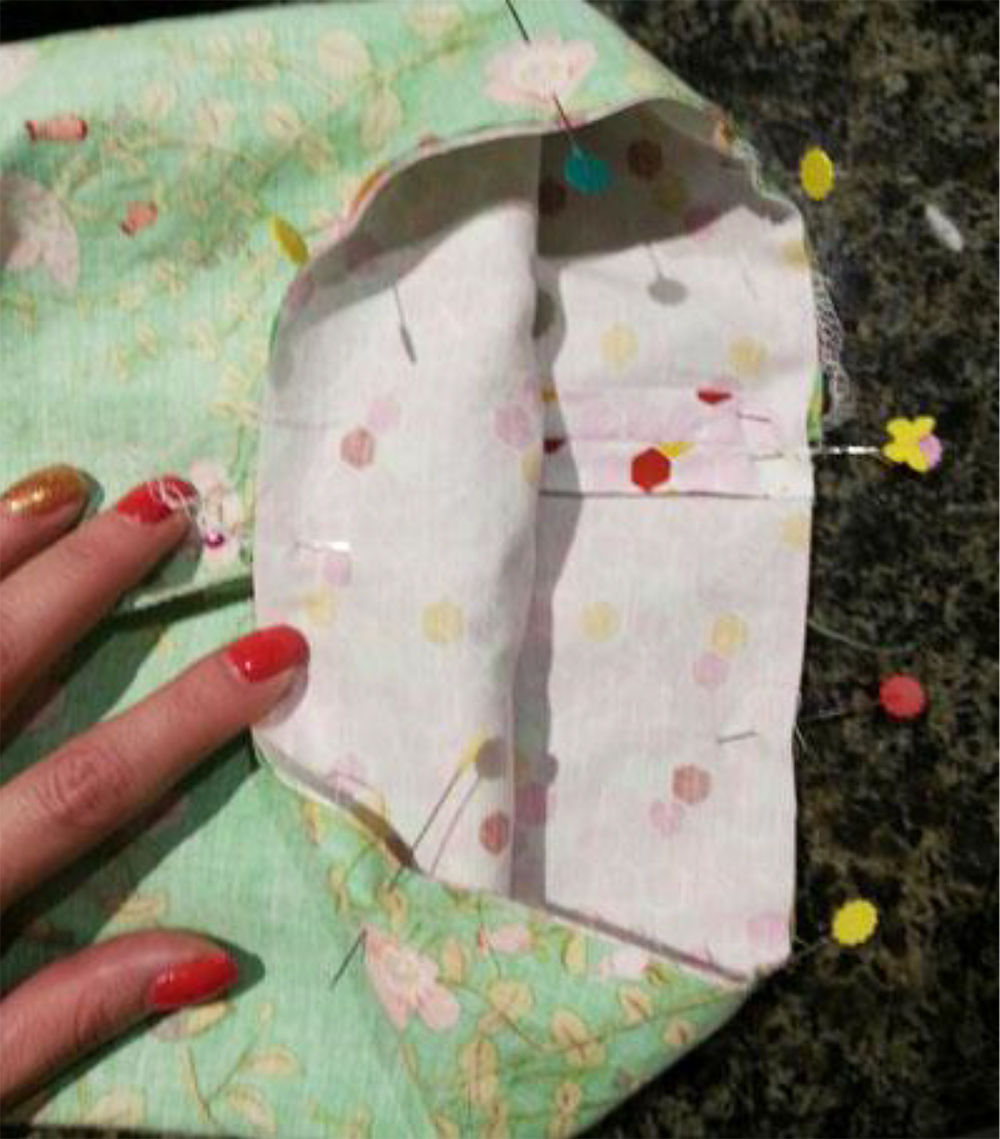
Step 18: Turn the pants wrong side out, and place the cuff inside the pant leg at the ankle so the right sides are together. I like to put the seam on the cuff to match the seam on the inside of the leg.

Step 19: Sew together, finish your seam with a serger or a zig zag stitch, and then press the seam down toward the cuff.

Straight pin through two pieces of fabric

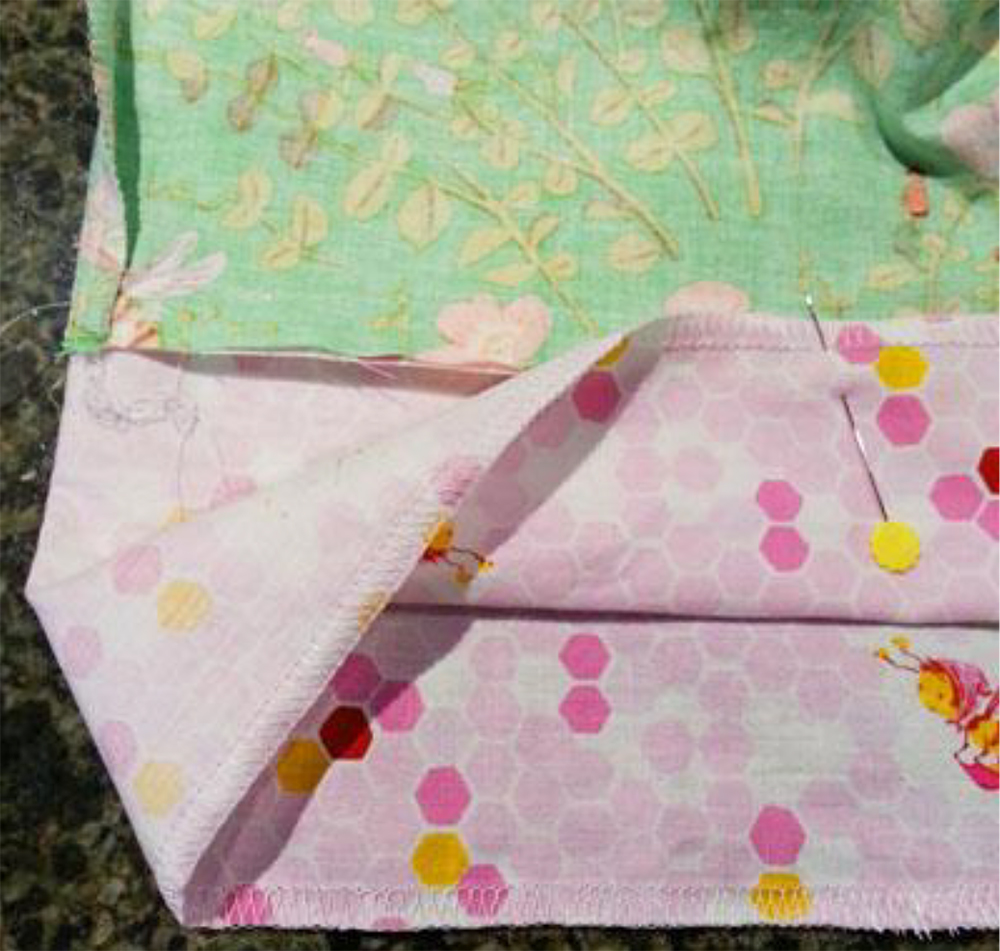
Step 20: Fold the bottom of the cuff up ½” (as you did with the waist). In this picture, I have finished the edge, so I did not fold the ½”. You do not need to finish this edge; simply fold it over ½”, then when you fold it over again, it will hide the raw edge.

Step 21: When you are pinning the inside of the cuff upward to the pant leg, make sure that your cuff is covering the seam that has sewn your cuff to the pants! This way, you will not miss the cuff edge in the next step.

Also, be sure to put the pins perpendicular to the seam since you will not be able to see them, as you will be sewing on the front side!

Sewing two types of fabric with a sewing machine

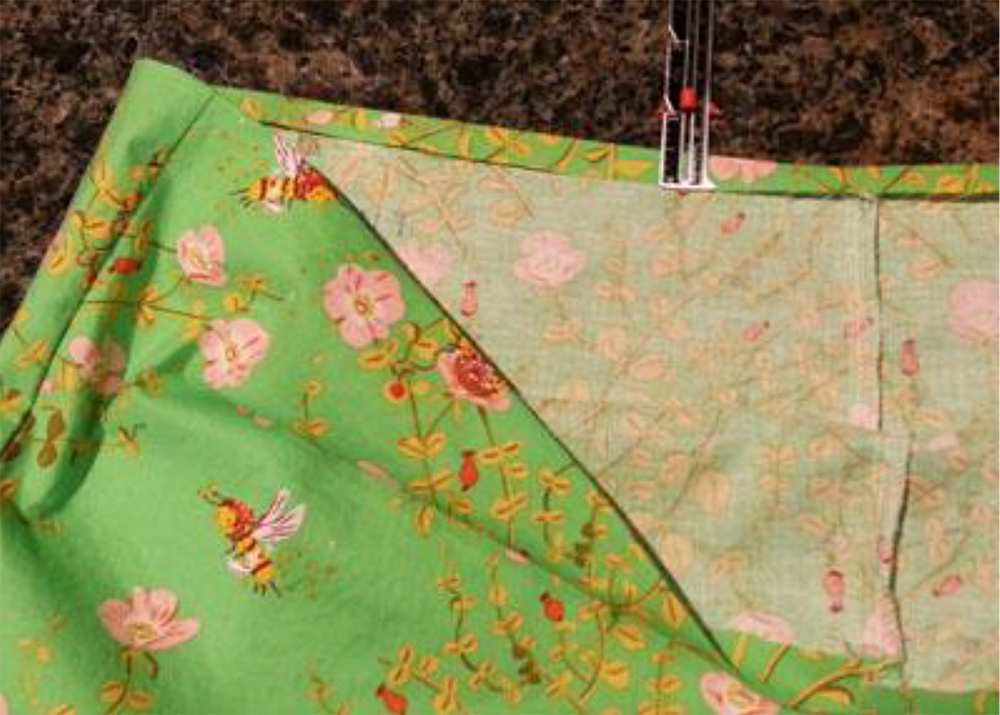
Step 22: Gently turn the pants inside out, trying not to stab yourself with all of the pins.

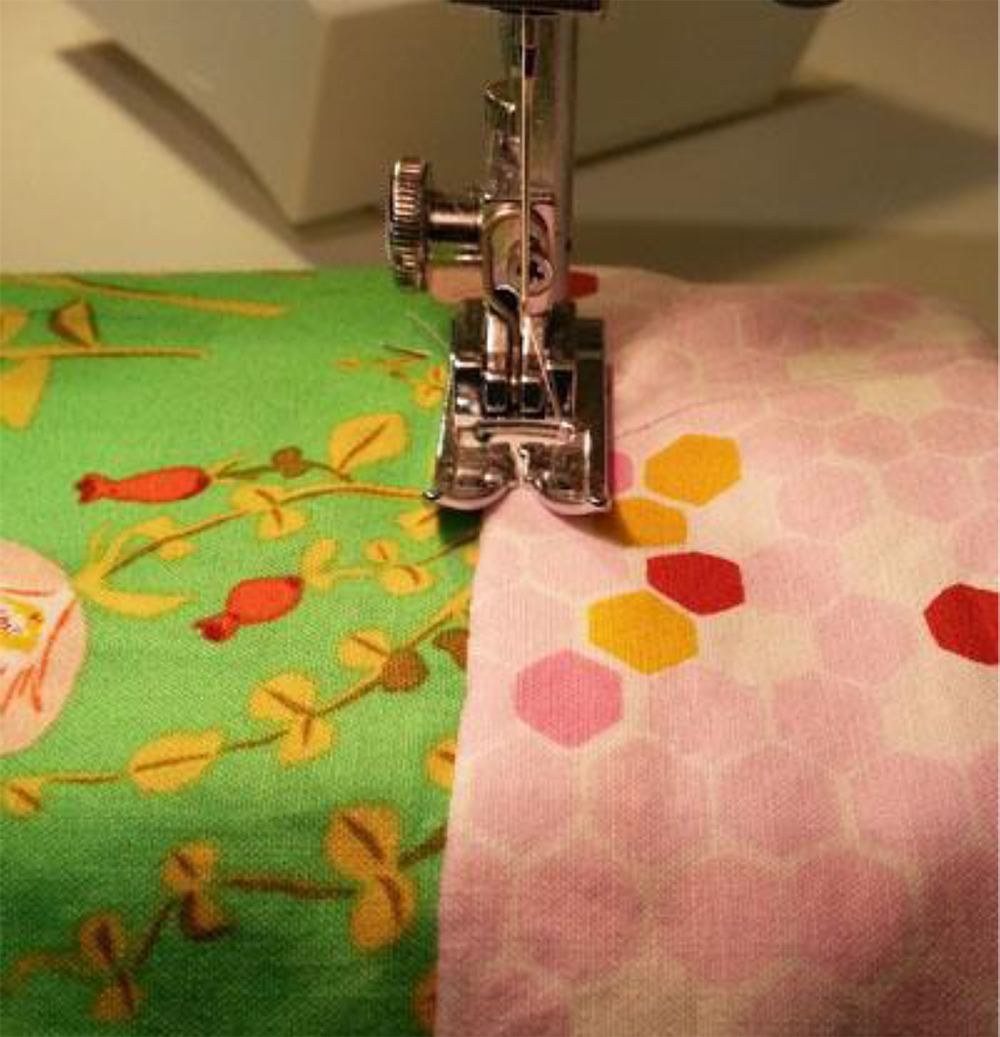
Step 23: Stitch (using a 3.5” stitch length) on the cuff fabric very close to the pant leg. This will catch the folded over cuff on the underside, and hold it in place!

And there you have it! Now pop a bowl of popcorn, grab your favorite movie or book, and tuck in for a cozy evening in your new PJ pants!

To follow along with step by step instruction, check out this video

Happy sewing!

Have something to add? Leave a comment or email editor@nationalsewingcircle.com.
7 Easy Sewing Projects Perfect for Gift Giving
Reply to Carol
  • (will not be published)

135 Responses to “Pajama Pants Pattern”

  1. Charlotte Spiss

    I am having surgery in one month and I am looking for something comfortable to wear.

    Reply
  2. Deidre Talley

    I am just in the process of getting the pattern but can’t wait to try & make these. This will be my first attempt at going by a pattern.

    Reply
  3. Alison

    Question: after I’ve printed the pattern as directed (100%, no scaling), how wide is the waist supposed to measure? I get 10.5″ for each leg on the pattern, or 42 inches total for a SMALL, which is supposed to fit a 24-25″ waist. How wide is it supposed to be? Thank you.

    Reply
    • Customer Service

      Hello,

      Great question! The ‘Ask an Expert’ section is currently for members of our online community. By becoming a member, you will have access to our expert’s knowledge. With your membership you will also receive discounts on products and hours of Premium video content.

      If you are interested in becoming a member, please click on the special offer below:

      https://go.nationalsewingcircle.com/a19773

      Thanks!

      Reply
  4. Kim

    Hello! I have not yet made these fabulous PJ pants – but I will be making them soon. THANK YOU for the pattern and the instructions and the video! Your efforts and generosity are appreciated. Your patience in handling all the comments is extraordinary! Again, thank you for this free pattern and instructions!

    Reply
  5. Nancy

    Are these pj pants unisex? I’m thinking of making some for my husband. But he has a 36″ waist; what size would I use? The large is 29″-32″ (too small) but the XL is 41″-44″ (way too large!). Thanks for any guidance!

    Reply
    • Customer Service

      Hello Nancy,

      Great question! The ‘Ask an Expert’ section is currently for members of our online community. By becoming a member, you will have access to our expert’s knowledge. With your membership you will also receive discounts on products and hundreds of hours of Premium content.

      If you are interested in becoming a member, please click on the offer below:
      https://go.nationalsewingcircle.com/a19773

      Reply
    • Customer Service

      Hello,

      Thank you for contacting us. 

      The PDF pattern for the pajama pants is linked under the “Supplies Needed” heading.

      If you have any other questions, please chat, email, or call Customer Service. 

      Sincerely,

      Sarah
      National Sewing Circle Video Membership

      Reply
    • Customer Service

      Hello Jamila,

      Thank you for your feedback. I have forwarded your comment to the proper department. We value your opinion, and it will help with the development of our online streaming community. We will continue to listen and work hard for your complete satisfaction.

      Reply
  6. Constance

    When cutting out the fabric do we cut both front and back pieces the same or should the pattern be flipped for one front and one back piece?

    Reply
    • Customer Service

      Hello Constance,

      Thank you for contacting us. 

      You should cut one mirror-image pair of the front and the back pattern pieces. The easiest way is to fold the fabric so either the right or wrong sides are touching, so you’re cutting through two layers at once. Or if you’d prefer, cut one piece through only one layer, and then flip the pattern piece to cut the opposite piece as a mirror image of the first.

      If you have any other questions, please chat, email, or call Customer Service. 

      Sincerely,

      Sarah
      National Sewing Circle Video Membership

      Reply
  7. Penny

    Bummer that I would have to pay to become a member in order to watch the video.

    Reply
    • Customer Service

      Hello Penny. There is no obligation to be a paid member to access our free content. We send weekly e-newsletters that feature free videos and article content from our experts. If you would like access to our Premium content, we do require a paid membership that will give you access to hundreds of hours of videos. I have provided a link below to view our free content and I have also provided a link for our paid content. Please reach out via Facebook message anytime if you have questions.

      (https://www.nationalsewingcircle.com/vtag/free/)
      (https://go.nationalsewingcircle.com/a19773) Thanks!

      Reply
    • Customer Service

      Hi Virginia. Yes, the pattern is sized for S, M, L and XL. Click the pattern link in the Supplies list and the PDF will download.
      Nicki
      National Sewing Circle

      Reply
  8. Trish Tews

    There’s an easier way to make these! Tape the front and back together at the side seam and cut as one piece! Pajama pants are generally looser anyway. I also see the waistband and use 2 inch elastic. You need to make an adjustment to the pattern because you don’t need the fold over for elastic. I topstitch the wide elastic to the pants.

    Reply
  9. CHRISTYN

    Great tutorial. You used a woven for this. How would you change it for a knit fabric? Would you recommend 2-way or 4-way stretch and what percentage? Thank you!

    Reply
  10. Elaine Kazal

    I’d like to make PJ shorts using this pattern. Can I alter the leg so that it isn’t so narrow?

    Reply
    • Customer Service

      Hello Elaine,

      Please let us know if you have any further questions:

      Yes, you can absolutely do that. The easiest way would be to taper out the leg from just under the waistband to wherever you want the short length to end. This will allow you to widen the leg without having to adjust the waistband at all.

      Sincerely,
      Sarah
      National Sewing Circle Video Membership

      Reply
  11. Elizabeth Imperato

    great video. I don’t know how long the elastic should be cut. The pattern I am making is a size small.

    Reply
  12. Jacqueline Brauer

    Hi I wanted to know if you print the pattern out on A4 or A3? I have never printed a pattern off in my life? Thank you

    Reply
  13. Mayumi

    Thank you for such a useful pattern! Regarding sizes, I have noticed the waiste measurement jumped from L 29-32 to XL41-44. What are the correct measurement? Also, my size is usuall Small or Medium (waiste 29). According to this sizing, I will be in Large. Is this pattern rather tight fitting? I will appreciate your reply!

    Reply
    • Customer Service

      Hello Mayumi,

      Great question! The ‘Ask an Expert’ section is currently for members of our online community. By becoming a member, you will have access to our expert’s knowledge in sewing. With your membership you will also receive discounts on products and hours of Premium video content.

      If you are interested in becoming a member to National Sewing Circle, please click on the special offer below:

      https://go.nationalsewingcircle.com/C25120

      Thanks!

      Joan
      National Sewing Circle Video Membership

      Reply
  14. Phillis

    The photo shows a front tie. How did you attach? Just tie and handstitch it on? I want actual drawstring pajamas. Any suggestion?

    Reply
    • Customer Service

      Hello Phillis,

      Great question! The ‘Ask an Expert’ section is currently for members of our online community. By becoming a member, you will have access to our expert’s knowledge in sewing. With your membership you will also receive discounts on products and hours of Premium video content.

      If you are interested in becoming a member to National Sewing Circle, please click on the special offer below:

      https://go.nationalsewingcircle.com/C24723

      Thanks!

      Joan
      National Sewing Circle Video Membership

      Reply
    • Sandy

      I believe it states to use your own personal measurement for the waist. Cut a piece of elastic half that measurement. Sew some ribbon to the ends of elastic….enough ribbon to finish going around waist and tying. You can tack ends of elastic to side seams of PJs to make gathers neater.

      Reply
  15. Heather Miller

    that is a nice online digital pattern… I think its a great trend to improve patterns online, and make a great product

    Reply
    • Customer Service

      Hello Maria!

      The Download link is in the Supplies Needed section. It says “Download Pattern Here”.

      Thank you!

      Jessica
      National Sewing Circle Video Membership

      Reply
  16. Carol

    Excellent. I’ve been waiting for this pattern. Thank you. I would like having my own pattern

    Reply
  17. Anne Corby

    Loved it and would like more simple patterns for dresses pants tops and patchwork coats

    Reply
  18. Linda Merz

    Does this pattern come in a plus size? Or are there instructions on how to modify patterns somewhere on the website?

    Reply
  19. Adriana Chiossone

    Hi, since these have a loose fit, would it work for males as well? Thanks so much for sharing!

    Reply
  20. Debbie

    I wonder if these pajama pants could be used to make a pair of summer weight woven casual pants?

    Reply
  21. Brenda

    It would be nice to download the instructions, so when I finally make them, everything is together. Having just the pattern is not enough. It’s like downloading a free knitting pattern without the needle size, and missing every other row.

    Reply
  22. Susan Hounshell

    I believe I sewed these pajama pants several years ago during a sewing class at a sewing machine and fabric store in my area. They were really comfy, cute and easy. Looking forward to sewing them again.

    Reply
  23. Carol Shaffer

    All directions are great and the photos are excellent but…you never posted a photo of the finished pajama pants with contrasting cuff! I sooo wanted to see one!

    Reply
    • Customer Service

      Dear Susan,

      Thank you for contacting us. This pattern is for our Premium members. I show you are a Premium member with us. Please login to your Premium membership to access this pattern.

      If you have any other questions or concerns, please contact us at 1-855-208-7187 or chat us on our website.

      Sincerely,

      Taylar
      National Sewing Circle Video Membership

      Reply
  24. Danielle

    NB Ticket 20512 I am confused about taping pattern together. Do we cut out along the lines and line up the arrows or place the entire sheet edge to edge (without cutting)?

    Reply
    • Customer Service

      Dear Danielle,

      Thank you for your patience. In regard to your question-

      The dotted lines and the arrows need to be lined up. You can either trim away the extra paper or just overlap the pages.

      We’d love to have you be a part of our community. We are convinced you will enjoy the benefits of becoming a member and having access to the best instructional how to videos and professional tips. We would like to offer you a special promotion for your first-year membership.
      https://go.nationalsewingcircle.com/C14629

      Cheers,
      Ashley

      Reply
      • Customer Service

        Dear Debi,

        Thank you for contacting us. I’m sorry you are having trouble downloading the Pajama Pants Pattern. Please click on the DOWNLOAD PATTERN under Supplies Needed.
        The pattern will start to download to your computer
        Once it is done downloading, you can open the PDF to view the pattern

        I hope this helps!

        Sincerely,

        Taylar
        National Sewing Circle Video Membership

        Reply
  25. Teresa

    NB Ticket 19609 What is the general inseam length(how determined) for these? Trying to make for taller person and wanting to find out how much to add before cutting. Thank you

    Reply
    • Customer Service

      Dear Teresa,

      Thank you for your patience. In regards to your question-

      Here is a great article on how to determine your inseam measurement based on your height:

      http://searchbyinseam.com/MeasureMyInseam

      We’d love to have you be a part of our community. We are convinced you will enjoy the benefits of becoming a member and having access to the best instructional how to videos and professional tips. We would like to offer you a special promotion for your first-year membership.

      https://go.nationalsewingcircle.com/C13999

      Cheers,
      Ashley
      National Sewing Circle Video Membership

      Reply
  26. yodaspunky3

    I needed help and this instruction was perfect! Is their video or instruction for pajama tops and sleeveless arm? And no collar, just scoop neck??

    Reply
    • Customer Service

      Dear Linda,

      Thank you for contacting us. Please follow the instructions to download the pattern.

      -Click on the Download the Pattern tab under the SUPPLIES NEEDED
      -This will take you to the video
      -Under the video is the description
      -In the description there will be a link to click to download the pattern
      -Click on the link in the description and let the pattern download to your computer

      I hope this helps! If you have any other questions, please contact us at 1-855-208-7187 or chat us on our website.

      Sincerely,

      Taylar
      National Sewing Circle Video Membership

      Reply
  27. JANE

    Hi. Trying to print out pattern. Is it for letter or A4? Is it possible to put a sized reference square in it please so that I can check it’s the right size print? Thanks.

    Reply
    • chapman.di

      I am having to purchase a non metric tape measure from UK as we are all metric. No problem as my cutting area has been taken over. We also use A4 paper so that could make a huge difference. Can you give a reference so we know we are using the correct settings. Thanks.

      Reply
      • chapman.di

        I have had a sheet of the pattern printed out for me on a US printer and then compared it to an A4 printer sheet (same page). Neither printer could be assessed for accuracy as you have not put a standard 4″ square for adjustment. The difference in sizing on page one is 1/2″ in width and 3/4 in length. That is probably wrong (as no checking available BUT it does mean that non USA users will get a badly sized pattern). I will have to print it out and then compare my measurements carefully. I don’t have a cutting table to use at the moment so it will have to wait but a warning to anyone using any PDF pattern who does not have a US printer.

        Reply
  28. Karen W

    Thank you for the pattern. I’ve made pjs for years, but I like to do the inside seams on legs & center “crotch’ seams before the outer leg seams. I find it easier to manipulate on the machine. I also like elastic waist, but put it with a drawstring, using only half of the elastic normally called for (1″ non-roll elastic) & on the ends attach 1” wide grosgrain ribbon for ties. I add a buttonhole at the center-front, on top of the seam allowance (this makes for a reinforced hole & stitches down the seam allowance, to make it easier to thread ribbon through). You normally would put it below the fold-line for the waist, showing on the front, but some like the drawstrings on the inside – your choice. Anchor at the back seam, as the instructions stated, but not sewn into the seam (I thread through the casing after it is constructed. I put fray check on the ribbon ends, to keep from unraveling. The contrasting cuff is a cute option.
    )

    Reply
    • Betty

      That’s the way I see PJ pants Front and back seams first and pockets before anything! Sew pocket and top stitch on outside makes it easier. I just use an old pair of pajama bottoms that fit well . Cut off for shorts in summer with contrast on bottom.!!too cute

      Reply
  29. Olivia Costalez

    I have been wanting to make matching pajamas for Christmas and this is the perfect pattern to pair up with a t-shirt. Thanks for the pattern!!

    Reply
  30. Marilyn Kindl

    Sew each leg seam “from the crotch to the bottom” so you do not stretch the bias near the crotch. Directional stitching is “from the widest to the narrowest”.

    Reply
  31. MAUREEN

    For pajama pants I like to add a side pocket in the right side seam, it makes it easier to identify the front from the back when I pull them out of the drawer.

    Reply
    • ELAINE

      I use a small piece of ribbon or woven tape, folded, and add it to the centre back seam (i.e. the horizontal waistband seam) to identify the back. If you make the loop large enough, it could be used to hang the pants too.

      Reply
  32. Jane

    Looking forward to making this. Is the pattern designed for letter size paper. We work on A4 here in the UK. Is it possible to print a check test square please? Thanks

    Reply
  33. Rachel Wooldridge Lewter

    My first time to the site and I’m loving everything I see. I haven’t sewn anything for the past few years. What type fabric should I use for the PJ’s? I guess the most forgiving and ease of sewing.
    Thanks for sharing this with us.

    Reply
  34. whitemarlece

    Thank you for the pajama pattern, I am soon to sew up a few sets for myself, thank you for the quick course

    Reply
  35. Dolores Olsen

    I cannot understand how to put the paper pattern together/ are the noses of the arrows supposed to touch and are the lines supposed to link to each other and do I just cut off the broken lines
    her

    Reply
  36. Rene Henry

    I really like ideas..New sewer must be given all details….you can’t assume that we know.Like how to serge…( give the setting on the machine etc.) I very new to sewing, and I need everything in detail. (Very simple details)! thanks.

    Reply
  37. Elizabeth

    I think each pattern should have the web page information on it so that we can continue to come back here to do it again. I might not get around to making it for months and then won’t be able to remember which pattern it was. It shouldn’t be hard to add inside the pattern somewhere the name of the pattern and the whole web address to get back to this page.

    Reply
  38. Stefani

    I’m about to start on these but the pattern pieces look huge based on the measurements suggested. For example Large says a waist of 29 – 32″ but the actually pattern waist seems to measure around 48″ which of course would be huge.

    Reply
    • Customer Service

      Hello Tina, thank you for pointed out this error, we have passed it along to the proper department to be fixed.

      Reply
  39. Lorraine Rice

    Is it possible to have the option at the end to print a PDF on the how-to instructions?

    Reply
    • Customer Service

      Hello Lorraine,

      We appreciate your feedback and it has been forwarded to the proper department. Your comments are important to us and help with the development of new programs and offers. We will continue to listen and work hard for your complete satisfaction.

      Thanks,
      Becky NSC Video Membership

      Reply
    • Louise Prettie

      If you put “Print Friendly ” onto your browser as an extension, you can then download the instructions as a PDF.

      Reply
  40. Sharon Leigh Crawford

    When I print the written instructions for the pattern, some parts are left out. For example, part of the Printing Pattern Directions does not print. Also, Steps 12, 15 and 16 are left out. The pattern states the seam allowance is 1/2″, but in one of your customer service answers, you say 5/8″. I really want to enjoy this pattern – hope you can help me.

    Reply
    • Customer Service

      Hello Sharon,

      The printing issue is a setting within your printer. Please try adjusting your printer settings and try printing again.

      Thanks
      Becky NSC Video Membership

      Reply
      • Sharon Leigh Crawford

        Becky, Thanks for the printing info; I got it to print correctly. Can you verify the correct seam allowance? Thanks!

        Reply
        • Customer Service

          Hi!

          Yes, thank you for pointing this out! It is a 1/2″ seam allowance that should be used. I am simply used to always saying 5/8″ seam allowance when it comes to garment construction. I apologize for any confusion- and again, thank you for bringing this to my attention.

          Cheers!

          Ashley

          Reply
    • Customer Service

      Hi,
      1/2″
      Sorry for any confusion created by my original wrong answer!
      Cheers,
      Ashley

      Reply
  41. Kathy

    Just wondering can this be made out of fleece. And put elastic in ankles to make as sweat pants?

    Reply
    • Customer Service

      Hi,
      Yes, you can absolutely do that- and that sounds like a wonderfully cozy idea!
      Cheers,
      Ashley

      Reply
  42. Patti

    Could you save a step by sewing the contrasting cuff on by folding it in half after making the seam in step 16 and 17 and sewing through all three layers at once (pant leg and both layers of the cuff)? This would eliminate the need for turning up the cuff and sewing as shown in step 23. I think I’ll try it that way. Thanks for the pattern and instructions. Looks like a fun project.

    Reply
    • Customer Service

      Hi,
      Yes you could definitely do the stitching as you just described. The main reason why the cuff was not originally constructed like that is due to us wanting to attach the cuff to the pant leg using a construction stitch of 2.5 and then once it is folded and pinned in place the stitching done to hold it (that is seen on the outside of the pant leg) is a longer stitch length of 3.5. If you do decide to attach the cuff as you described, I would do the stitching using a construction stitch length and just be extra careful that I am stitching in a straight line.
      Hope this helps!
      Cheers,
      Ashley

      Reply
    • Customer Service

      Hi Jaya,
      We are sorry to hear you are having issues downloading this pattern. Please check your e-mail, we have sent you an alternative link.
      Thank you,
      Hallie NSC Video Membership

      Reply
    • Customer Service

      Hello Patricia,

      A 5/8″ seam allowance should be used with this pattern.

      Cheers,
      Ashley NSC Video Membership

      Reply
      • Ashley

        Correction! I meant to say that a 1/2″ seam allowance should be used. Sorry for any confusion!

        Reply
  43. Sandra

    This was a great help as I used a pair of my pajama’s to draft a pattern from but I found this video very helpful in what steps to make when sewing them up. Thank you

    Reply
  44. Tammie

    Excellent instruction! I Would like to add two or three ruffles to the bottom what is your suggestion?

    Reply
  45. Marianne

    Great! But I would like to learn to draft the pattern to my own measurements. Thanks

    Reply