E
Create Your Own Hand-Embroidery Patterns
National Sewing Circle Editors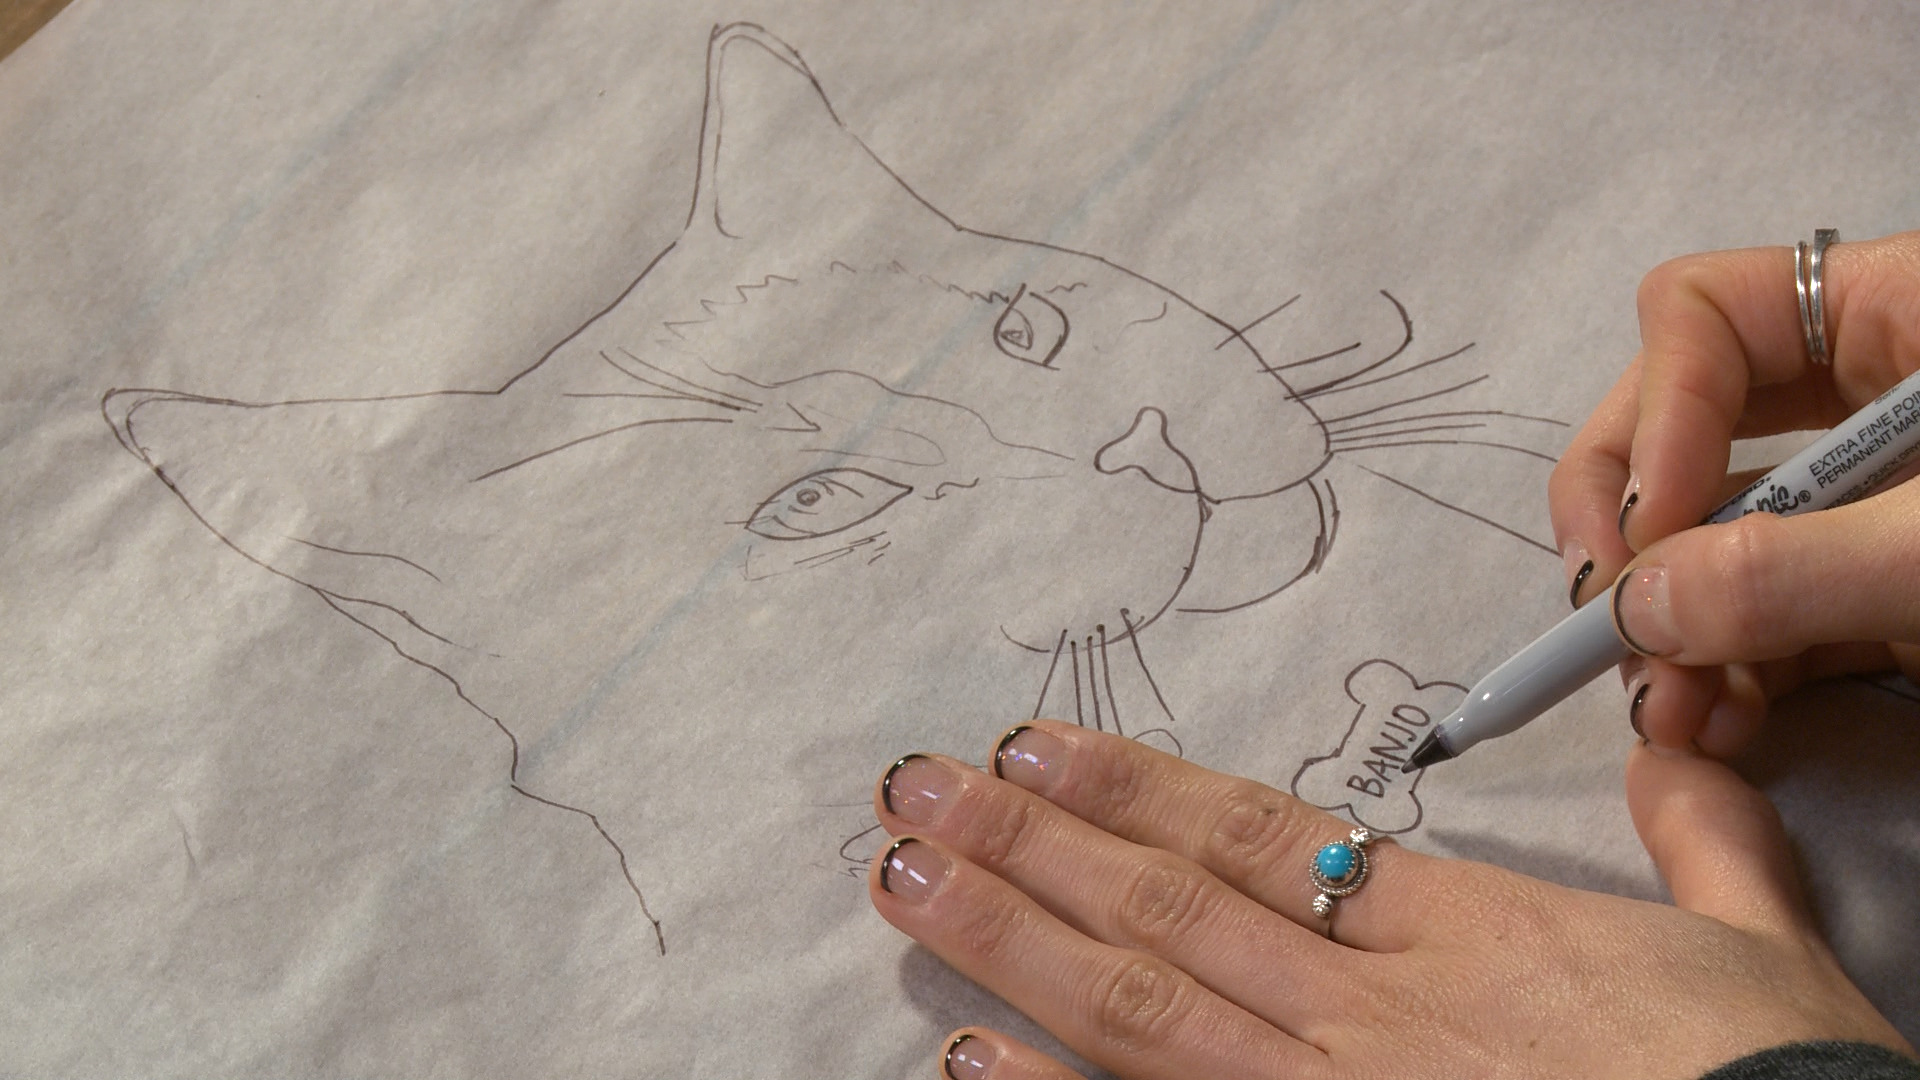
Video Player is loading.
Learn what types of photos would make good hand-embroidery patterns, and how to isolate elements from a photograph to create a hand-embroidery that will be easy to complete and make a pleasing finished product. You’ll also learn some tips for taking a good photo that will make a great embroidery pattern.
Whether it’s a portrait, nature, or architecture, look for photos with hard lines and definition between the foreground and background that will make the outer edges of the elements easy to trace with a pen, and then with your thread.
Look for photos that have one focal point. If you have a photo that is busy with many small elements, you can isolate one of the elements and enlarge it to create the focal point for your embroidery pattern. If you have kids or grandkids, you can also trace some of their artwork to create the embroidery pattern, to immortalize that brief time of their lives.
Once you’ve chosen your image, tape it down to the table, then secure translucent tracing paper over the image. Begin by tracing the outline. You have freedom to change the image as desired at this step. Add shading areas, if you desire a detailed embroidery, or stick to a simple outline of major features.
Once you’ve completed the lines of the embroidery design, remove the tracing paper. Alter the design at this stage to smooth lines, or add elements that weren’t in the photograph.
If using text in your design, keep in mind that it will need to be transferred in the correct orientation. Depending on what transfer method you’re using, you may need to flip the paper over and trace the design backward in order to transfer it to your fabric in the correct orientation.
For more embroidery projects, learn about sashiko and punch needle embroidery.
