Make a Cord Keeper from Your Fabric Stash
Stacy Grissom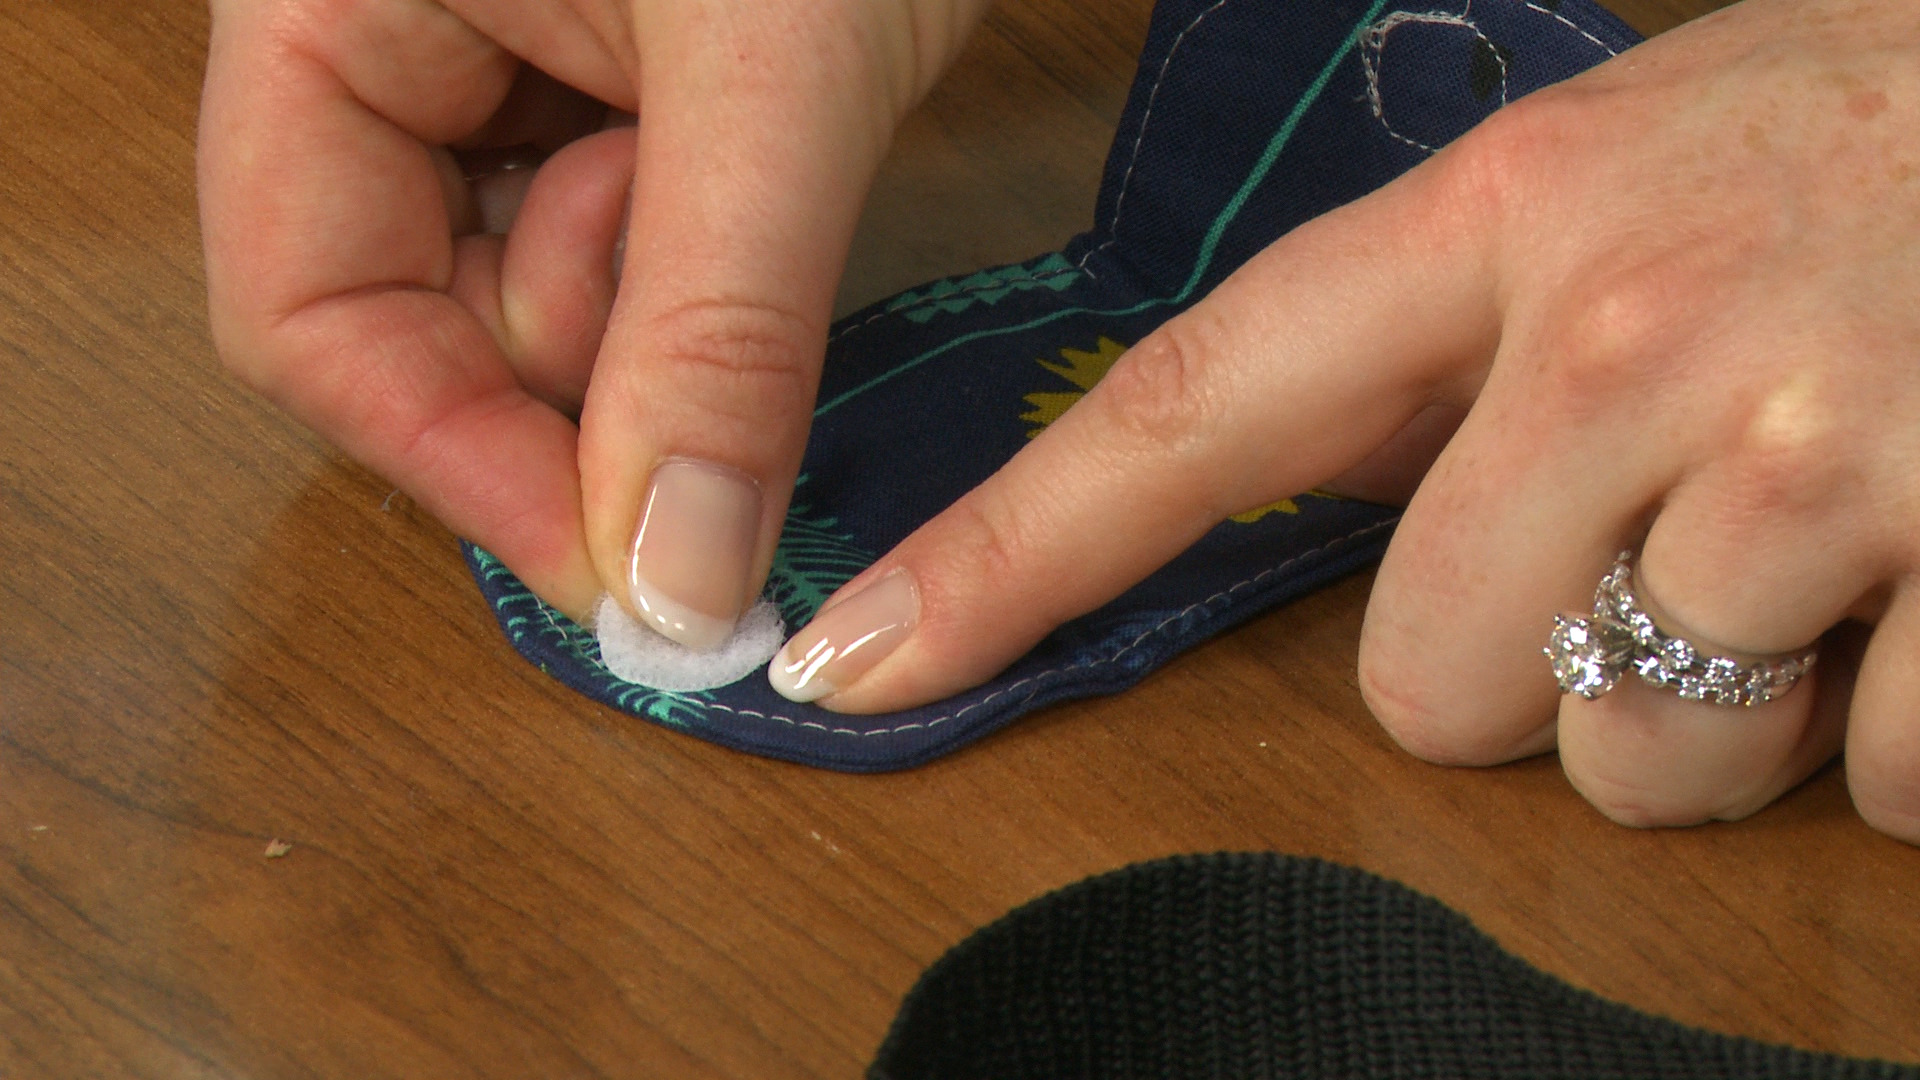
Video Player is loading.
Learn how to make a quick and easy cord keeper from small scraps of fabric. Stacy Grissom shows you how.
Supplies to Make a Cord Keeper
For this project, all you need are some fabric scraps, interfacing, and a piece of Velcro. Stacy explains what size of rectangle to cut your fabric to make a cord keeper for a phone or iPad charger. She also shows how you can make a larger size depending on where you plan to use your cord keeper.
After you have your rectangles cut, the first step is to add interfacing to the wrong side of the fabric. Stacy recommends using a lightweight, fusible interfacing, though she explains that other weights can be used as well, depending on the size you are making.
Construction of Your Cord Keeper
Once the interfacing has been fused in place, Stacy shows how to round the corners using a simple CD. She then shows how to stitch the rectangles together, explaining how to follow the lines drawn for the rounded corners and leaving an opening for turning.
After it has been stitched, she shows how to trim the corners and clip the curves in order to help the cord keeper lay flat when turned right-side out.
Finishing Up the Cord Keeper
The final steps for this quick and easy fabric scrap project is to topstitch around the perimeter and add a Velcro closure. Stacy explains how to adjust the stitch length for both topstitching and attaching the Velcro to ensure even stitches and a secure closure. Stacy then shows a cord keeper she made in a larger size. Once you have the basics for this project down, you can customize and make corder keepers of any size and from other fabrics as well.
Depending on the finished size of your cord keeper, you may need to use a larger Velcro or simply add a second or third.
