Katrina Walker

14-Day Learn to Sew Series - Basic Zippers

Katrina Walker
Duration:   20  mins

Description

Share tips, start a discussion or ask other students a question. If you have a question for the instructor, please click here.

Make a comment:
characters remaining

No Responses to “14-Day Learn to Sew Series - Basic Zippers”

No Comments
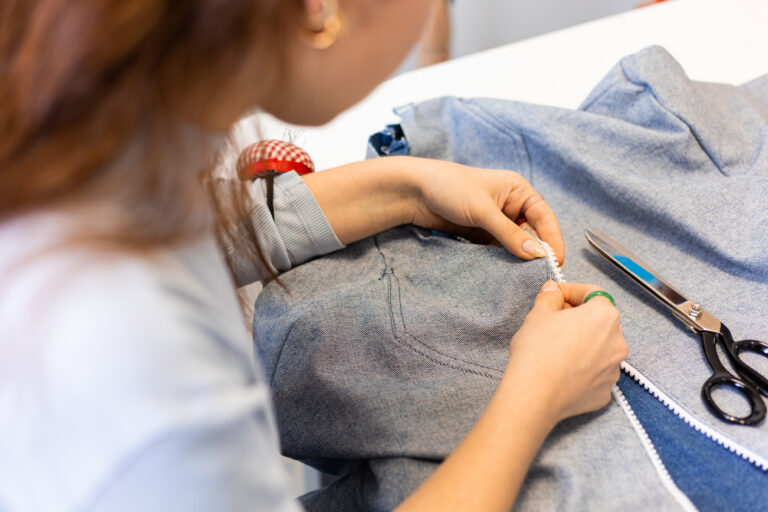
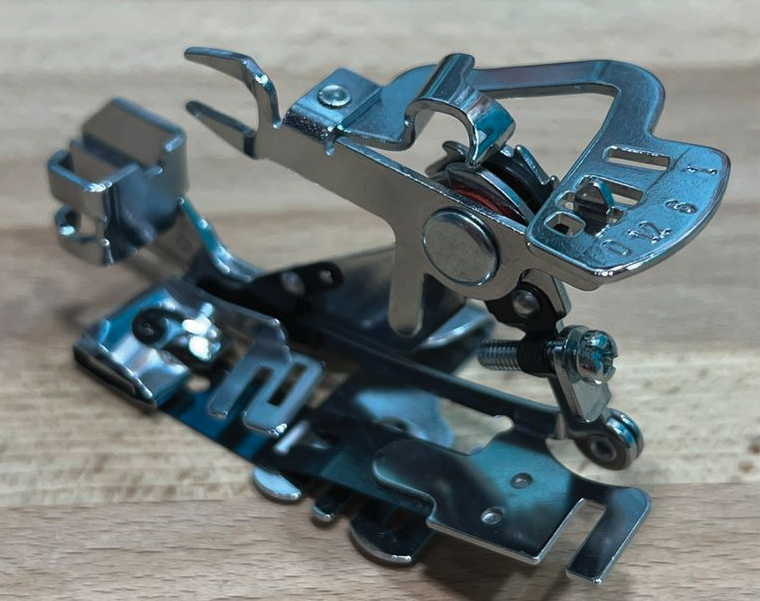
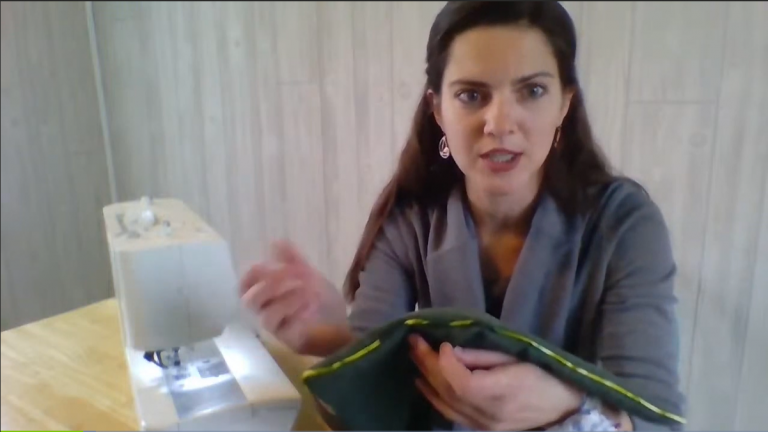
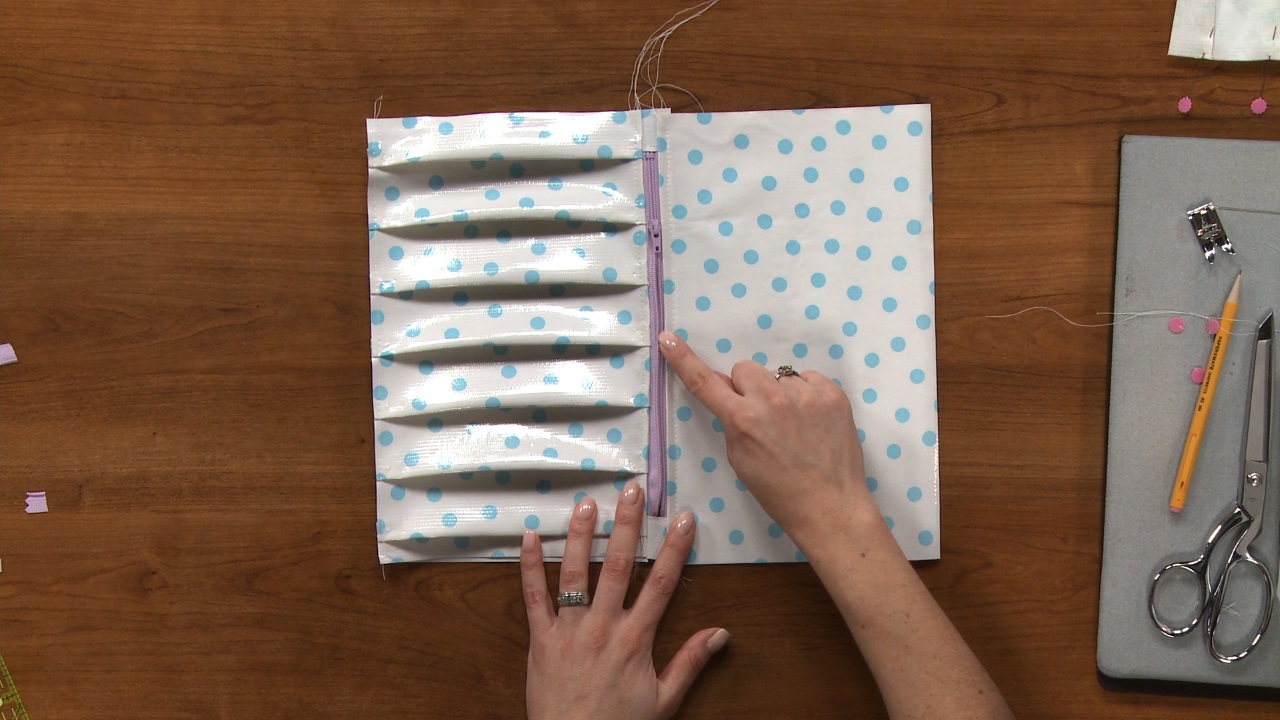
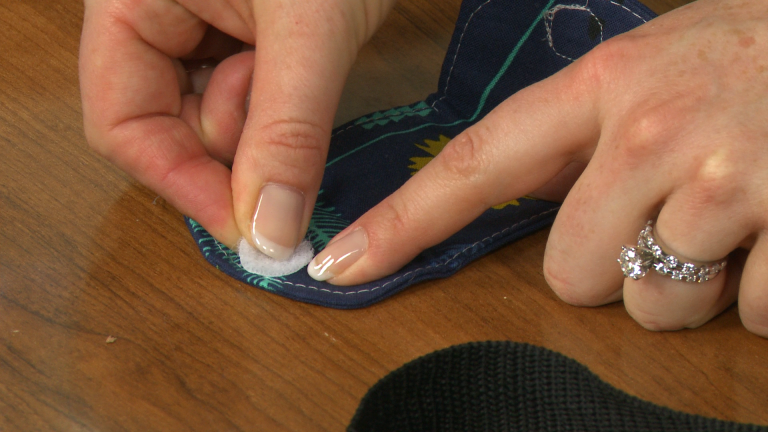
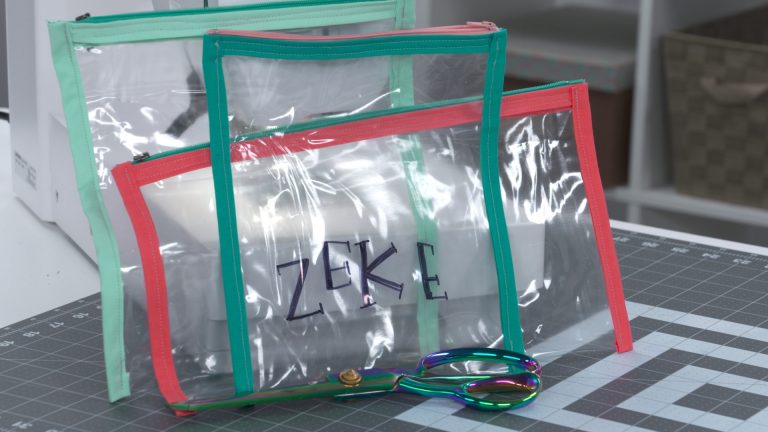
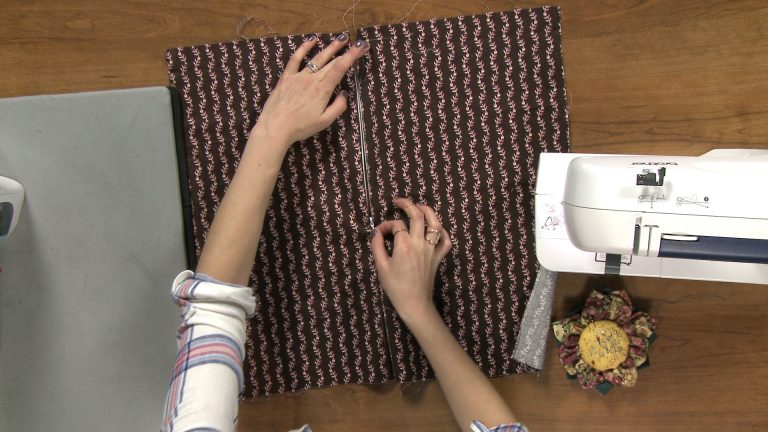
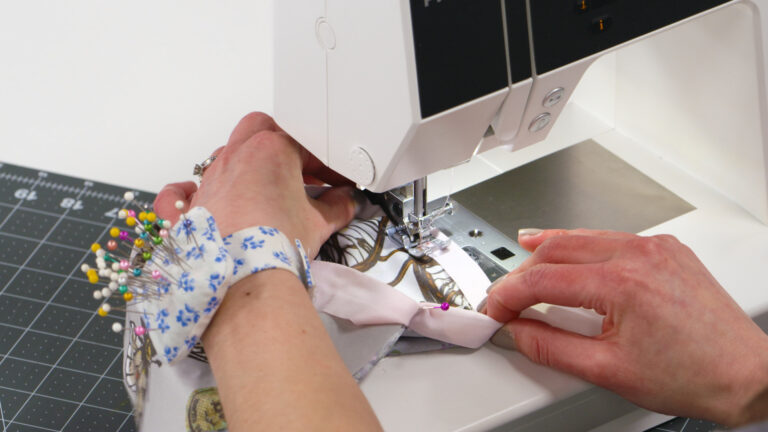
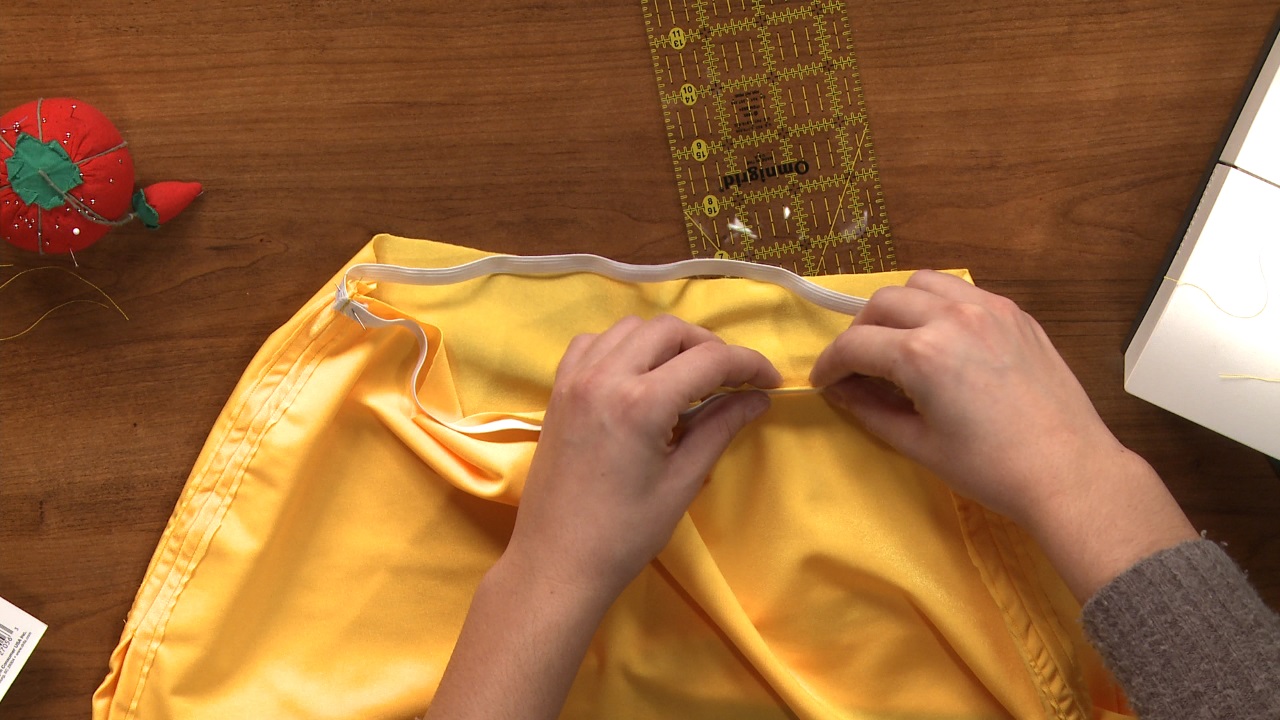
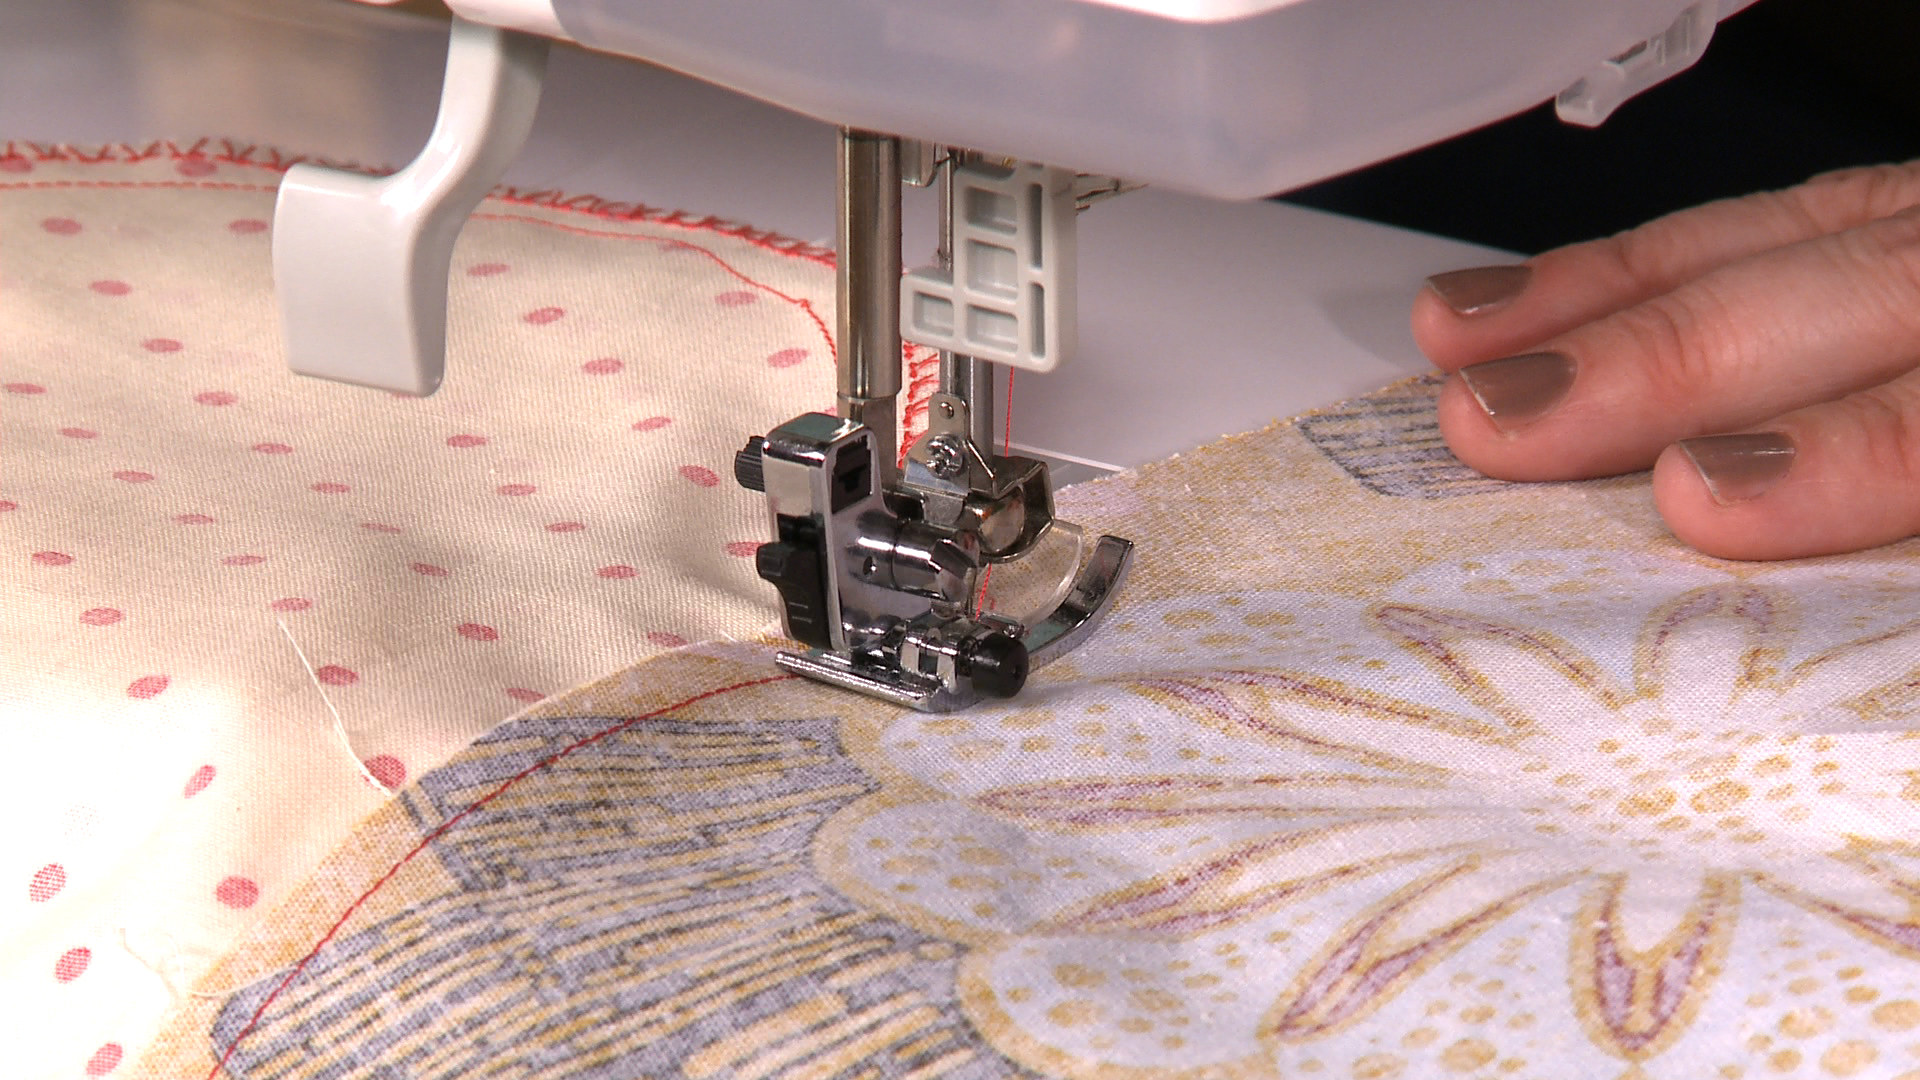
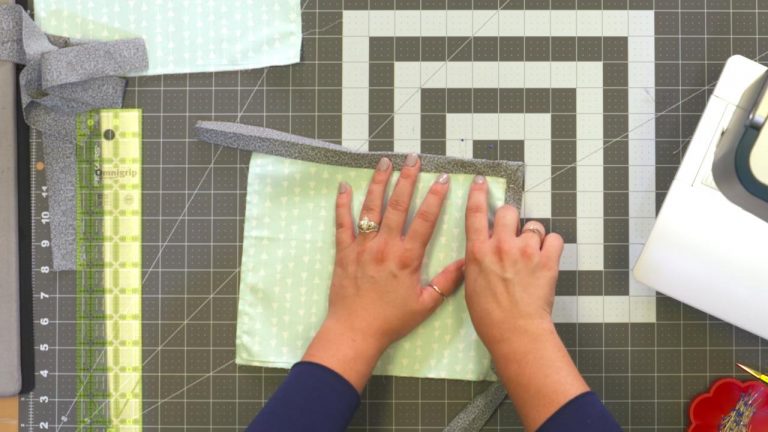
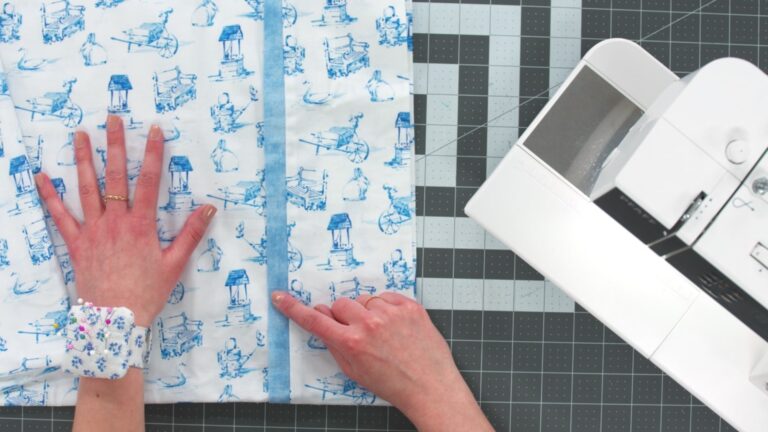
Are you ready to learn how to sew zippers? Well, I hope so, because I'm ready to teach you. I'm going to teach you two very simple methods for inserting a zipper. And one is for more kind of crafty purposes, and the other is more for say, clothing items, such as, say the back of a pair of pants, or a skirt, or a dress, or something like that. All right, so I'm gonna start with the crafty version. Now, I'm going to show you, I quickly whipped together a little bag, just to show you how fast and easy it is to put the zipper in. So, this is my favorite one to teach beginners, because it gets over the fear of sewing zippers. Now, one word of advice, I always choose a larger zipper than what I actually need for my project. And you see the zipper is longer than my little bag here. And that's great, that's exactly what I want. So, I am going to sew this zipper in. And I'm using a tool, this is one-eighth inch wide double-stick tape. And, I think is the best thing in the whole, wide world for putting in zippers. Because it makes it very easy to keep everything in place. One of the challenges with zippers is that it's difficult to pin them, they're difficult to pin in place. So I use tape, and this generally works very, very well. The hardest part of course, is getting it to actually un-peel from the paper. But I do like eighth of an inch wide more than the quarter of an inch wide stuff. So, definitely go for the eighth of an inch. So, I'm going to place my fabric as you can see, this is right-side down on my zipper. So this right, is here. Because I'm going to stitch along my zipper, so that it looks like this, right? Obviously, my tape did not stick, I didn't put enough pressure. You do have to use some pressure on this tape to get it to hold. And if it really misbehaves, you can use pins. Sometimes this tape gets a little bit old, and it doesn't always wanna stick. But usually if you give it just a little bit more pressure, it will stick. Okay, let's take that to the machine. Now the first thing I have to do, is I need to put on a zipper foot. I'm gonna put the zipper foot on. This one looks kind of odd, but it is a zipper foot. So, I'm placing it, so that it's easy for me to sew onto this side of the zipper. Now, you can see my needle is here, the edge of the foot is there. I'm going to move my needle over just a little bit to the left. And, I can adjust this to left by moving, adjusting my needle position button, I'm gonna go over to 2.0, that sounds about right. So sew, and I backstitch. Now, normally of course, I would use matching thread, but I want you to see what I'm doing. But I can line the zipper foot up against the edge of the zipper. So, I don't necessarily have to see what I'm doing, I basically can feel what's going on. Let's backstitch that, okay. So there's the first side of my little zipper pouch here. And of course, I can pull that tape, I'm just gonna leave it in place for now. So now, I just need to do the other side. So again, I'm going to put down some sticky tape. Using my thumbnail to give it a little pressure to encourage it to be stickier. So again, you can use quarter-inch. I like eighth of an inch, 'cause I don't like to sew through it. And, it's just easier to avoid sewing through it, if it's only an eighth of an inch wide. So now, I'm just gonna take this other piece of fabric. Now, I want my fabrics to line up. And I'm going to stick that in place, right-sides together. And I'm gonna sew that piece. I'm gonna wanna move my zipper foot over. Zipper feet are made to sew on either side. So since I'm sewing on the other side of the zipper, I'm just gonna move my foot over to the other side. So again, I'm going to butt it up against, so the toe of the foot is up against my zipper tape. Let's make sure it's nice and sturdy. And I'm gonna move my needle over to the right this time. And go ahead and sew that down. There we go. Okay, let's trim some threads. So, there's my zipper in place. Now, if I wanna be really picky, looking at this, it looks like I stitched a little closer to the zipper on this side, than that side. But you know, just for a lesson, I'm not gonna worry about it. But I could go back and just do a second row of stitching a little bit closer. But, I'm just going to decide to live with it for now. So again, I'm just gonna make a simple zipper pouch. I'm making sure that my zipper stop is out of the way, out of the path of my stitching. And, I'm gonna fold this in half. Actually, I'm gonna fold it this way. I need to change my foot to a normal sewing foot. And we are going to sew ourselves a little zipper pouch. I'm just going to use the edge of my foot, I don't have a particular seam allowance in mind. I'm just going to use the edge of my foot as a guide. Pivot, make that corner. Oh, maybe one more stitch, there we go. All right, now before I stitch the top, I do need to make sure that my zipper pull is out of the way. That's important , otherwise we're gonna stich this closed. So, I'm just folding this in half. Now... Now, if you're sewing a metal zipper, don't stitch through the teeth. But on a nylon zipper, you're okay. So, I'm just gonna go ahead and clip my threads here, and I'm going to double-check, make sure everything is okay, before I cut the ends of my zipper off, and turn this right-sides out. We're looking good. Yeah. There's a little zipper pouch, awesome. So, I'm gonna go ahead now and cut the ends of the teeth off. But see by having a zipper that's longer than necessary, you don't have to worry about stitching around the stop, or the pull. I'm gonna clip the corners of the angle, that will help make it a little bit more graceful corner. And there's our very, very fast little zipper bag, just to show you one method for inserting a zipper. Super, super simple. All right, so let me show you the second method real quick. So again, this is a method that works really well for say, a closure on skirts, pants, dresses, tops, et cetera. It's called the centered zipper. So on this particular zipper, now this fabric is right sides together. And I do need to mark my starting and stopping points. So I need to know where the end of my zipper is going to be. So, we're going to pretend that this seam continues down to be again, my pair of pants, or what have you. So, I'm just gonna mark where the bottom of my zipper is. And again, this is a heat-erasable pen. And I'm marking, so I know where I can start and stop my seam. So, I'm gonna take this to the machine, I'm gonna make sure I'm on a centered position here. And I'm gonna sew a regular seam from that point downward. So, we'll do a five-eighths inch seam, from my mark down. So I'm gonna stitch, backstitch. All right. Now the upper part of this, I'm actually going to baste. And by baste, what I mean is, I am going to stitch some temporary stitches in that spot. So from here upward, I'm going to set my stitch length for a very long stitch. Kind of like if you're doing gathering stitches, but a very long stitch. And I can also choose to loosen the stitch tension, but I'm not going to. And now, I'm going to go ahead and baste this closed. So this is going to be where my zipper is going, but I want to baste this. So that I can have a more accurate zipper installation. So now I need to press this. And notice when I basted it, I also did not backstitch. So I pressed this like I normally would to set the stitches. And now, I'm going to press my seam open. So this is a zipper that goes into a seam. So I want to press this seam open. And, I'm just gonna double-check where by backstitching is. And sometimes what I'll do, is I'll make a little clip into my seam allowance, so I know where that stopping point is. Because remember, the seam from this point upward is just temporary. All right, so I'm going to now place my zipper over, center it over my basted seam. So again, I'm going to get out my sticky tape. And of course I have to use my thumbnail to make sure it's sticking in place. All right, now I have my little snips to remind me where my seam is. I'm gonna place my zipper stop, this is the stop, just below that. And, I'm going to place this zipper, so with my zipper stop just below my little notches. I'm gonna place this zipper centered over my seam. And if I need to, what I like to do, is I peel it back, and I just place, kind of roll, make sure your sticky tape stays in place. My sticky tape is being naughty. But I'll just roll that zipper down in place. And since my tape is being ornery, I'm going to double-check that. I can peel, I peel the tape off after I'm done, so. And if I'm feeling a little extra unsure, of course, I can always, always pin. And I can pin my zipper in place, as well. All right, so once I have it stuck down, I can carefully turn this over, again, just double-check that you're centered. You can feel with your fingers, too. Feel with your fingers, just make sure that your centered over the tape. And it does seem to be centered, even though it looked a little wonky. So now I'm going to introduce another tool, and this is one-half inch transparent tape, translucent tape. I'm gonna feel with my fingers to find out where that zipper stop is. So that zipper stop is about there. I don't wanna stitch over the zipper stop. But, I'm gonna use my half-inch tape as a stitching guide. 'Cause with this type of zipper, the one mistake that a lot of people make, is crooked stitching. And so by using translucent tape as a stitching guide, it helps you do a perfect stitch around the zipper, nice and straight, it gives you a nice visual. And of course, if you're like me, you're gonna put your reading glasses on, which also really helps. And so, here we go, we're gonna take it to the machine, and we're gonna top stitch this place. Now, I'm going to go ahead and use a zipper foot to do this. Because it allows me to place my needle exactly where I want it to be. All right, so I'm going to take it over to the machine. And I have my zipper foot on. And I, of course, am just gonna double-check that everything is in the right place. Now, I have set up my zipper foot, so I'll be stitching down the right side, and up the left side. And I've also moved my needle over. So if you look and see, you can see where the tape is. My needle is right at the edge of that foot. So that when I'm stitching, I want to be stitching right along the edge of the tape. And since I can see with my foot, if I line the foot with the tape, that really helps me to stitch straight. Okay, and I just double check as I go, I got a little ripple going on there. I'm just gonna make sure that I'm still centered. So just feel with your hands. One reason I try to avoid pins is that, it's hard to pin and not have it be on the other side, and so it can get caught in your feed dogs, and things underneath. So again, I'm just double-checking, make sure everything is in place as I go. I wanna turn that corner exactly. So if I need to, I'm gonna cheat a little bit, lift my foot. So my needle comes down right at the corner of the tape. Lift my foot, pivot. Stitch straight across. Now my little zipper stop is right here, I can feel it. So I know I'm not stitching over that, that's important. That'll break your needle! And again, I just wanna make sure that I stop right on the edge of that tape. Perfect. Turn the corner and go for home. And whoops, backstitch. There we go. Okay. So there we have our zipper, a little wobble there. But, of course you're going to want to use matching thread. But that is a very simple way. Now, I would go ahead and... Pull those basting stitches out of the center, to open up our zipper. And sometimes you can kind of pull them out. And sometimes you need to use a seam ripper. I think I can mostly just pull them out. Or, as I said, use a seam ripper. There we go. Pull your little threads. And there you have your zipper. Easy-peasy. And you can put this into any seam. Now, you may be wondering what to do about these tails up here. Well, when you sew something that has zipper like this, you're usually going to be either hemming this, or putting a waist band on, or collar or something. So don't worry about this, it'll be just fine. You'll cut that, just leave this on, and don't cut it off, until you go ahead and hem this, or we do whatever you're going to do with the top. But that's a very easy way to sew a centered zipper. Use those tools, and you won't have any trouble with zippers at all. Enjoy!
Get exclusive premium content! Sign up for a membership now!