Double Needle Mock Cover Stitch for Knits
National Sewing Circle EditorsT-shirts, sportswear and other commercial garments made from knit fabrics are generally finished using a cover stitch machine. While you can purchase a cover stitch machine for home use, Holly Willis shows you how to achieve the same finished look using a standard sewing machine.
Cover stitch
A cover stitch is a double line of stitching on the right side and on the wrong side it looks like several zig-zags. This stitch stretches slightly, making it the ideal finish for knit fabrics. A cover stitch, rather than a straight stitch, is used on any area of a garment that will be stretched or stressed, as a straight stitch will most likely break. It is good to have knowledge of knit vs woven fabric in order to know what kind of seam finishes are best to use.
Twin Needle
Having proper sewing needle knowledge and knowing about the different types of sewing needles available can help make sewing projects easier. Holly demonstrates how to achieve the look of a cover stitch using a twin needle on a conventional machine. A twin needle, sometimes referred to as a double needle, is two needles attached on one shank. Twin needles come in various sizes, much like single needles, and are labeled on the needle package. There will be several sizes indicated, one is the needle size and one is the distance between the two needles. Twin needles can be spaced anywhere from 2 to 6 mm apart. When using a twin needle, ensure both the presser foot and throat plate of the machine have a large enough opening for the twin needle.
Threading
When using a twin needle to create a mock cover stitch, two spools of thread will be needed. Holly shows you how to thread your machine for using a twin needle and gives you tips on how to ensure the thread does not become tangled or twisted.
Stitching
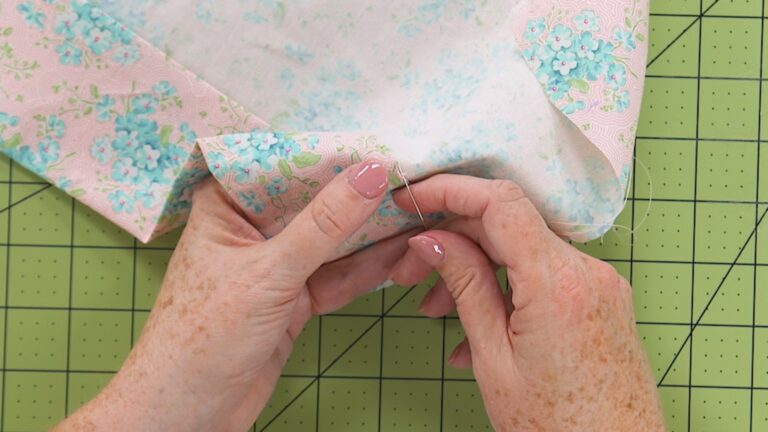
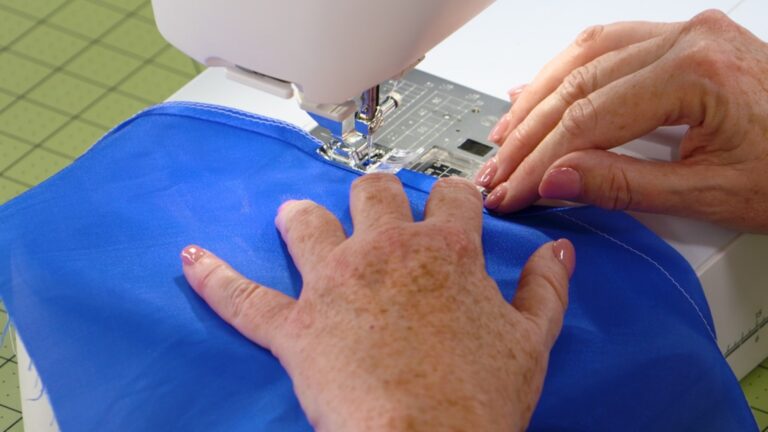
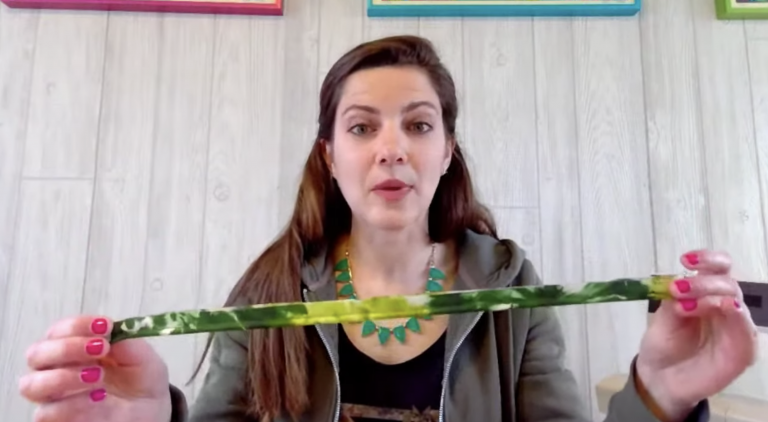
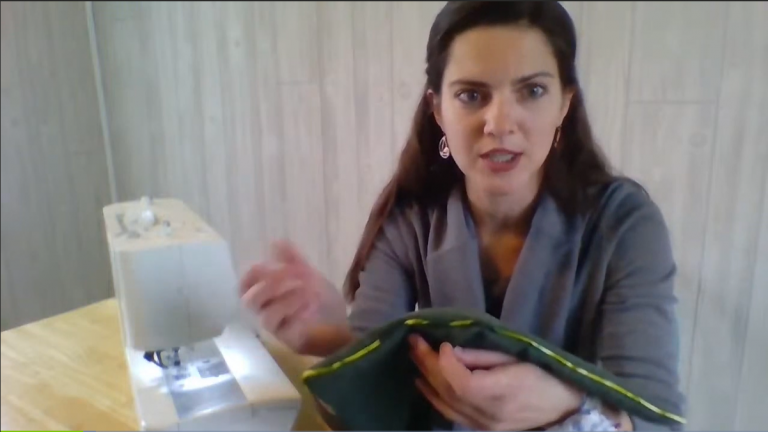
Once the machine has been set up and threaded, Holly shows how easy it is to create the look of a cover stitch. She shows how to measure and fold under the edge to be stitched and how to line the raw edge up along the center of the twin needle. She then demonstrates how to ensure your fabric stays lined up while stitching.
Explore videos by National Sewing Circle Editors
Premium Membership
Unlock exclusive member content from our industry experts.
- 24/7 Access to Premium Sewing Videos, Projects, and Tips
- Step-by-Step Instructional Demos, Patterns, and Tutorials
- 50% Off Video Downloads Purchased in the National Sewing Circle Shop
- Access to Ask the Expert Program
Unlock exclusive member content from our industry experts.
- 24/7 Access to Premium Sewing Videos, Projects, and Tips
- Step-by-Step Instructional Demos, Patterns, and Tutorials
- 2 Full-Length Video Downloads to Watch Offline
- 50% Off Video Downloads Purchased in the National Sewing Circle Shop
- Access to Ask the Expert Program
Gold Membership
$362 Value
Get everything included in Premium plus exclusive Gold Membership benefits.
- 24/7 Access to Premium Sewing Videos, Projects, and Tips
- Step-by-Step Instructional Demos, Patterns, and Tutorials
- 8 Full-Length Video Downloads to Watch Offline
- 3 Full-Length Quilting Classes to Keep for Life
- 6 Printable Sewing Guides and Patterns
- Discounts on Purchase-to-Own Content in the National Quilters Circle Shop:
- Access to Ask the Expert Program
- Exclusive GOLD LIVE Streaming Events

Share tips, start a discussion or ask one of our experts or other students a question.
Already a member? Sign in
No Responses to “Double Needle Mock Cover Stitch for Knits”