E
The Difference Between Interfacing and Stabilizer
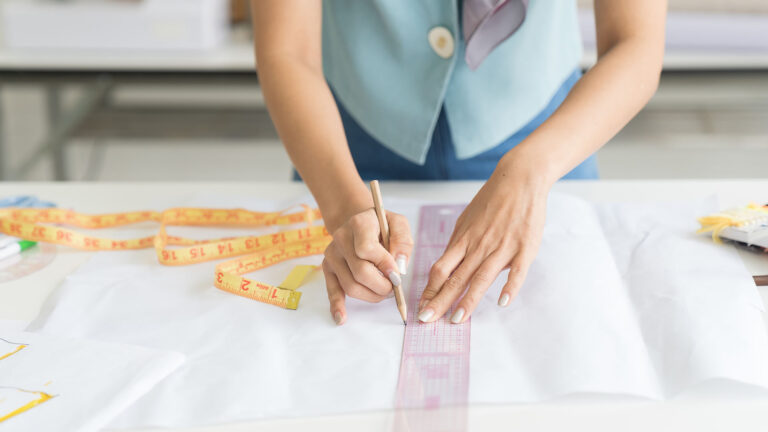
National Sewing Circle EditorsLooking to give a project a specific shape? Want to make sure that collar stays crisp? You’re in the market for interfacing or stabilizer. These layers rest behind the fabric and are a handy tool for every sewer to master.

Achieving professional sewing results can be as easy as choosing the proper interfacing or stabilizer. These two different materials will add shape and secure stitches.
What is Interfacing?
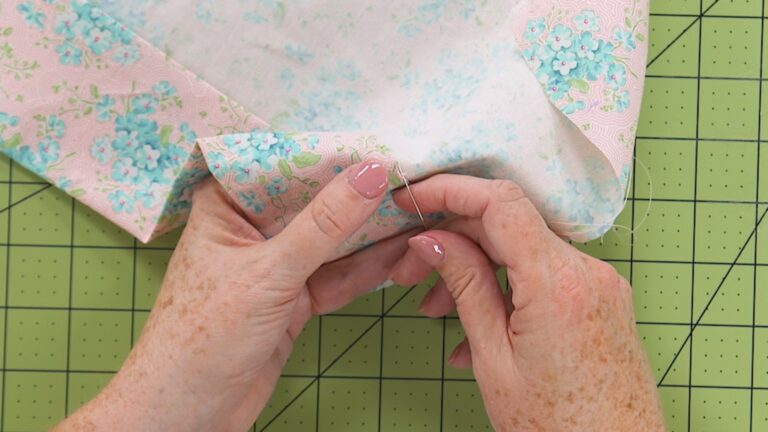
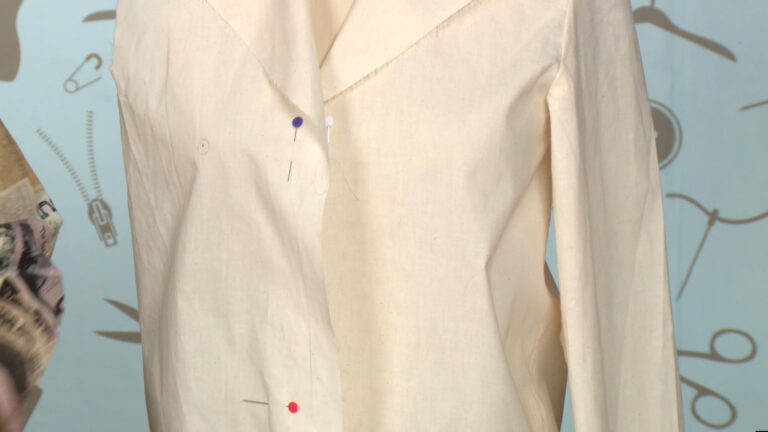
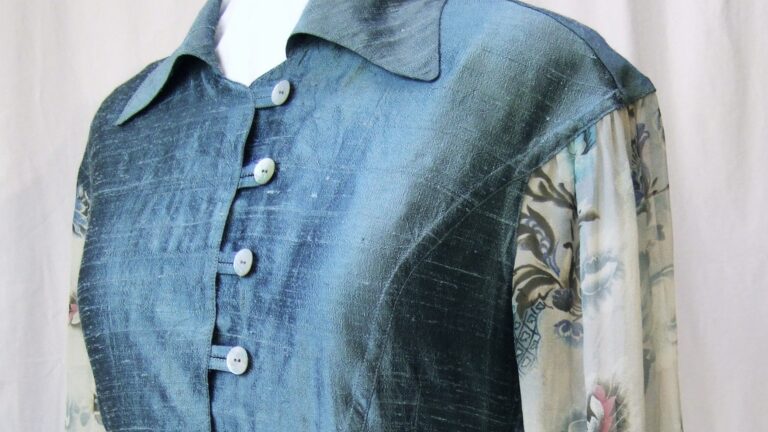
This neutral colored material is meant to be permanently added to fabric. Interfacing is either fused in place using an iron or sewn in place.
Different Types of Interfacing
There are several types of interfacing available, each with a specific use. Here are the main types:
Woven Interfacing: This type comes in various weights and is meant to be used with woven fabric such as cotton.
Knit Interfacing: The noted difference of this type of interfacing is that it is actually a knit, therefore it will stretch slightly. Use this type of interfacing when sewing knits.
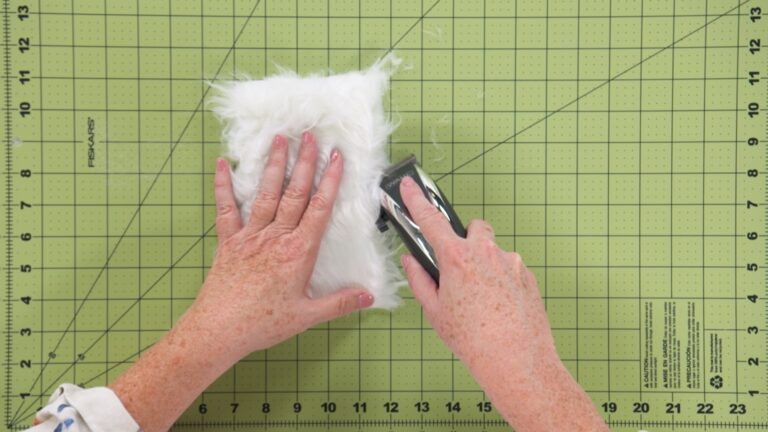
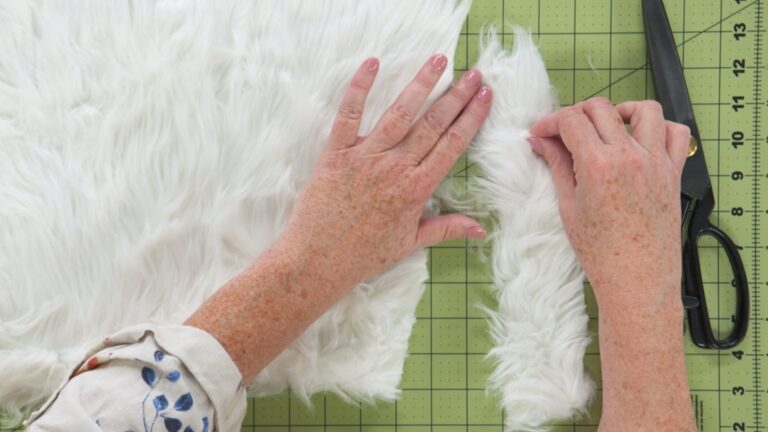
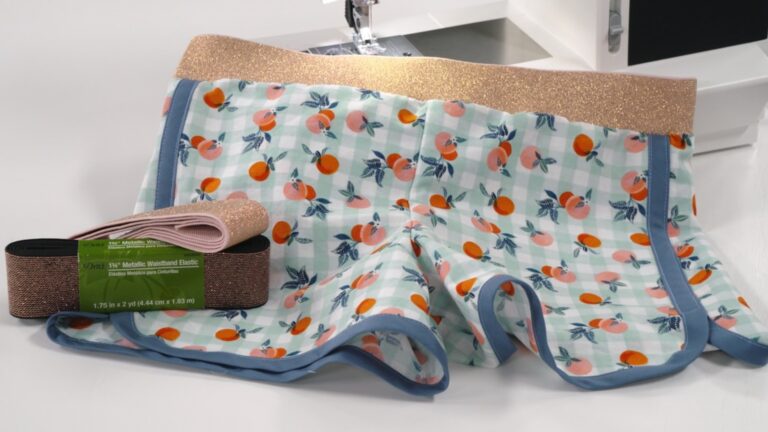
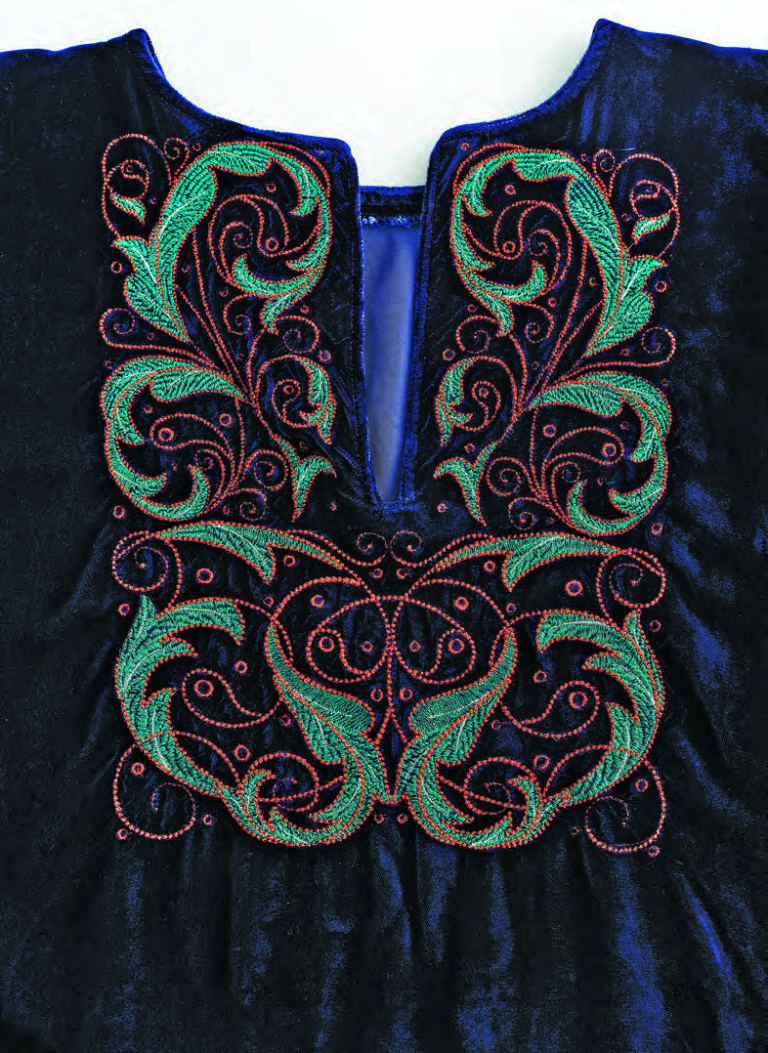
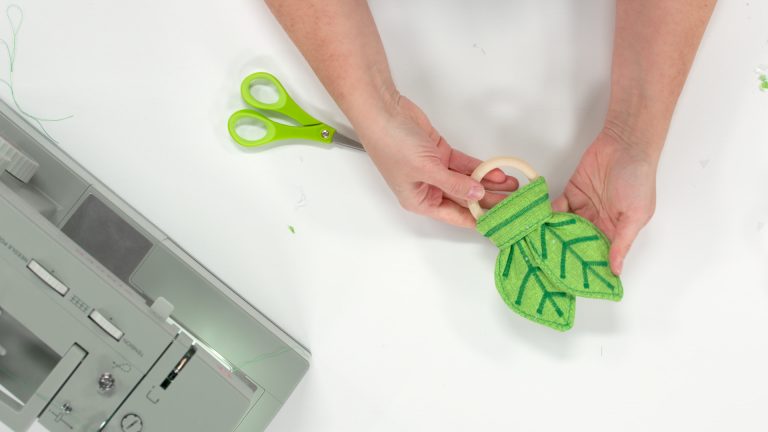
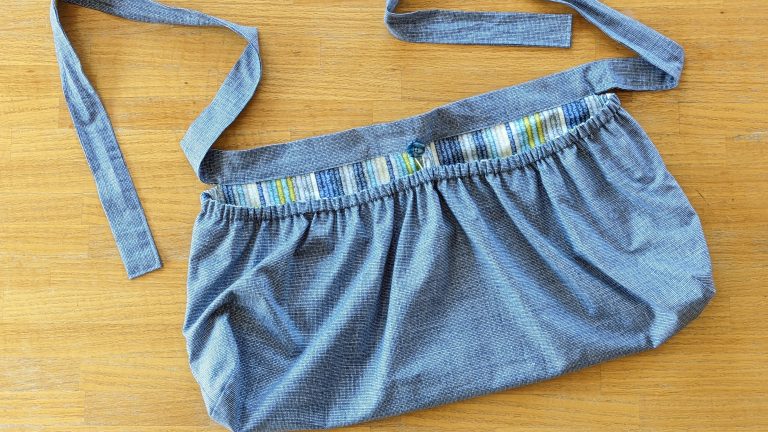
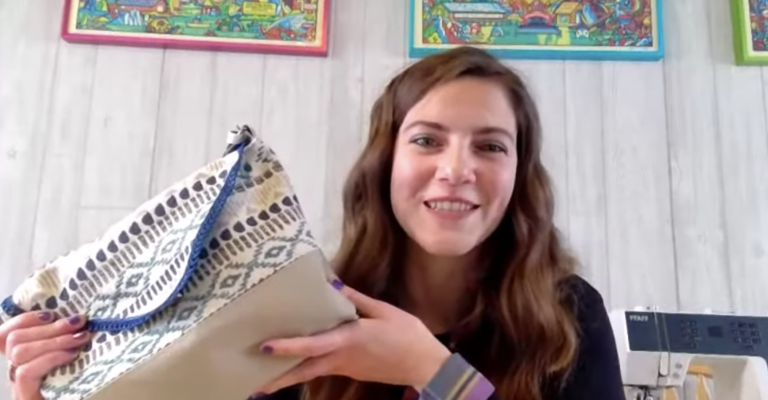
Fusible Fleece: Soft and lofty, this type of interfacing fuses to the fabric. It adds a thick layer to the fabric making it easier to hold a specific shape. Consider using multiple layers of fusible fleece to create an especially rigid shape.
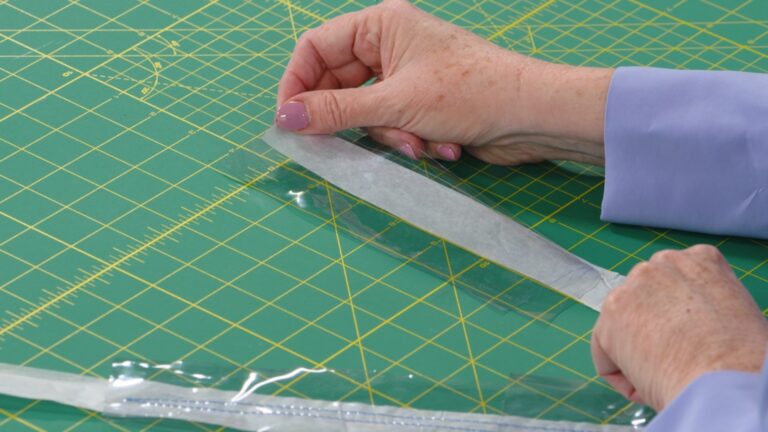
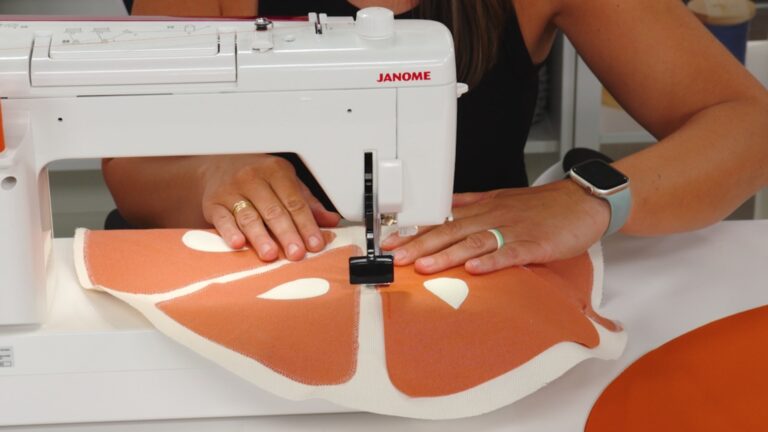
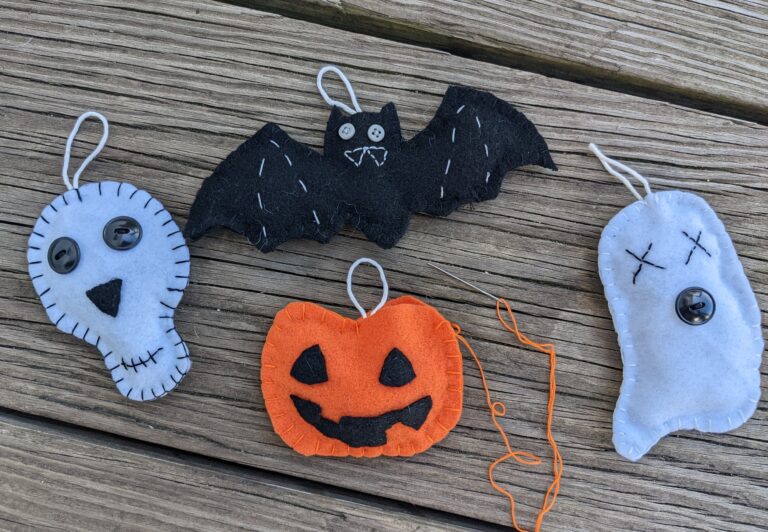
Fusible Web: Adhesive on both sides, this type of interfacing is used mostly for appliqué. It is also known as Stitch-Witchery or Heat ’n Bond.
Related video: How to Use Fusible Web and Other Adhesives
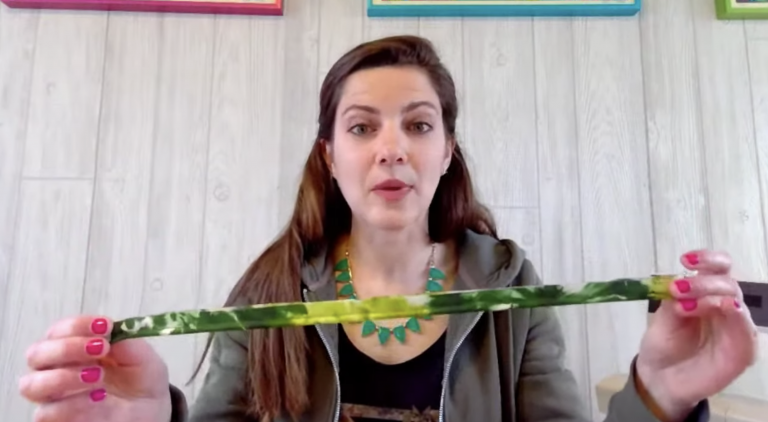
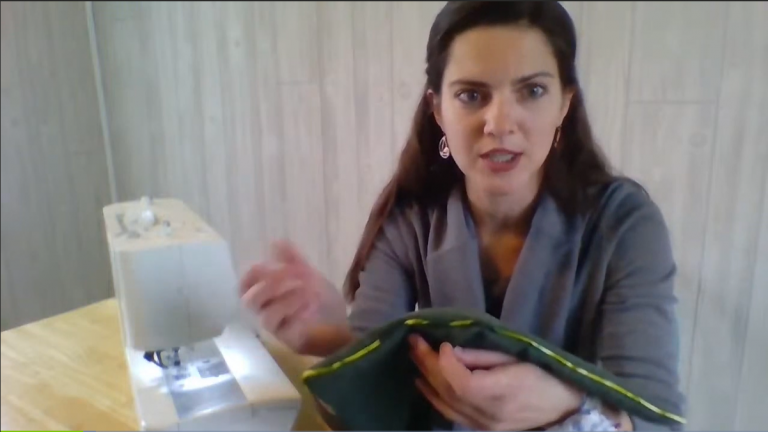
What is Stabilizer?
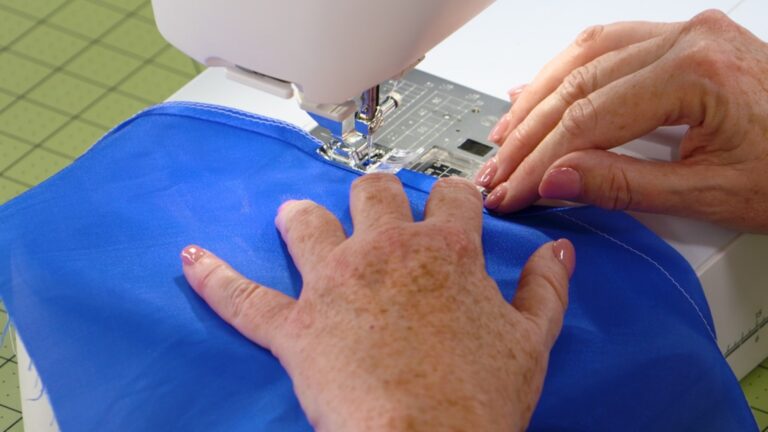
Unlike interfacing, stabilizer is created to be removed after stitching. Stabilizer helps reinforce fabric when stitching may damage it.
Different Types of Stabilizer
There are three main types of stabilizer to consider:
Tear-Away: Very paper-like, this stabilizer works well with lightweight fabric and light stitch work.
Wash-Away: This form of stabilizer dissolves in water after stitching. Best used when stitching appliqués or when a bit of stabilizer is needed on the fabric’s right side.
Cut-Away: Usually used when working with heavy stitch work, cut-away adds firm support to fabric.
Related video:Creative Uses for Fabric Stabilizer
How have you used interfacing or stabilizer to enhance your sewing projects? Let us know in the comments!
Have something to add? Leave a comment or email editor@nationalsewingcircle.com.
Explore videos by National Sewing Circle Editors
Premium Membership
Unlock exclusive member content from our industry experts.
- 24/7 Access to Premium Sewing Videos, Projects, and Tips
- Step-by-Step Instructional Demos, Patterns, and Tutorials
- 50% Off Video Downloads Purchased in the National Sewing Circle Shop
- Access to Ask the Expert Program
Unlock exclusive member content from our industry experts.
- 24/7 Access to Premium Sewing Videos, Projects, and Tips
- Step-by-Step Instructional Demos, Patterns, and Tutorials
- 2 Full-Length Video Downloads to Watch Offline
- 50% Off Video Downloads Purchased in the National Sewing Circle Shop
- Access to Ask the Expert Program
Gold Membership
$362 Value
Get everything included in Premium plus exclusive Gold Membership benefits.
- 24/7 Access to Premium Sewing Videos, Projects, and Tips
- Step-by-Step Instructional Demos, Patterns, and Tutorials
- 8 Full-Length Video Downloads to Watch Offline
- 3 Full-Length Quilting Classes to Keep for Life
- 6 Printable Sewing Guides and Patterns
- Discounts on Purchase-to-Own Content in the National Quilters Circle Shop:
- Access to Ask the Expert Program
- Exclusive GOLD LIVE Streaming Events
Share tips, start a discussion or ask one of our experts or other students a question.
Already a member? Sign in
No Responses to “The Difference Between Interfacing and Stabilizer”