Sew a Designer Headband with a Decorative Knot
Holly Willis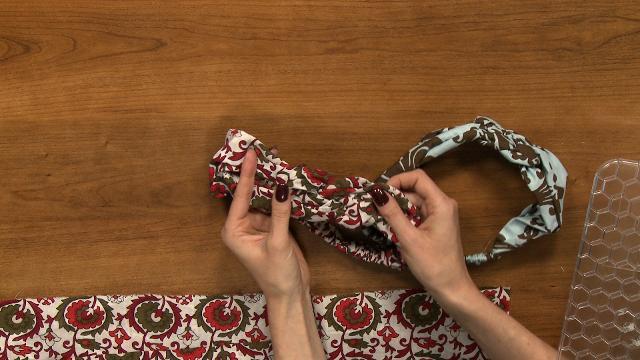
Video Player is loading.
Headbands not only make great accessories, but they are also a fun, quick and easy sewing project. Holly Willis shows you how to make a designer headband with a decorative knot.
Pattern and Construction
For this designer headband, you need only three strips of fabric. Holly explains what size the pieces need to be and how to adjust the size if necessary depending on who the headband is being made for- from doll size to adult. She then shows how to begin constructing the headband. The headband Holly demonstrates is made from a woven fabric, however she also explains how to sew a headband made from knit fabric as well. With the woven fabric, the three pieces are separately stitched into tubes to finish the edges and turned right side out. While demonstrating, Holly gives several tips on how to easily turn fabric tubes right side out. With the knit fabric, Holly shows how they do not need to be stitched because the raw edges of the fabric roll under to create the same look. Holly then shows how to insert elastic into the small tube made from woven fabric and explains how long the elastic should be in comparison to the tube.
Knot
Once the fabric tubes have been stitched Holly shows how to tie the knot that is the main decorative element on this designer headband. She demonstrates how to tie it on large strips of scrap fabric to make it easier to see, then shows how to tie it on the actual headband pieces.
Finishing
Once the knot is tied the designer headband can be completed. If using a woven fabric, Holly demonstrates how to attach elastic the ends of the headband so it can be worn. If using a knit fabric, the elastic isn’t needed and Holly shows how to complete the headband and hide the seam.