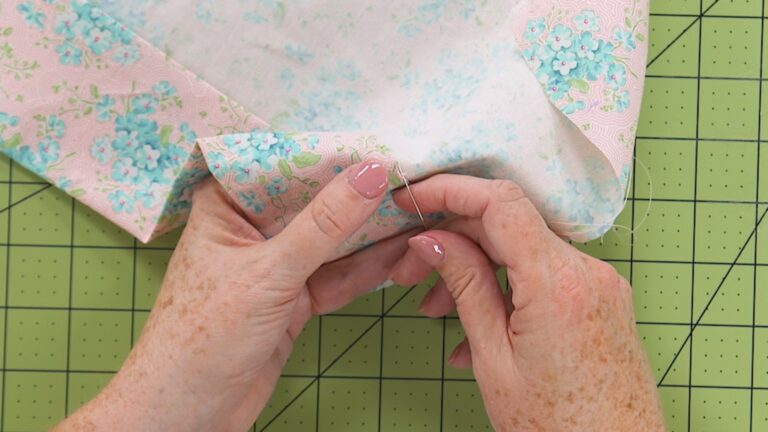
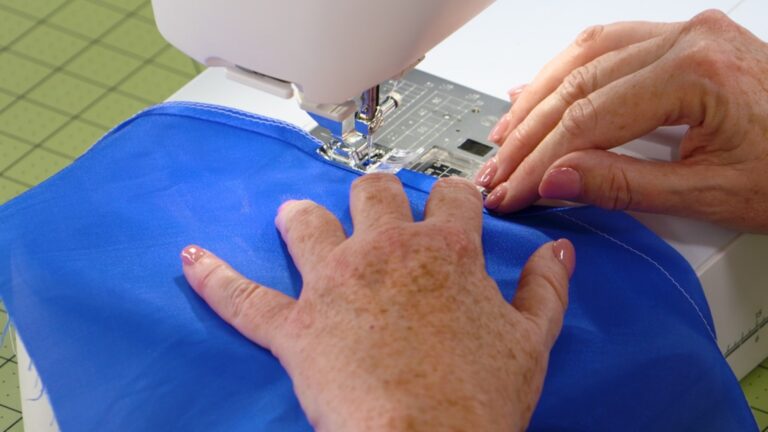
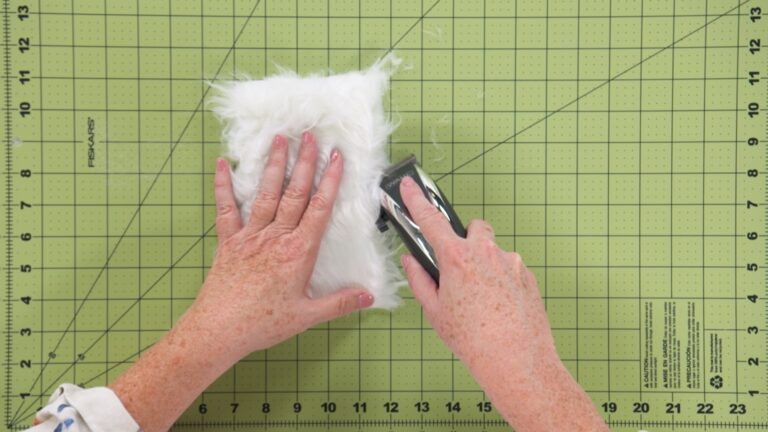
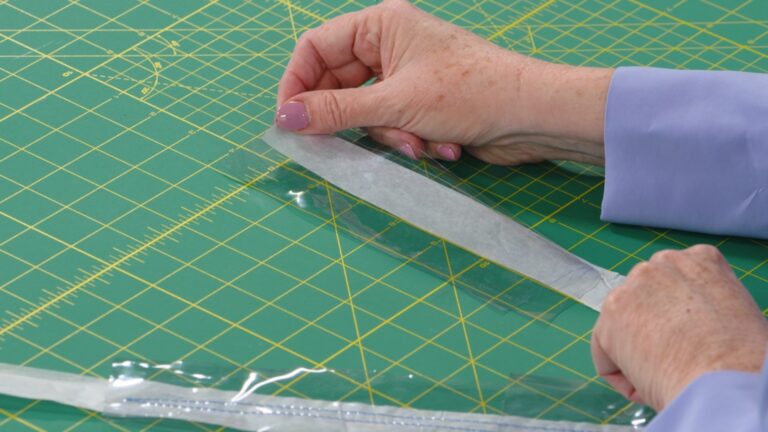
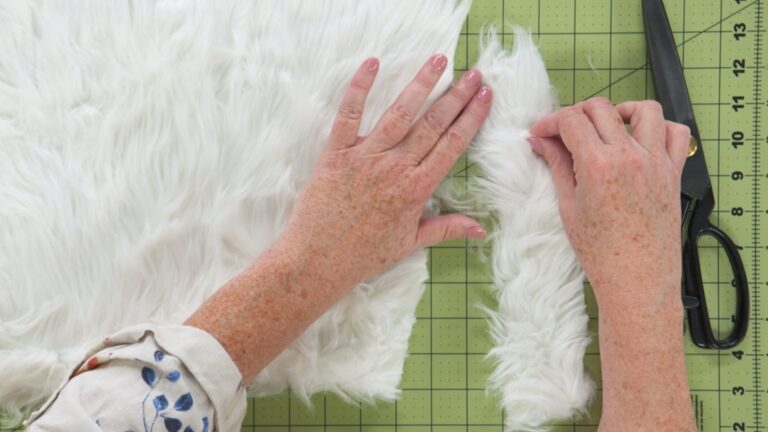
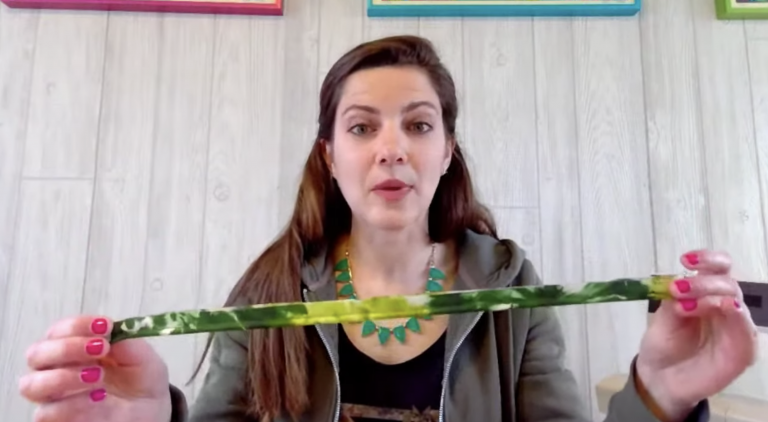
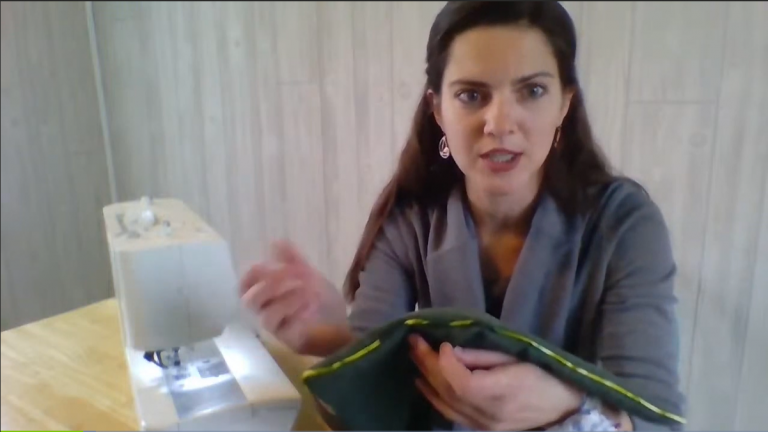
Before we get into this cornucopia of tips and tricks for sewing velvet, let me say, you're not going to need all of these tips, typically. You may need only one or two tips to stabilize your velvet. But sometimes you will get this... You'll buy a gorgeous, beautifully drapey fabric, a velvet fabric and it's horrible to sew with. So you may need to layer stabilization tip on top of tip, on top of tip in order to be able to sew the fabric without pulling your hair out. So sometimes some velvet varieties are gonna be hardier than others, and you won't need it to be quite as careful with them, but I'm gonna give you all the tips that I have in my arsenal just so that you have them in case you need them. So, we'll start out with the thread type to use. Typically in general sewing, you want to match your fiber content of your thread to the fiber content of your fabric. Just so that everything is going to behave the same and wear the same. And all purpose thread is going to be fine in most cases. But if you've got a 100% cotton fabric, you're okay to use a 100% cotton thread. If you're using a really fine thin velvet, like a rayon silk blend or something, you may wanna use a silk thread or even a rayon thread which has a lot of times nice and thin and has a really nice silky finish to it. So a lighter weight thread for a lighter weight fabric. Makes sense, trying to match the thread to your fabric. And as far as needles to use, a universal needle is going to be fine in 90% of situations. And if you have a lighter weight fabric, you may wanna go down to a thinner needle. So the sizing goes from size 90/14 is larger than the size 65/9. So if you have something lighter weight, a lighter weight needle has a smaller shaft. So it will create smaller holes in the fabric as you're piercing the fabric. If you have a really, really fine velvet, and a small universal needle is giving you snags and runs, you may wanna go to a microtex needle. A microtex needle just has a really really sharp fine point at the end. And that can help minimize snagging and minimize visible holes in the fabric after you're done sewing. If you are sewing a stretch velvet or a knit velvet, or velour, you want to use a stretch needle. Stretch needle, or a jersey needle, or a ballpoint needle. I use them all kind of interchangeably. The needle is constructed the same way. Instead of a point at the end, it's got a slightly rounded tip so that instead of piercing the fibers and potentially creating runs and damaging the structure of the fabric, it'll nestle in between the fibers and preserve the stretch of the fabric. So there are the needles to use. Now, when you're sewing velvet, when pile meets pile, as it inevitably does when we're sowing, you'll realize that those fabrics don't really want to go together. The pile is going to fight each other and try to push each other out of the way, and you'll get a lot of creeping and shifting. So to stabilize our fabric layers as we're sewing, just go slow, take it easy, take a deep breath, and use a lot of pins. I know when we were talking about cutting out our pattern, I said not to use pins. But they can really, really help when you're stabilizing your fabric. And you got two layers together. And, of course, use sharp, fine pins. And you can pin kind of close to the seam allowance so that the holes that you're making with the pin on the other side of the seam line are close to the seam line. And if you're using fine pins, those holes aren't going to be visible even in the most finickier velvets. Or you can pin like I like to do. Parallel right along the same line, or even right into the seam allowance. And I like doing this because it holds a greater area of your fabric together than if you were pinning perpendicular to the seam line. So I like to use just a ton of pins when I'm sewing velvet. It will be worth it. And make sure you pin with the point up, so that as you're sewing, you can pull the needle out, pull the pin out as you go. Or instead of pinning all along your seam line, you can hand baste your seams before you sew them. So you can hand baste either on one side of the seam line or on both. And that creates a nice, stable channel for your seam line as it goes under the needle and under the presser foot. So just thread, a sharp, fine needle, with a double strand of thread and just baste, about a quarter inch on either side of the seam line. And that can really help reduce shifting. Especially when your velvet has a longer pile. The longer the pile, the more shifting you're going to get and the trickier it might be. Another option is to use temporary spray adhesive, just in the seam allowance. So test this on a scrap first to make sure it's not going to damage your nap. And also try to get it only within the seam allowance, and not on the actual project side of your fabric. And that will just help hold your layers together. Another option is to use a narrow adhesive tape, double-sided tape. Not the fusible variety because we don't want to apply any heat and pressure to our velvet to avoid crushing the nap. But a non-fusible variety of adhesive tape just within the seam allowances can help hold your layers together as well. I also recommend tissue paper in a lot of different scenarios. Tissue paper can be a really good tool to use. So this tissue paper that comes in all of your gift bags at Christmases and birthdays, save those. Or even the extra tissue paper from when you're cutting out a pattern. Place this in between your layers. And then instead of pile meeting pile, your pile is placed against a smooth surface. So it can minimize shifting. Just layer that in between your layers. And still pin, obviously. I've always recommended pinning. And then when you're done sewing your seam line, you can just tear that tissue paper away. So that can just help avoid shifting by just stopping the pile from meeting each other. You may like to increase your stitch length on your machine as well. That can help reduce creeping and shifting. You may also need to increase or decrease your tension. So a lot of times the velvet pile can be bulky when you got two layers of it together. So decreasing your tension will just give that stitch formation a little bit more room to form around those layers. There are some presser feet that we can use to help evenly feed our velvet layers under the needle at the same rate. First of all, the even feed foot, also called the walking foot, is a really great option for feeding these layers together at the same rate. Whether you've got a velvet fabric that's prone to creeping, a walking foot is great for knit fabric as well. So it's double great for velure, which as we know is a knit fabric with a pile. And the walking foot just has an extra set of feed dogs on the underside of the foot. So you've got feed dogs here on the bed of your machine. And having feed dogs on the underside of your foot helps to feed those layers both at the same rate. The roller foot is kind of the same idea. It's got this little steamroller on the bottom. It's this metal roller with little grooves, which can catch onto the fabric and help pull it under the foot, as the feed dogs are pulling the underlayer of the fabric. This foot is a Teflon foot. Sometimes called ultra glide foot, or a PTFE foot. It just has a really slick finish on the underside of the foot. This is often used for sewing laminates or vinyls, or even leathers and foal leathers. Sticky things that need help gliding under the foot. And that can help your velvet glide under the foot as well, so that your presser foot isn't simply smashing down on those, on that upper layer. And as the under layer is getting pulled by the feed dogs, having this something slick on the under side of the foot can help that upper layer glide under the foot. As I was sewing my velveteen fabric, I was using my roller foot and I realized that since this foot is so wide and my presser foot was exerting so much pressure down onto the fabric, that it was crushing the pile on the project side of my seam allowance as it was rolling under the foot. So I switched to my zipper foot, which just smashes down on the fabric in a smaller area. Which can also in addition to not crushing the pile as much on the right side of the fabric, it can help decrease creeping and shifting because the smaller area the foot is pressing down on the less creeping and shifting you're going to get. I've heard tell of a velvet, a specific velvet presser foot called a velvet foot or a velva foot. I've never seen one, I've never used one. I don't know if all brands make one. We can look for that. It's a similar construction to the zipper foot, and that is just a really narrow foot. So that it's only going to go right along your seam line. So it's the same idea. The smaller area that the presser foot is running along the velvets, the less amount of shifting that you're going to get. If you can, if your machine will allow it, it's really good idea to decrease your presser foot pressure. So the amount of pressure that your presser foot is exerting as it is smashing down on your fabric. I cannot adjust the presser foot pressure on my machine. So I had to use different feet and different stabilization techniques. But if you can decrease this pressure, it's really helpful so that the presser foot is not smashing down so hard on that upper layer of fabric. It's going to sit a little bit up and give those fabrics more room to slide under the foot. And that can really decrease shifting and creeping. As you are sewing your fabric... I'm gonna throw this on. As you're sewing your fabric it can be really helpful to simply hold your fabric taut as it is going under the needle. It seems like a really simple thing, but it can really help stabilize the fabric. So I'm gonna get some pins in here as well. So holding the fabric taut, it does not mean that we're pulling the fabric under the needle. It just means we're exerting equal pressure on the the upper end of the seam and down by the lower end of the seam. Equal amount of pressure away from you and toward your body, to hold those layers together as it goes under the foot. Just holding on either end and guiding it under the foot. Still letting the feed dogs do their job, pulling the fabric under the foot, or just holding on to either end. And this would not work on a stretch velvet or a velour, since it would just stretch the fabric all out of whack. But on a nice stable woven velvet, this can be really effective. And as you are stitching your project, anywhere you can, you wanna make sure you're stitching in the direction of the pile. So if you've got the pile running downward on your garment. you wanna stitch all your seams from the top to the bottom. And that can just... That helps the velvet pile stay laying nicely in the right direction instead of getting kind of pushed in all different directions along the seam line. And when you get your velvet fabric... I'm giving you all of these tips. You may not need all of them. Test stitch on your fabric when you get it first, to see how it's going to be behave, how it's going to react, how shifty it is, and how many of these stabilization techniques you may need to layer in order for your velvet to sew nice and smooth and evenly. So test stitch these tips to see how they work and to see how many you'll need. So after you stitch your seams, you're gonna wanna finish your edges. I have found the plain or zigzag stitch finish is the most effective. So as far as seam finishes you just don't want to do a seam finish that's going to add any bulk to your fabric, because the nap, the pile adds enough bulk already. So you don't wanna bind your edges in bias binding. You don't wanna do any Hong Kong edges. Don't do any French seams that's gonna add a lot of bulk. If you've got a serger, serge finish your edges or use an overcast stitch, just like a zigzag stitch. Kind of a longer-length zigzag stitch to encapsulate those edges and finish those edges off. If you have a velvet variety that has a really long pile, you may need to cut down that pile along your seam allowances, kind of shave it down to get rid of some of that bulk. I have not encountered a velvet with a long enough pile that I needed to do that. But if you get something that's really long and as you're stitching your garment, you find there's too much bulk along the seam lines, that's an option to go in and shave off the pile from the seam allowances to decrease the bulk. If you're sewing a garment that needs to be lined, choose a lining fabric that's not going to be too slippery. So a rayon or an acetate maybe really slippery and slinky and shifty. You've already got enough of that going on with your velvet pile. You don't wanna add any more problems. So choose a lining fabric that is a lightweight, but nice and stable like a velour or a cotton lawn, are really good choices. They're not going to add any more slippage than we've already got going on with the velvet. And as far as interfacings, when you're sewing garments, a lot of times you'll need to interface the garment openings. So for velvet, since we don't want to use heat and pressure to press, we wanna avoid fusible interfacings. Since those require a lot of heat and a lot of pressure to fuse that interfacing onto the fabric. So avoid fusibles. But in areas where you need a little bit more stabilization, use another layer of fabric. Use a lightweight sturdy woven fabric like cotton, or organza, or even silk depending on the velvet variety you're using. And that extra layer of fabric will just provide enough stabilization underneath garment openings or in collars, or wherever you need a little bit extra stabilization, you can use those for interfacimgs. Now when you are pressing. So I'm sorry, pressing, but I don't mean pressing. Because you don't want to press on velvet. You do not want to touch your iron to the fabric. The key is to steam. Crank up the steam if you've got a steamer, that's awesome. To open up your seams, you're gonna go from the wrong side and just just hover your iron or your steamer quarter inch off the fabric and hit it with a bunch of steam. And that is enough to open up your seam allowances. Pressing down with the iron may crush the pile and make it look different from the right side. So when you crush the pile, it's going to flatten it down and the light is going to catch it differently than the rest of the garment, where the pile is nice and fluffy. There we go. Scared me. You can give it a light finger press. Now some velvet varieties are gonna be okay with you touching just the very tip of the iron right along the seam line. But you wanna test that first. Because even that might crush your pile. So give that some steam to open up those seam allowances. And some people will recommend a needle board, also sometimes called a velvet pressing board or a pin board. And those are just like your regular pressing surface, except it has a raised, a stiff raised texture kind of like a pile on the right side. And that is so that when you lay your velvet down on it, the pile will kind of nestle into that stiff pile on the board, so it won't get crushed when you're steaming your velvet. But those needle boards are sometimes expensive, sometimes hard to find. So I just use a scrap of velvet fabric right side up on my pressing surface. If you're using... If you were sewing and pressing or sewing and steaming a very delicate kind of soft velvet, you would not wanna use the same velvet as you're pressing surface. You wanna use something a little stiffer, a little bit of a stiffer pile, so that the pile of whatever you're steaming is going to nestle into it to avoid crushing it. Some velvet varieties, like I was sewing on a velour, and it was okay with me pressing, actually pressing my iron to it right along the seam line. And some velvet varieties like a crushed velvet or a hemmer velvet. Even if you do crush the pile a little bit along the seam line, the texture on the right side of the fabric is going to kind of mask that. So it won't be quite as important to be as careful with it, but of course, test everything. And if your pile does get crushed in an area where you don't want the pile to get crushed, you can hold it over your steamer or over a steaming kettle or something. Hold it over and use a soft bristle toothbrush to try and fluff that pile back up to the right direction. So after you have sewn your garment, finished your seam allowances, steamed open all of your seams. When you are hemming your garment, you don't wanna use the standard double folded hem, since double folding is going to create a lot of bulk in that seam allowance or that hem allowance. And not only is it going to be bulky and heavy, but if you've got a skirt or a dress that's got a nice drape in the skirt, this bulk is going to create stiffness and it's going to ruin your drape. So you don't wanna do something so bulky. So a single fold hem is a great option. Fold up your hem, whatever your hem allowance is, and steam that to create a nice little fold at your lower edge. And you would want to have your raw edge finished in whatever manner you choose. And just take a hand sewing needle and some thread. And you can hand blind stitch or hand catch stitch. The catch stitch is a really quick and easy finish. So the catch stitch works from the left to the right. Take your thread, not the end. Take a little stitch in the hem allowance. And then taking a stitch from the right to the left, take a tiny, tiny little bite out of the project fabric just above the raw edge, and pull it through. And then take a bite just out of the hem allowance, going from the right to the left. So we're creating kind of an x-stitch. We're sewing. And from the right side this is going to be fairly invisible. Is a matching thread. And just take a tiny little, just a couple of threads out of the right side of the fabric. So on the right side, you cannot see any of my stitches. So it's very invisible, and there's not going to be any extra bulk. And if you want a cleaner finish, a cleaner raw edge finish than this, you can stitch a narrow ribbon or bias tape just to your hem allowance, raw edge. Fold that up and then stitch the opposite end of your ribbon or your bias tape to the project fabric in this manner, using a catch stitch or a hand blind hem stitch. Those are good hem options. Now for washing your velvet fabric. This is a concern for a lot of people. Most velvets will recommend dry cleaning only. Some velvet varieties are going to be okay with you hand washing. But cut a little square out of your velvet when you get it, and test that by hand washing that little square and let it air dry or hang dry. And then compare it to the rest of your fabric that is still unwashed to see if the nap has changed at all on the washed square. See if the light catches it differently, if the nap has flattened at all, or if it's changed color at all. And if it has, dry clean is your best bet. When you are done cutting out all of your pattern pieces out of your velvet yardage and you've got some leftover, don't fold it back up and shove it in your drawer. Because those folds, when you fold your velvet, it's going to create pressure along that fold. And it's going to potentially create a crease and mar your pile. So instead of folding up your extra fabric, roll it up on a tube if you have a tube, or just roll it carefully, or you can hang it from the salvages on a pants hanger to avoid crushing the pile and avoid damaging the pile. So those are all of my tips. Now that we've got all of this knowledge on sewing velvet, sewing our circle skirt is gonna be no problem. But first in the next session, we are going to learn how to draft a half circle skirt pattern using your own measurements.
Share tips, start a discussion or ask other students a question. If you have a question for the instructor, please click here.
Already a member? Sign in
No Responses to “Sewing with Velvet Session 5: Velvet Sewing Tips”