E
T-Shirt Upcycle: Adding Lace to a Shirt
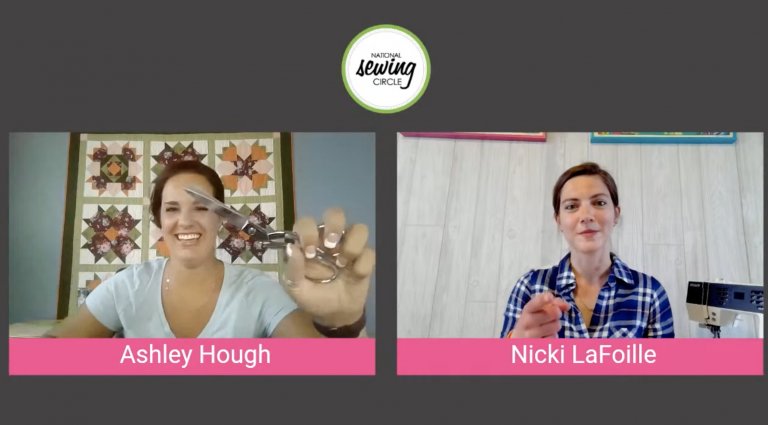
National Sewing Circle EditorsLace isn’t only used on fancy dresses or home decor projects- it can be added to a basic t-shirt with side seams as an easy way to dress it up. Ashley Hough shows you how.

Supplies and Preparation
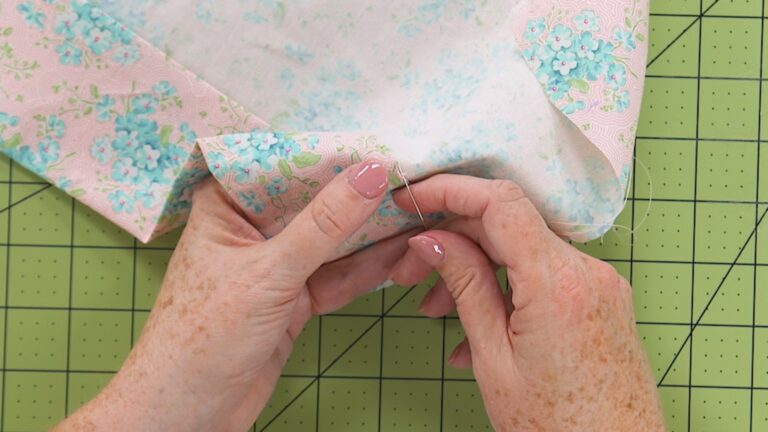
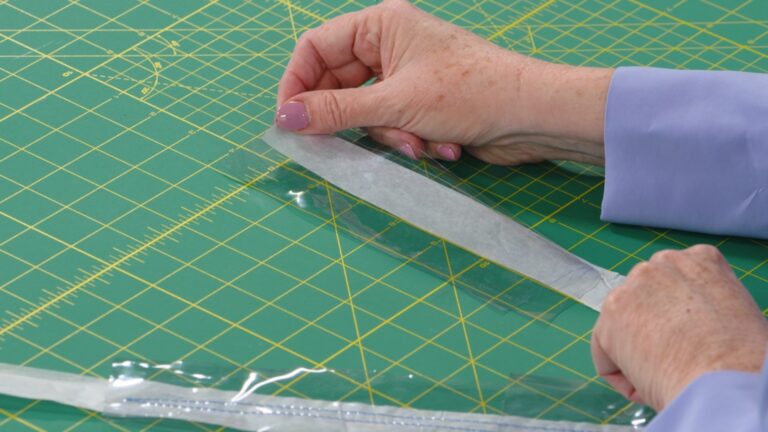
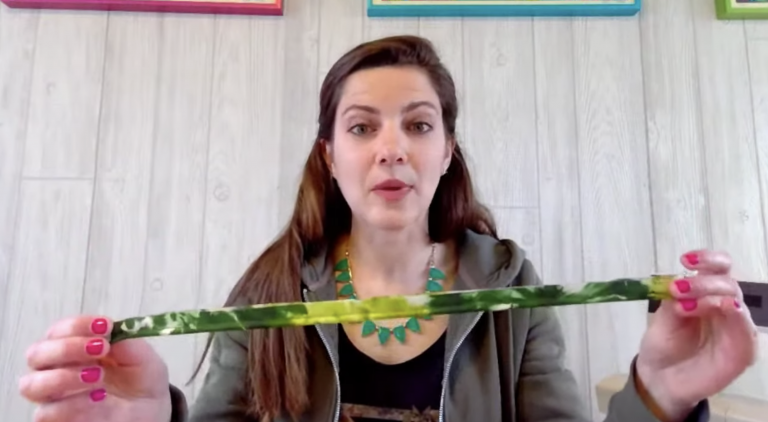
To do this fun upcycle of adding lace to a shirt you don’t need any pattern pieces, just a long ruler. Ashley first explains how to determine how large of a triangle of lace will be inserted into the shirt. This will depend on both the amount of lace you have, how wide of an insert you want to have at the bottom of the shirt and how high up you want the insert to go. Ashley explains how she determined the size of insert she is using. When adding lace to a shirt you first have to cut away a section of the t-shirt. Ashley shows how to lay out the shirt so that both sides can be cut at the same time. She then shows how to use the piece cut from the t-shirt as a pattern piece to cut out the lace.
Construction
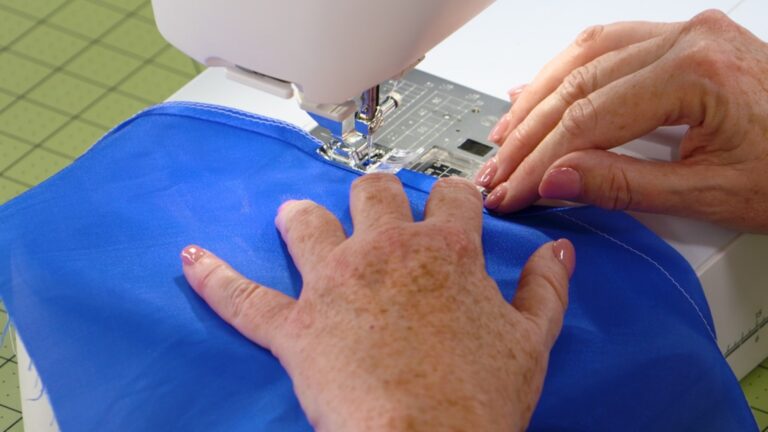
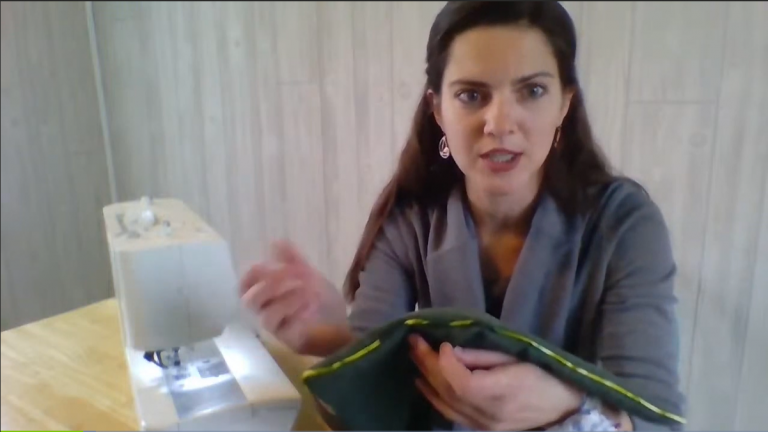
Once the shirt and the lace have been cut they can be sewn together. Ashley demonstrates adding lace to a shirt by first stitching using a simple straight stitch. She explains that depending on the lace being used it can act as a stabilizer when sewing and no other changes need to be made to the machine, needle or presser foot. However, she also gives tips for stitching with knit t-shirt fabric that can make it easier. Ashley then explains how to finish the seam using a narrow zig-zag stitch and then how to finish it off with top stitching. Once you see how fun and easy lace can be to work with- try out some other great lace projects including how to make lace towel embellishments and other lace applique techniques.
Explore videos by National Sewing Circle Editors


Premium Membership
Unlock exclusive member content from our industry experts.
- 24/7 Access to Premium Sewing Videos, Projects, and Tips
- Step-by-Step Instructional Demos, Patterns, and Tutorials
- 50% Off Video Downloads Purchased in the National Sewing Circle Shop
- Access to Ask the Expert Program
Unlock exclusive member content from our industry experts.
- 24/7 Access to Premium Sewing Videos, Projects, and Tips
- Step-by-Step Instructional Demos, Patterns, and Tutorials
- 2 Full-Length Video Downloads to Watch Offline
- 50% Off Video Downloads Purchased in the National Sewing Circle Shop
- Access to Ask the Expert Program
Gold Membership
$362 Value
Get everything included in Premium plus exclusive Gold Membership benefits.
- 24/7 Access to Premium Sewing Videos, Projects, and Tips
- Step-by-Step Instructional Demos, Patterns, and Tutorials
- 8 Full-Length Video Downloads to Watch Offline
- 3 Full-Length Quilting Classes to Keep for Life
- 6 Printable Sewing Guides and Patterns
- Discounts on Purchase-to-Own Content in the National Quilters Circle Shop:
- Access to Ask the Expert Program
- Exclusive GOLD LIVE Streaming Events
Share tips, start a discussion or ask one of our experts or other students a question.
Already a member? Sign in
No Responses to “T-Shirt Upcycle: Adding Lace to a Shirt”