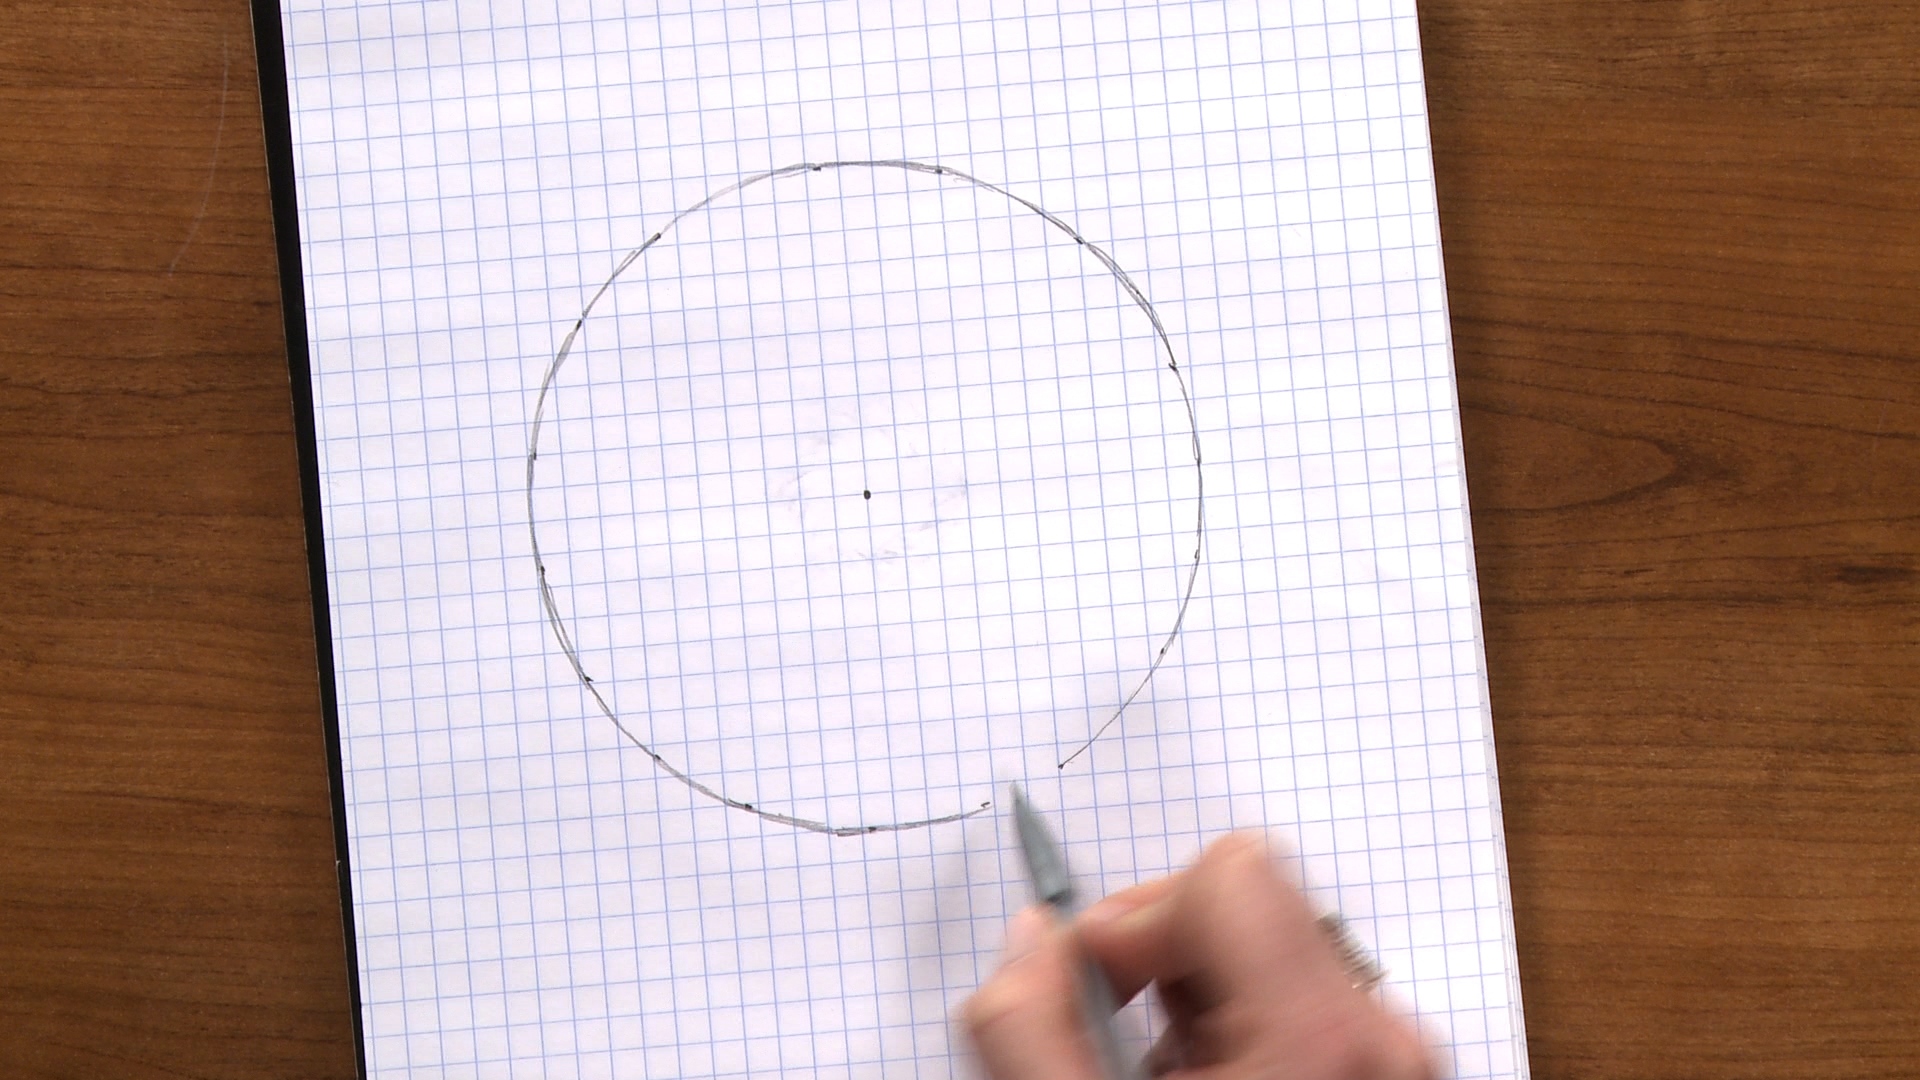
How to Make a Circle Pattern Template
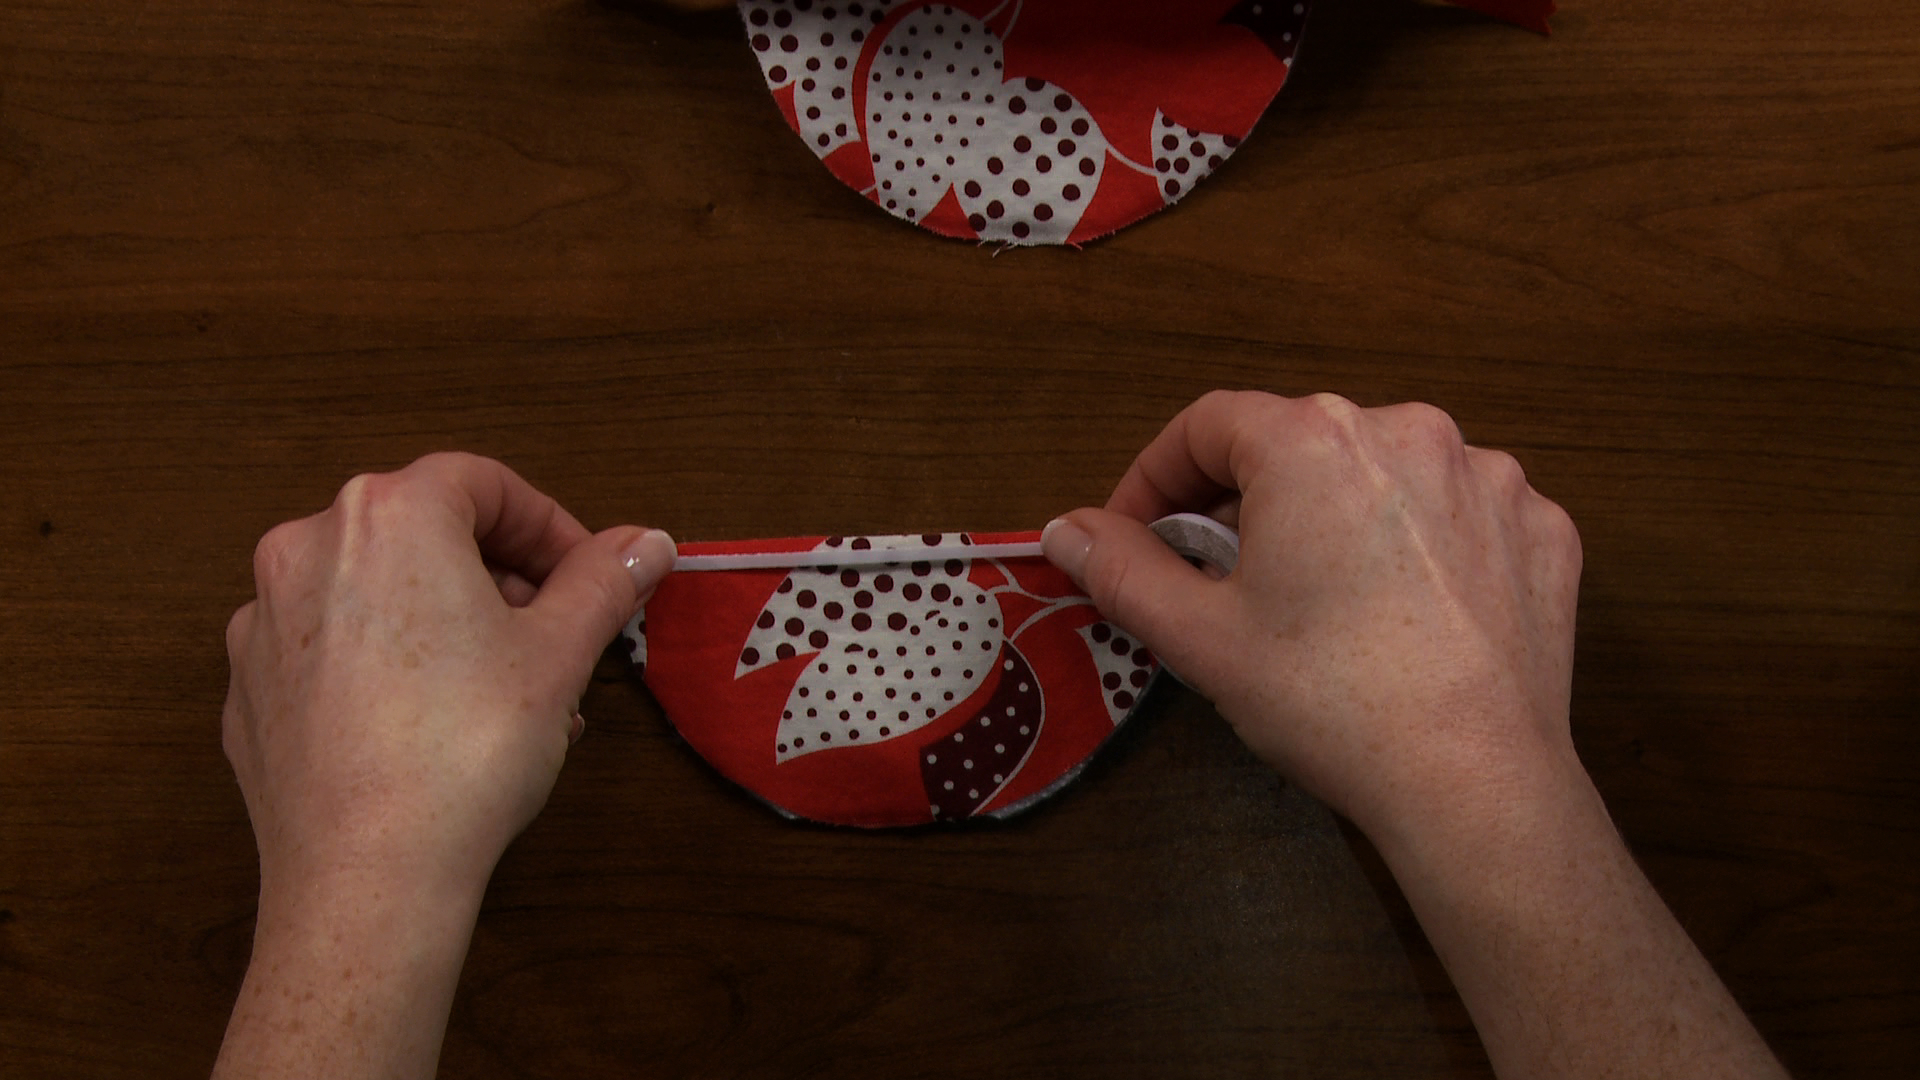
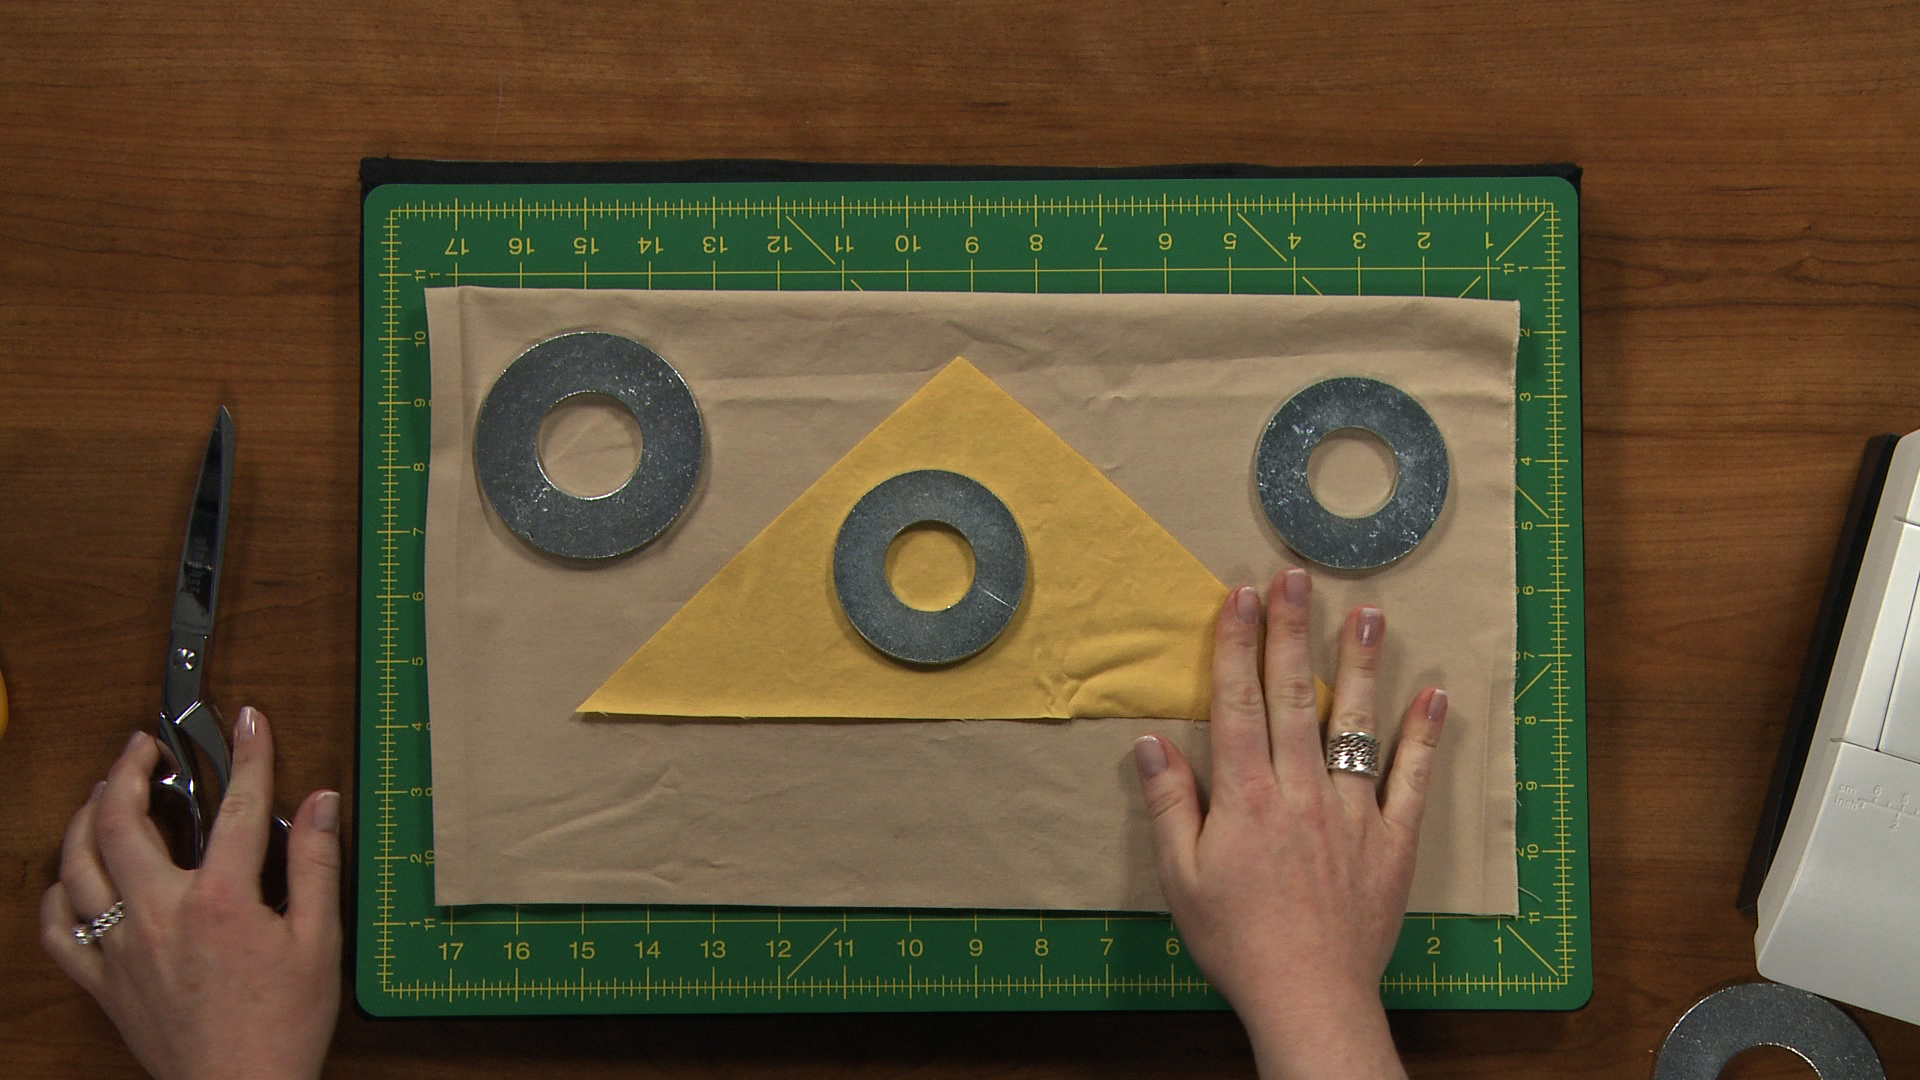
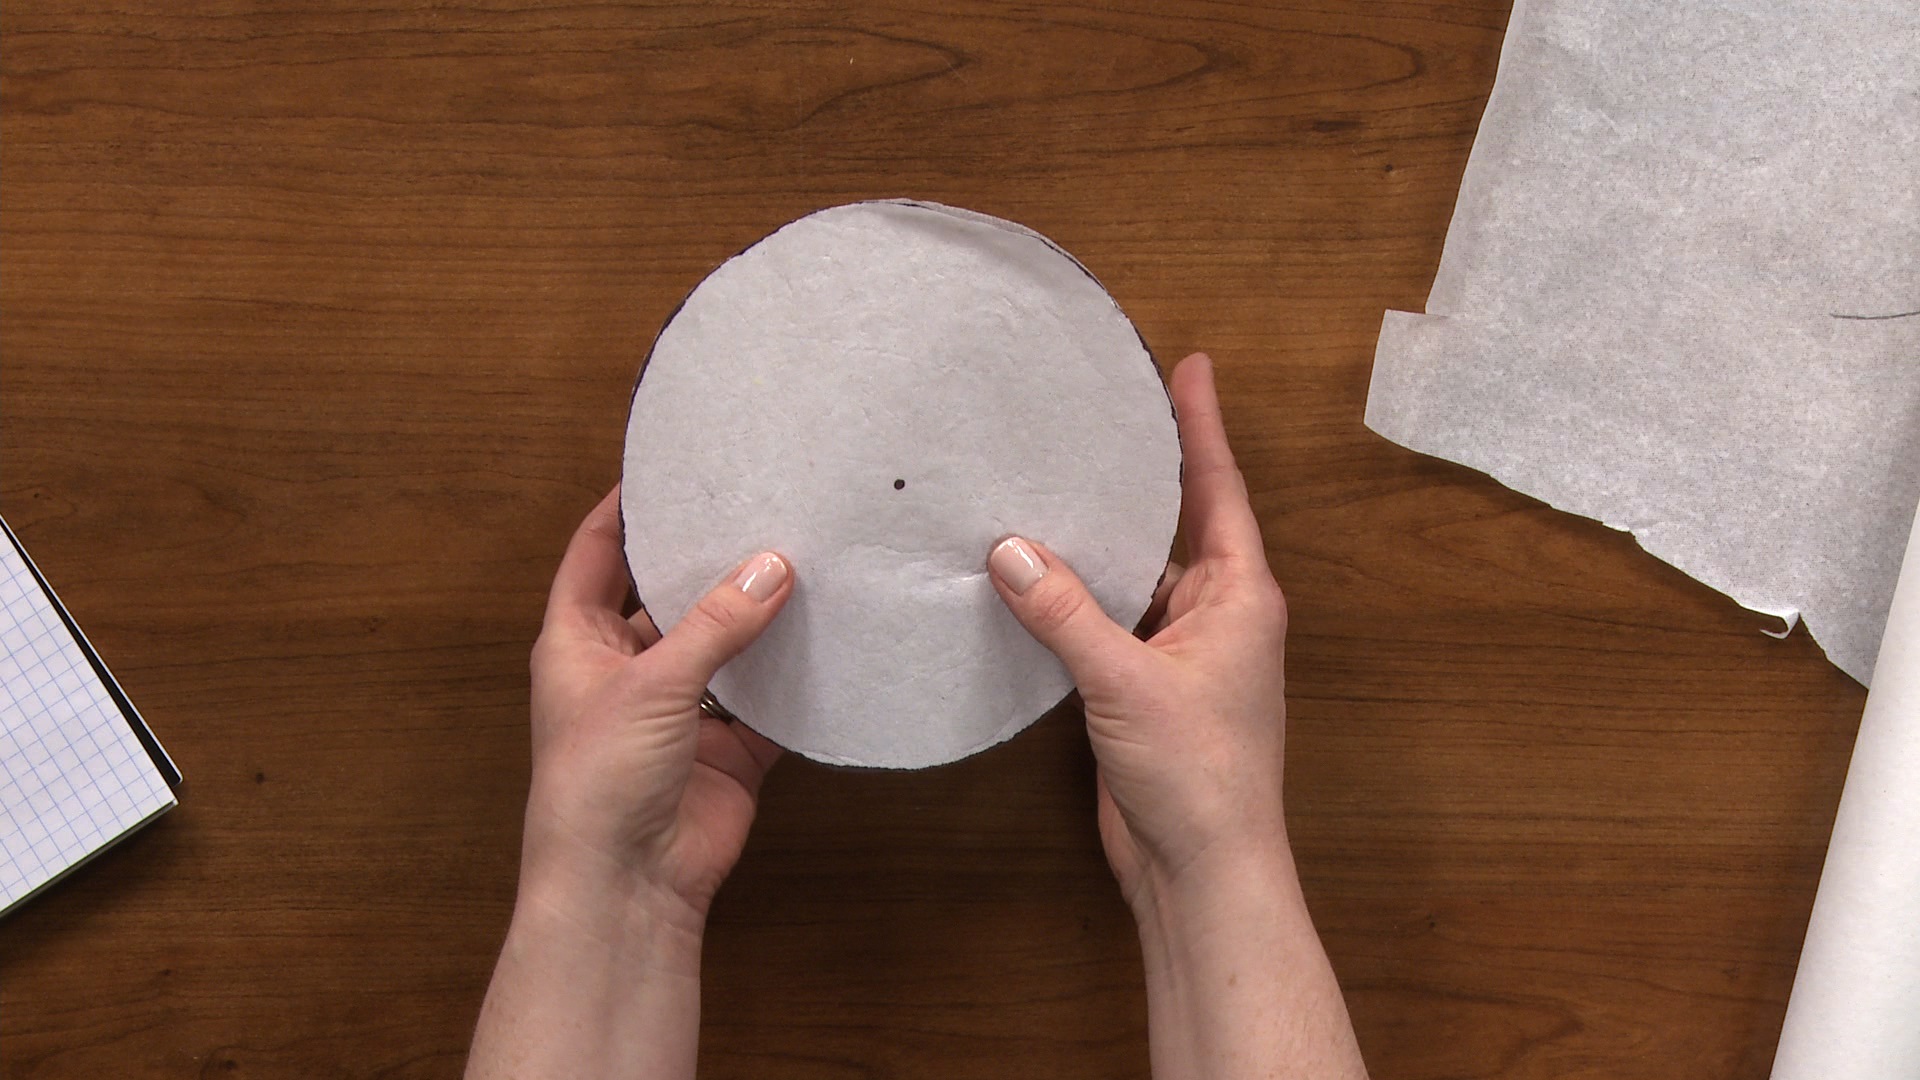
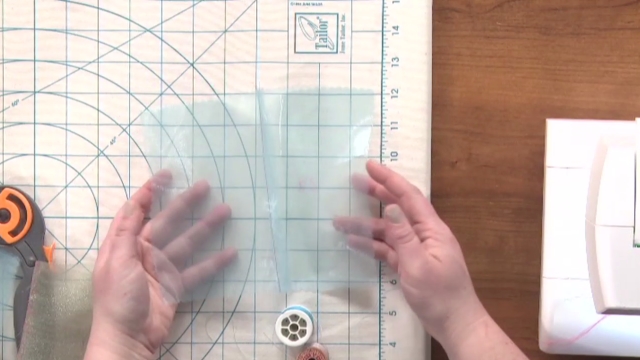
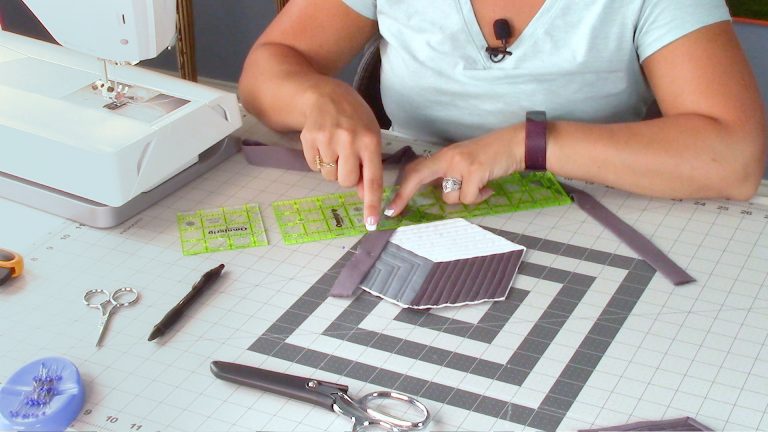
Stacy GrissomIf you have ever tried to make your own pattern from a tutorial, you know that it can be a struggle without pattern pieces. Stacy Grissom shows us what she did in this situation, when she needed a 5-inch circle. Watch this quick tip on how you can create your own circle pattern – it may come in handy!
Share tips, start a discussion or ask one of our experts or other students a question.
Already a member? Sign in
16 Responses to “How to Make a Circle Pattern Template”
Explore videos by Stacy Grissom

You may be interested in


Premium Membership
Unlock exclusive member content from our industry experts.
- 24/7 Access to Premium Sewing Videos, Projects, and Tips
- Step-by-Step Instructional Demos, Patterns, and Tutorials
- 50% Off Video Downloads Purchased in the National Sewing Circle Shop
- Access to Ask the Expert Program
Unlock exclusive member content from our industry experts.
- 24/7 Access to Premium Sewing Videos, Projects, and Tips
- Step-by-Step Instructional Demos, Patterns, and Tutorials
- 2 Full-Length Video Downloads to Watch Offline
- 50% Off Video Downloads Purchased in the National Sewing Circle Shop
- Access to Ask the Expert Program
Gold Membership
$362 Value
Get everything included in Premium plus exclusive Gold Membership benefits.
- 24/7 Access to Premium Sewing Videos, Projects, and Tips
- Step-by-Step Instructional Demos, Patterns, and Tutorials
- 8 Full-Length Video Downloads to Watch Offline
- 3 Full-Length Quilting Classes to Keep for Life
- 6 Printable Sewing Guides and Patterns
- Discounts on Purchase-to-Own Content in the National Quilters Circle Shop:
- Access to Ask the Expert Program
- Exclusive GOLD LIVE Streaming Events
It is amazing the pattern maker could not find an easier way to make a 5" circle. I found plenty of 5" circles in my kitchen. Please do not send me anymore directions as silly as this is.
Why don't you use the little circle at the top of your ruler for the pivot point and then spin it around at 2 1/2 inches?
Not all of us do, but if you have a circle sewing attachment for your machine, simply set it for a 5 inch circle and stitch around once using tiny stitches. Remove it and you have a perfect circle. You can use the stitch line as a press under guide or cut it on the line, whichever you serves your purpose. Better yet, remove your needle (to prevent possible thread problems) and use it to make a 5-inch paper pattern. Just another idea.
Instead of marking a whole circle, the paper could be folded in quarters and reduce the number of markings AND ensure that the circumference was more consistent.
Eyes rolling...
That is one of the most inefficient and time consuming ways to make a circle template. For $2.00 one can purchase a protractor and compass to make all sorts of shapes and sizes
Doesn't she have a compass????
A compass would be much easier.
The metal ruler/point turner has a little hole at the zero inches mark - clearly visible in the video - especially for you to push a pin through into your paper pad and use as a pivot. The middle section of the metal ruler is hollow so you can insert the point of your pencil into it at the required measurement (just push your slider down at that measurement) and simply swing the ruler around the pivot point and draw your circle. That is what the little hole is for. This is precisely why I will NEVER join NSC - your instructors are total amateurs and I have yet to learn one solitary technique from NSC.
Why would you simply use a compass?