E

Cushion & Covers Session 4: Kitchen Chair Covers

National Sewing Circle Editors
Duration:   35  mins

Description

In this session Ashley will show how to make the chair template, and then show how to use that to make either a cushion or cover. She will also show several different attachment options for the cushion.

Share tips, start a discussion or ask other students a question. If you have a question for the instructor, please click here.

Make a comment:
characters remaining

No Responses to “Cushion & Covers Session 4: Kitchen Chair Covers”

No Comments

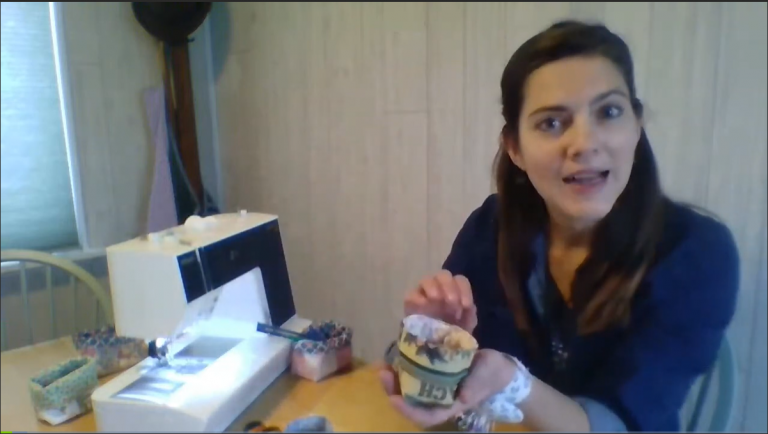
Once you've got your bar stools covered, it's time to move on to those kitchen chairs. Now kitchen chair covers can be a little bit difficult because most times they have a back that is on the chair that you need to somehow work around or incorporate into the cover of the chair. I will talk about different ways that you can attach your cover to your chair, not around the back if you choose not to do that. But this first one has the cover. Obviously that goes over the part of the chair that you sit on.

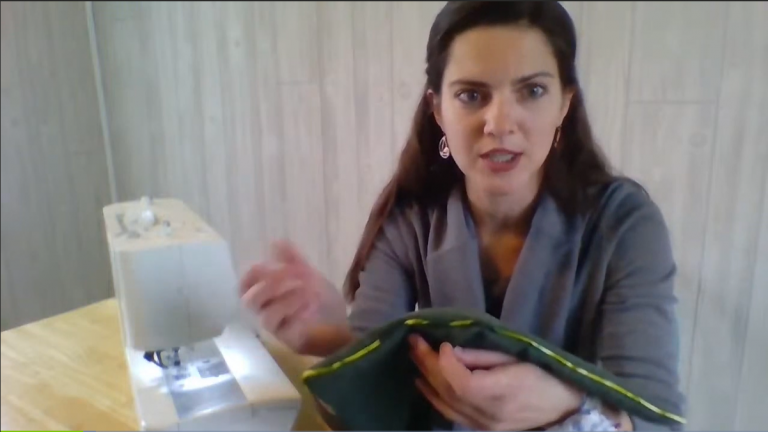
And then if I turn it down this way you can see that along the back we have our little strips here that have snaps and this is what actually attaches our cover and our cushion to our chair by using just little snaps here. This is an easy way to be able to incorporate the back of the chair into the cover and still have something that comes down the back of your chair and make sure that your cover stays on your chair when you sit down and it doesn't slide off. So the first thing you're going to need to do in making this cover is we're going to actually make a template. With our bar stools we were able to sort of just trace our bar stool straight onto our foam. That's going to be a little bit harder to do if your bar stool has any kind of shaping to it.

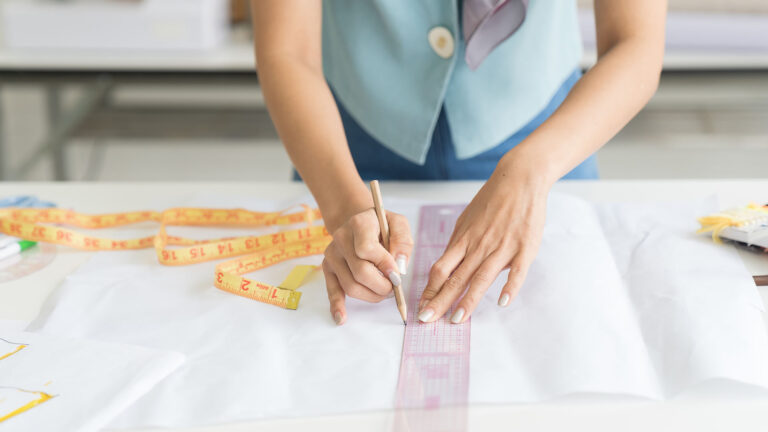
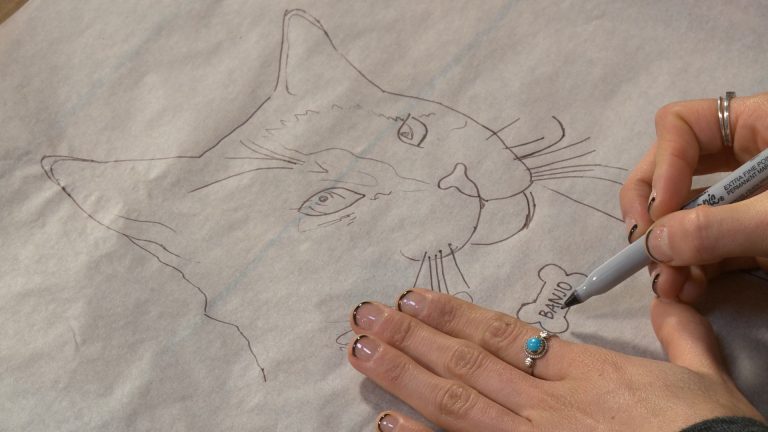
And again has the back. So you can go get a paper, patterning material, thicker plastic template, things like that. Or you can simply use a piece of cardboard. I had an old cardboard box that I cut up and I just started with this square that was about the same size as my chair placed it on top of my chair just took a Sharpie marker and traced it just like I was doing with the foam. Even if you're making only one cover, I still recommend making some kind of cardboard template.

It makes it much easier to then take this template and lay it on your foam to trace out your foam, lay it on your fabric to trace out your fabric, then trying to label those things on top of your chair. So you don't need anything fancy, just grab some cardboard and make a replica of the top of your chair. Then we can use our cardboard to cut out our fabric. There are a couple of measurements you're going to want to take from your chair and a good thing about using your cardboard as your template is that you can just write directly on it for your measurements and not have to have any separate paper. You can use either a flexible measuring tape or you can use your ruler.

And the measurements you want to take are across the front of your chair, the sides, and the back. Those are the only four measurements you really need. If you are using a flexible measuring tape you can obviously wrap it around your entire chair. For me, I'm going to use my ruler. I am going to pick a point that is in the center of both corners of my chairs.

And I could either use a piece of masking tape or painter's tape and actually make that mark. Or you can just eyeball it. And you're going to measure from one corner to the other corner. You're going to then take your template and you're going to write that measurement right on your template. So for me measured, even have my marks on my template from corner to corner.

Mine is 11 and a half. My sides are 10 and my back is seven. So I wrote that right on my template. And at this point I can then set my chair aside because now I have my template that is the exact replica of my chair. As with our bar stools it's much easier to work with a half inch seam allowance.

It makes the math much easier in terms of calculating our pattern pieces. So that's what we're going to use for this as well. With your cover, you have the top section, which is going to be your template piece that you've already cut out and you're going to need to cut four strips of fabric. We have our front that was 11 and a half inches. I want to take an add one inch for my seam allowance to everything 'cause I have a half inch here, half inch here.

So I'm adding an inch to this. I'll add an inch to both my sides and I'm gonna add an inch to the back as well. Then that is how long I'm going to cut my strips. I'm going to do the exact same thing I did with my bar stool in calculating how far down I want my cover to hang. I need to take into account how thick my chair is, how thick my foam is and then how much I want to have hang down off of my chair.

So you can see here, I have a thicker foam on this one. I used a two inch foam as opposed to one inch foam. And that means when I cut my strip I'm going to have less hanging down. As long as I have enough for my seam allowance at the top still enough to cover the chair and enough for my hem or my seam allowance onto my cording or piping at the bottom. Then, you know, you have plenty of width to your cover.

So anywhere between four or five inches is plenty of fabric to cut for your strips. You're going to take and use your template. You're going to place it onto your foam, trace around it and cut. When you are cutting out your foam, you want to trace your template exactly going around in terms of where your cutouts are for the back of your chair. You want those indents.

So that way when you put your foam on just like when we had our cardboard on top of our chair it fits into that back nicely. So go ahead and trace and cut out your foam. When it comes to tracing and cutting out your fabric, you're going to do it just a little bit differently. I'm going to go ahead and lay out my piece that's already cut so you can see what I've done. But what we need to do is add in our seam allowance.

We added in our half inch seam allowance in terms of deciding how long our strips needed to be but we also need to have that half inch seam allowance outside of our template as well. So you can see I'm a half inch outside all the way around. When it comes to our cutout sections here where the back is, rather than trying to work with a complicated 90 degree angle or something in there, you're simply going to take and connect these two points. So I'm going to lay my ruler up here so you can see. So you're going to pretend that from here to here is just a solid line rather than an indent and then bring your fabric a half inch out of those areas there.

So you have one continuous piece. So use your template exactly for the foam. Use your template and add a half inch for the top cover section of your cushion cover. Once you have your top, you're going to go ahead and cut out your sides, your back and your front. So these should all be rectangles.

You should have one for your back. So my back was seven inches. I added my half inch seam allowance on either side. I have two sides and I have a front. What I need to do is attach all of these together.

First thing I'm going to do is take my two sides and I'm going to show them onto the front. I'm going to go ahead and do these at the same time. I want to make sure I'm doing right sides together. I'm going to line up my edges, go ahead and put a couple of pins in and then I can stitch these both at the same time. It just kind of saves a step.

Flip it around and put a couple of pins in this side and then take it over and stitch. Again, I'm using that quarter inch seam allowance. I'm sorry, half inch seam allowance. I will go ahead and do just a little stay stitch in place, move my pin out of the way, continue on. When I get to the end, I can go ahead and just clip these threads.

And then since I already have my other side pin I can just flip it around, bring it up, and go ahead and stitch this one as well. Go ahead and clip these threads. And then I'm just going to finger press these seams open. Just like when we were doing our bar stools, having your seams pressed open just eliminates some of that bulk along the way. You can bring in your iron if you need to.

Again if you're using a good quality cotton it should take a while to finger press. Now we can go ahead and do this as well. And now what we need to do is transfer some marks onto our pattern piece for our top. So remember our marks that we said we put on our chair right here at our corners. We need these marks to be on our fabric as well because this is where those seams that we just stitched need to line up with.

So an easy way to do that is to just lay out your fabric back over on your template and transfer that mark. So you can see I've already placed a little mark here. It will be within the same allowance. So I don't have to worry about whether it's a removable marking pen or pencil. And I've just put that mark right there on my fabric.

I'm going to go ahead and do the same thing on the other side. If you're worried about marking on your fabric you can go ahead and just use pins instead. But now what I need to do is we're going to align this, flip this around, right sides together. And I want to put my seam allowances that I just stitched match up with those marks. Go in and put a pin in both of these, like so, and put one over here as well.

This is a good way to check and make sure that you did your math and your calculating of how long your pieces need to be correctly is that you want to make sure that this lays nice and flat along the front. So I just put my pins right here at my marks first and then go to the center, put some pins in here. Again, I'm going to kind of go in the middle of the pin ease my fabric in and go around. It's not as much of a curved edge as our bar stool was but there is still a curved front to it. So we want to make sure I have enough pins in place.

Like so. Go ahead and do the same thing over here on this side, go in the center first. Like so. And then one more right here. And now we know that our front section is going to fit perfectly on the front of our bar stool.

I'm sorry, on the front of our kitchen chair. And then we can work our way into the sides. One thing we're going to need to take into account is the back of our bar stool. So I'm going to bring this one in just for reference real quick. So here is the back and you can see what we're going to have is sort of a little cutout section that needs to fit around the back of our chair.

So we can have our cushion sit all the way in. So you can see, this is where our little indent was where we cut out of our template out of our foam and we still want this to fit straight across there. So this you're going to have to measure and decide how long or how big around the back of your chair is. And that's how you're going to know how big to cut this section. So for me, mine is about two inches.

And then I had to add my seam allowance on either side bringing the piece that I cut up to three inches. When it comes to cutting this section here you're going to cut that the exact same length. And then it's up to you as to how wide you want it to be. How wide you cut it will depend on your closure method. So I use snaps, little tiny snaps.

So I used a fairly thin piece of fabric. If you choose to use a button or something larger, you're just going to want your strip of fabric to accommodate however large that your button is. So for this section, though, we need to attach our back onto the back section of our cushion cover as well. So we're going to do same thing, pinning. I'm going to take, and I'm going to find the center of my back, fold this in half, just like when we were a quarter marking, I'm just folding it in half.

I'm gonna mark my center. Now I'm going to take this piece, fold it in half, mark the center, gonna line up these two marks like so, and go ahead and put a pin in place here. When I get to this end over here I am going to be stopping my stitching a half inch from the ends on both these pieces as well as a half inch on this end when I pin this around. This is because I want to be able to make sure that these align perfectly. So that way I'm going to stitch both these sides first and then come back and stitch these together.

That way if I need to make any little extra adjustments in terms of pulling these pieces in to make my cushion cover fit a little bit tighter, I can do that. So I'm going to pin to within about a half inch of the edge of my fabric here on this side. I'm gonna do the same thing over here. Then about a half of an inch. And now I can bring my sides around.

So I've already pinned my seam allowance at my mark. I need to just ease this around the curve, the front curve there of the chair, putting pins in place. I'm going to pin this to within about a half inch of my back piece that I just attached. Now you might find that it may be easier for you to maybe do this in one entire continuous piece but sometimes that can be a little bit tricky when you're trying to work around the back section of your chair. So I like to do it in two pieces like this.

So I have a little sort of wiggle room here in the middle. Go ahead and pin this to within about a half an inch. And then I can come over here and work on this side. The same thing, adding my pins all the way around. Just continuing to place my pins all the way around.

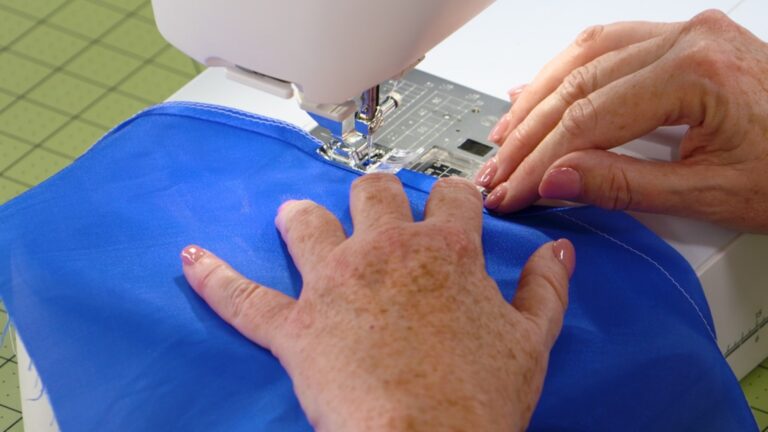
Again coming up to within about half an inch. Like so. All right, now I'm going to take this over to the machine and I'm going to stitch in the areas that I've pinned. I've given myself a generous amount of space on either side here as well as here. I don't want to be stitching in these areas because this is where I need to add in that little section that's going to accommodate the back part of the chair but I'm going to take it around and I'm going to stitch the side, the front and then up the other side, as well as the back here.

Using that same half inch seam allowance. And just like with the bar stool, it's much easier to be sewing with the smaller piece on top. This one that is our little strip that's going to hang down. That way we can make sure that it is laying nice and flat along the edge of our top cover. We don't want any of those puckers in our cover.

So I'm going to make any adjustments I need to every time I stopped to remove a pin. Obviously coming down one side is much easier. It's fairly straight. As we get closer to our curve up here at the corner we're going to want to slow down even more. Adjust to make sure everything lays nice and flat and come around our curve.

Again, I have my seam allowance pressed open. So I want to make sure that it stays open as I stitch my way up towards it. Make sure it lays flat, remove those pins. Again, and remove pins. If you have any sort of folds that are happening, you want to make sure that they are not happening under where you're actually stitching.

So I am going to make sure it's laying flat again as I come around to the front and then continue down the front. Doing the same thing coming around this corner slowing down, making sure my seam allowance stays pressed flat open. And you can do the same thing we did with the bar stool. If you can't see whether your fabric is laying flat, you should be able to feel the layers and you should be able to know whether there is a wrinkle anywhere in there. And you definitely want to make those adjustments before you actually stitch that wrinkle in place.

Okay, and then we'll come up this side. Like so. And I'm going to go ahead and stop right about this pin mark here, that's giving me more than my quarter inch that I need to then attach my next piece. I'm gonna go ahead and just pivot this around so I can stitch the back like so. I'm gonna start right about where my pin is.

Go ahead and stitch right along the straight section of the back and stop right about where I placed my last pin. Like so. All right, now we need to make our little insert sections that are going to fit right in this little area that we've left open. Now, when we are making these, they need to be shorter than our length that hangs down over our cushion. So this length needed to take into account for the thickness of the chair, the thickness of the foam, and then our seam allowance, if we're going to add, whether it's a hem, you're going to add courting or piping.

For this section, we only want to take into account how thick our chair is and how thick our foam is. So if you cut this one, I'd say four inches because that's how much hang down you want. If you only have a half inch chair and one inch foam then you just need to add your half inch seam allowance on each side and then cut your strip accordingly. Now, when you have your strip, you're going to be sewing one side of it into our cushion. But the other side, we need to do some kind of finish to it.

So for this, I'm just going to do a simple double fold hem. Now you can use your pressing mat or you can finger press. I'm just going to do a simple, double fold quarter-inch hem. So I folded under a quarter inch once. I'm gonna fold under a quarter inch a second time.

Go ahead and put a pin in to hold it. And then I'm gonna take it over and I'm gonna stitch it. You have to hem this section individually and do this first because this area is not going to get courting along the bottom, like the rest of the chair, or any other kind of finish. So if you look at the rest of our cushion, you can see that this area right here is not as low as this. So we have to add our hem into this area first before we attach it.

So once you have it pinned, you can just take it over to your machine and you can stitch it. If you've done a quarter inch double fold hem like this, you can stitch either right down the center of it. Or you can stitch about an eighth of an inch a way or 16th of an inch away from the upper fold, just something to hold this hem in place. Go ahead and clip our threads like so and now we have our insert section that's going to go right into this area here. Now, this is where you left plenty of extra room on both ends, so you can sort of work this in place and this is an area that you can make any kind of adjustments that you need to.

So what I mean by that is you want to take the space that you have left open and I'm gonna fold this in half to sort of mark and find my center. And I'm just doing a little finger press right there. I'm gonna do the same thing with this piece here. I'm gonna fold it and I'm gonna find its center as well. Now I'm going to match up my two centers, right like so, and I'm going to pin this in place.

And I'm going to wrap this around, still aligning my edges just like before, until it meets up with the unstitched section and they should overlap each other by a half inch. I then want to fold my fabric under towards the thicker larger side, right like so. Put a pin in place. I'm going to make sure that it lines up on the other side first to make any adjustments I need to before I do any sewing, I want to make sure that it's evenly centered by doing that fold in the center and sort of marking our center section. It should be right in the middle.

But adding this in this way allows you to make any changes you need. Again, now you can overlap these edges. We're folding back away from our little insert section that we've added. Go ahead and put some pins in like so. And now we would just take this over and stitch right along this pinned edge.

By folding this back along here, this gives us the option to now go ahead and stitch this as a hem if we want to when we're adding courting or piping we can add it along this back section as well. And we don't have to worry about hemming all of these 90 degree turns. We've already hemmed this section. We've already folded under this edge so it's prepared to be hemmed, and now we have our lower edge that we can do what we need to when we get to that section. So once we have this pin in place, we'll go ahead and take it over and stitch.

We're still using that same seam allowance. You want to overlap your stitching. You're starting stitching with wherever you ended your stitching. I'm gonna overlap by about three or four stitches. That way I don't have to do any back stitches.

Still gonna remove my pins as I get to them and make sure that everything lays nice and flat. It can be a little bit trickier to make any adjustments on this little section because it is much smaller. So you have nothing to really grab on over here to make sure it's laying flat but just go slow and work your way around the edge. If you feel any folds, make sure you adjust those and remove those before you stitch over them and make them permanent. I'm gonna go ahead and overlap the end of my stitching with my stitching line previously along this edge, do that by about three or four stitches.

And now I can go ahead and cut this thread. All right. And I would do the exact same thing on the other side but now you can see I have my little insert section here that fits nicely within the curve of the back of my chair. It's already hemmed. And now I have this free edge here that I can add my embellishment to when we get to that point if we want to.

I would do the exact same thing on the other side. So I won't show that a second time. I'll just explain it again real quick, but you have your insert strip that you've cut that is the length that I already mentioned. You're going to double fold under one side one quarter inch, find it center, and then insert it into this back-half curve of your kitchen cover. Once you have this section done, now we need to add our snap attachment to one side of our area that hangs down over our kitchen chair.

So if you look at our finished one, you can decide whether you want the snaps to come from the sides to the back or from the back to the sides. It doesn't really matter which way it goes. So the same length of strip that you cut for your insert you're going to cut two more pieces and those are going to be the same length. The width is going to decide on, depend on what you want to close it with. Again, I was using very small snaps.

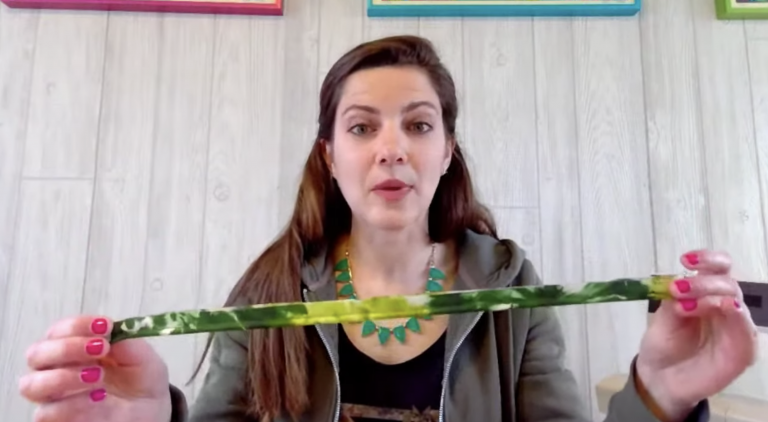
So I made a very thin closure strip. If you're going using buttons, you want to make it wide enough that it accommodates your button. And then you're going to fold under the edges and hem it so you have a nice finished edge much like we did the ties on the bar stool. And then you're going to decide where you want it to be, whether it's on the side going to the back or the back going to the side. And you're going to make sure that this is folded flat where you want it.

Let's fold the back, we'll put ours on the side. So mine is about a half inch folded under and we are going to be doing a half inch hem on the under, the bottom edge of this. So I want this to be a half inch in from that. So what I'm going to do is I'm going to place it right here on the edge, a half inch up. I can bring my ruler in and measure.

Bring it down just a slight bit, and I'm gonna put a pin in place. I've only brought it in about a quarter of an inch. It doesn't really matter how far in it goes as long as it gets caught in your stitching line. Now I'm gonna take this over to my machine and I'm just going to base this guy in place. So I don't have to keep this pin in while I add my trim around the bottom edge.

Normally with a basting stitch you would lengthen your stitch length. But since this is a very small little section, I'm adding just a couple stitches, I'm not going to make that adjustment. I'll just leave it at our standard 2.5. And now I have my attachment strip in place. So you can see when this comes down over the chair it's going to snap right in place like so and now we need to work on finishing the lower edge.

Trim this off. And this can be done in a couple of different ways. You can either just fold this under, a double fold quarter-inch hem just like we did on our little strip all the way around. You can stitch that in place. And then this will be your finished edge on your cushion.

Or you can add either the courting or the piping. So this is the courting that I used on our finished example. This would be attached to the exact same way that you attach the cording when we were making our bar stool. You're going to lay it on the right side and stitch as close to the edge as possible. Flip it under and then top stitch.

The one difference with this courting installation is that we are not joining ends together, like our bar stools were round. So with this, we need to finish this edge in a different manner. We're using a much smaller and much thinner courting. So with this, all I am going to do is when I attach it I'm going to fold under my courting by about a quarter of an inch. Go ahead and line it up with the folded edge of my fabric or the raw edge of my fabric.

Then when I put a pin in place here and stitch it, when I turn it under, I'm going to have a nice folded under edge finished edge of my courting. And there are gonna be no raw raw edges. It will be caught in that stitching. So you can do that as long as you're using a much thinner courting, like this one, that thicker one that I was using in the bar stools wouldn't really accommodate something like this. So you fold under your edge of your courting.

You're going to line up the edge of your courting with the edge of your stool. And you're gonna stitch this in place just like you did the application of your courting in the bar stool. Once you have that stitched in place, go ahead and fold it under, give it a press and top stitch that again using either your courting thread or your invisible thread if you don't want to see it. So this is what our finished stool looks like. We have stitched it in place with our raw edges aligned, folded it under, went ahead and did some top stitching right along here to hold it in place.

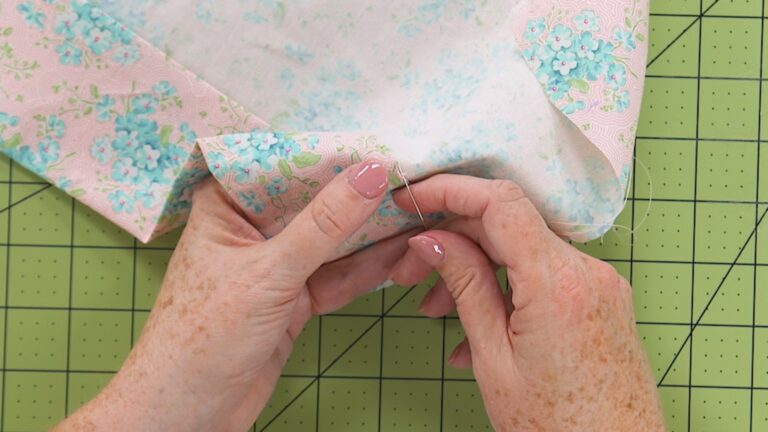
And then we have our little area here that holds our cover onto our kitchen chair, and we need to attach our snaps. So again, you can use snaps or buttons. I do find sometimes that snaps are a little bit easier in terms of putting it onto your chair and you don't have to worry about seeing it. You can buy snaps in a variety of different sizes and you just simply take them apart and using a hand sewing needle and thread you're going to sew one half onto the back of your cushion and the other half onto the little strip that we added or vice versa if yours goes the other way. And make sure you put it on the underside so that these snap together.

Along the back of your cushion, you're going to use the same application method that we've just gone over a couple of times in putting your courting along the bottom. You're just going to fold under the edge of that courting and on both ends and stitch that right along the raw edge of your fabric, fold it under, and do your top stitching. So just like that, you can have a very easy cushion to cover your kitchen chair that attaches onto the back of your chair. Now I mentioned there are a couple of different styles of cushions and covers that you can do for kitchen chairs depending on where you want those to attach to your chair. So I'm gonna bring our chair back up and show you another option that you can do using the same template you've already made using the same pattern pieces you've already done and essentially just making a cushion rather than a cover.

So here is our cushion. So the construction of this is essentially the same as what we just made. You're going to cut out your top pattern piece using that cardboard template that you've made. But instead of cutting just one, you're gonna cut two of them. And then when it comes to the strip around the outside edge all of your numbers that you had, all of your measurements you had a back, a side, a side and a front, you're gonna add all those together and just cut one continuous strip that's gonna go all the way around the outside of your cushion, rather than making for individual.

From there, we're going to take and make attachment strips that are going to go around all of the legs. So I'm gonna show you what it looks like on the chair. So let me snap these in place like so. Turn it around. And now you can see that we have just these little strips that come around our chair legs and hold our cushion in place.

So when you are deciding which one you want to make, it depends on whether you want to have a cover that hangs down and covers the edge of your chair or you want just to cushion that sits on top. When you are making your cardboard template, if you're choosing to make this cushion that just sits on here, when you make your initial cardboard template there's just a couple more marks you're going to want to make on your template in terms of where your attachment straps go to your cushion. So you already have your marks in the corners that we made previously. You know where your back legs are because that's where our indents are on our template sections. But you want to measure in about an inch and a half on either side of those marks.

So if I just take my ruler here, you want to measure an inch and a half from our corner section right here on one side. You're gonna measure again an inch and a half from your other corner section here, do the same thing on both sides of our corner here and do an inch and a half over on both sides from our mark. That is where we're going to attach our little strips. So the strips are, let me set my chair aside, are simply just strips of fabric that we are going to hem the edges of. So it doesn't necessarily matter how long of a strip you start with because it's going to get trimmed down once you decide how long it needs to be to go around the leg of your chair.

So start with one that's plenty wide. My strips I have started with is a two-inch strip. I'm gonna take and fold it in half with wrong sides together so I get a crease in the center. I can then fold both end into that center crease. I can fold it in half and then hem right along this folded edge, and that will finish those edges and that will make a very narrow tie.

Or if you want to make just a little bit thicker of a tie you can still use that two inch strip, just fold in both ends about a quarter of an inch, fold and finish one end, and then you can go ahead and fold this in half. Doing this folding it in first this way means you're not folding it as far. So that gives you just a little bit thicker of a tie. And then you can go ahead and stitch right along those folded edge to finish those off. Once you have made your strips, you're going to need to cut it into four equal sections.

So you can make just one long one first and then cut it down. If you do that, you want to make sure that they are a little bit longer than you may need to begin with. That way you can adjust your length when you get your cushion on your chair and you can figure out how long they need to be. So in order to do that, once you have your cushion made, you're going to take one of your strips that you've made and you're going to place it at whatever the one and a half inch mark over was on your cushion. We're gonna have these edges, they're all finished edges.

So you're going to place it underneath and you can just pin it in place. Obviously I have one already in place so you can see where it's at. Then you can wrap it underneath your chair leg and put it at your one and a half inch mark here. Now, if you have your long strip that you're working with you can then just trim it at whatever length that needs to be so it fits just underneath that cushion. You can see when it fits underneath that cushion all you're going to do is hand sew your snap in place right where you put your pin mark.

And that way when your strap comes underneath your chair leg you can just snap it back in place. Again, this is an area where you could use buttons if you want. Snaps are a little bit easier and you don't have to worry about seeing them. If you do want to see them and you want the buttons to be an extra sort of decorative element to it, rather than wrapping your strap around and putting it underneath the cushion, you can bring it up here on top, place a button on the side of your cushion and then a button hole on your strip rather than a snap. And you can have buttons on the outside.

So there's a couple of different ways that you can cover your kitchen chairs. This is one way where you can make sort of a freestanding cushion that's easily removable or you can make a cover that still is easy to put on and take off but that has a little bit extra that hangs down over your chair. So multiple options to cover those kitchen chairs. I hope you give one of them a try.

Get exclusive premium content! Sign up for a membership now!