E
How to Alter a Sewing Pattern
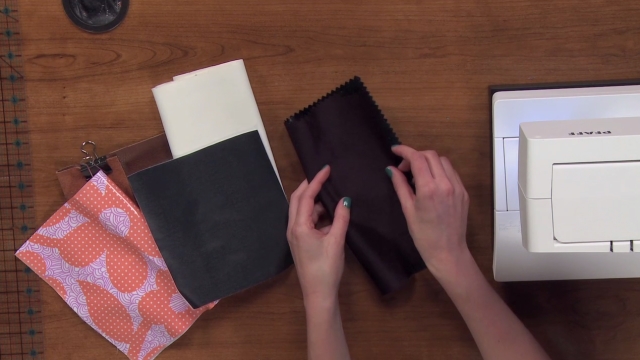
National Sewing Circle EditorsWe all know one of the most exciting parts about making a garment is picking out the fabric and cutting it all up in to pieces, but my advice to you is to be patient!
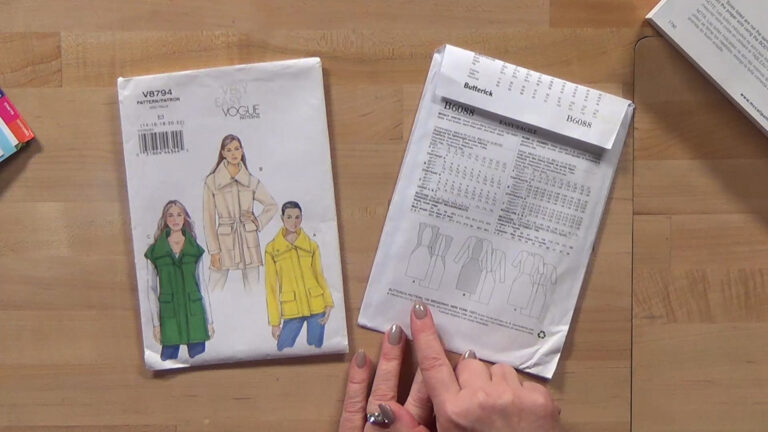
First, take a close look at your pattern – does it need to be altered?
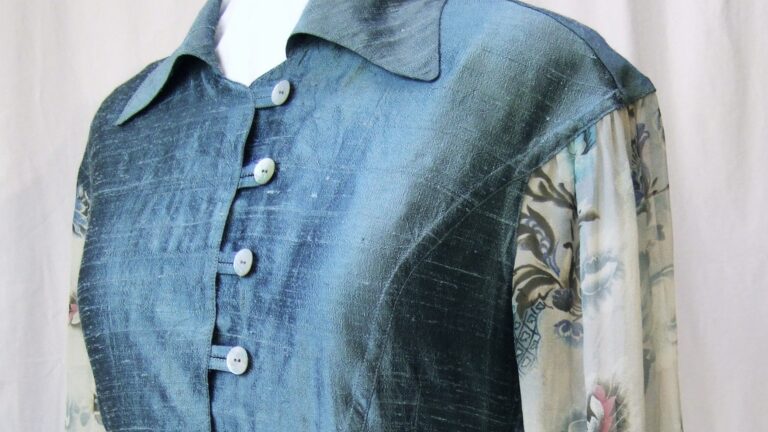
Sometimes it can be difficult to make alterations to a dress that has already been made up in the beautiful fabric that you found for $20 a yard. Then, if it doesn’t fit quite properly, the disappointment can send it to your closet for several months before you can bear to tackle the altering.
How to Alter a Sewing Pattern
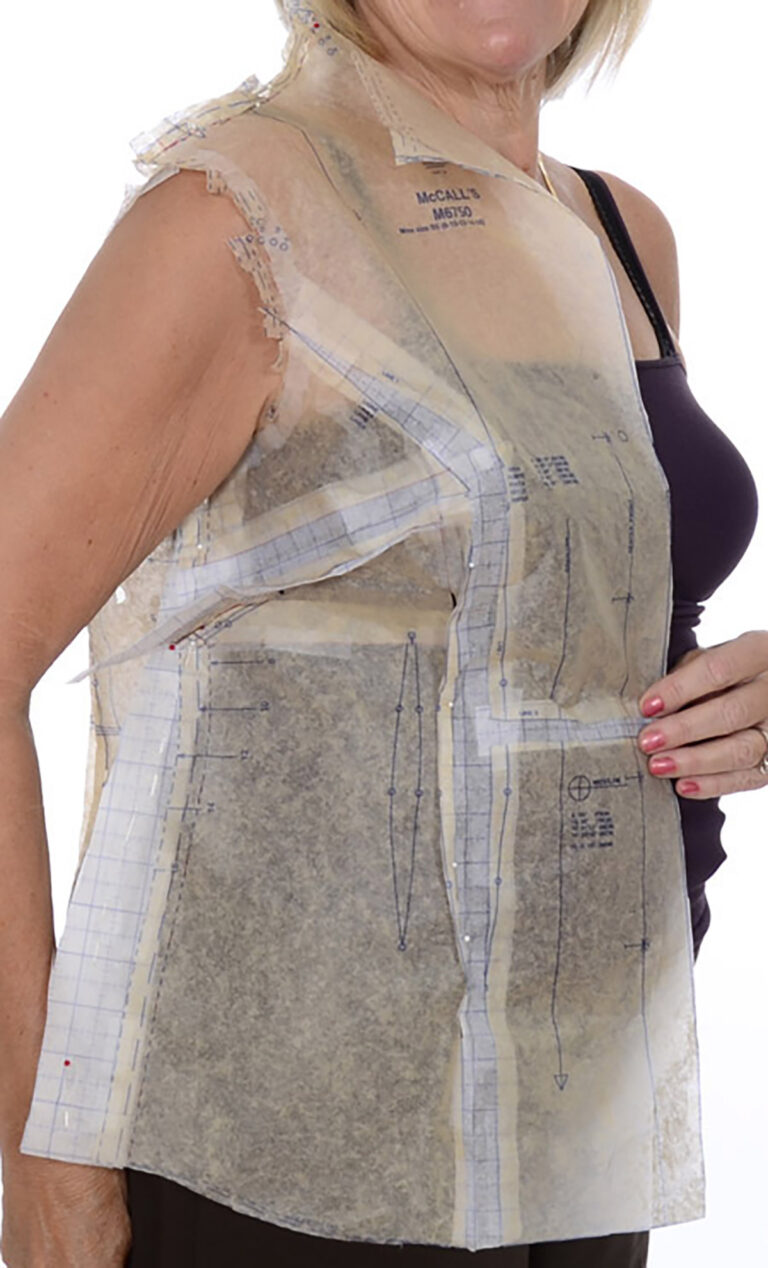
1. Make Friends with Muslin
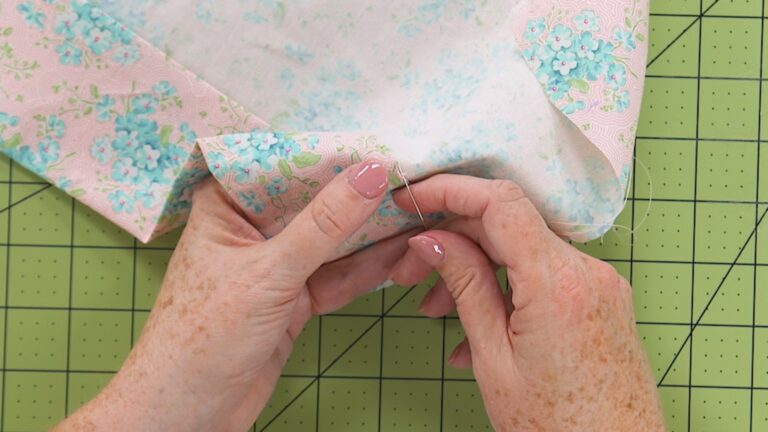
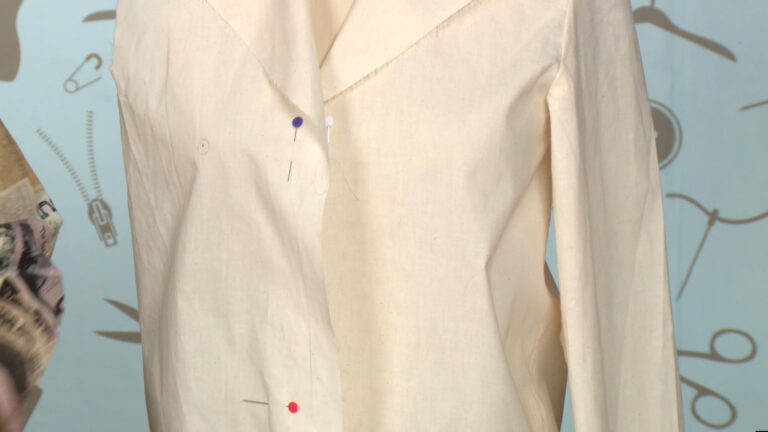
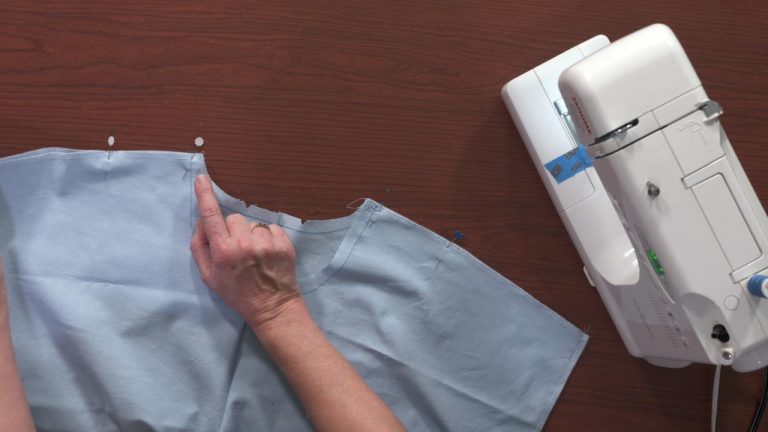
If I am making a dress or skirt and I want it to fit just right, I make one first in muslin.
Muslin is between $1 and $3 a yard, so it’s not a huge investment to make a mock-up first to get the fit right. I always have a bolt-on hand in my sewing room for just this purpose.
Personally, I am small busted so I always have to alter the darts in a bodice, but I have a hard time visualizing how they need to be changed in order to fit me. So, I make up the bodice in muslin, try it on inside out (so I have easy access to the seams), place some pins to cinch in the darts (and to get rid of that awful baggy chest look!), and firm everything up to be a perfect fit (with ease, of course!).
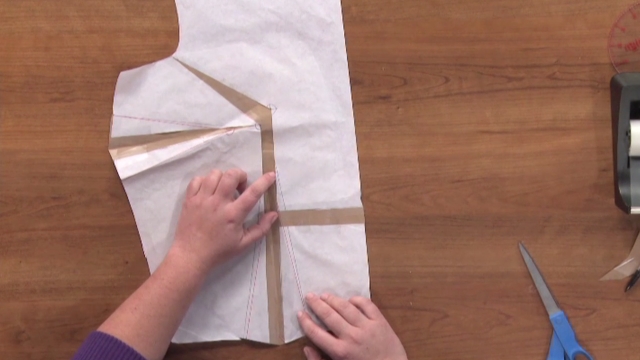
2. Create A New Pattern
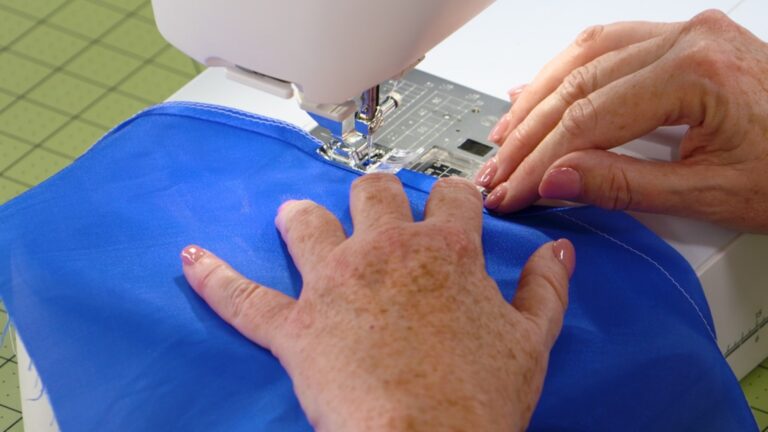
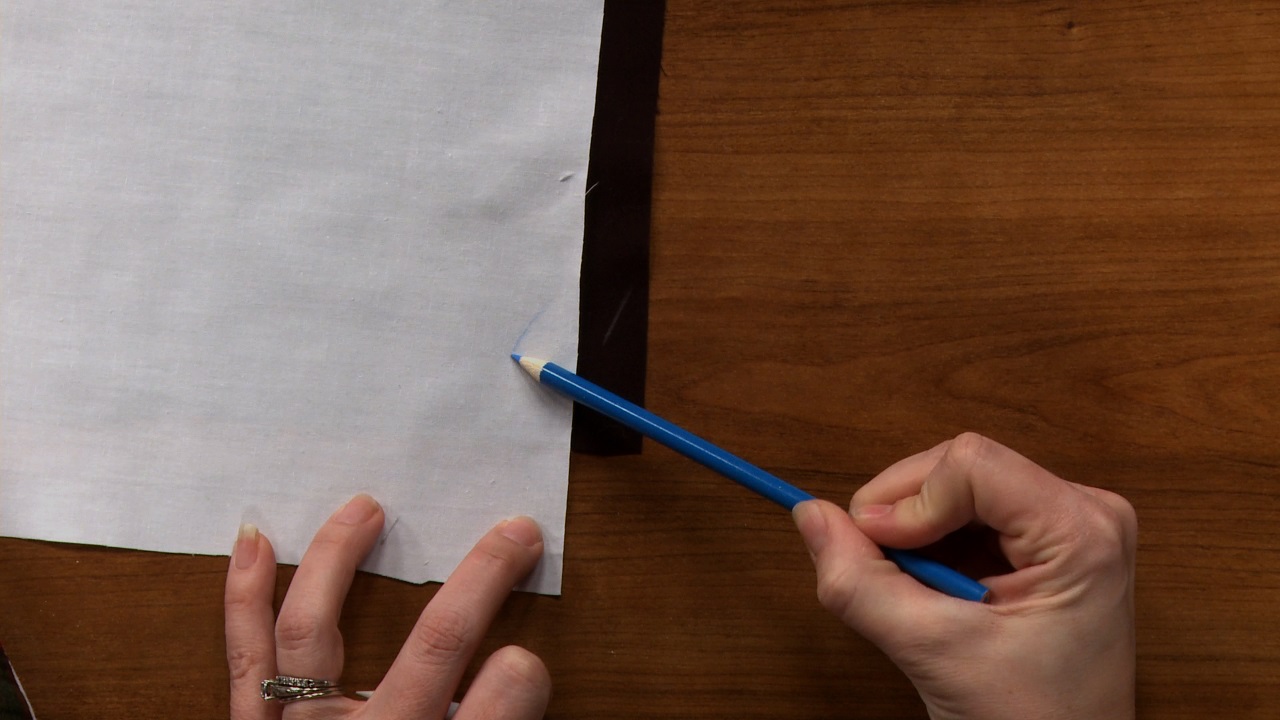
Now that I have a better-fitting bodice with some room for movement, I can take it off and examine the new folds made from my pinning, and then sketch them in with an iron-off pen.
Once I trim the bodice to be just how I want it to be, then that becomes my NEW pattern piece for this pattern!
To make the pattern piece even stiffer and easier to work with when I want to make new versions of it in the future, I buy an inexpensive fusible interfacing and iron it to the back.
The other thing you can do for a good fit is get yourself a dress form. Some of the adjustable ones can be fussy to get them to match your exact measurements, but it definitely makes the muslin test easier to pin to get a better fit.
If you’re not ready to invest in a professional dress form, there are some great tutorials online about how to make one custom-fit to your body using duct tape.
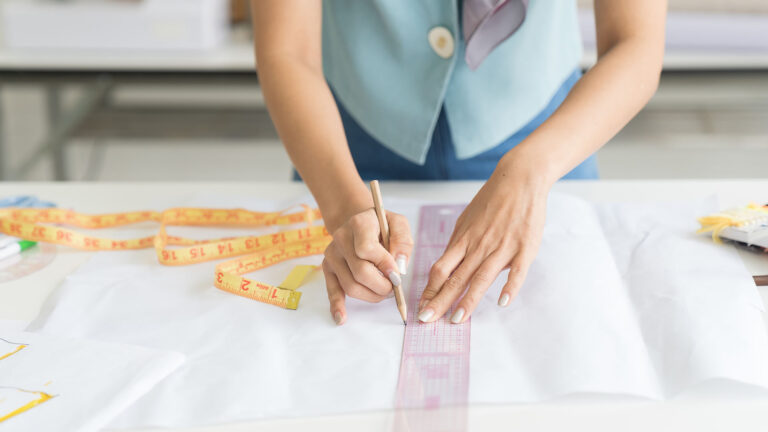
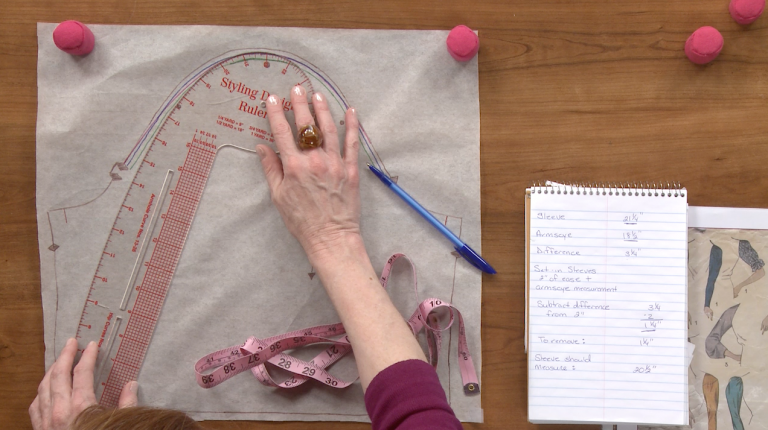
3. Measure Twice!
Lastly, always double-check your work with math. When you are sewing a skirt, you usually have a front and a back pattern piece that are meant to be cut on the fold. Therefore, the waistline at the top of the skirt front is ¼ of your entire waistline!
Measure your waist (or where you want the skirt to sit) and divide by 4. Then, add seam allowance. This is a quick way to make sure your alteration is in the ballpark!
That’s It!
Remember, there are no set rules on how to alter a sewing pattern. Feel free to experiment and add embellishments and seaming for visual interest! My advice to you, however? Make friends with muslin and create yourself a new pattern altered to your measurements – especially before you cut into that beautiful silk!
Happy sewing!
Get in touch! Leave a comment or email editor@nationalsewingcircle.com.
Explore videos by National Sewing Circle Editors


You may be interested in


Premium Membership
Unlock exclusive member content from our industry experts.
- 24/7 Access to Premium Sewing Videos, Projects, and Tips
- Step-by-Step Instructional Demos, Patterns, and Tutorials
- 50% Off Video Downloads Purchased in the National Sewing Circle Shop
- Access to Ask the Expert Program
Unlock exclusive member content from our industry experts.
- 24/7 Access to Premium Sewing Videos, Projects, and Tips
- Step-by-Step Instructional Demos, Patterns, and Tutorials
- 2 Full-Length Video Downloads to Watch Offline
- 50% Off Video Downloads Purchased in the National Sewing Circle Shop
- Access to Ask the Expert Program
Gold Membership
$362 Value
Get everything included in Premium plus exclusive Gold Membership benefits.
- 24/7 Access to Premium Sewing Videos, Projects, and Tips
- Step-by-Step Instructional Demos, Patterns, and Tutorials
- 8 Full-Length Video Downloads to Watch Offline
- 3 Full-Length Quilting Classes to Keep for Life
- 6 Printable Sewing Guides and Patterns
- Discounts on Purchase-to-Own Content in the National Quilters Circle Shop:
- Access to Ask the Expert Program
- Exclusive GOLD LIVE Streaming Events
Share tips, start a discussion or ask one of our experts or other students a question.
Already a member? Sign in
No Responses to “How to Alter a Sewing Pattern”