How to Sew Applique on a Quilt
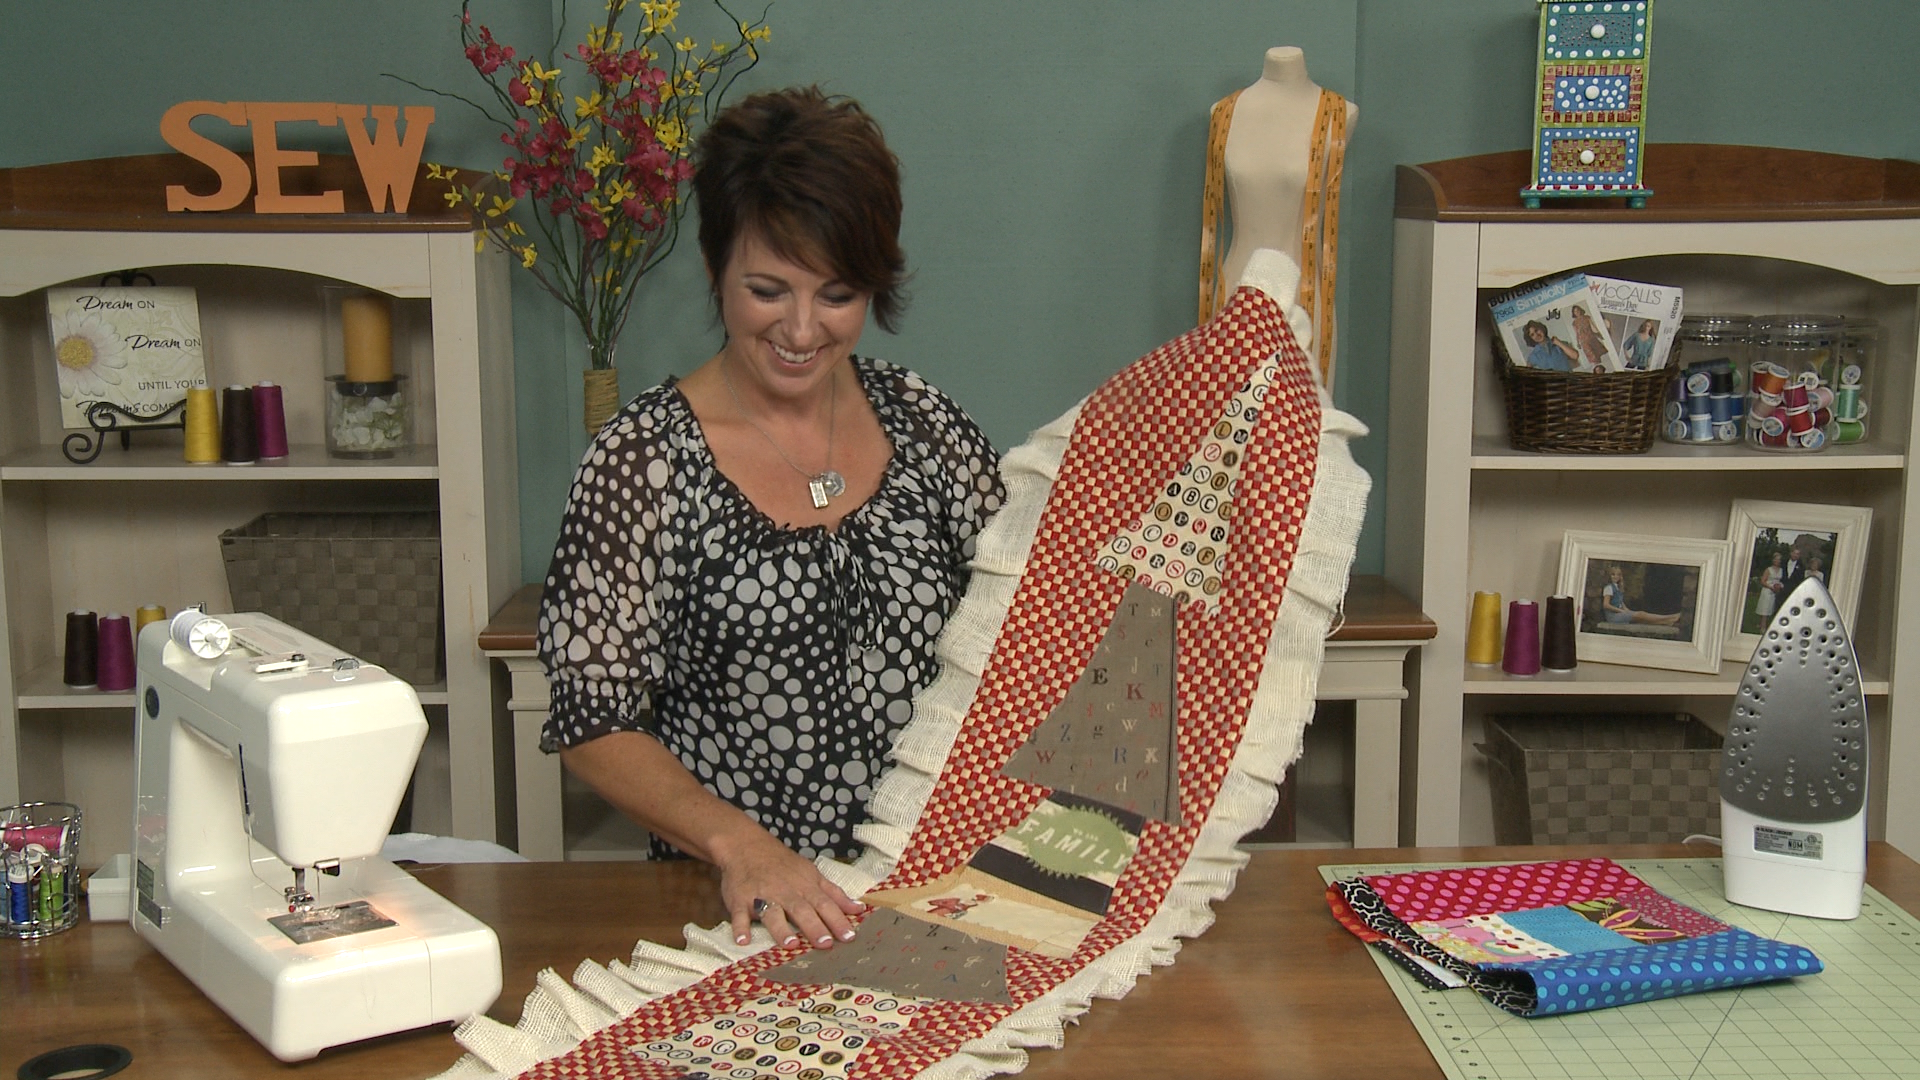
Stacy GrissomQuilt tops don’t always have to be pieced. Learn how to sew applique circles onto a quilt top to create a fun baby quilt- Stacy Grissom shows you how.
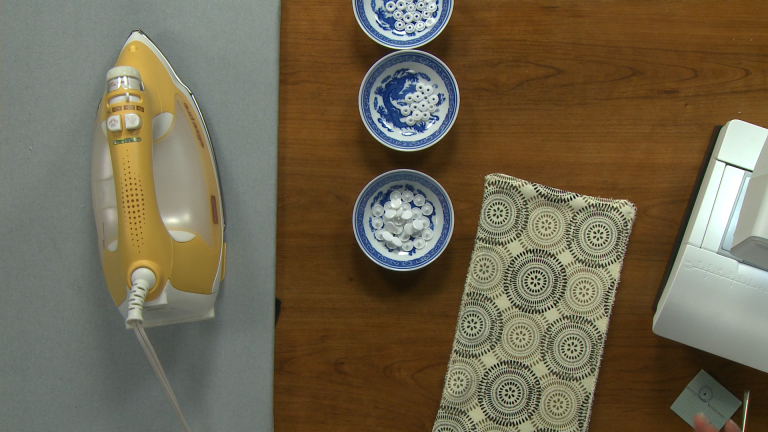
Supplies and Planning
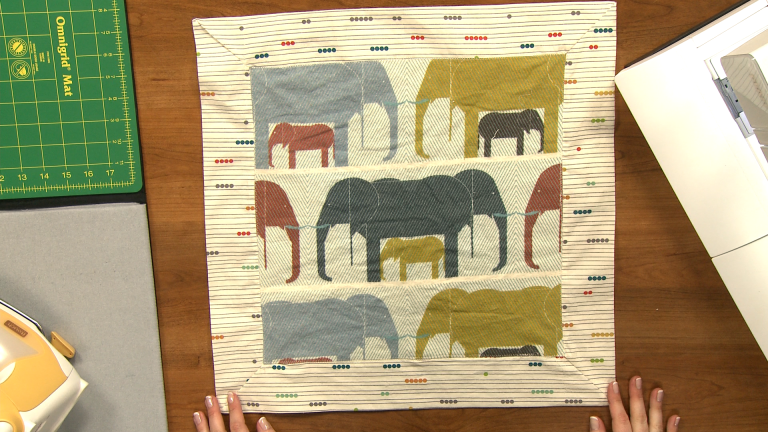
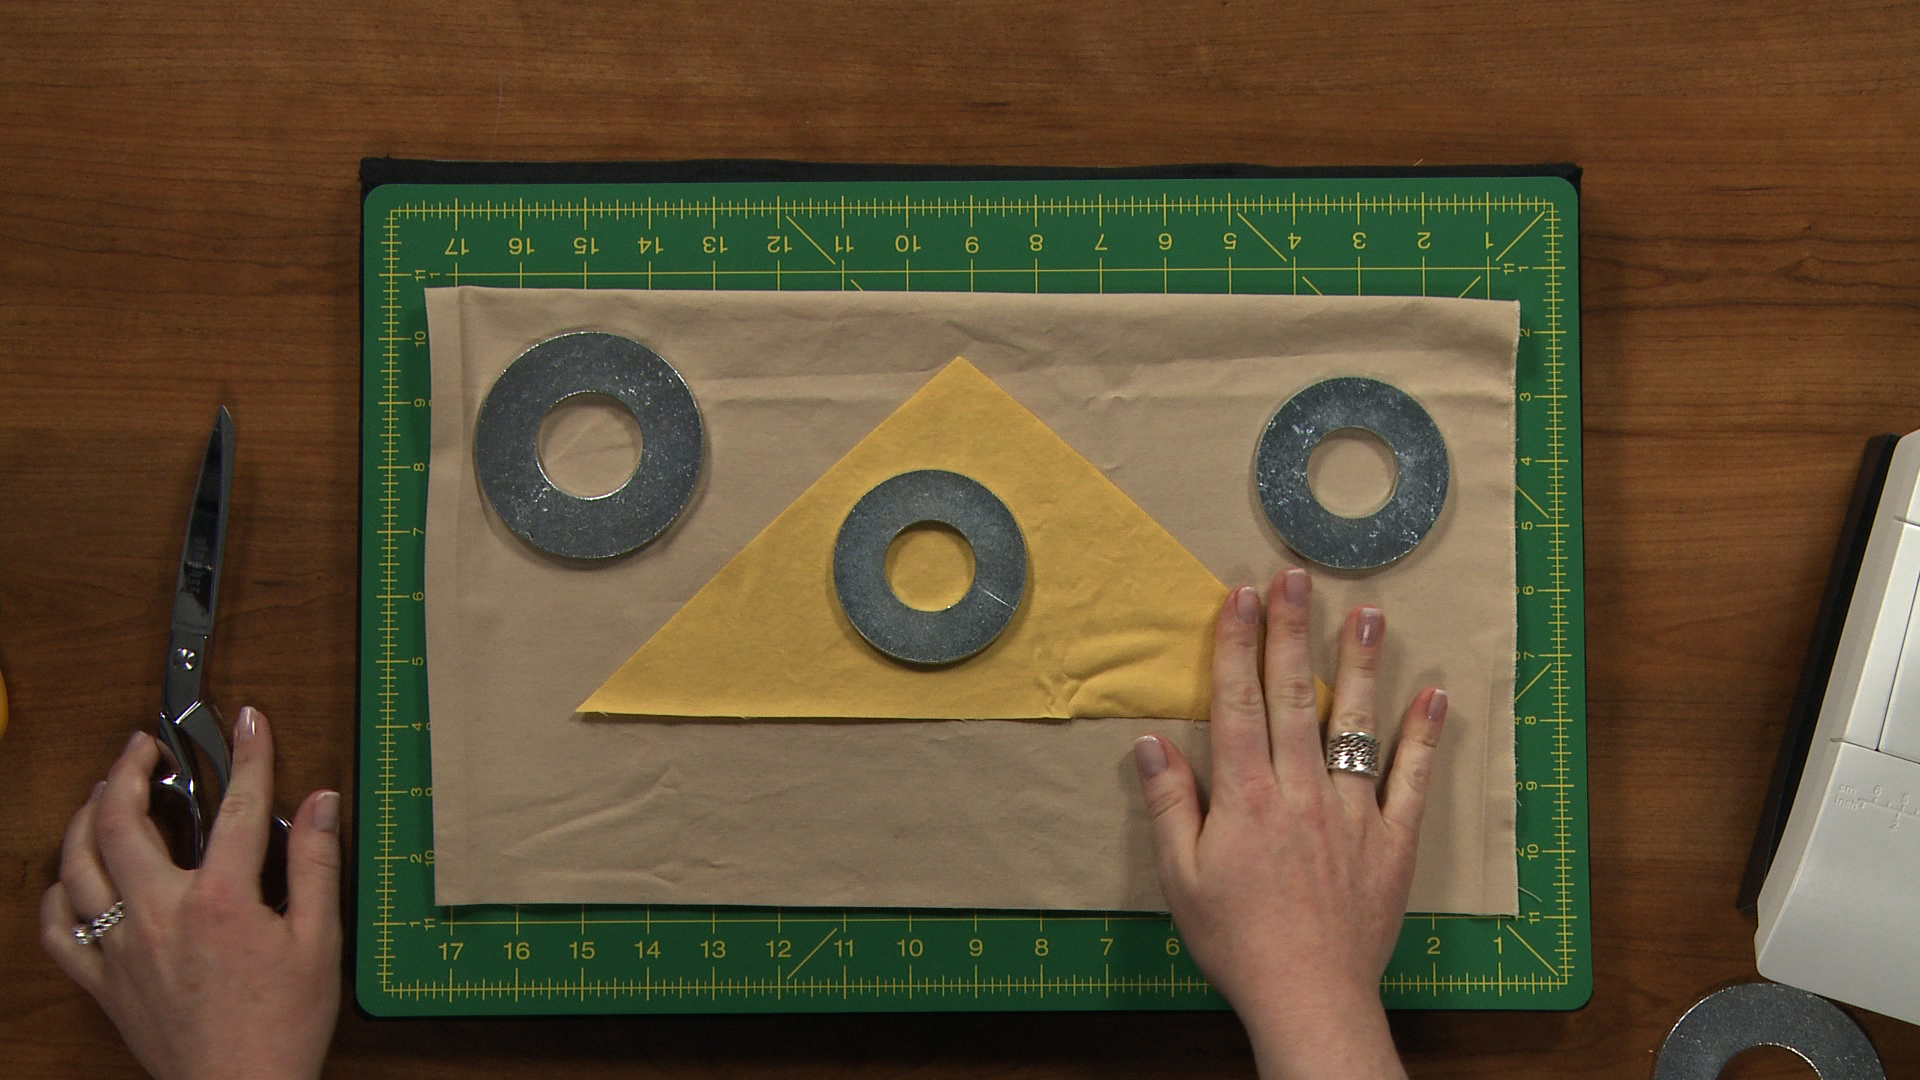
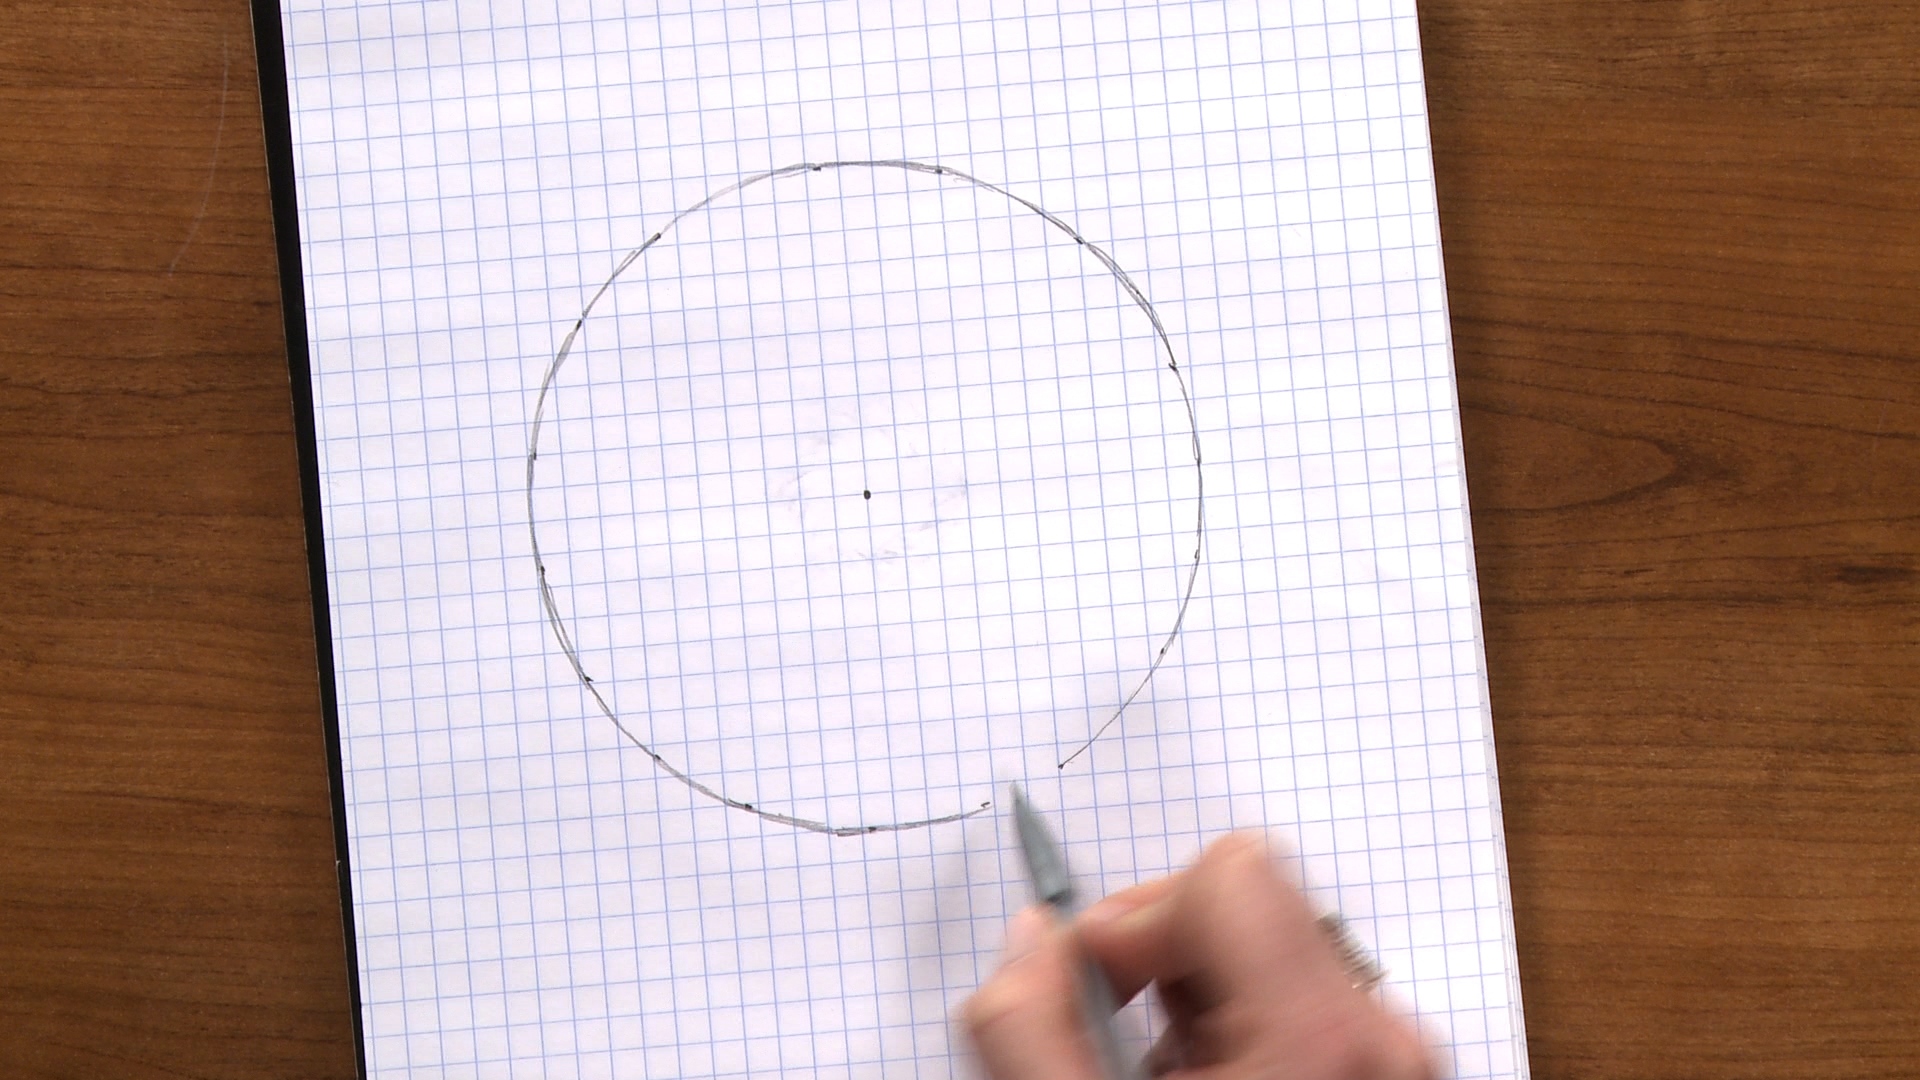
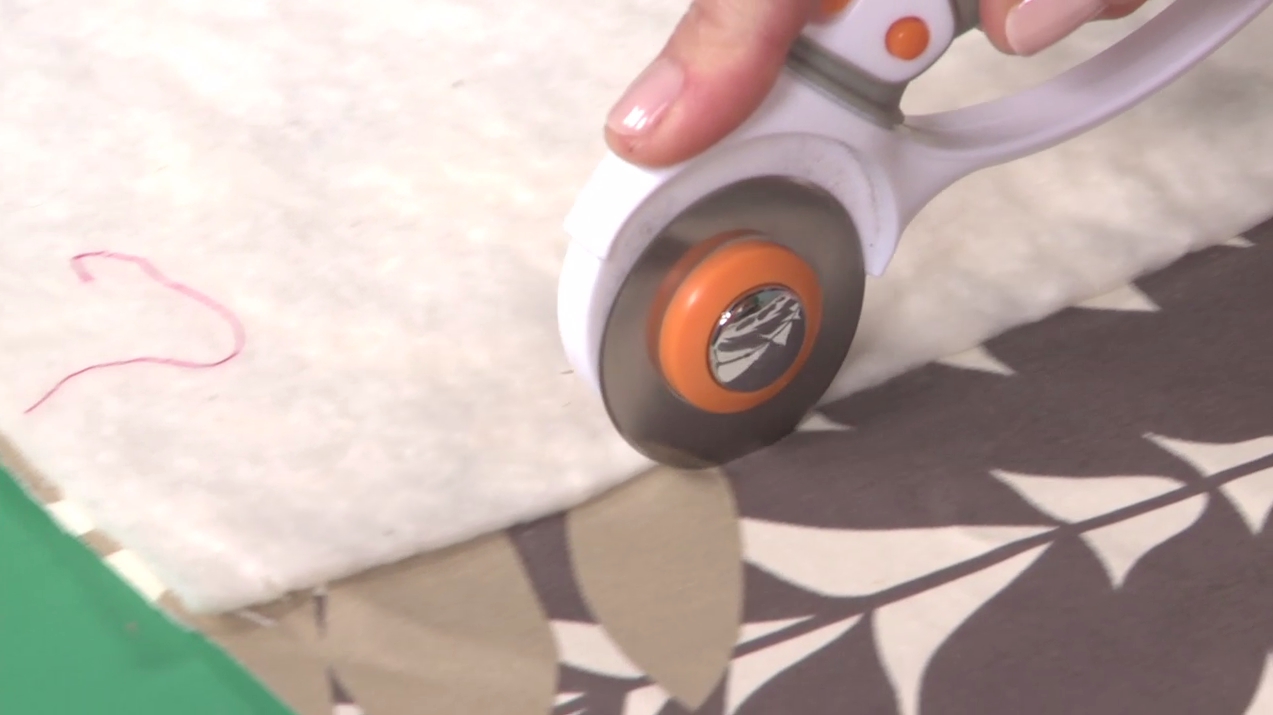
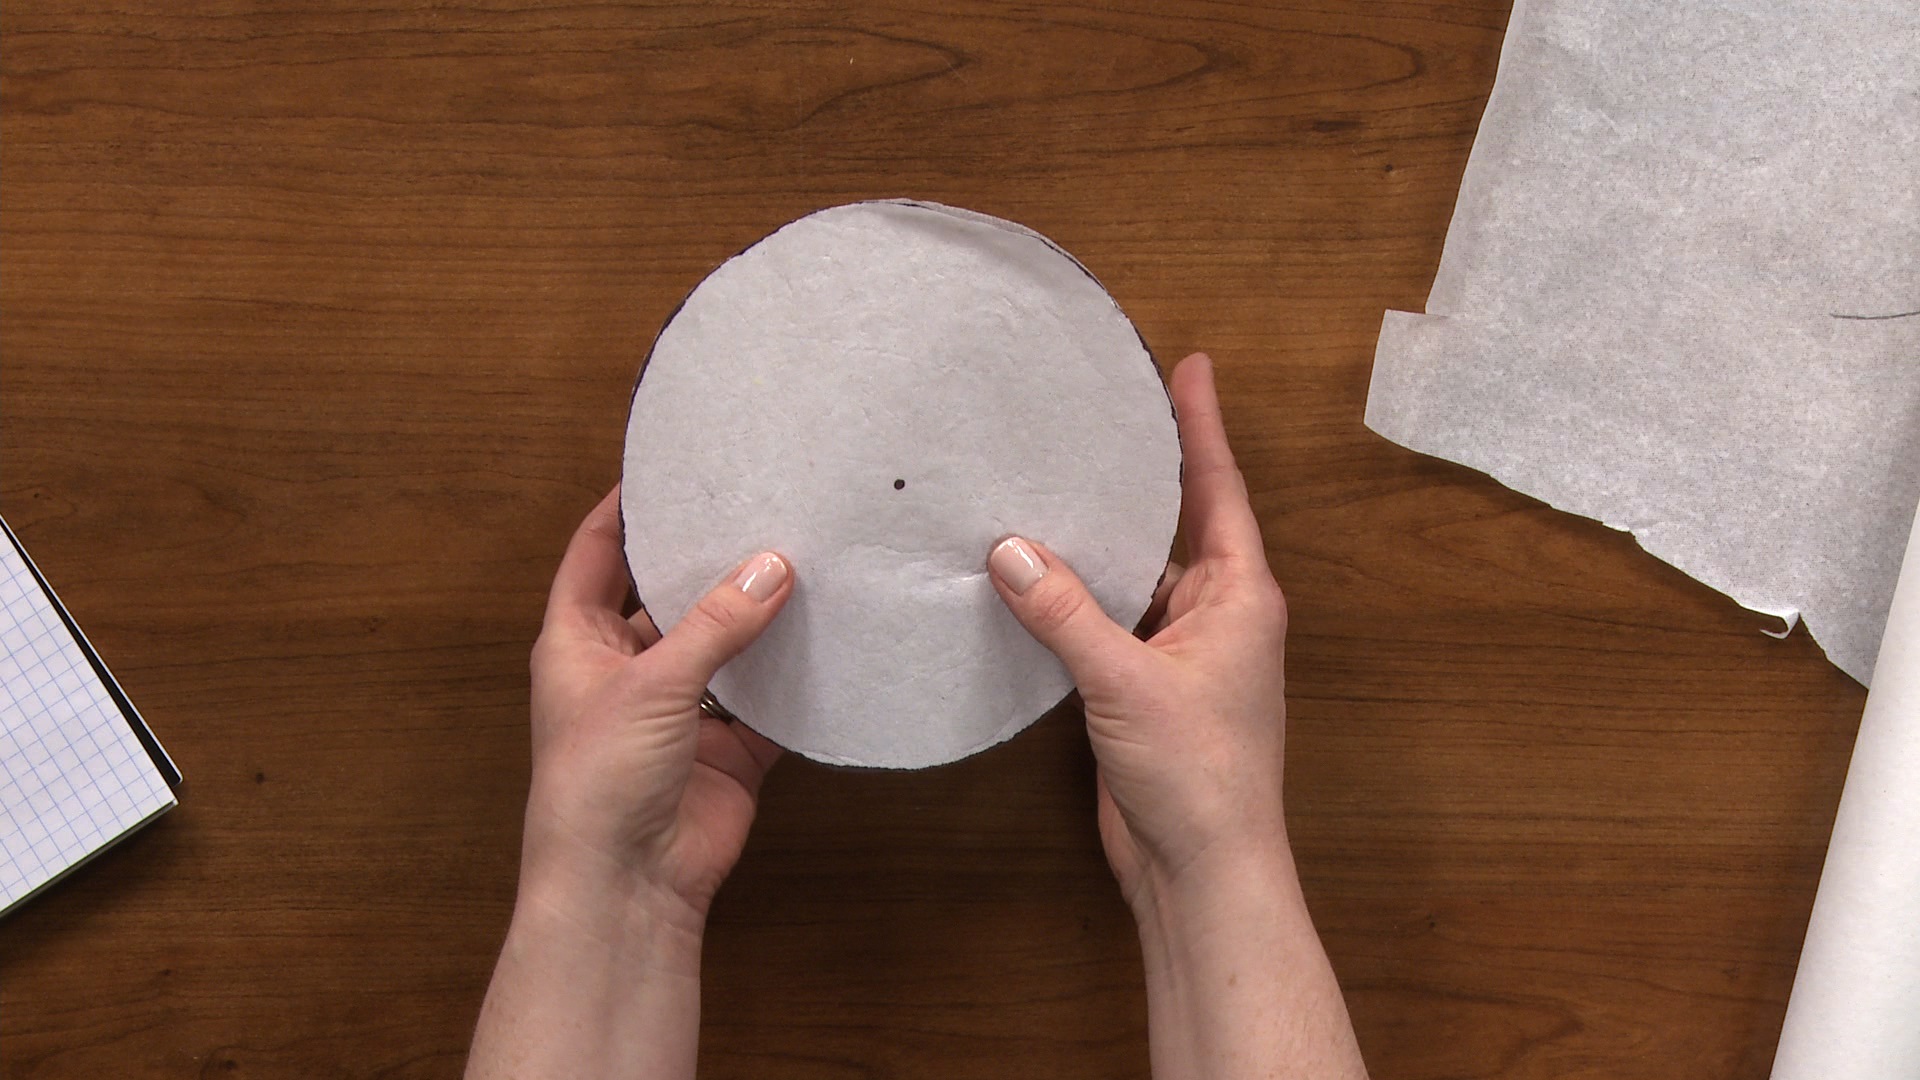
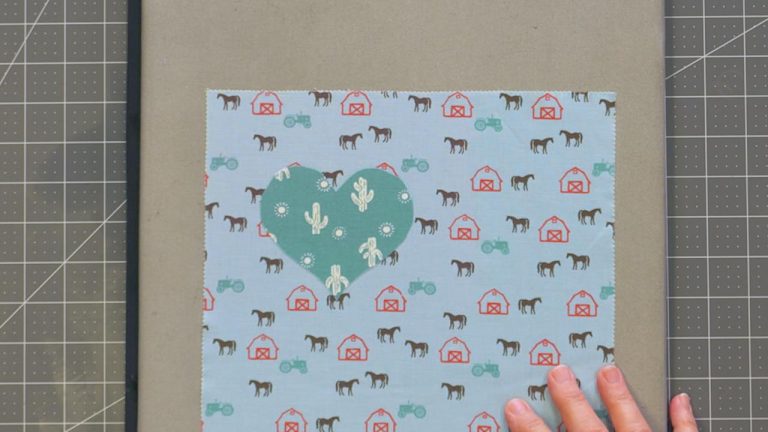
For this quilt you will need a large piece of fabric to serve as your background. You can make an extra large floor sized baby quilt like the one Stacy makes or make a smaller version to fit in a crib. You will also need small amounts of several different fabric colors and prints for the circles. Stacy explains that she cut out her circles using templates she made from cardboard. Other supplies needed for this quilt are fusible web and an iron off pen. Before learning how to sew applique circles onto the quilt top, you should first plan out how you want your quilt top to look. Stacy shows how she likes to design her quilts using graph paper so she can draw out and plan where the circles are going to go.
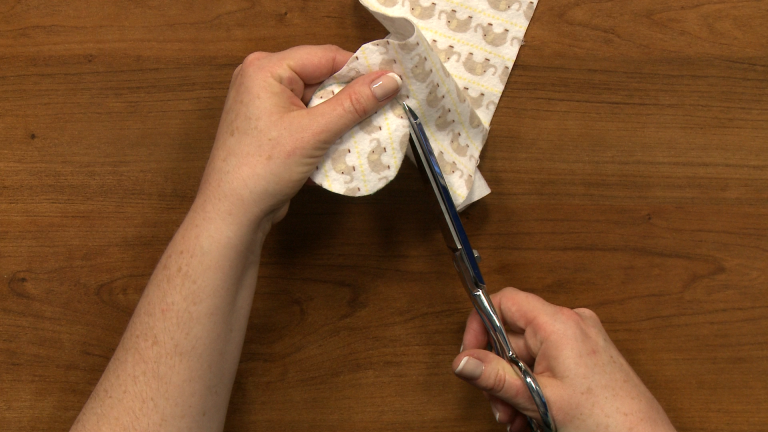
Fuse and Sew
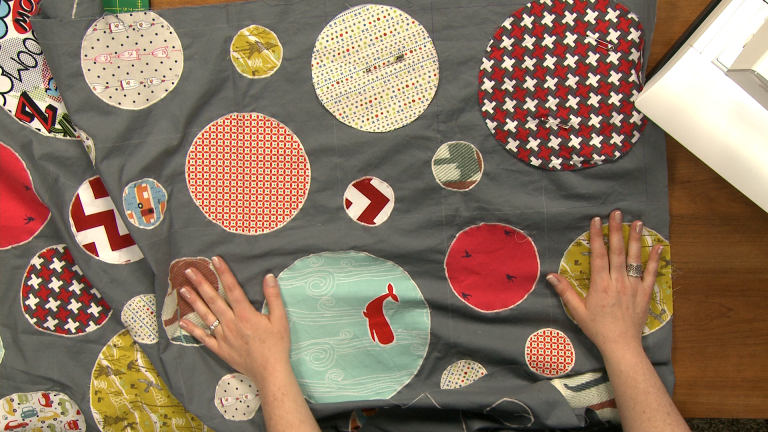
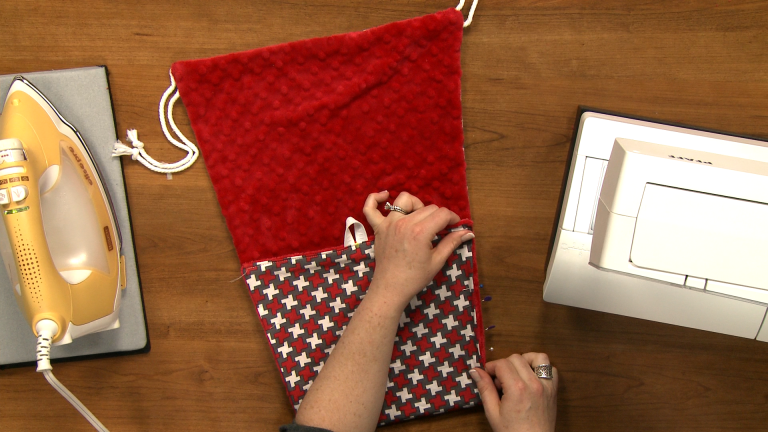
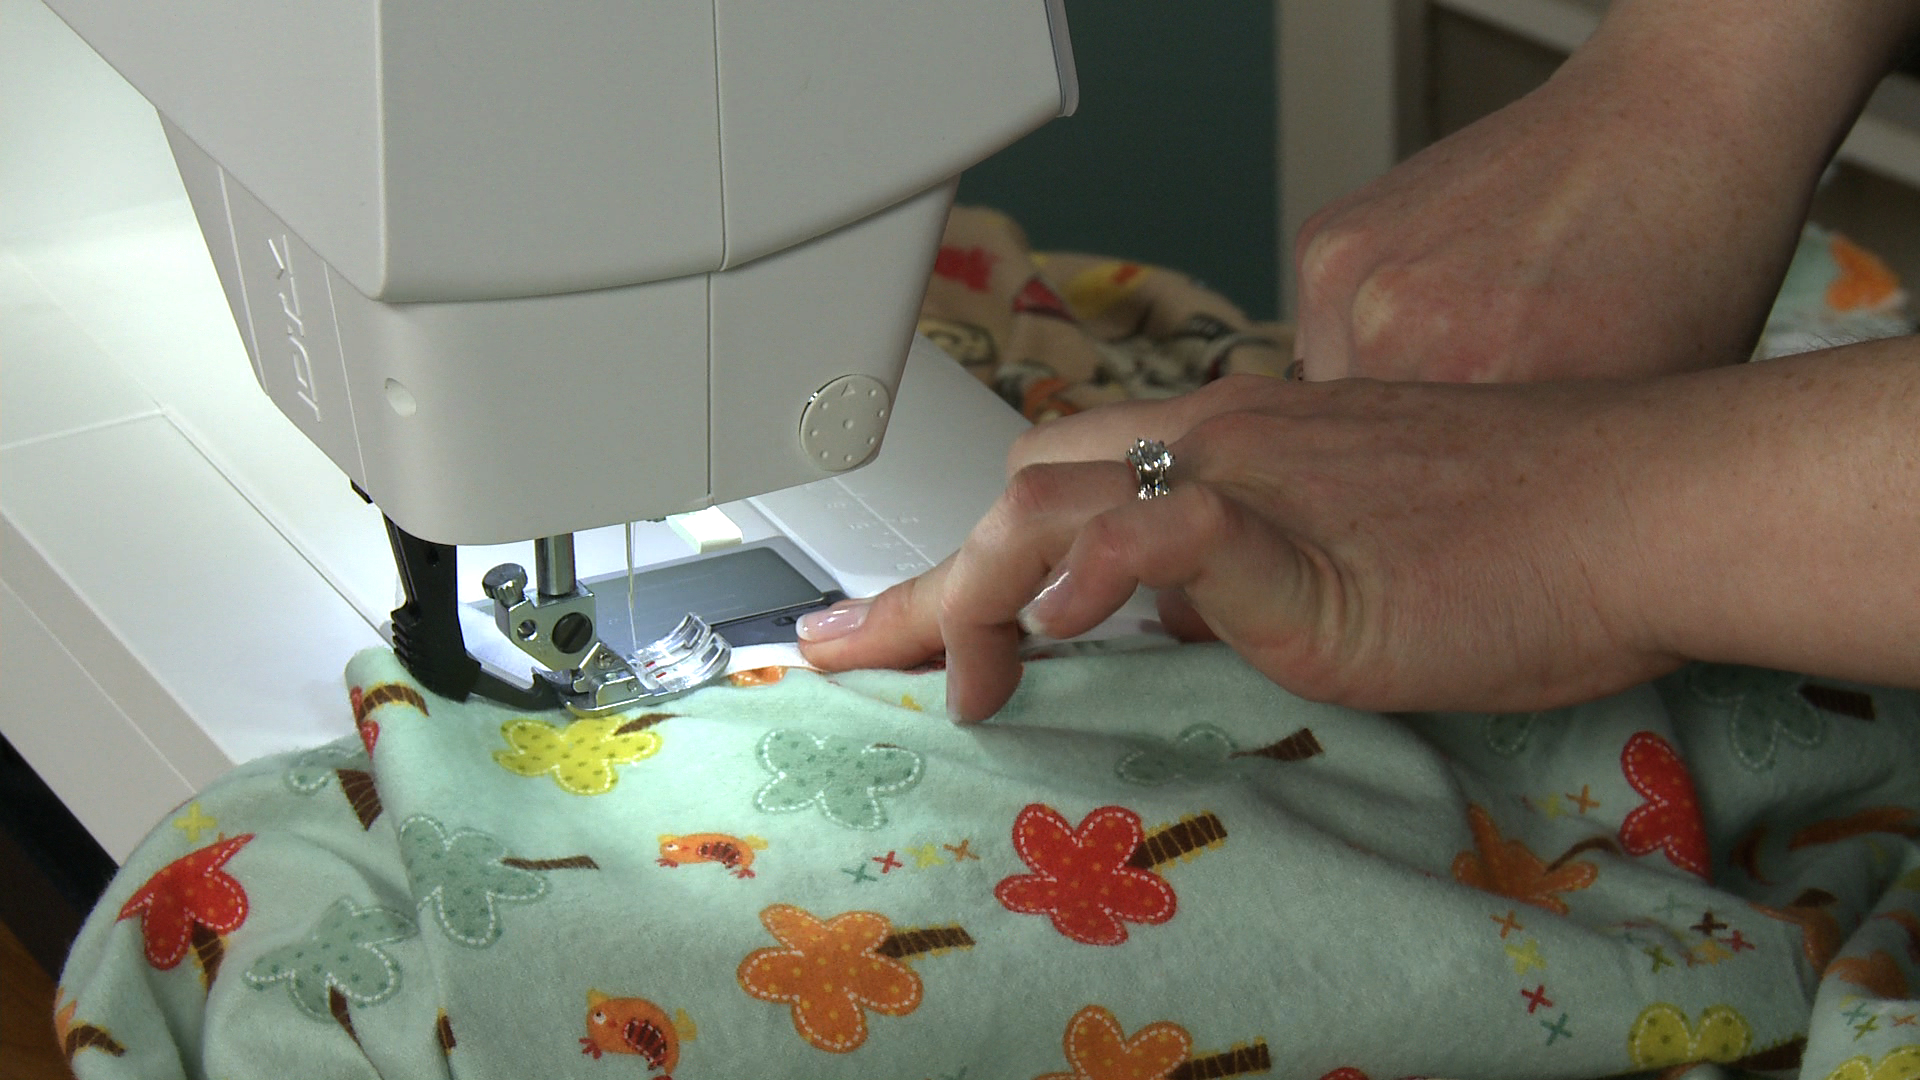
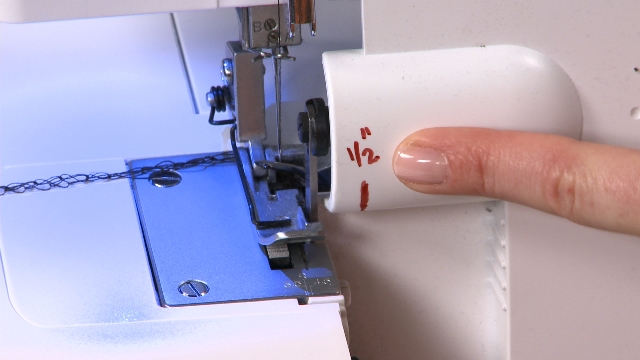
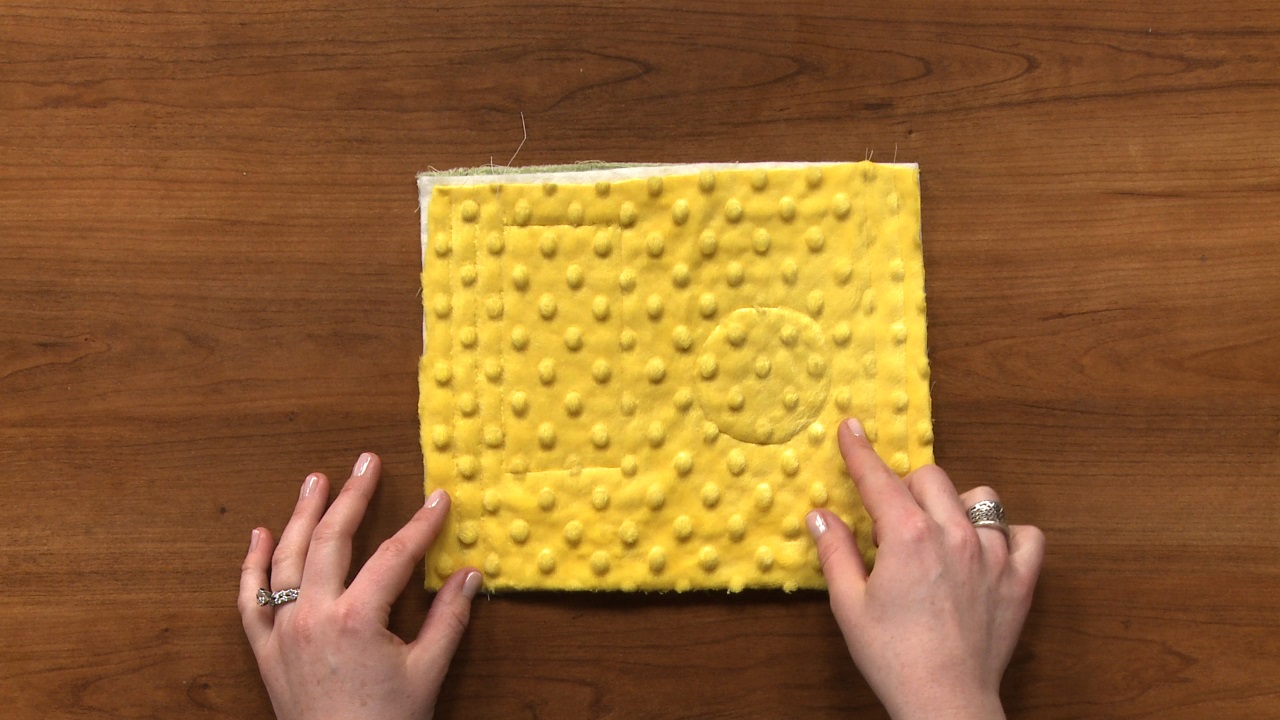
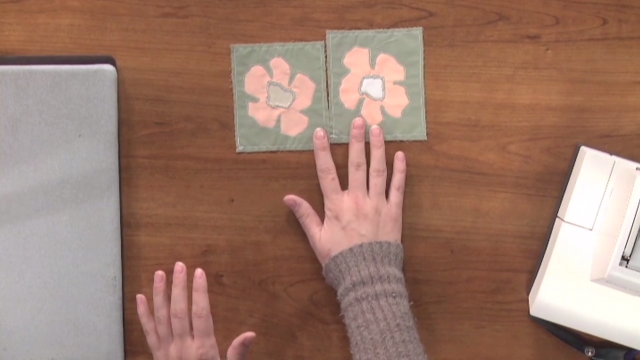
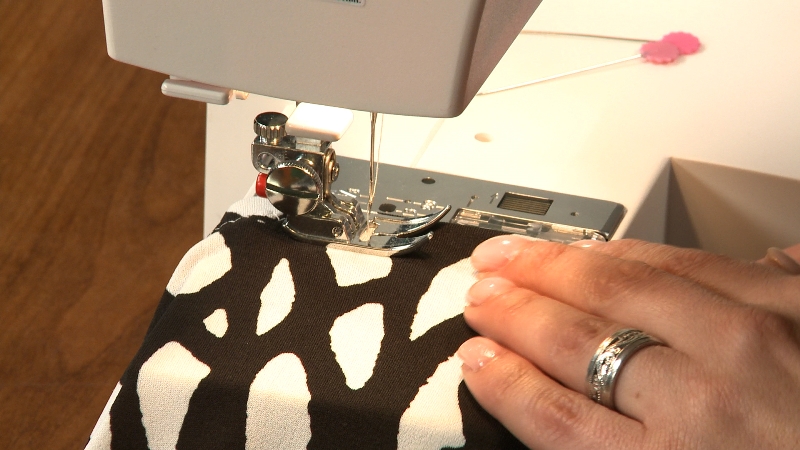
Once you have your design planned out and your various sizes of circles cut out you can begin to construct your quilt top. Stacy shows how to add fusible web to the back of the circles. She shows how she uses her templates to cut out the fusible web and then attach it to the wrong side of the fabric circles. The circles are then fused to the quilt top and are ready to be stitched in place. When learning how to sew applique shapes onto a quilt top it is a good idea to try out different stitches and stitch widths on a scrap of fabric. Stacy shows how she tried out several different zig-zag stitch sizes before choosing one to use on the quilt top. Once all of the circles are stitched in place the quilt top is completed.
Explore videos by Stacy Grissom

You may be interested in

Premium Membership
Unlock exclusive member content from our industry experts.
- 24/7 Access to Premium Sewing Videos, Projects, and Tips
- Step-by-Step Instructional Demos, Patterns, and Tutorials
- 50% Off Video Downloads Purchased in the National Sewing Circle Shop
- Access to Ask the Expert Program
Unlock exclusive member content from our industry experts.
- 24/7 Access to Premium Sewing Videos, Projects, and Tips
- Step-by-Step Instructional Demos, Patterns, and Tutorials
- 2 Full-Length Video Downloads to Watch Offline
- 50% Off Video Downloads Purchased in the National Sewing Circle Shop
- Access to Ask the Expert Program
Gold Membership
$362 Value
Get everything included in Premium plus exclusive Gold Membership benefits.
- 24/7 Access to Premium Sewing Videos, Projects, and Tips
- Step-by-Step Instructional Demos, Patterns, and Tutorials
- 8 Full-Length Video Downloads to Watch Offline
- 3 Full-Length Quilting Classes to Keep for Life
- 6 Printable Sewing Guides and Patterns
- Discounts on Purchase-to-Own Content in the National Quilters Circle Shop:
- Access to Ask the Expert Program
- Exclusive GOLD LIVE Streaming Events