E

Tips for Fitting Plus-Size Patterns

National Sewing Circle Editors
Duration:   18  mins

Description

Sewing can be a challenge even when using pre-drafted patterns and available resources.

For garments intended for plus-size sewing, however, more challenges may present themselves than the average sewer has ever encountered.

Fortunately, there are some easy tips that can keep you sewing beautiful garments no matter the size.

1. Select Styles That Work Well for Plus-Sized Wear

Before you ever break out the fabric scissors, consider what garments you want to create and search for styles that work well for plus-sized wear. This doesn’t mean you have to choose all shapeless or baggy clothing. Not at all!

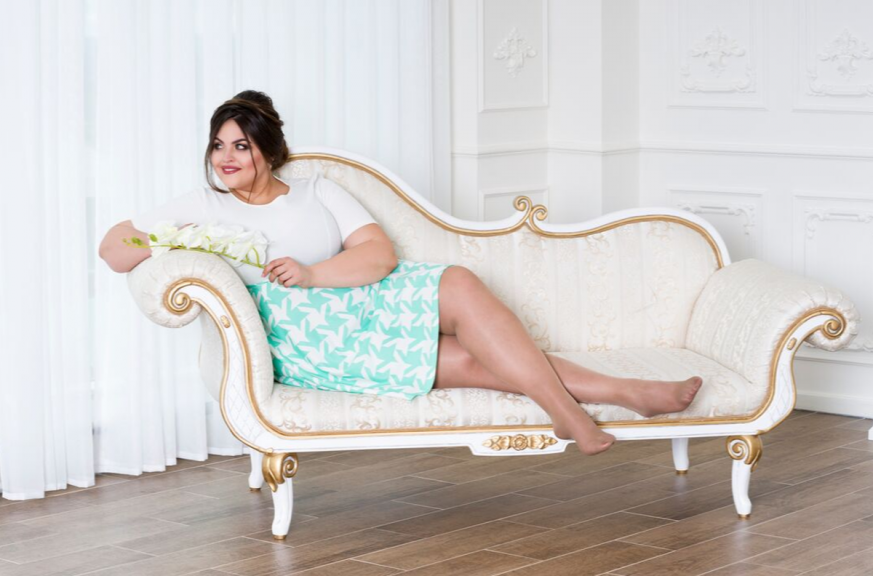
Many garments features work particularly well for fitting numerous body types and can thus be useful when sewing plus-size garments. Styles with looser sleeves, cap sleeves, or sleeves that are sewn to the neckline rather than set in an armhole provide more mobility and easier fit. A-line garments often require less fitting below the bust—a great style for those with curves who would otherwise need lots of tailoring. Even pencil skirts and fitted garments can work to smooth a silhouette.

Before you ever start sewing, consider what styles will work best for you and, if you are a beginning sewer, what styles will require the least fitting and alteration.
Related Video: Sewing Pattern Alteration and Tools

2. Choose the Right Pattern

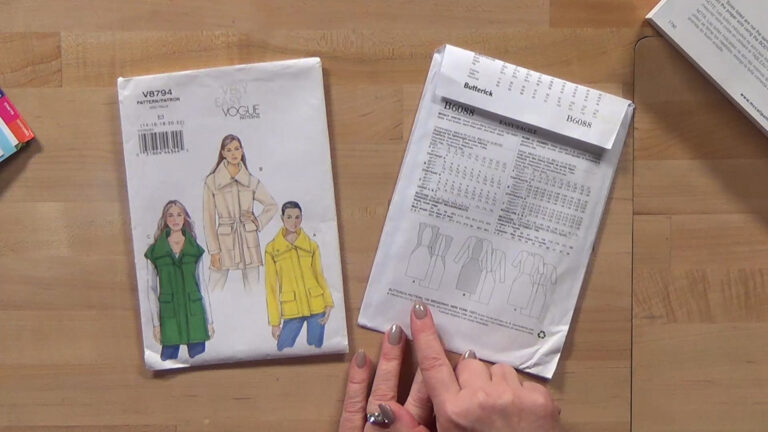
Just like choosing the right style, choosing patterns is an important step to the sewing process. With so many patterns available, it is important to consider your options and your sewing expertise. Look for patterns that have points where the garment can be tailored to fit for plus-size wear. Princess seams, for example, are easily adjustable in numerous places along the torso; this minimizes the need to dart or adjust the garment in an awkward location.

Be wary of pattern scaling as well. Many larger-sized garments also increase in length as well as width. If you choose a pattern by a plus-size bust size, for example, you may find that the torso length has increased and the garment no longer fits properly. To avoid this, be sure to look at length measurements before you purchase. It is far easier to add adjustments to the width of a pattern to accommodate bust than it is to adjust the length of a torso. Some pattern companies now also offer plus-size patterns designed to reduce this problem.

Related Video: Full Bust Adjustment Tutorial

3. Measure Carefully

Body measurements are always important for any sewing project, but they are a critical piece of plus-size sewing. With more curves, plus size wearers often have more variance in measurements than one might need for a standard pattern drafting.

Be sure to measure yourself accurately and take appropriate measurements before starting. Your bust, hips, and waist may not be enough to provide accurate measurements for the entire process. Many sewers want multiple measurements for each such as upper bust, underbust, upper waist, and more.
Related Video: The Right Measuring Tool for Pattern Making

4. Invest in a Dress Form

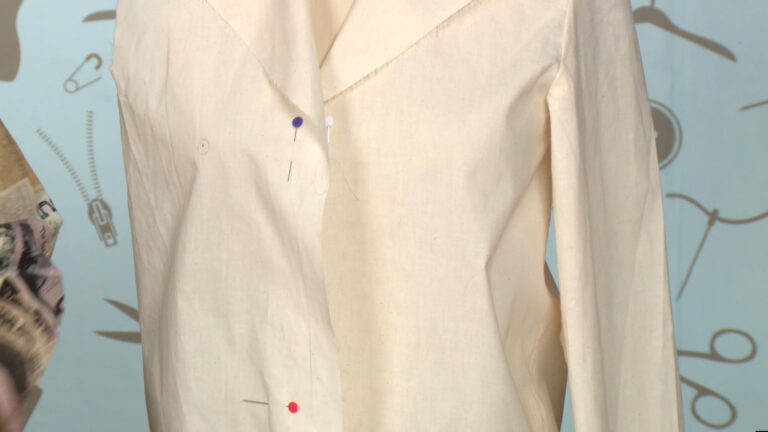
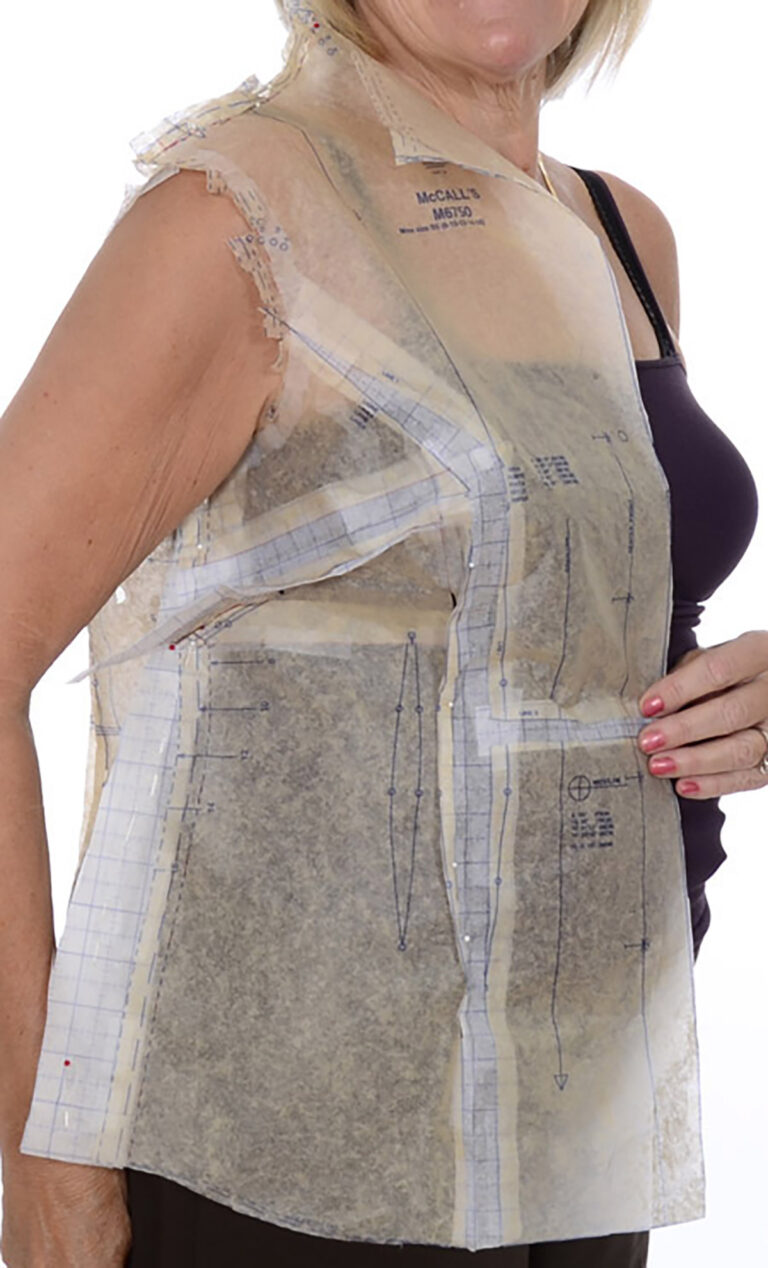
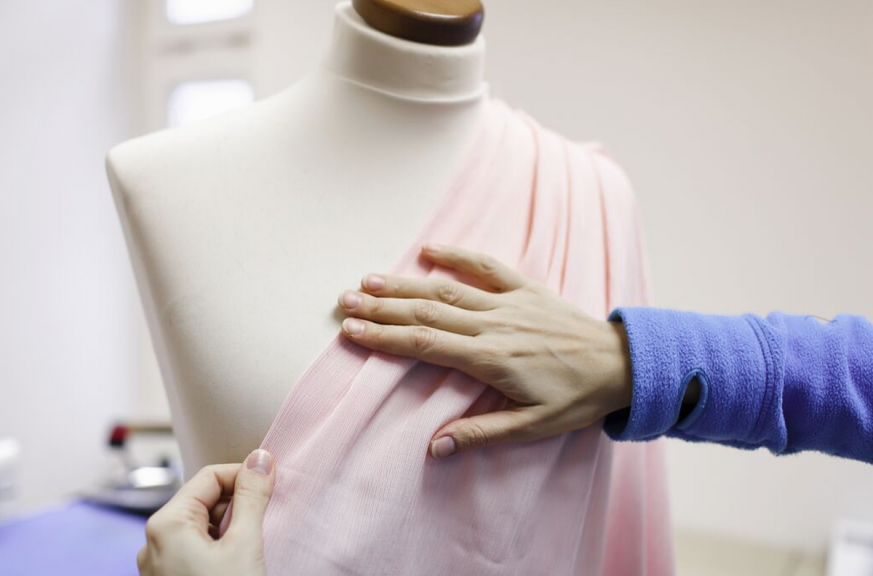
Dress forms can make drafting simpler and easier if you are adjusting a pattern or mock-up before sewing. For plus-size sewers, an adjustable dress form lets you see problems before you finish the garment and lets you adjust accordingly.

Even with careful measuring and pattern adjustment, clothes will sometimes still need an adjustment. This is much easier to see on a dress form, where a seam can be adjusted, darts taken, or problems easily viewed.

Related Article: How to Alter a Sewing Pattern

5. Choose the Right Fabrics

Choosing the right fabrics for your sewing project is always critical but is particularly so when choosing fabrics for plus-size sewing projects. Knits and stretch fabrics may be more forgiving for a curvy fit. Fabrics with a crisp feel or “hand” may be easier to sew and thus easier to adjust and alter.

Beginning sewers will need to balance their knowledge and ability with suitability as well; knit fabrics can be more difficult to sew with. For a plus-size garment, ensure whatever fabric you choose is suitable to the pattern, garment style, and the body type of the wearer.

Related Video: Tricky Fabric Stitching Techniques

Final Thoughts

With a little planning and forethought, plus-size sewing offers a rewarding project that lets people of all shapes and sizes create fashionable, comfortable garments.

What are your tips for sewing with and fitting plus-size patterns? Let us know in the comments!

10 Sewing Tips from the Experts

Share tips, start a discussion or ask other students a question. If you have a question for the instructor, please click here.
Make a comment:
characters remaining

4 Responses to “Tips for Fitting Plus-Size Patterns”

  1. Tanya

    Where can I find good quality plus size patterns?

  2. Michelle Werner

    Excellent video, tysm. What you said about bra fit is SO essential and I so rarely see it mentioned anywhere. You can’t even get proper measurements with an ill-fitting bra, it’s absolutely essential to get measured and by someone who knows how to take bra sizes for plus-sizes. I was getting the wrong size for years bc VS lied to me lol..
  3. Carol Ann MacArthur

    Thank you for these tips. Great advice! I am wondering if you need to add more than a half an inch to the back of a pair of pants, have you got the wrong size or is there another way to increase the pattern?

  4. Janet Hammond

    Thank you Beth for your very interesting and extremely informative video on fitting plus size patterns - you gave some great advice!

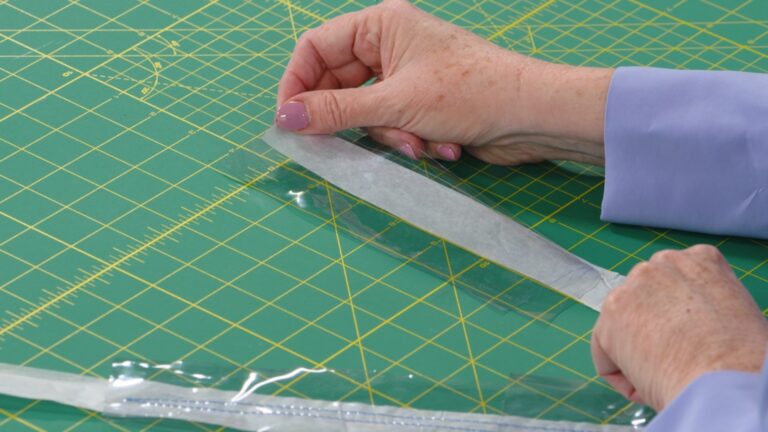
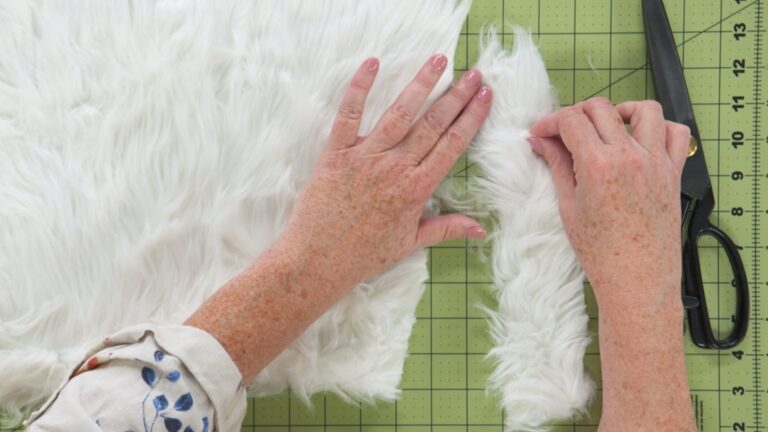
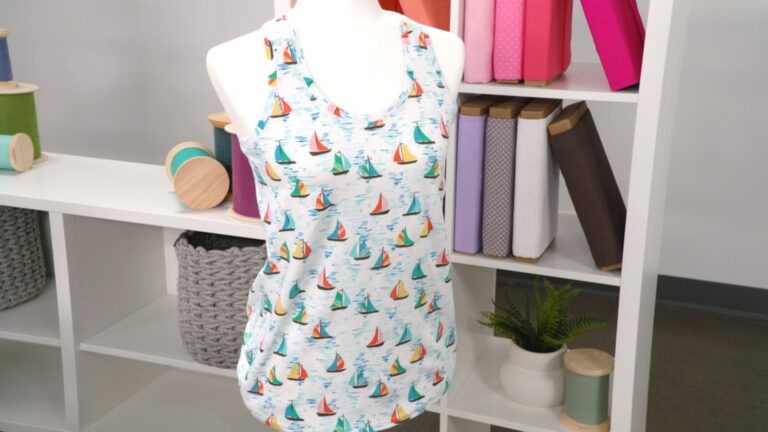
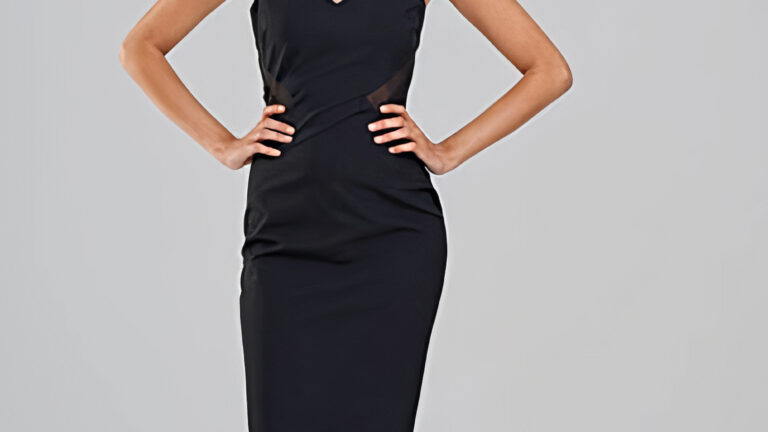
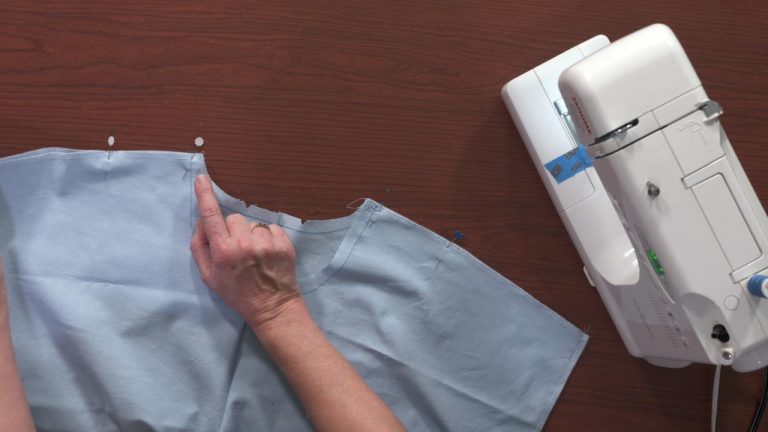
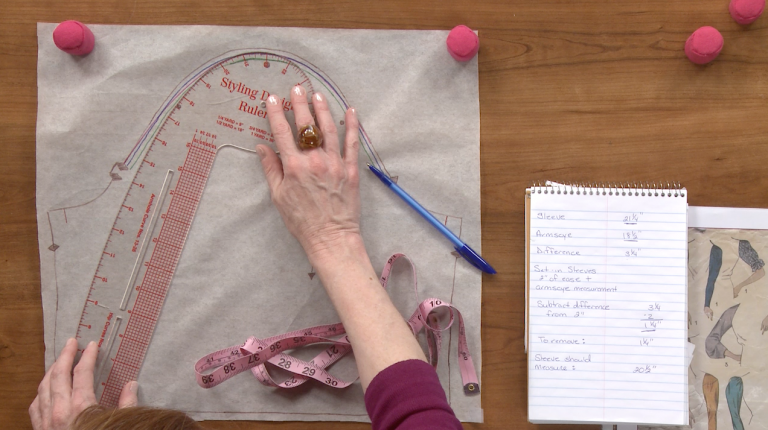
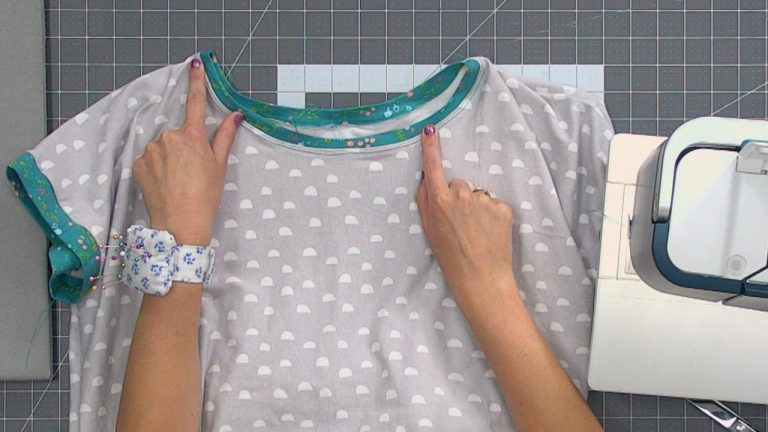
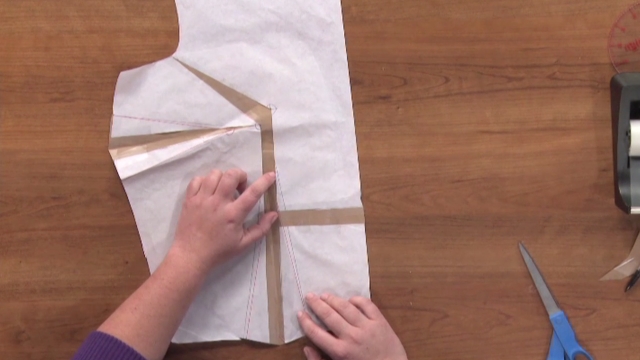
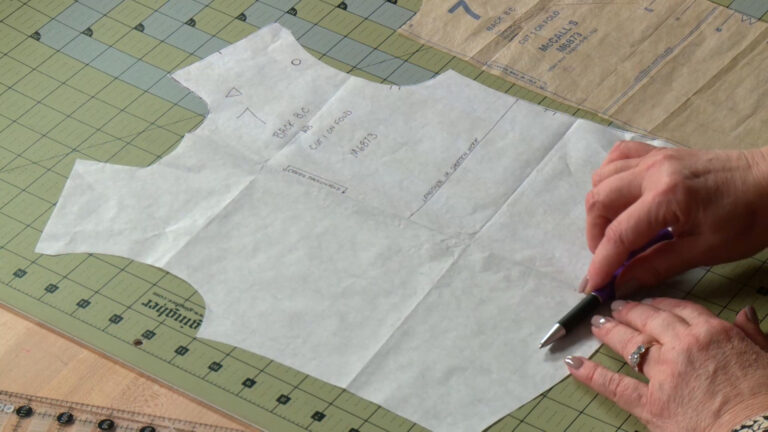
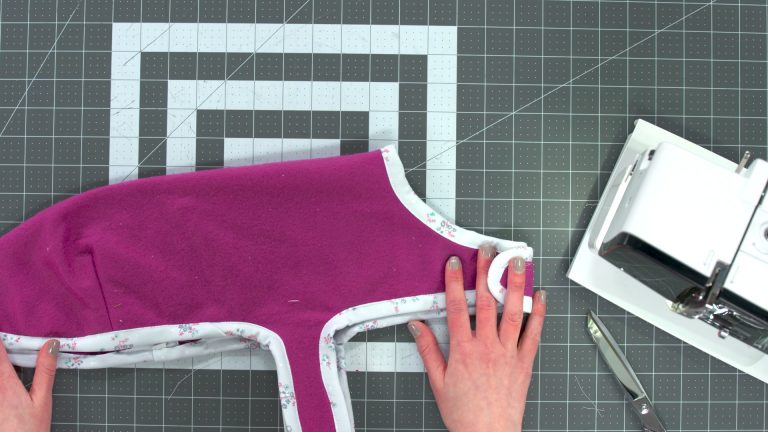
No matter what size you wear, sewing gives you the power to create flattering, well-fitting clothes that fit your body and accentuate your best features. So I'm gonna go through some easy tips for sewing for plus sizes, whether you're plus size yourself or you sew, and do custom sewing for someone who is plus size. So the first thing I'm gonna talk about is just how not to get discouraged when you go to the ready-to-wear plus-size department because a lot of the style there might be unflattering or unfashionable. So just don't worry about that because you have the power to make yourself a well-fitting, luxurious wardrobe that looks great on you and shows off your personal style. So keeping that in mind, let's first talk about some of the design details to look at when you're looking for a pattern to sew. There are just a few different little design aspects and details to patterns that look great on plus-sized bodies. One of the first things that I like to look for is princess seams. So if you're making a bodice for a shirt or for a dress, princess seams are really helpful for fitting for plus sizes because they have this great long line all the way down the pattern that allows for lots of tweaks. So plus-sized bodies have a greater variance in terms of whether they might have a bigger bust, or bigger hips. So this line just is really easy to customize. And it saves you from having to create a huge dart, or something like that that ends up detracting from the overall garment. Another great thing about princess seams is that they create a really nice long vertical line down the front of the body. So that can be really flattering, and also give you a lot of freedom as far as what areas need more room or less room. There's just a lot of easy ways that you can customize that. The next thing that I like to look for too in patterns, and this is a little less common but raglan sleeves. So this garment here has raglan sleeves. And that just simply means that the sleeve is connected to the neck line of the garment, instead of being a standard set-in sleeve. And not that you can't make a garment with set-in sleeves, but raglan sleeves are just really nice for plus-sized bodies because there tends to be a little bit more fullness in the upper arm. That can just make a set-in sleeve a little bit less comfortable, and a little bit trickier to fit to get the right amount of ease there. So raglan sleeves are just great because you can see, they have this whole extra amount of room in that part of the garment that just gives you more range of motion. And it also kind of creates a flattering line up at the neck line and highlights the face, and that area of your body. So as you're looking for patterns, another thing to keep in mind is the way the patterns are graded. So patterns are graded in a standardized way. They're usually done, It's usually done on a computer beginning with a sample size. And a lot of the time, they can grow vertically at the same time that they're growing horizontally. So if you're a plus size, you might need more room in the bust or in the waist, or in the midsection, but you don't necessarily need a lot of extra room in height because you might still be the same height as someone that is not a plus size. So the important thing to remember is to choose your pattern for a bodice based on the high bust measurement, and not the full bust measurement. And that's because you want the top of your garment, the shoulders and the neck line to fit you. And if you choose something that's based on a bigger bust measurement, it's possible that it might've grown too much in the neck line. And that's when you see kind of the problem of a sort of saggy neck line that can look really untidy, and it looks like it doesn't fit you. So this is kind of the area that I'm talking about, the area above your bust. So this area right here. Choose the pattern that fits you there. Because it's much easier to make alterations to that part of the garment, to the full bust or the wait of the garment than it is to that part. 'Cause that part of the garment, there's so many more things that you can mess up as you're fitting that will just create more problems than what you started with in the beginning. So it's really simple to make a full bust adjustment. It's just a matter of adding the correct amount where you need it, rather than choosing something that will look floppy, or ill-fitting in the upper body. So the next thing to think about too is whether or not your bra fits. Bras are the foundation of good fit in the bodice. And no matter how great the garment is that you've sewn, it's not going to look right if your bra doesn't fit. Because it can distort the placement of the bust point, and it can just overall look sloppy compared to how great you could look in the good-fitting bra. So when you're thinking about how a bra should fit, the mistake that a lot of women make is choosing a bra that's too big around, and too small in the cups. And that's because, especially for plus sizes, it can be more difficult to find a bra that's bigger than a size DD. And you'd be surprised how many women are bigger than that size and how many women accommodate that problem by buying a size of bra that's way too big around. So they're trying to fit it by buying a size that's too big around. Thus, it doesn't fit in the cups, and it creates a lot of problems, and can also be very uncomfortable. So if you've ever noticed your bra riding up in the back, or digging into your shoulders, that's because the bra is not tight enough around. So in this area of the body around your bust, it should be level. The way that it hits you in the back should be level with the front, so that it creates a nice secure band around you. And doesn't start to try and accommodate by pulling on your shoulders, and distorting the placement of the bust point in the front. So you'll be amazed if you haven't been wearing the right size of bra and you find a right-sized bra just at how much it can improve the overall appearance of your clothes. So you can keep all these things in mind as you're shopping for a bra. Or you can also go and get professionally fitted for a bra because it's totally worth it. And it'll make all of the garments that you sew look way better. The next thing to think about is once you've started to kind of pick some styles that you like, and you're starting with a good foundation by having the correct undergarments is to think about sewing a test garment. So every body is different, and it's okay to just get used to the idea that you're going to need to tweak the pattern because the pattern is based on a standardized size. And there's probably almost no one that doesn't need some little alteration to the pattern. So if you can just get used to the idea of sewing a test garment before you sew in your regular fabric, it will save you a lot of headaches. It will also save your expensive, nice fabric that you wanna sew the final garment in. So when you're sewing a test garment, always use a fabric that's as close as possible to the final garment fabric, so that you can really get a sense of the drape, and the hand, as well as how it fits. So if you're using a knit, make sure that you use some cheaper knit fabric as a muslin to make your working fit garment. You can sew that garment using a basting stitch, and you can also sew it with a bigger seam allowance. So instead of a 5/8 seam allowance, you could add some to make it an inch, so you have a lot of room to play with it, and to test it on your body, and undo the seams as you need to, and make all those little fitting corrections. If you're making a woven garment, again choose a similar woven fabric to what you'll be using in the final garment. One great way to do that is to use a gingham fabric in a woven. Because gingham fabric already has the grainline indicated on it perfectly for you. So you can just see that because the yarns are made in contrasting colors, it's really easy when you sew the test garment to see whether or not the grainline is laying on you correctly. And to tell that, the grainline should always be going in straight lines. So the vertical grainline should always be perpendicular to the floor. The horizontal grainline should always be horizontal to the floor. So that's a great fitting aid as you're going through and trying to see where you should correct things. The gingham fabric will tell you exactly where to make those corrections. So after you've done all of that, after you've tweaked, and you're getting used to the idea of sewing a test garment, and you have an idea of how to fit your body, consider making yourself a set of pattern blocks. And pattern blocks are a very basic pattern to begin with every time that you start a new garment. So if you love T-shirts, you should make yourself a T-shirt block. And you can do that by starting with a commercial pattern, or you can start with your own measurements, and refer to a pattern making book, and learn how to draft the pattern yourself. Or you can always look at something that you have in your closet. If there's a T-shirt that you love the fit of it, just start to evaluate it, and look at the shape of the arm hole. Look at the way that it fits you, and decide what you like about it. And you can actually use that as a reference point for your own block. So you can sew a block for tops, you can sew a block for trousers or skirts. And just remove all the design details, except for the exact shape of the block that will be on your body, so that you can customize it any time you start a new pattern. So you have taken away all of the hard work of getting that main part of the garment to fit, and you've got something fun to start with every time that you can just customize with any design details. So if you have a skirt block, you can always alter the length of it. If you have a basic top block, then you can always put on a different collar, and get to focus on the fun parts like that instead of having to refit it every single time. So when you've made a block, it's a great idea to make it in something really sturdy. So you can use like a sturdy stabilizer to trace your pattern block onto. And that way, since you'll be using it a lot, it won't get tattered like regular pattern paper will. It'll actually hold up through all those different garments that you'll be making. Another idea for that is to, if you're using pattern paper to make your block, you can always fuse a fusible interfacing to the back of the pattern, like we've done here. And that will just make it so that it's virtually impossible to tear it and will hold up over years and years. When you make your blocks, it's also not a bad idea to make a note of the date that you made them, so that you kind of have a reference of maybe in case you have weight fluctuations, just when you made the block for yourself, and possibly if you need to tweak it in any way. So the next thing to talk about are just some little pattern alterations that you can easily make. These are just some common fitting issues that most people, most plus sizes encounter at some point, just because of the way that patterns are made. So the first thing I'm gonna talk about is the crotch length of patterns for usually a skirt or a pair of pants. A lot of the time, they aren't drafted to accommodate a rounder abdomen. So you kind of have to have a better idea of where your own waist is in order to have a reference point for whether or not the pattern will fit you. Because if the crotch length is not long enough, then it will fit too low on your body. It'll pull, it will be uncomfortable, and it won't look flattering. So the thing to keep in mind when you're fitting the crotch depth of pants, is to put a piece of elastic around your waist at the correct point. And the way you find the correct point is by bending. So you have the elastic tied around you, and where it falls naturally is where your natural waist is. So you can always determine how far, or how close you want the garment to actually be to your natural waist. But it's a good idea to have that measurement, so you can compare it to the pattern measurement, and know before you even get started whether or not that garment will fit you. Another thing that's kind of along the same lines is the idea of skirt length. So for skirt patterns, you might have noticed, if you have a rounder backside, or you have a rounder abdomen, it can kind of distort the way that the skirt balances on your body. So you might notice that the skirt hem is pitching up in the back or the front, and no matter what you do, you can't quite get it to sit correctly on your body. So rather than succumbing to the temptation of just hacking it off around the bottom til it looks even, actually just make a simple change to the part of the garment that actually hangs from your body, which is the waistline. So we're going to add to the top of the pattern rather than the bottom because you don't wanna end up with a wavy hem that will never hang correctly. So here's a little example of that. For this one, you can see that I've already just used a little bit of extra pattern paper. And I'm just gonna use that to make a correction. So supposing that you need about a half inch longer at the center back of your skirt, you can just use a clear ruler, and add that little amount to the back. And draw it right onto the extra scrap pattern paper that you have. And then you can use a curved ruler to kind of true that up into the rest of the pattern. So I'm just gonna draw right on there. You find the right part of the ruler that matches the curve. And now you see that we've added some length to the back of the skirt, instead of just trying to cut it off around the bottom and get it right. So once you've done that, the way to measure whether the skirt is hanging correctly, is to actually measure from the floor upward. So you can use a yard stick, or if you have a hem marker, place that on the ground, and then measure from the floor to the lower edge of the skirt all the way around. And you want a consistent measurement for the entire circumference. The next part, the next thing to keep in mind as you're altering patterns for plus sizes is where to add if you need to make an alteration to the waistline. So for example, for a pair of pants, you don't want to add, if you can help it, if you need more width in this direction, it's better not to add it to the center back, or the center front along the crotch curve. And that's because the pattern maker has probably spent a lot of time getting that curve exactly correctly. And we're gonna do everything we possibly can not to distort that because it could start to create other problems in other areas. So if you need to make a small adjustment to the waist measurement, it's better to add it to the side seam instead because it won't distort that area of the pattern. So this doesn't work as well if you need to make a large alteration. But anything less than an inch, you can add to the side seam of a pair of pants. And it'll start to give you some more room all the way around. So you can do kind of the same concept as I did with the skirt alteration. Add a little bit of paper and blend it in to zero along the side seam of the pants. The last thing I'm gonna talk about is what type of fabrics work well for plus size garments. So you can really sew a plus size garment out of anything if it fits well. But there are some fabrics that I think work really well, just for the types of garments that look good on plus-sized bodies. And the first one that I'm gonna talk about is double knit. You're going to wanna look for fabrics that have a nice drape to them but also some structure. So I think double knit is a great combination of those two things because the structure of a double knit looks exactly the same on the front and back. So it's different than a jersey because you can see the little loops on the back of a jersey. On a double knit fabric, it's actually identical on the front and the back. And since it has that doubled structure, it has a little bit more stiffness to it. And this makes it a great option for lots of different garments for plus sizes. So whether it's a dress, actually, the dress I'm wearing is a double knit. But you can also use it for more structured garments, like a jacket or a blazer. And it just gives you a little bit more ease without at the same time looking tailored and structured. And so it'll hold a dart really well. It'll hold a princess seam or a curve seam really well without rippling like a lighter weight jersey would. So there's lots and lots of weights of double knit. And you might have kind of a bad association because double knits used to kind of be made of polyester and really uncomfortable and not breathable. But there are a lot of options to have cotton or other natural fibers or rayon woven or knitted into them that make them way more comfortable, and drape really beautifully. So this is an example of kind of a lighter weight one. But you can find quite a variety now in lots of really beautiful colors. As far as wovens, one choice that I really like is a rayon woven fabric. And these are also really beautiful cut on the bias because they kind of skim the curves of the body without clinging to them. So again, it kind of has the right combination of structure along with drape. So that's a great mixture for a plus-sized garment because the structure kind of flatters the body while the drape kind of compliments it. So that rayon is a great choice for skirts and tops. And then lastly, another fabric I like that's a stiffer fabric with a crisper feel is stretch sateen. So this is a cotton stretch sateen. So it's mostly cotton and it just has a little, little bit of spandex woven into it to give it some stretch. So if you want a fabric that has more structure to it than a knit or a drapey woven, this is a good choice, just because it's comfortable and breathable, while also having a more tailored look. So when you're making a more tailored garment out of something like this, just be really careful about all the placement of the style lines, and the design details like darts and princess seams because they're just gonna be a lot more evident and a lot more necessary to fit them correctly in a more stiff fabric like this. So those are just some great tips to get you started sewing for plus sizes. And hopefully that's inspired you to create your own well-fitting, flattering wardrobe.
Get exclusive premium content! Sign up for a membership now!