How to Sew a Zipper: Helpful Hacks
National Sewing Circle EditorsSewing zippers can be one of the most intimidating, and sometimes frustrating, part of a sewing project.
It always seems like the zipper or top fabric – or both – want to move around.
Here are some tips and tricks that can make sewing zippers a little easier:
1. Pin, Pin, Pin
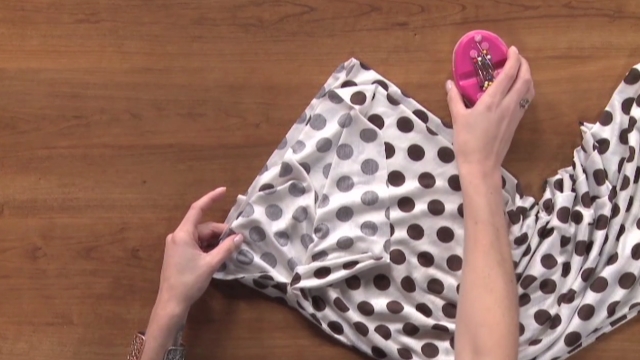
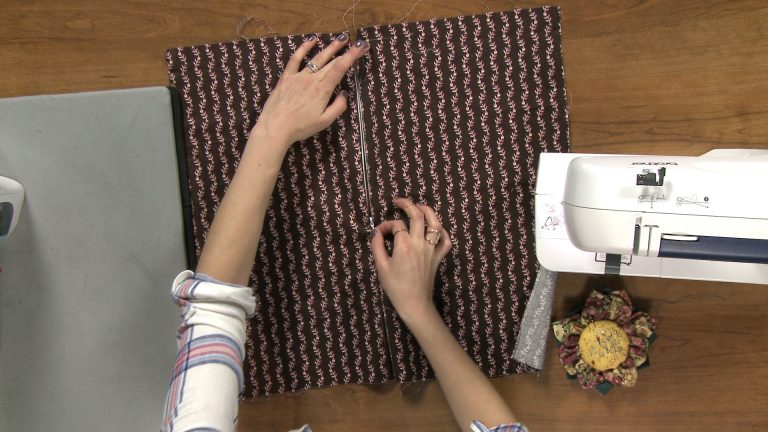
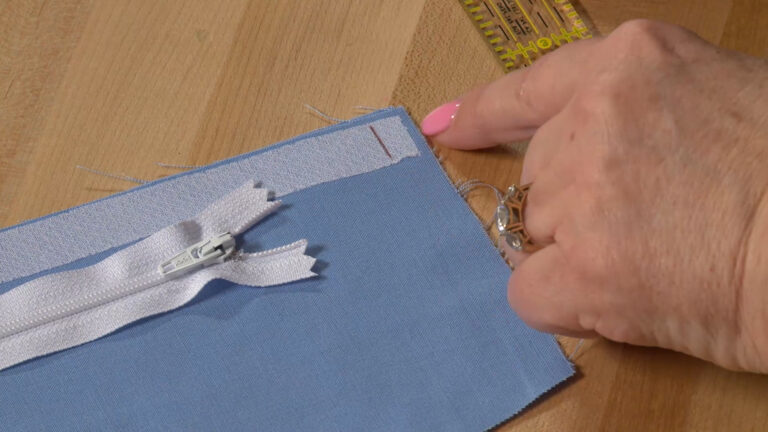
Pin the zipper to just the first layer of fabric, and put pins in every 4 to 5 inches.
Then, lay the other fabric on top as your pattern directs and pin it to the zipper and first fabric. It will look like you’ve over pinned, but that’s okay!
The more you can do to keep the zipper in place, the better.
2. Keep Left!
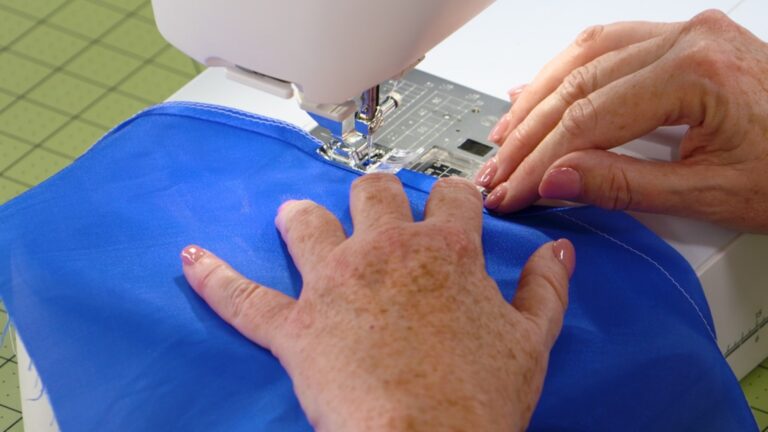
While sewing, keep your fingers on the left side of the zipper. Don’t push though, just keep your fingers there firmly so that the zipper does not slip to the left.
Also, keep your right fingers pressed firmly on the right side of the zipper. Again, this helps it not slip from side to side.
3. Have Good Pin Karma?
If you have good pin karma, don’t remove the pins while sewing! Just sew right over them, and then take them out when you are done.
If you do not have good pin karma, try putting in your pins horizontally instead of vertically so that they’re parallel to the edge of the fabric. Just make sure that the pinhead will be facing you as you sew so that they are easy to pull out.
4. Go slow. No Rush Here!
Unless you are in a speed sewing contest, there’s no need to rush when sewing zippers. Going slower will allow you to watch what is happening and stop if things get wonky.
5. Utilize Basting Tape
Basting tape is always a great option for really pesky zippers that just don’t want to stay put.
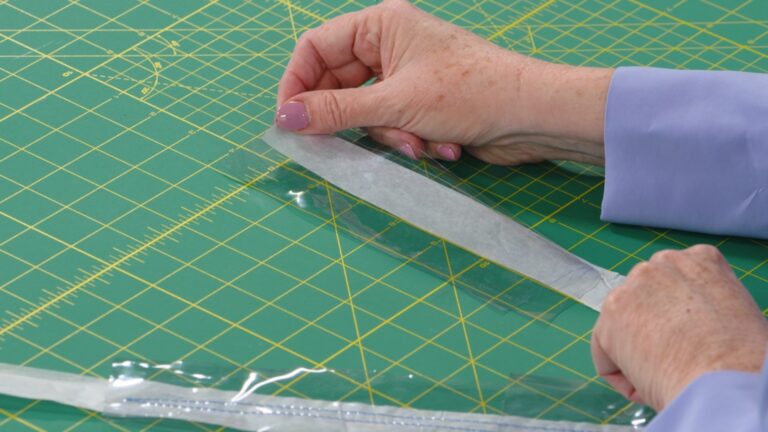
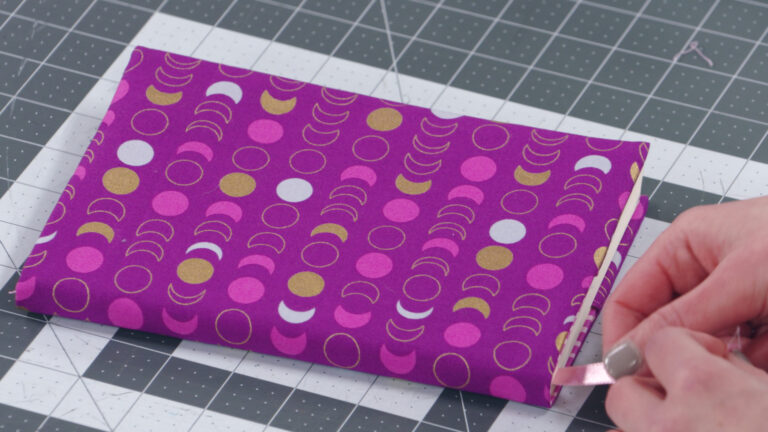
Basting tape is a thin, double-sided tape that you put on the zipper tape or fabric first. Then, you remove the paper backing from the other side of the tape and place the zipper where you’d like it.
6. Firmly Press
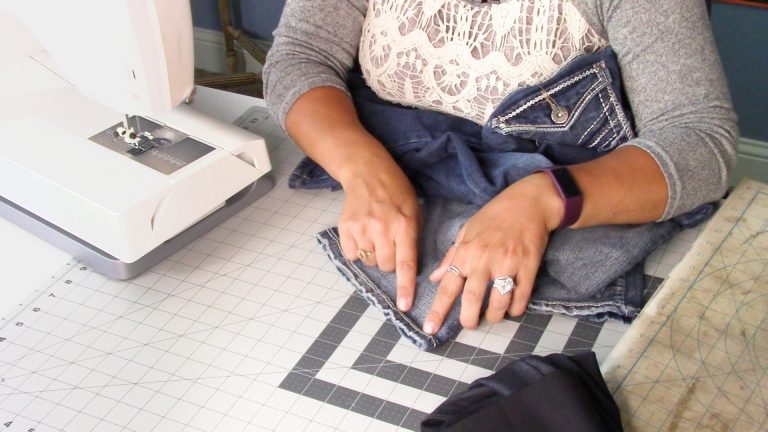
Once you have the zipper placed, press it firmly with your fingers.
Do the same thing with the other layer of fabric so that your zipper is sandwiched however your pattern directs. No pins needed, your zipper will not budge, and you will not have bubbles!
That’s It!
So whether you decide to jump right off the zipper cliff and start tackling projects that include tons of zippers, or you just go out and buy a bunch of zippers on sale to use for practice, the best way to get better at this intimidating skill is to start playing with the tricks listed above and practice, practice, practice. You’ll soon realize there is no need to be afraid – you can do it!
Related Videos:
- How to Install a Zipper
- How to Shorten a Zipper
- Sewing a Lapped Zipper
- Sewing Zippers: Zipper Projects and Fun Ideas
- How to Sew a Zippered Pouch
Get in touch! Leave a comment or email editor@nationalsewingcircle.com
Share tips, start a discussion or ask one of our experts or other students a question.
Already a member? Sign in
One Response to “How to Sew a Zipper: Helpful Hacks”
Explore videos by National Sewing Circle Editors
You may be interested in
Premium Membership
Unlock exclusive member content from our industry experts.
- 24/7 Access to Premium Sewing Videos, Projects, and Tips
- Step-by-Step Instructional Demos, Patterns, and Tutorials
- 50% Off Video Downloads Purchased in the National Sewing Circle Shop
- Access to Ask the Expert Program
Unlock exclusive member content from our industry experts.
- 24/7 Access to Premium Sewing Videos, Projects, and Tips
- Step-by-Step Instructional Demos, Patterns, and Tutorials
- 2 Full-Length Video Downloads to Watch Offline
- 50% Off Video Downloads Purchased in the National Sewing Circle Shop
- Access to Ask the Expert Program
Gold Membership
$362 Value
Get everything included in Premium plus exclusive Gold Membership benefits.
- 24/7 Access to Premium Sewing Videos, Projects, and Tips
- Step-by-Step Instructional Demos, Patterns, and Tutorials
- 8 Full-Length Video Downloads to Watch Offline
- 3 Full-Length Quilting Classes to Keep for Life
- 6 Printable Sewing Guides and Patterns
- Discounts on Purchase-to-Own Content in the National Quilters Circle Shop:
- Access to Ask the Expert Program
- Exclusive GOLD LIVE Streaming Events















your an angel, thank you so much, 40 years of sewing and i have struggled with zippers, that is the easiest way i have ever put in a zipper. Many Thanks my dear.