Using Bias Tape for a Professional Finish
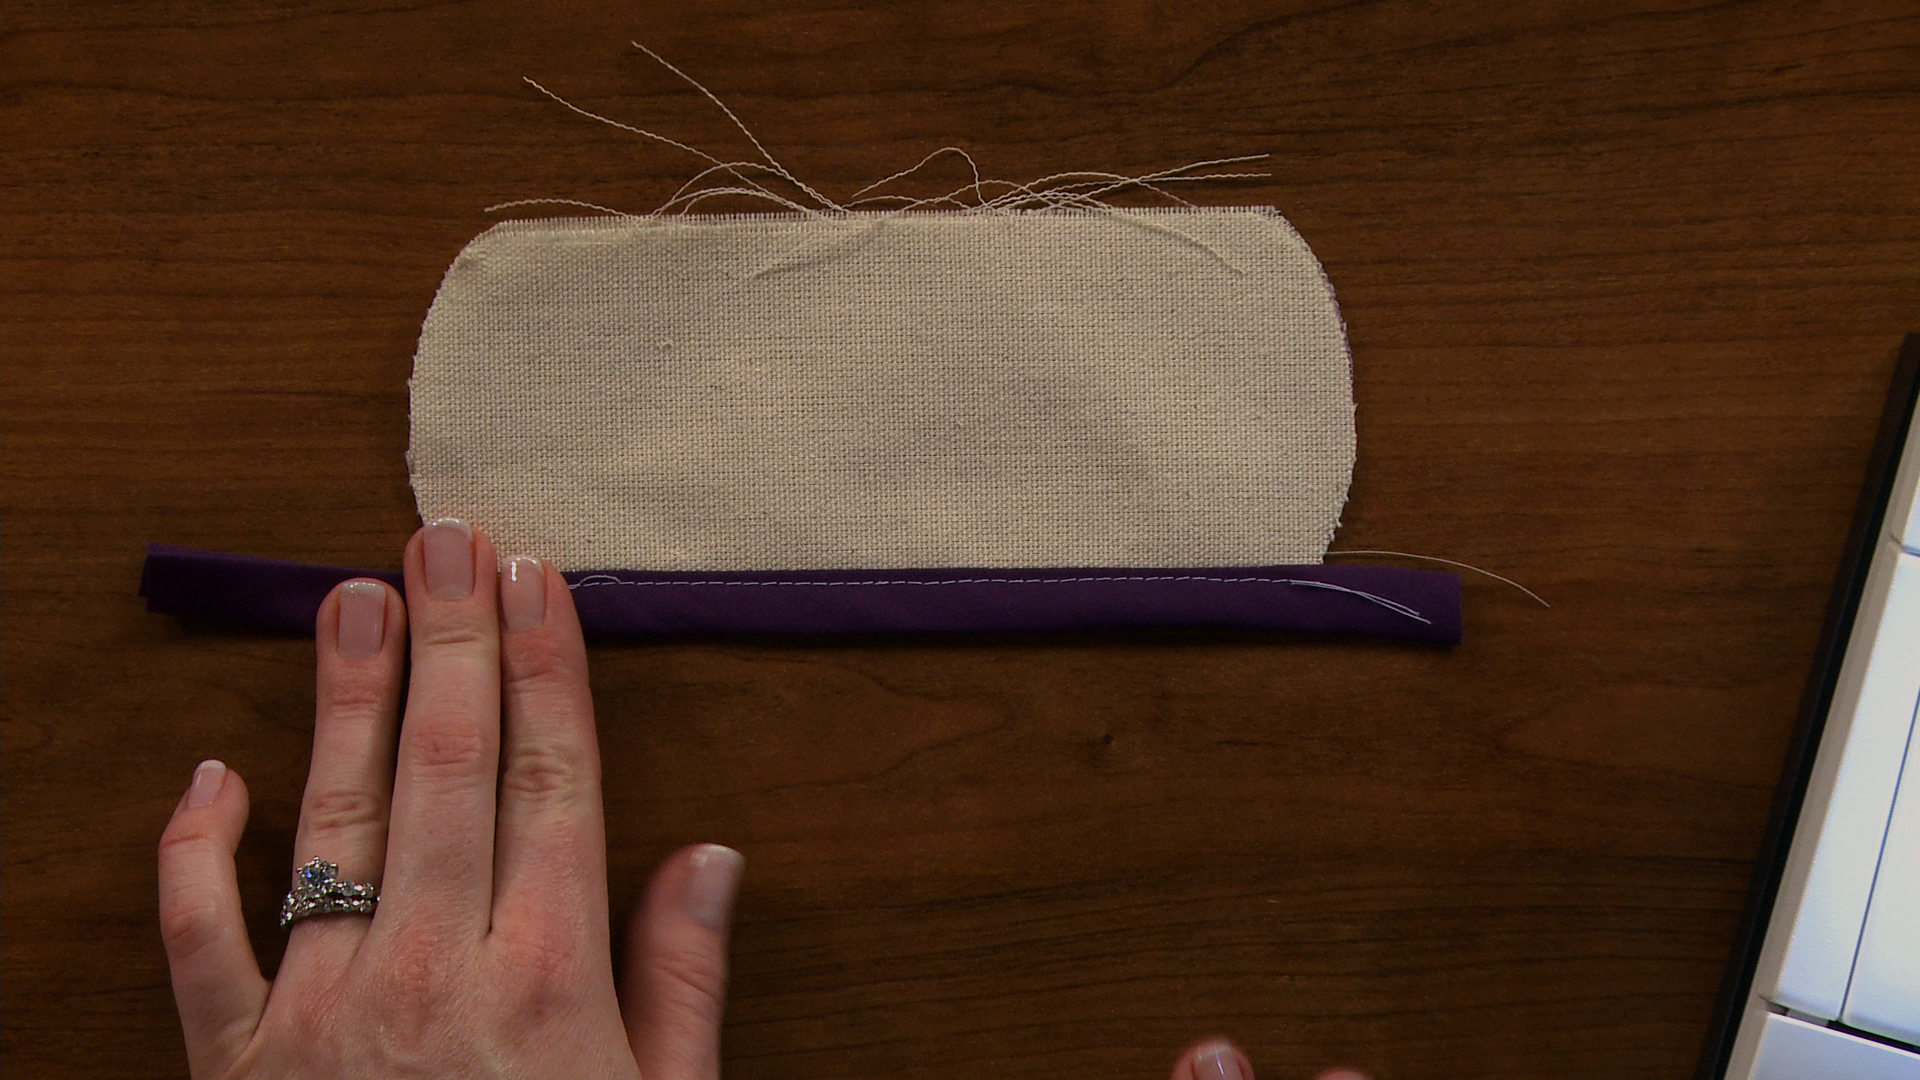
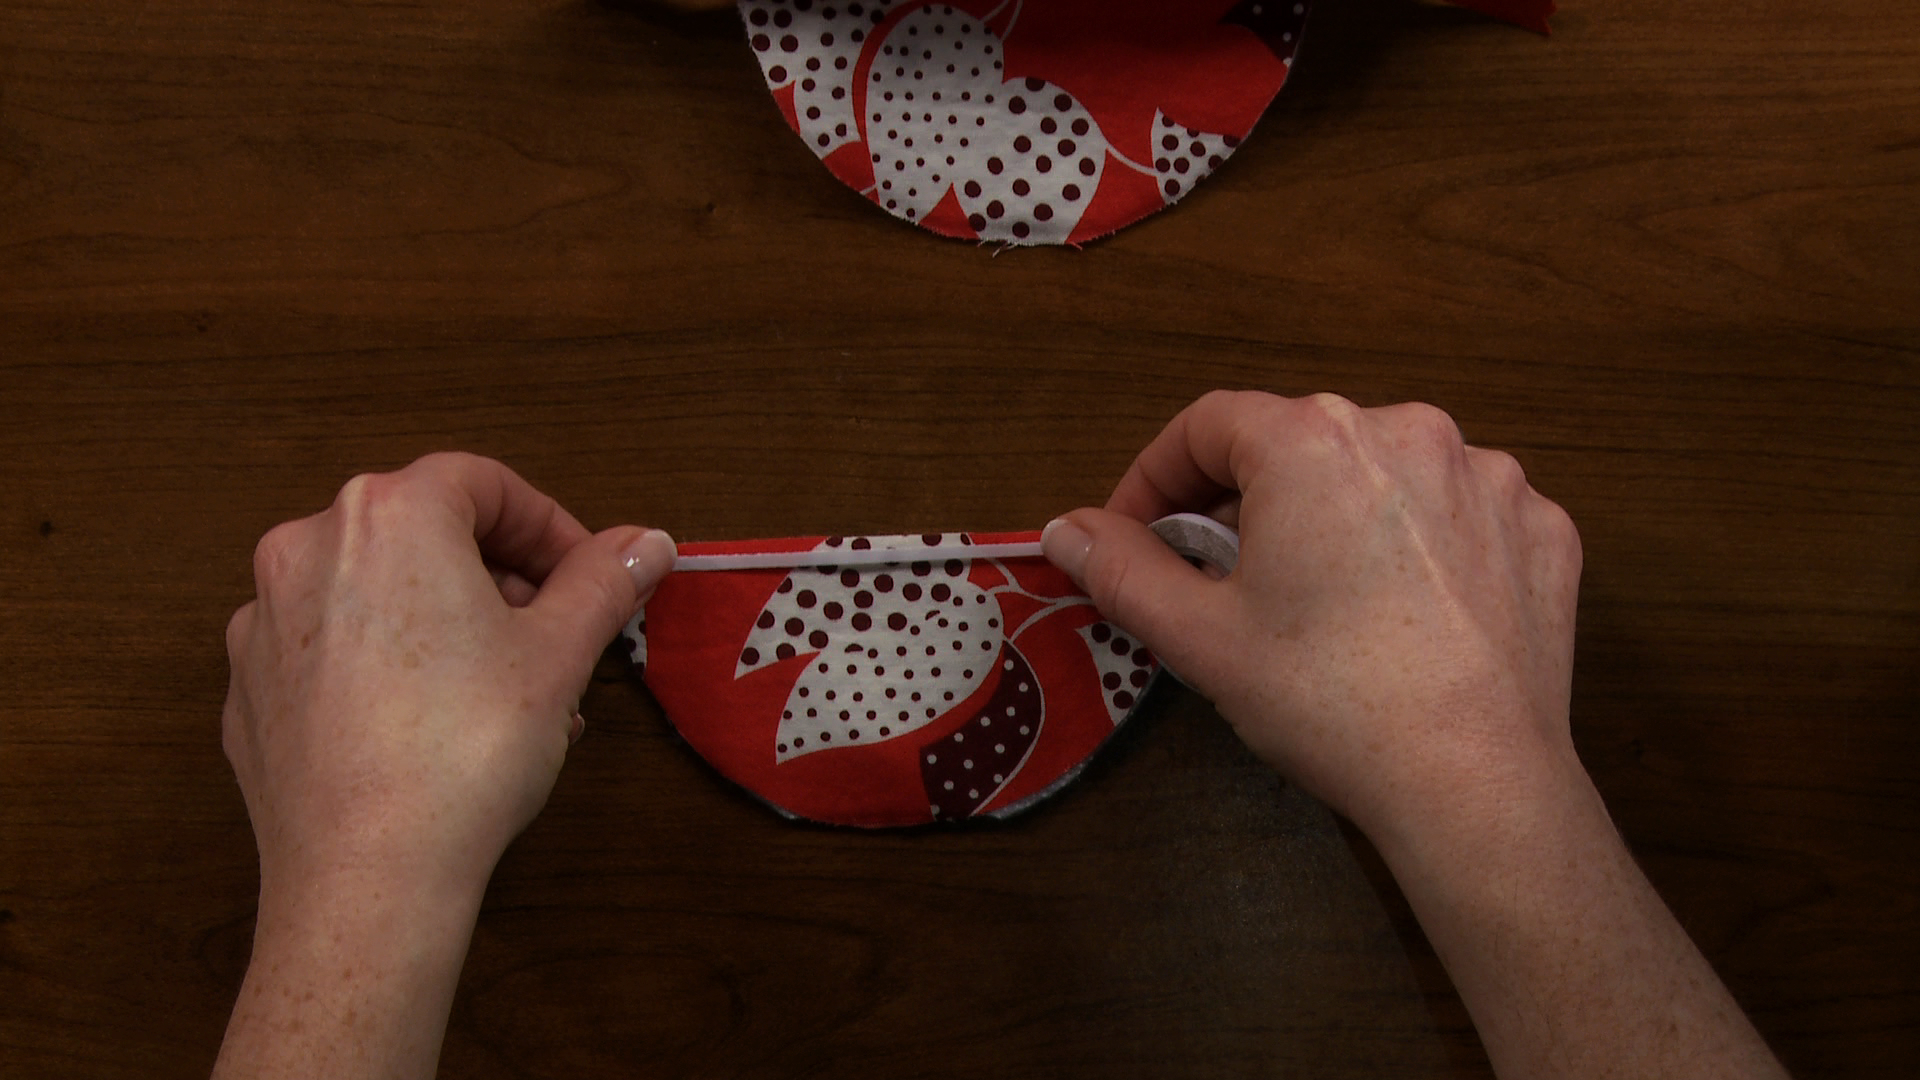
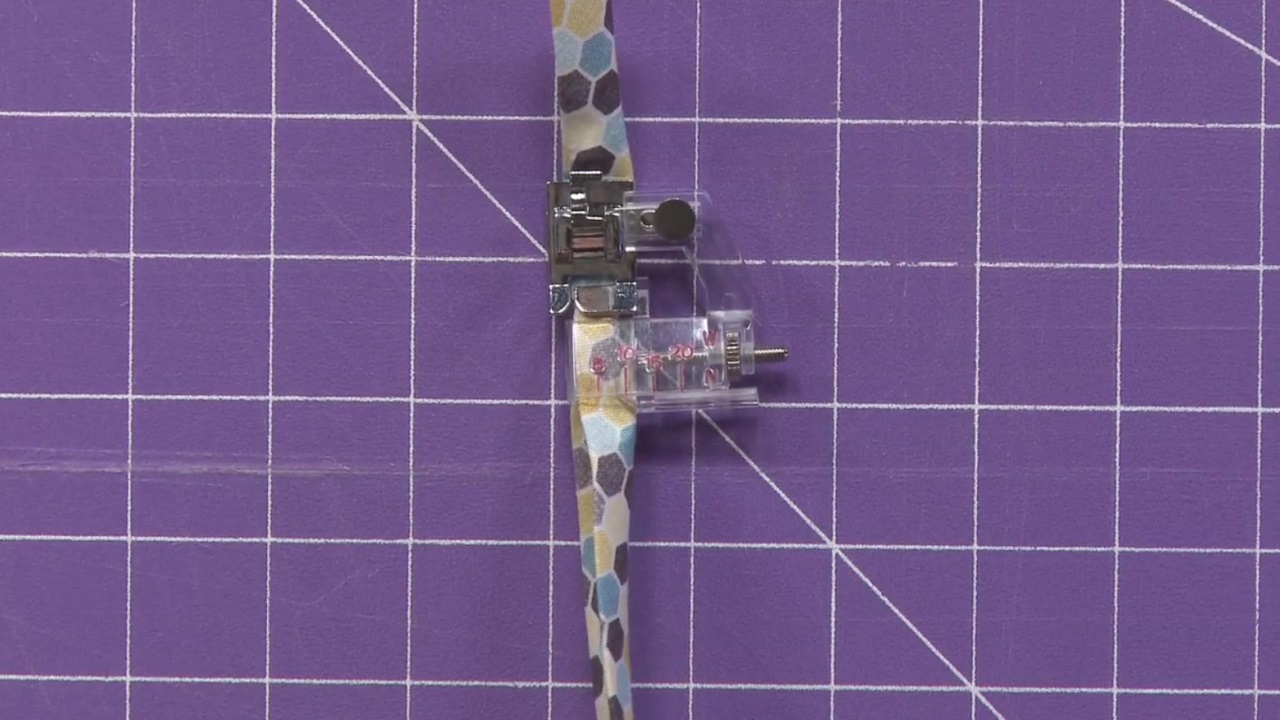
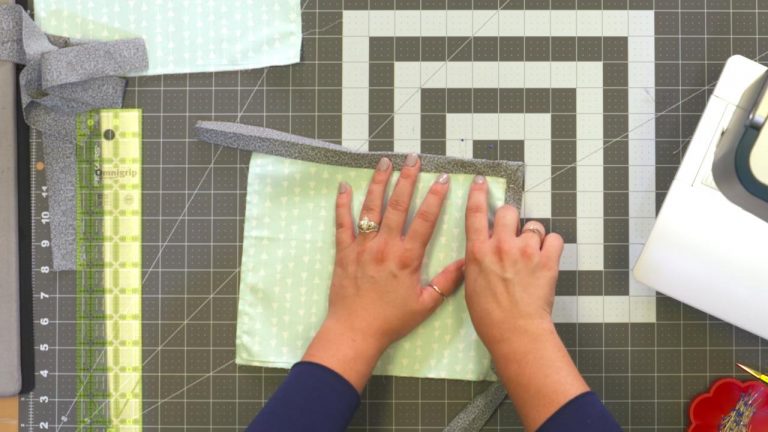
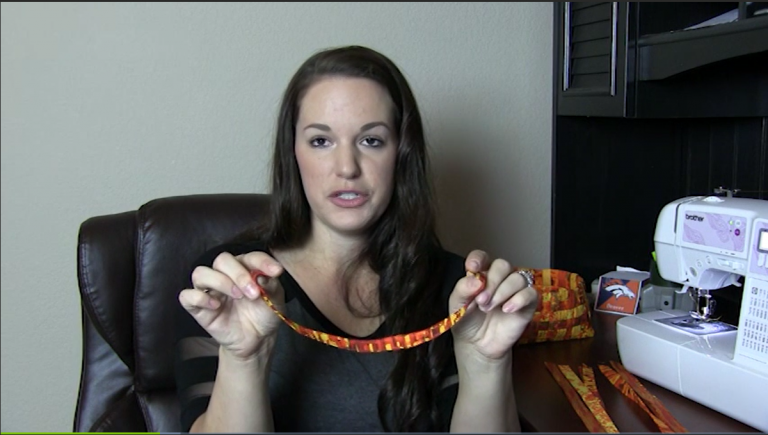
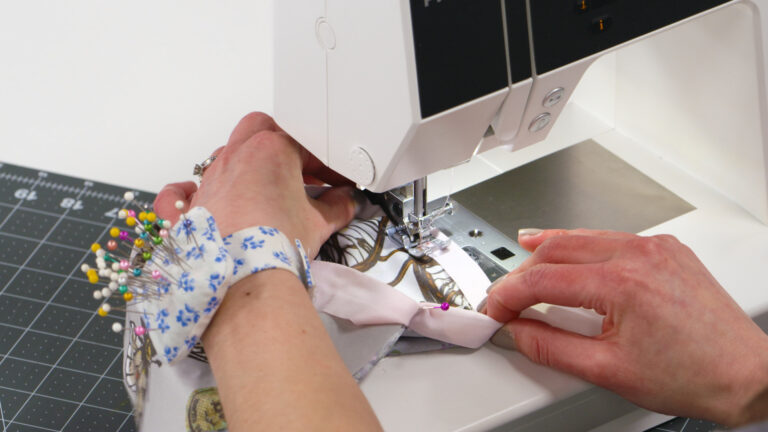
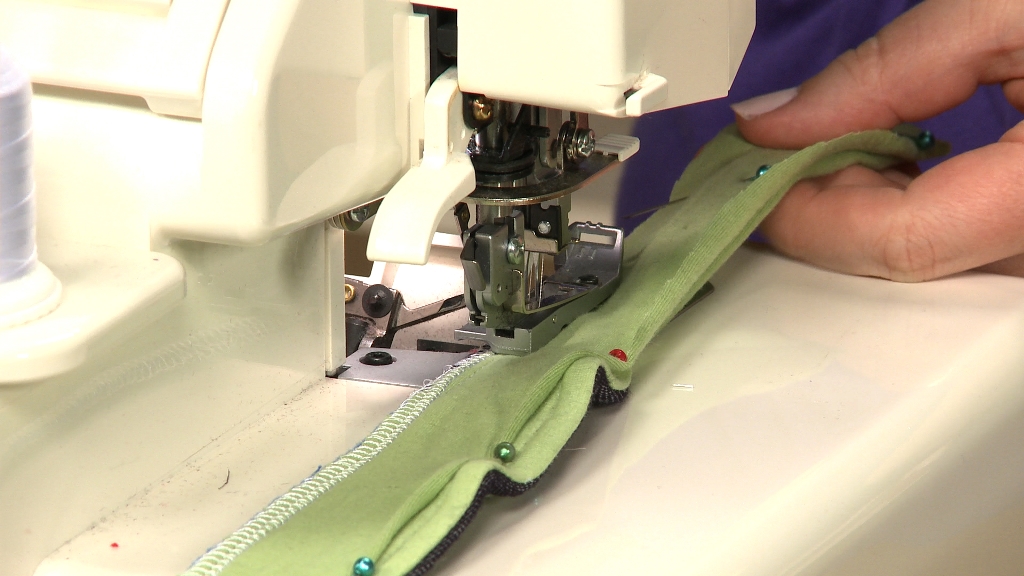
Stacy GrissomUsing bias tape is a great way to finish off the edge of a project on anything from clothes to quilts. However it can be easy to miss an edge of the tape while stitching because it is a narrow strip of fabric and you can’t see both sides while stitching. Stacy Grissom shows you a great technique to use to ensure that both side of the bias tape are secured to the fabric every time.
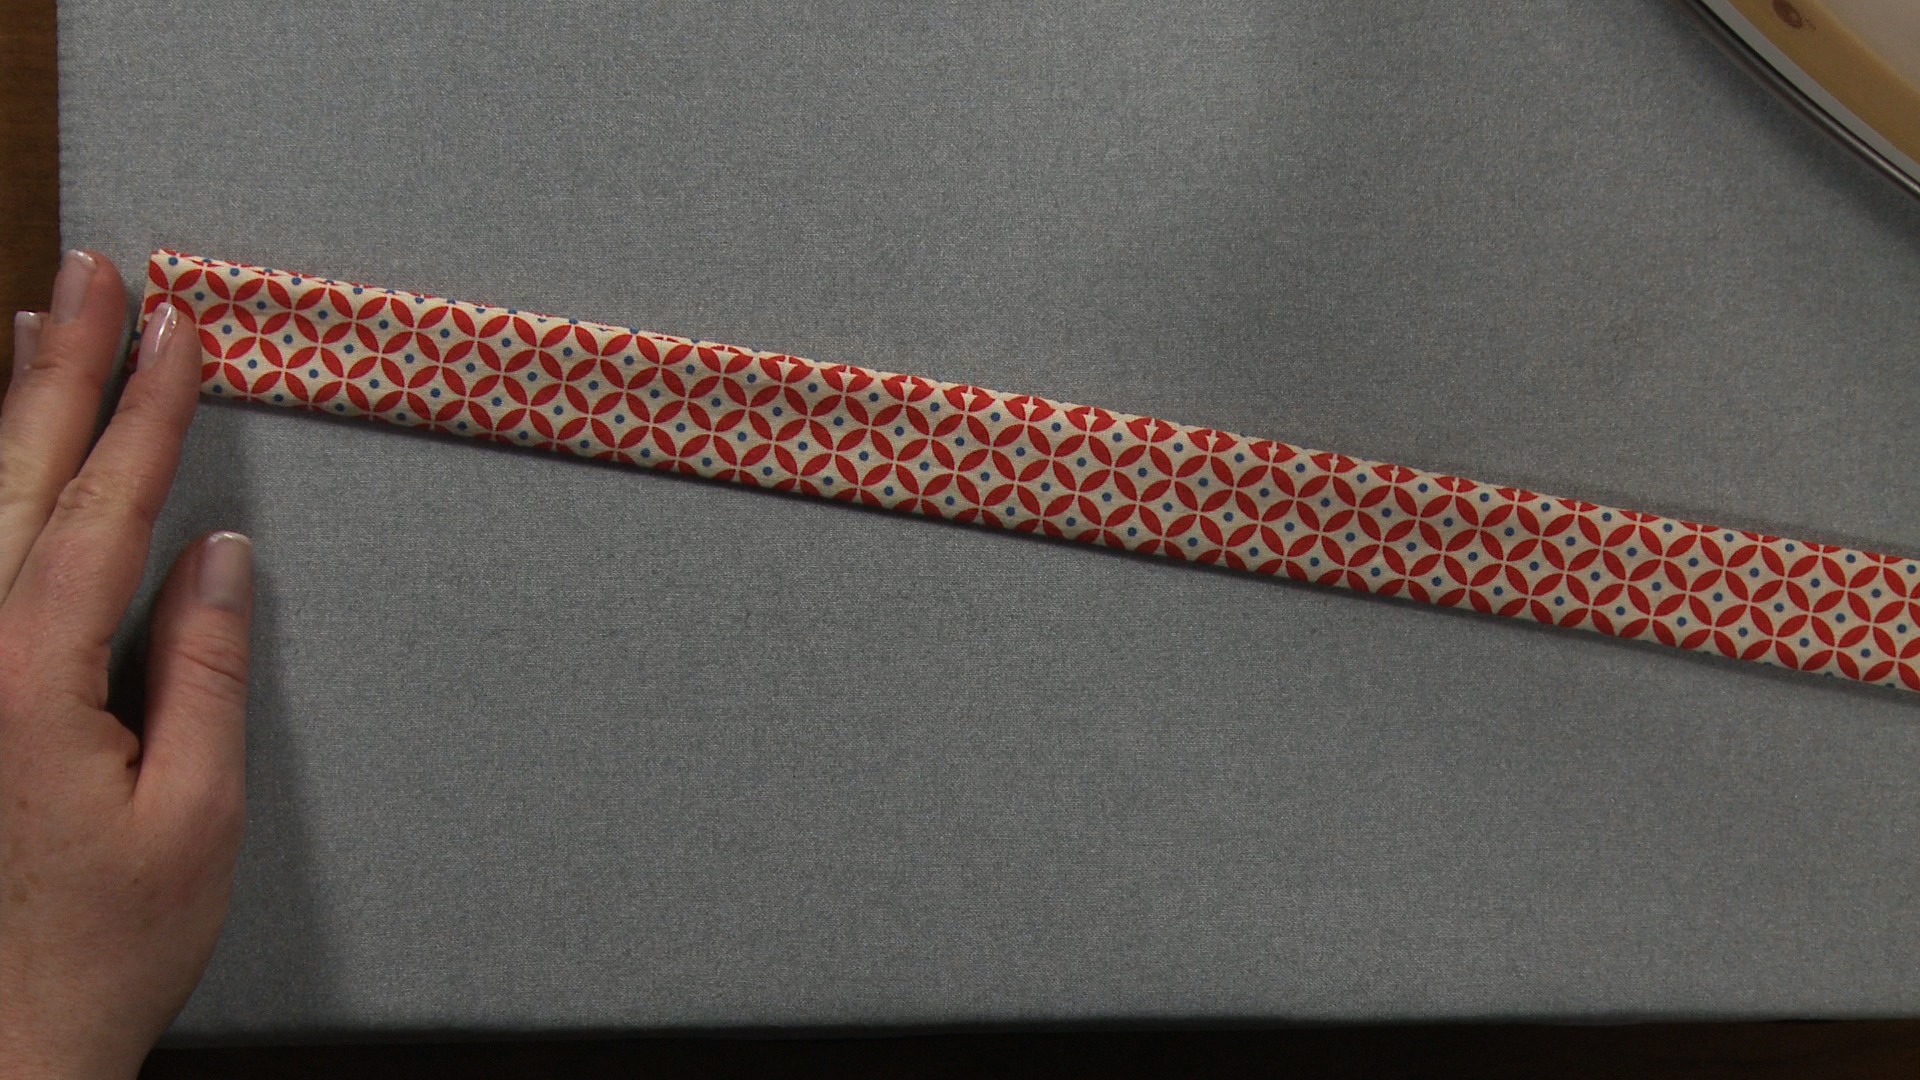
Double Fold Bias Tape
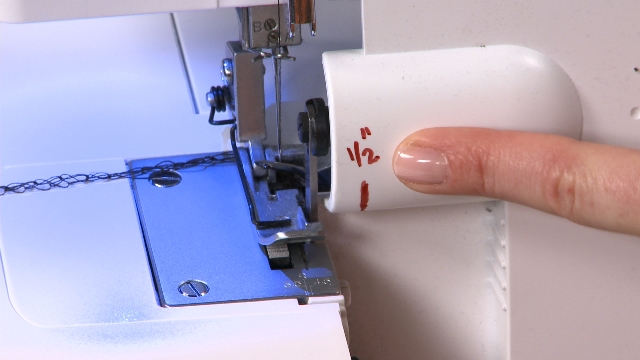
Another tip to help ensure both sides are caught in the stitching when using bias tape, whether using the technique shown in this video or another method, is to first look at the bias tape and determine which way it should be placed on the fabric. One side of the bias tape will be slightly longer than the other. Place the longer side of the bias tape on the wrong side, or under side of your fabric before stitching. This will give you a slightly wider margin of error for catching the other side of the bias tape in the seam. Most commercial double fold bias tapes will already be made this way, and it might also be something you want to do if you make your own bias tape.
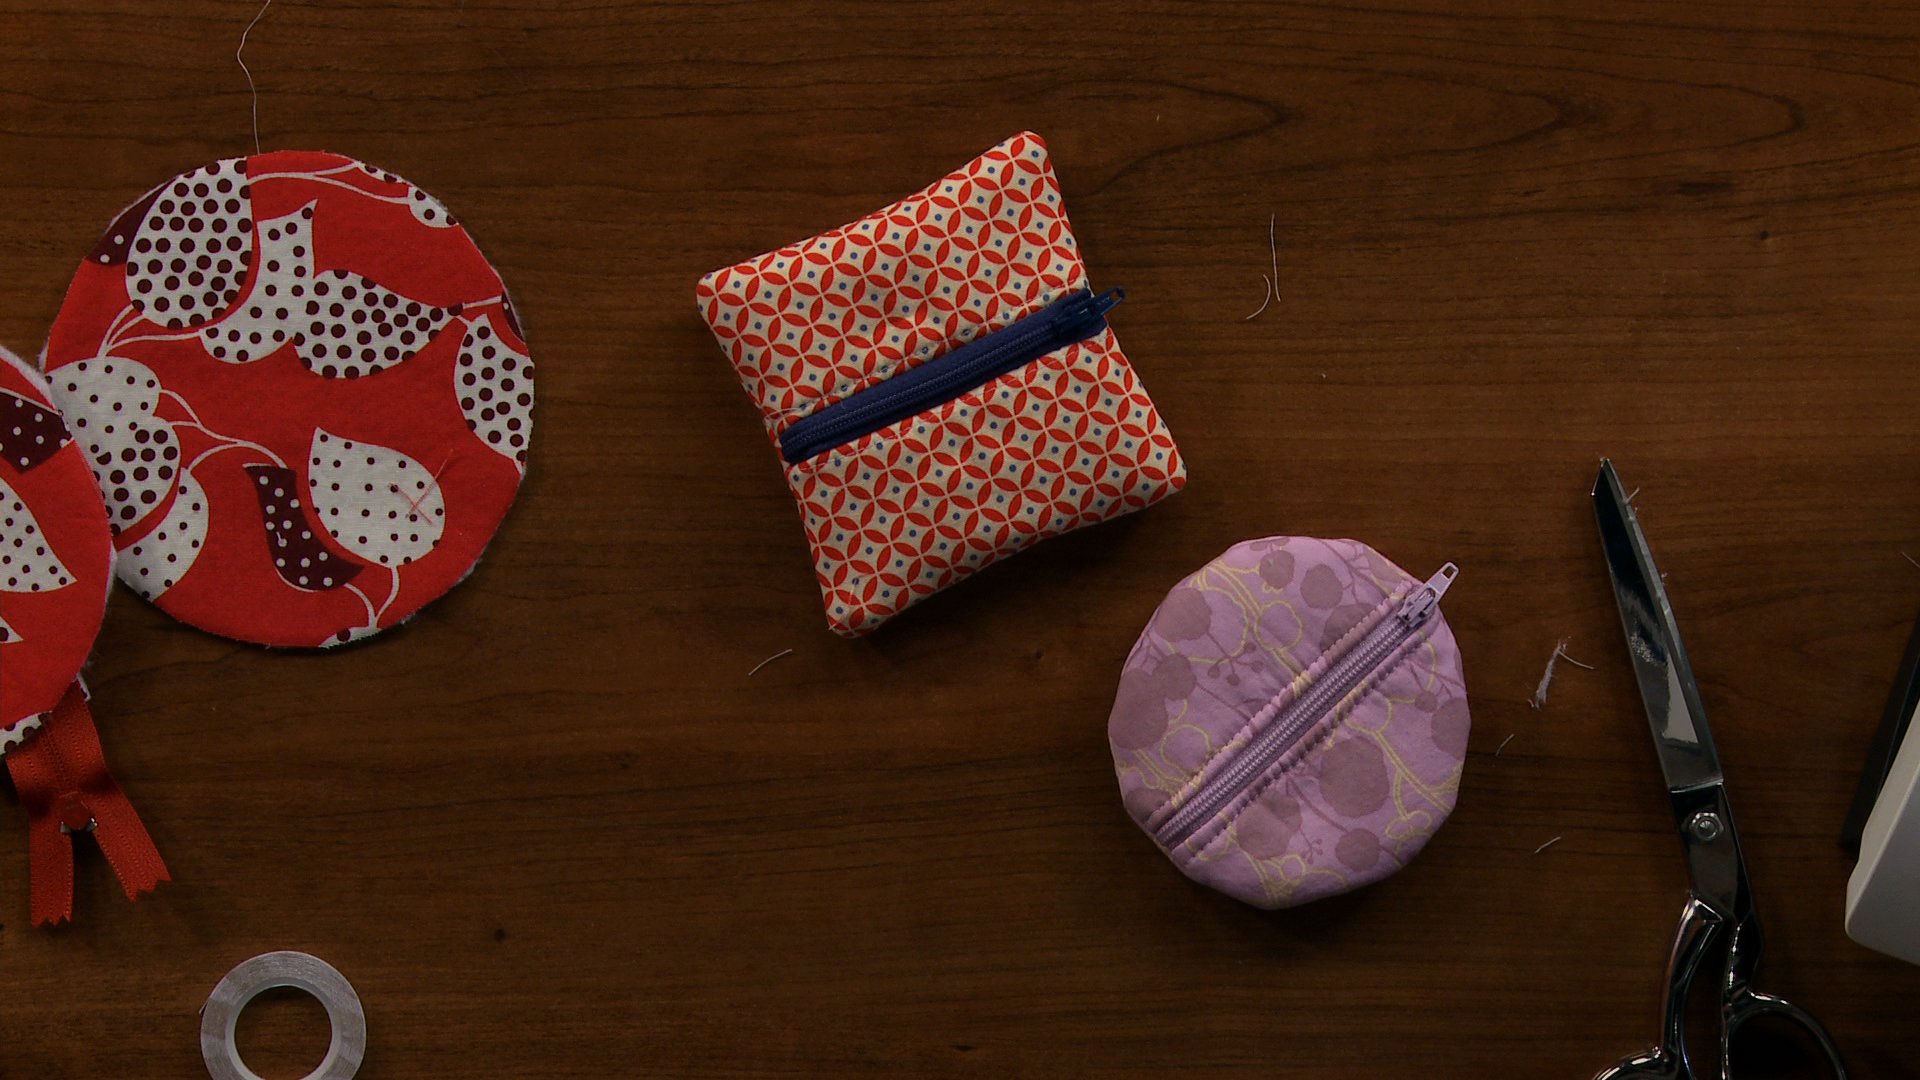
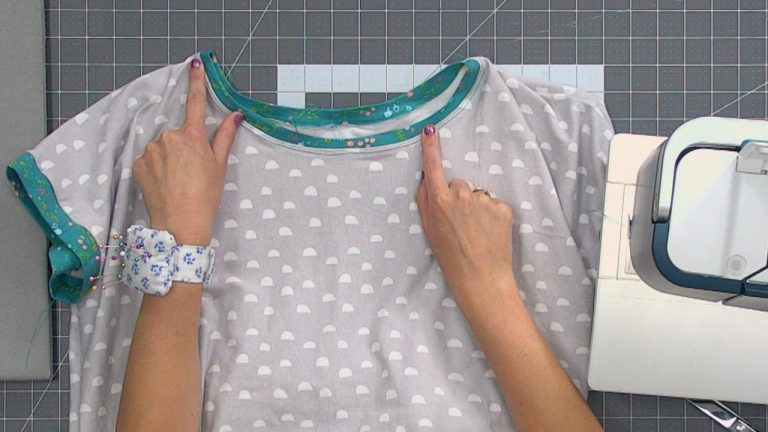
Single Fold Bias Tape
The method shown in this video for bias tape with a double fold is similar to using bias tape with a single fold. The only difference is that there isn’t a fold in the bias tape to stitch along, and a narrow seam allowance from the edge is needed instead. Single fold bias tape is narrower that double fold once attached to your project and has a more subtle look.
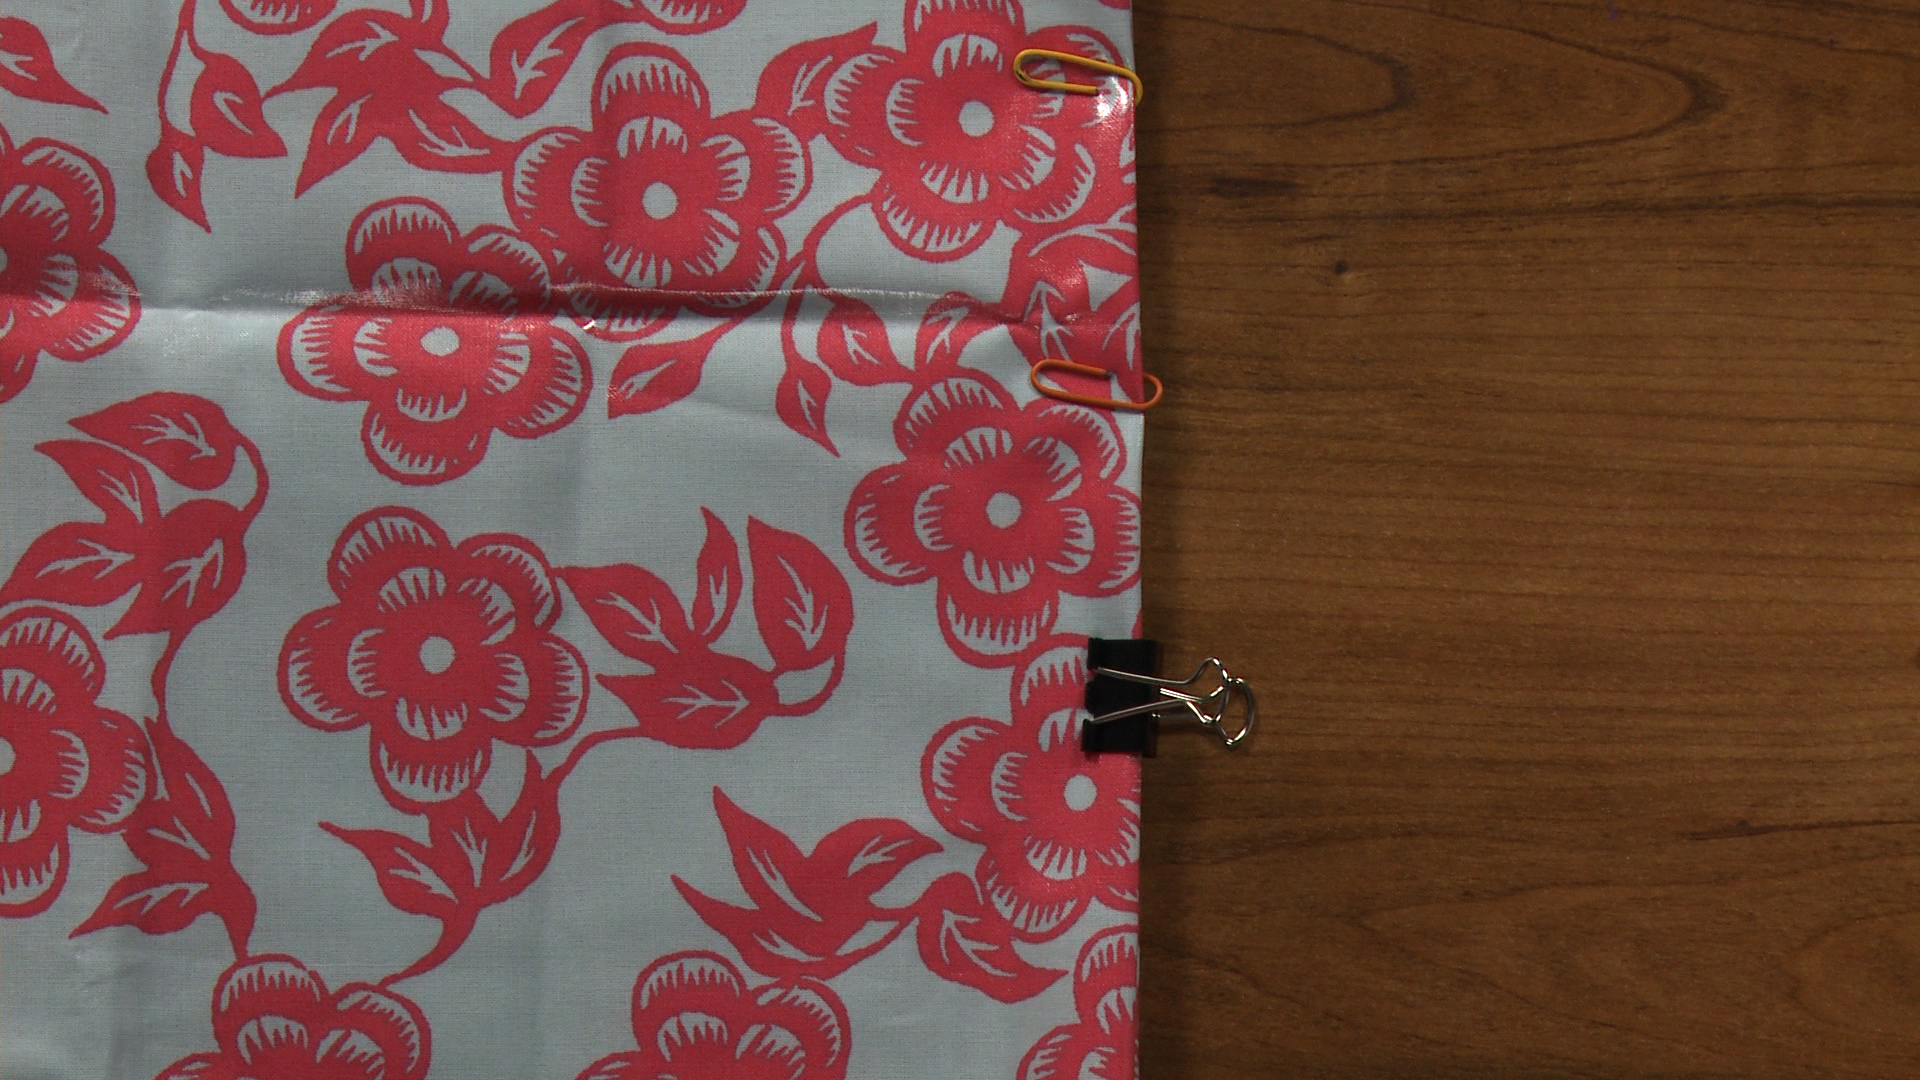
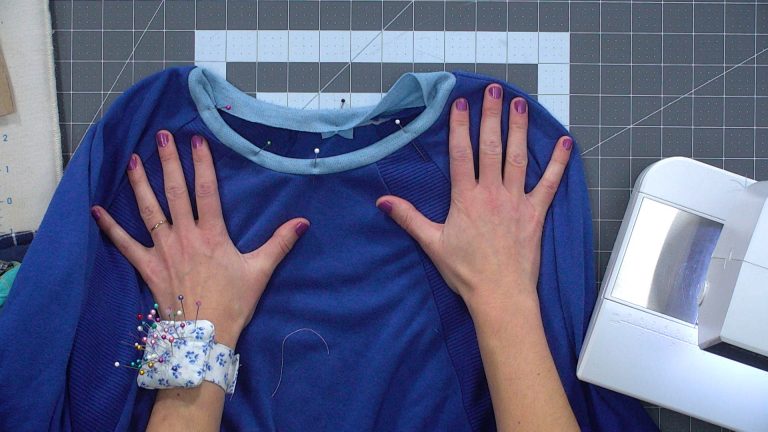
Professional Finish
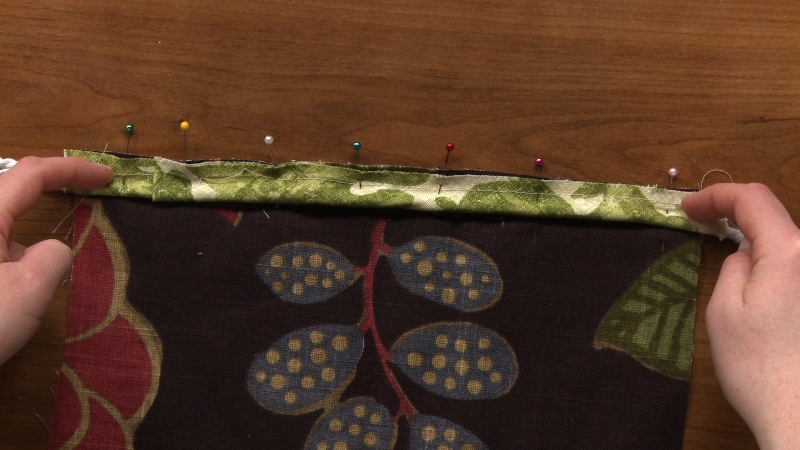
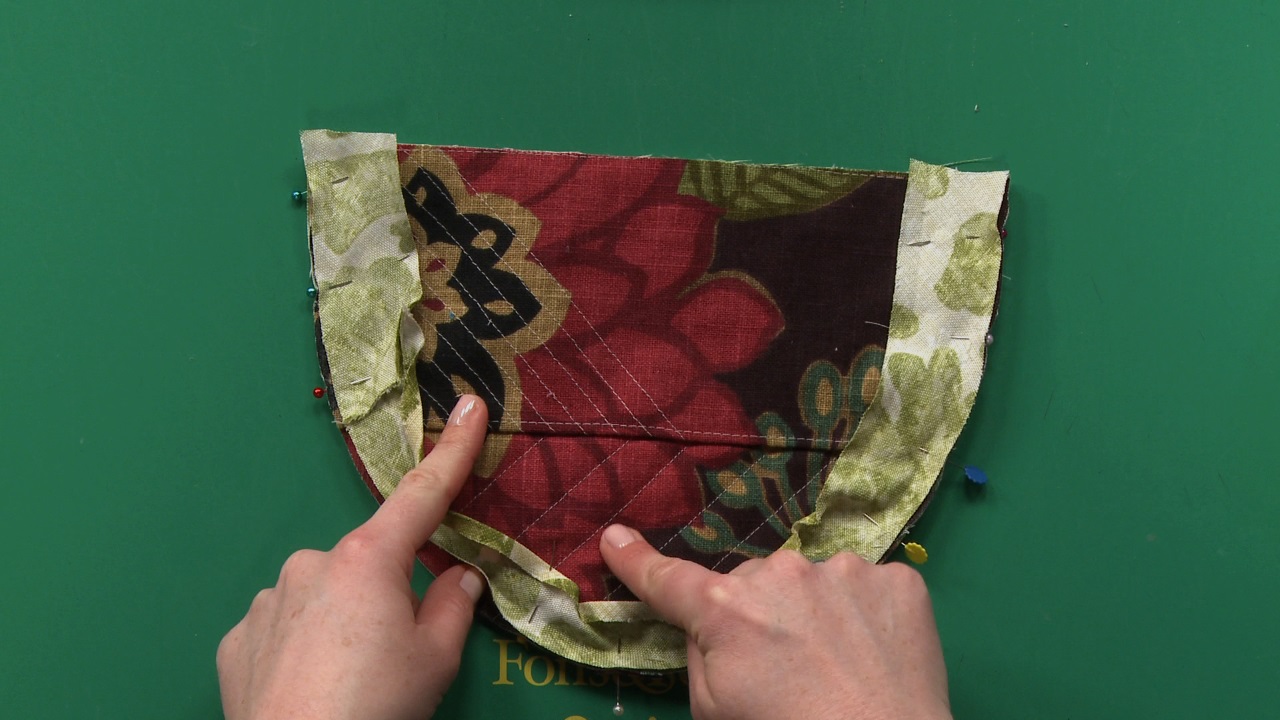
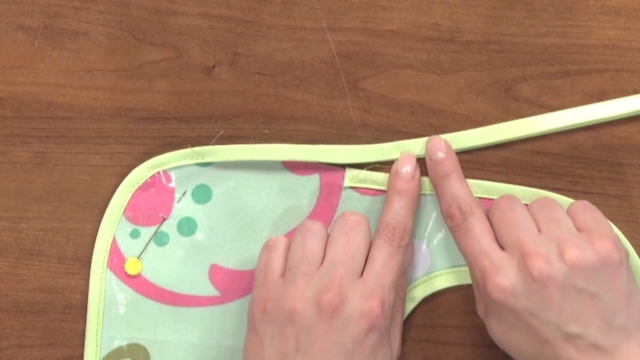
The technique Stacy uses for attaching the bias tape to a project can also be combined with some hand stitching for a very professional finish. Stitch the first side of the bias tape to the project as shown in the video, then fold the tape over the project edge, pin in place and hand stitch using a blind stitch so the threads are not seen. This is a technique used when binding quilts that can also give a nice finished look to other projects as well.
Share tips, start a discussion or ask one of our experts or other students a question.
Already a member? Sign in
4 Responses to “Using Bias Tape for a Professional Finish”
Explore videos by Stacy Grissom

You may be interested in


Premium Membership
Unlock exclusive member content from our industry experts.
- 24/7 Access to Premium Sewing Videos, Projects, and Tips
- Step-by-Step Instructional Demos, Patterns, and Tutorials
- 50% Off Video Downloads Purchased in the National Sewing Circle Shop
- Access to Ask the Expert Program
Unlock exclusive member content from our industry experts.
- 24/7 Access to Premium Sewing Videos, Projects, and Tips
- Step-by-Step Instructional Demos, Patterns, and Tutorials
- 2 Full-Length Video Downloads to Watch Offline
- 50% Off Video Downloads Purchased in the National Sewing Circle Shop
- Access to Ask the Expert Program
Gold Membership
$362 Value
Get everything included in Premium plus exclusive Gold Membership benefits.
- 24/7 Access to Premium Sewing Videos, Projects, and Tips
- Step-by-Step Instructional Demos, Patterns, and Tutorials
- 8 Full-Length Video Downloads to Watch Offline
- 3 Full-Length Quilting Classes to Keep for Life
- 6 Printable Sewing Guides and Patterns
- Discounts on Purchase-to-Own Content in the National Quilters Circle Shop:
- Access to Ask the Expert Program
- Exclusive GOLD LIVE Streaming Events
Is it a sanitary napkin ?
She should have mentioned if she was sewing from the front or back on the last step...or written top and back on the sample
Thank you! I didn't know that one part of the bias tape was wider than the other! Also how do I finish neatly if I use bias binding on the hem of a doll dress. The bias binding is going around the hem but I have difficulty finishing it neatly. This would be very hepful to me. Thank you in advance.
Anyone can sew it along a straight edge- what about fitting it around the curves/