How to Sew Piping
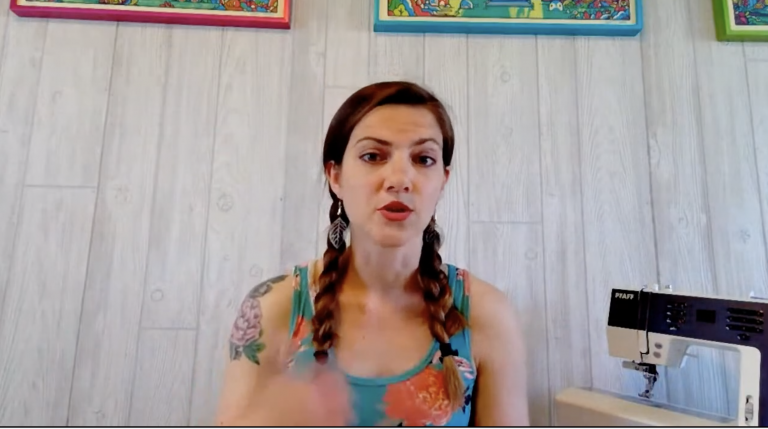
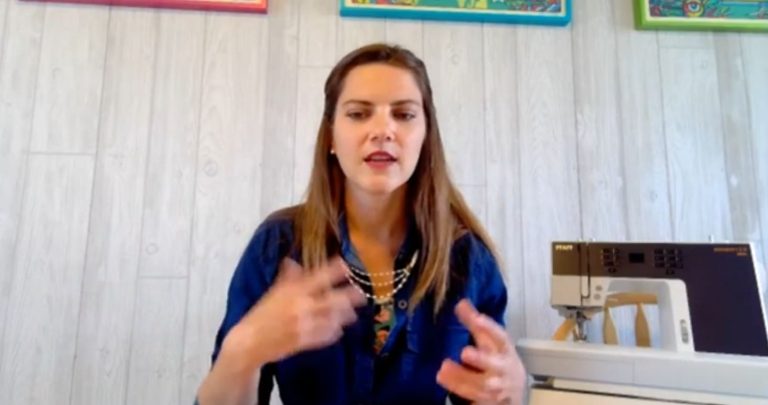
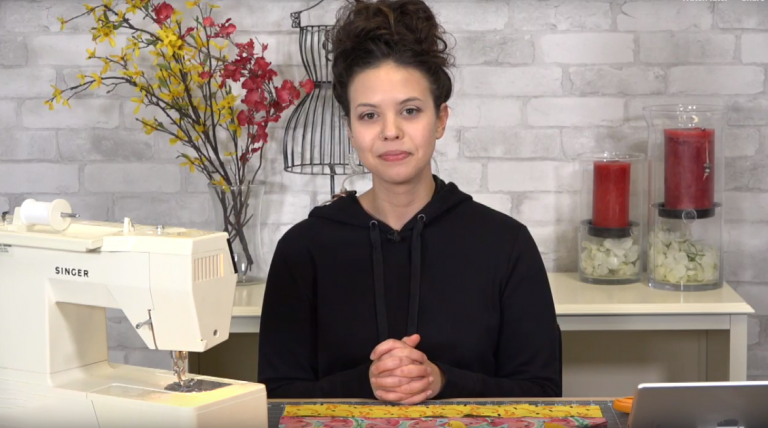
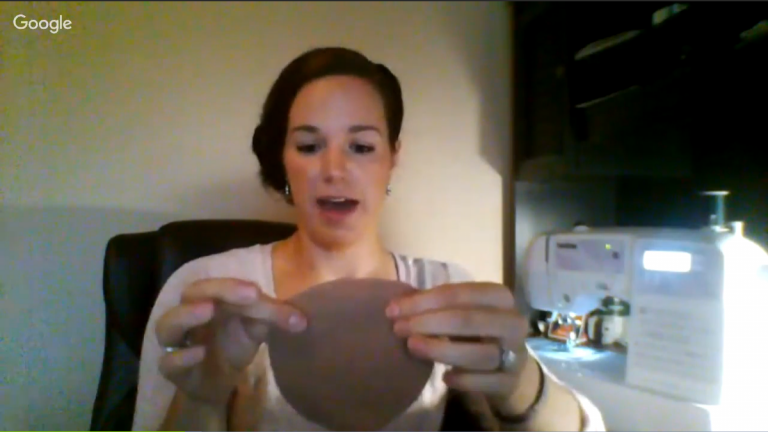
Ashley HoughAdding piping into a garment or home decor project can give a more decorative, professional finish. Ashley Hough shows you how to sew piping along straight edges, curved edges, corners as well as shows how to join the ends of piping.
Piping
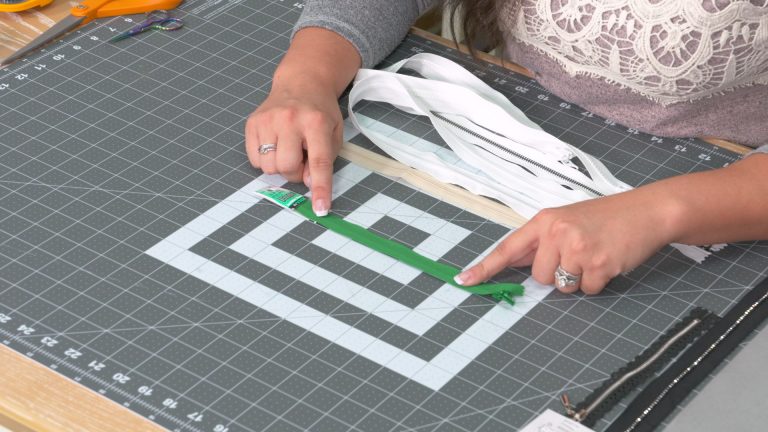
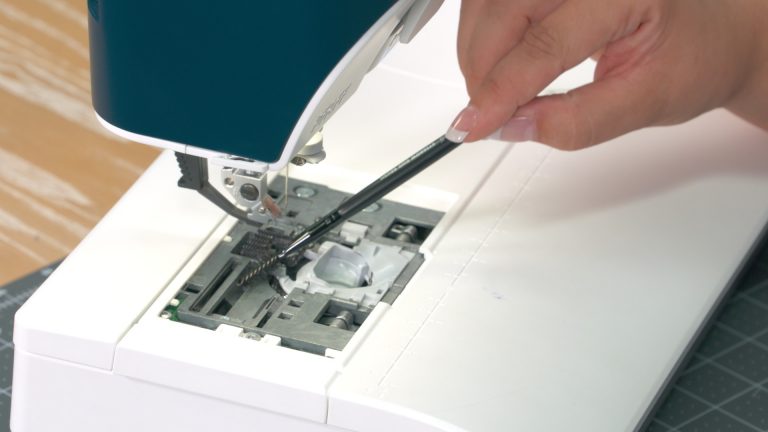
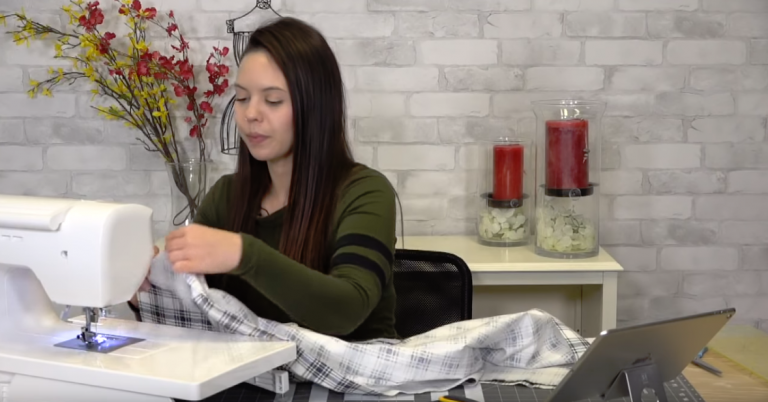
Before she shows how to sew piping, Ashley explains some of the different types of presser feet that can be used to make sewing it easier. While there are several specialty presser feet available, Ashley explains how you can use a zipper foot to sew piping- which is a foot that comes with most machines.
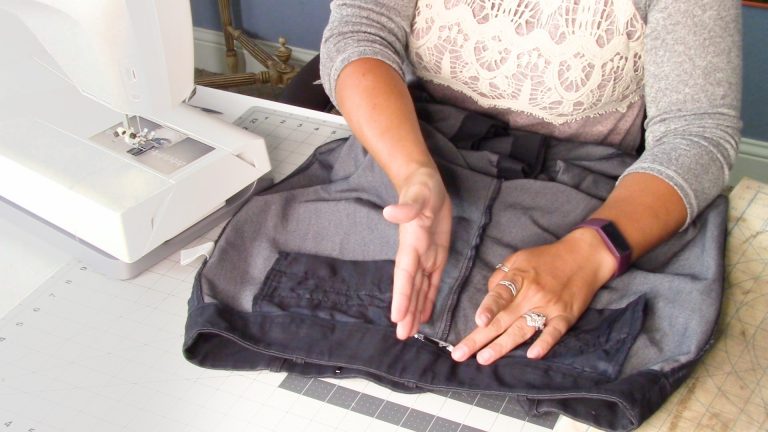
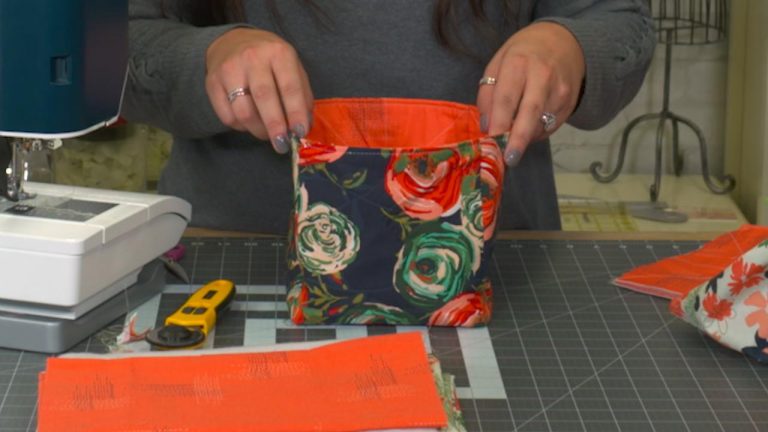
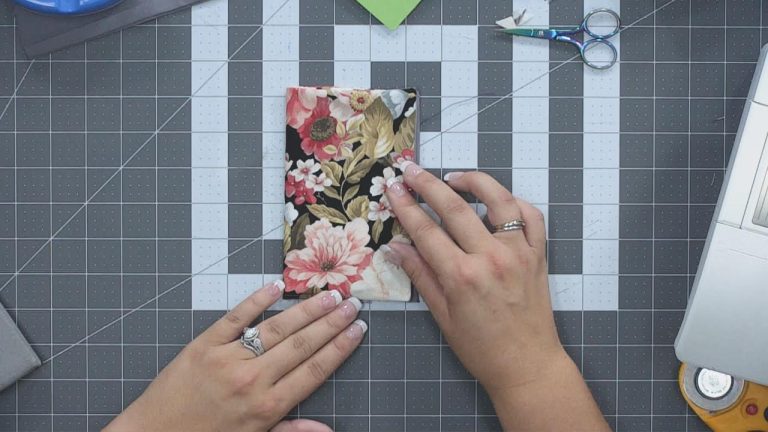
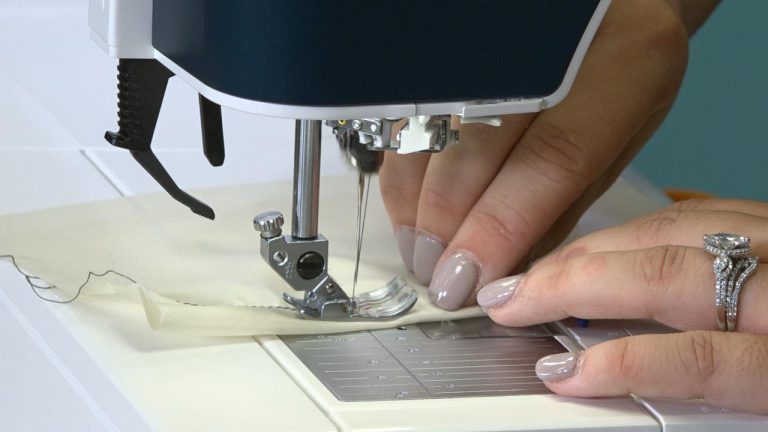
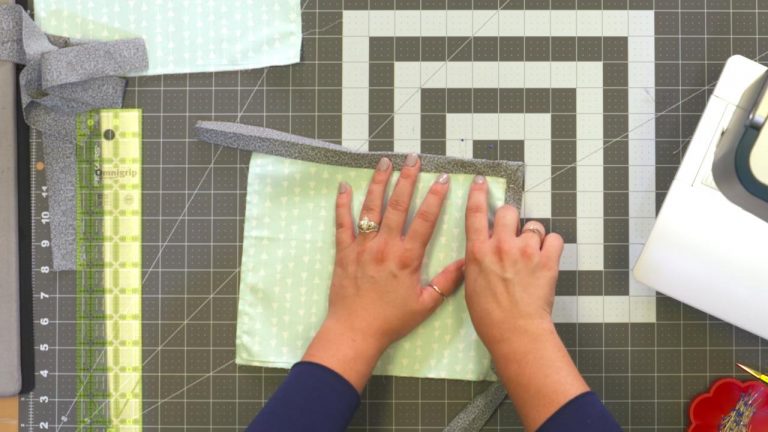
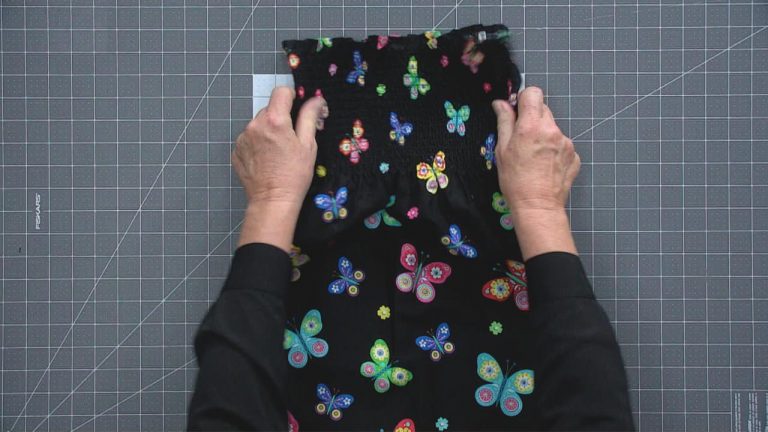
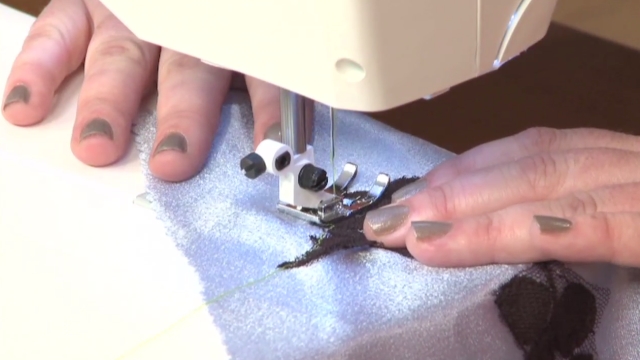
Ashley first shows how to sew piping to one layer of fabric, essentially basting it in place. She then shows how to sandwich two layers of fabric together with the piping in between and stitch the layers as close to the edge of the piping as possible. She gives several tips on where to position your stitches and how to ensure they stay along the edge of the piping.
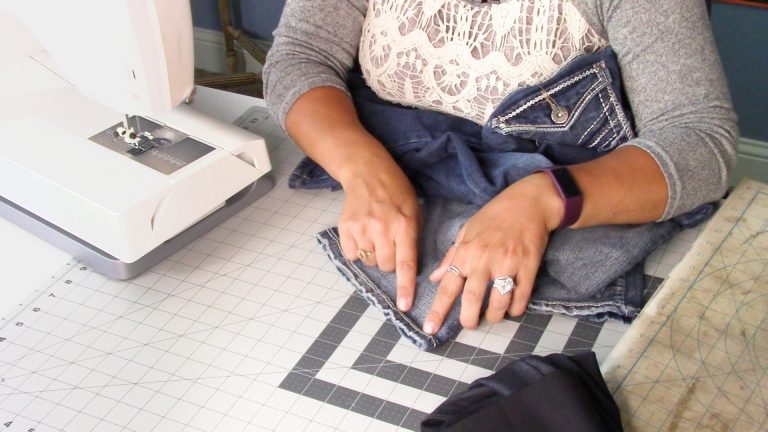
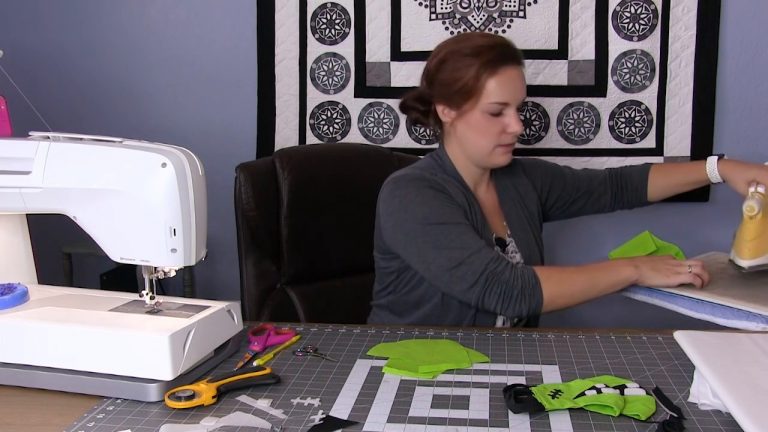
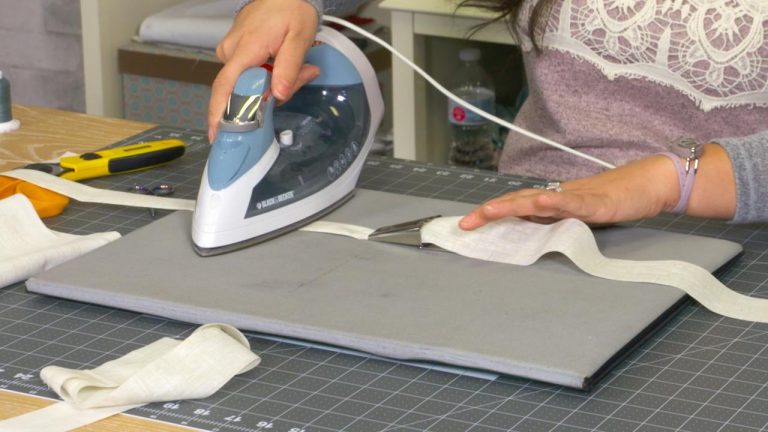
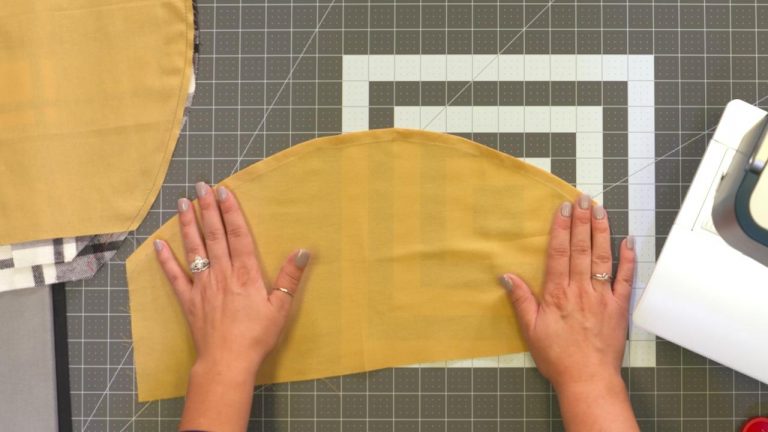
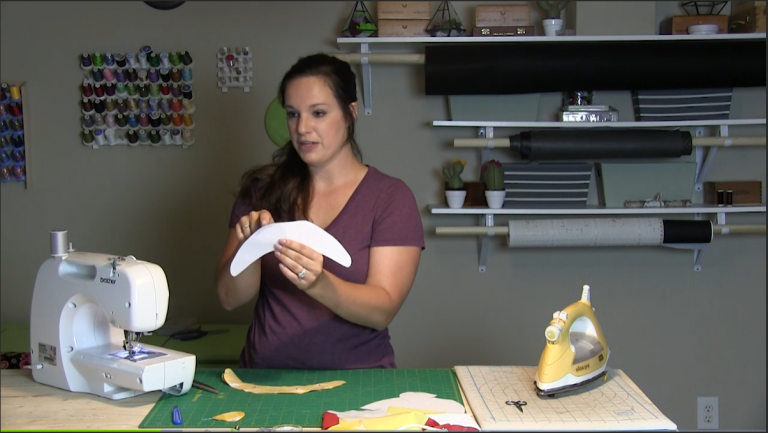
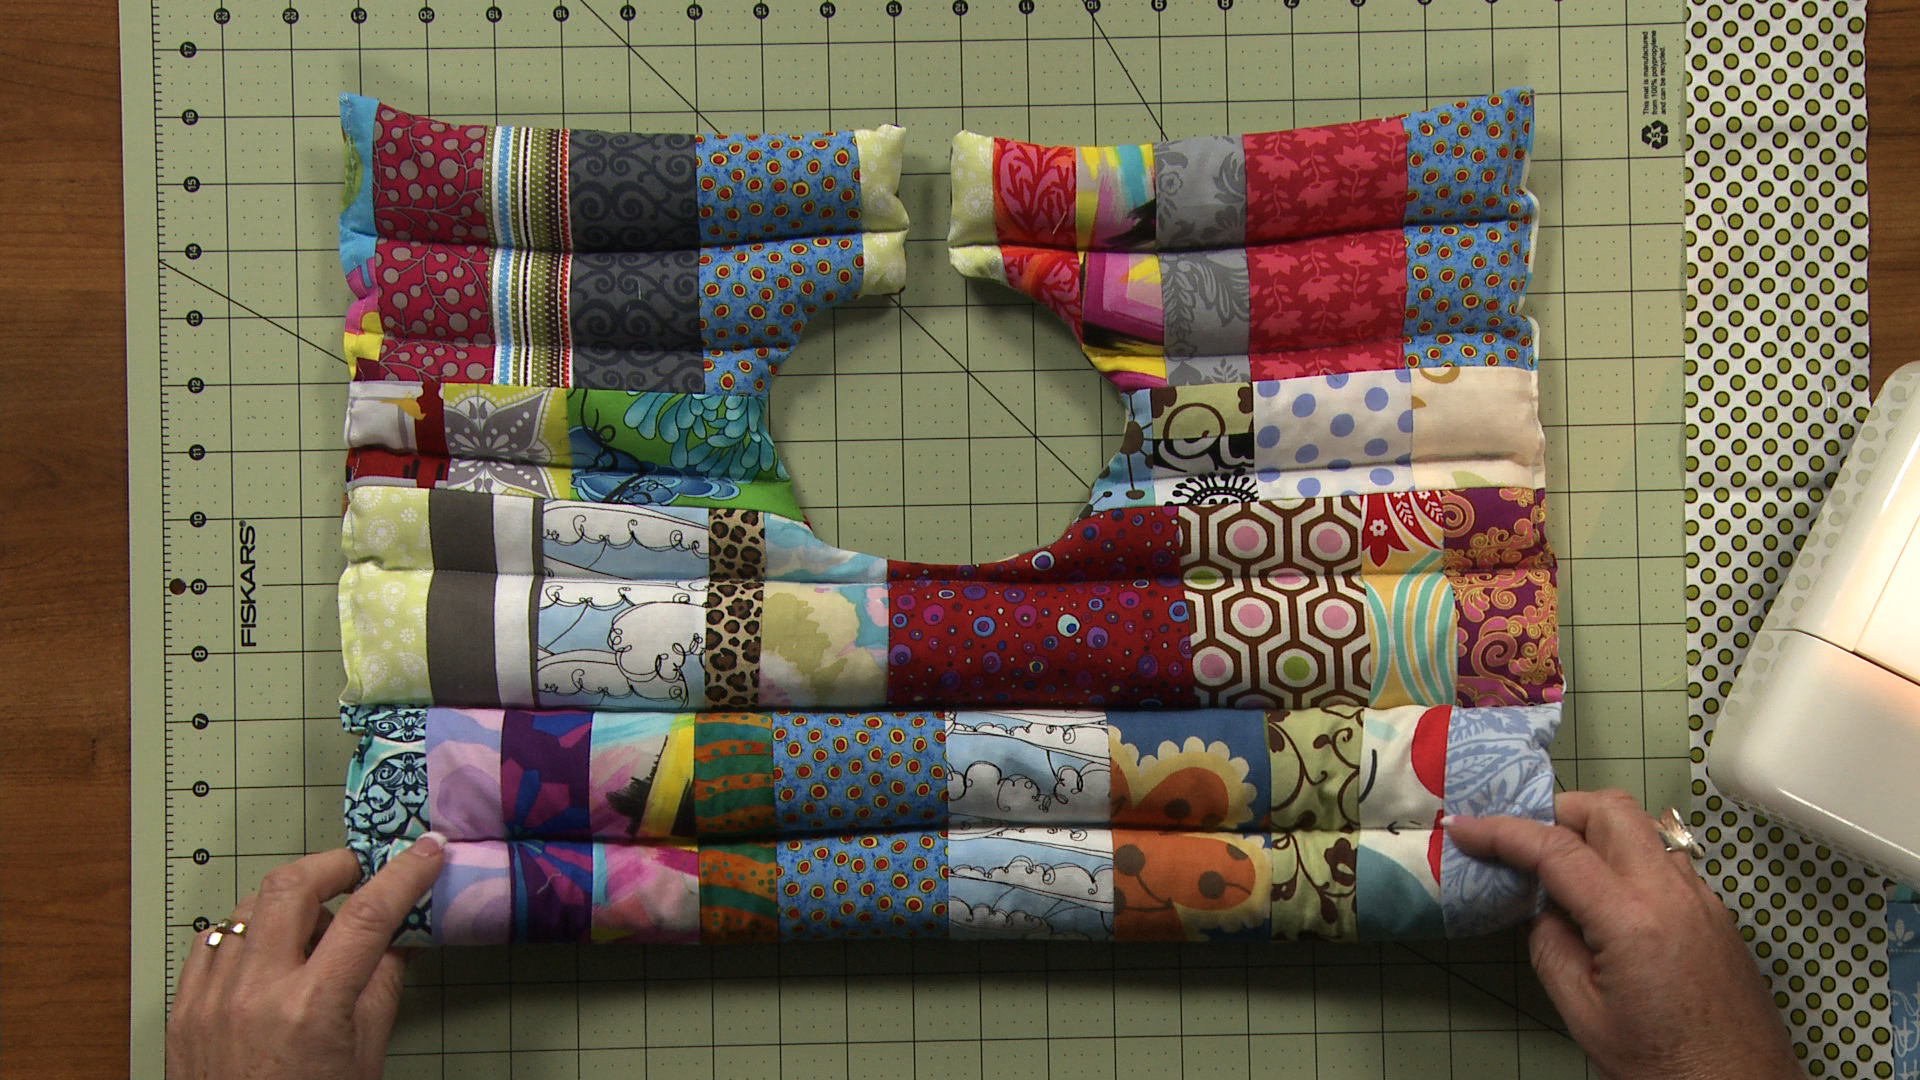
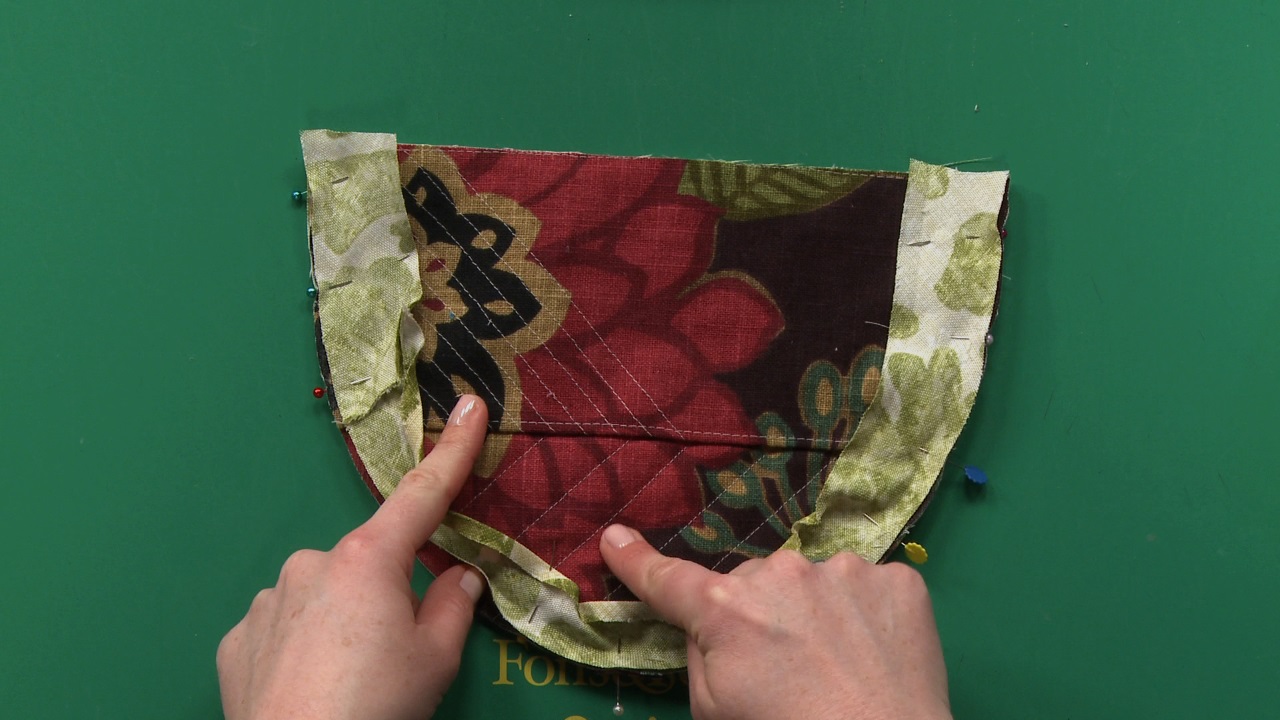
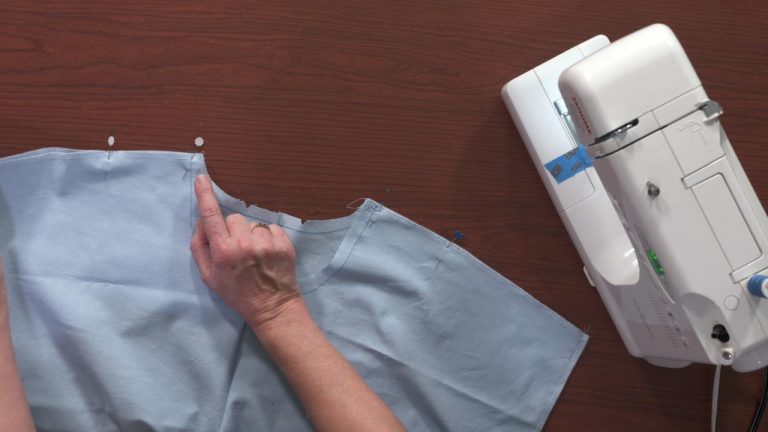
Ashley then shows how to sew piping along a curved edge. Piping purchased from the store is generally made with bias fabric, and when learning how to make your own piping you may use bias cut fabric. However, depending on the curve, more preparation may need to be done to the piping before it can be attached. Ashley shows how to make several small clips in the piping to make it more easily bend around the curve.
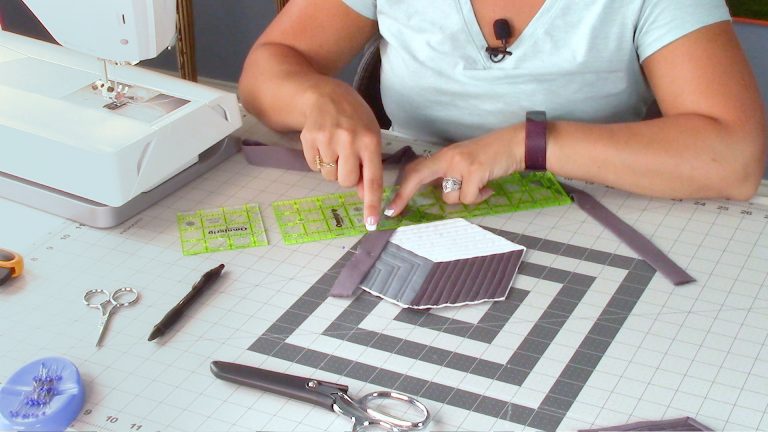
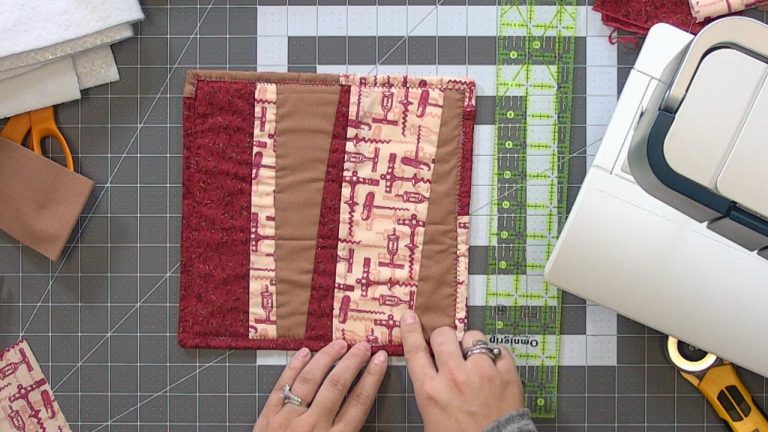
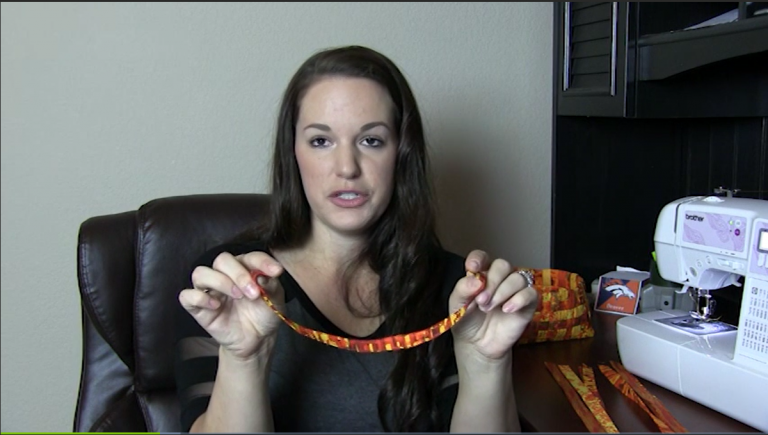
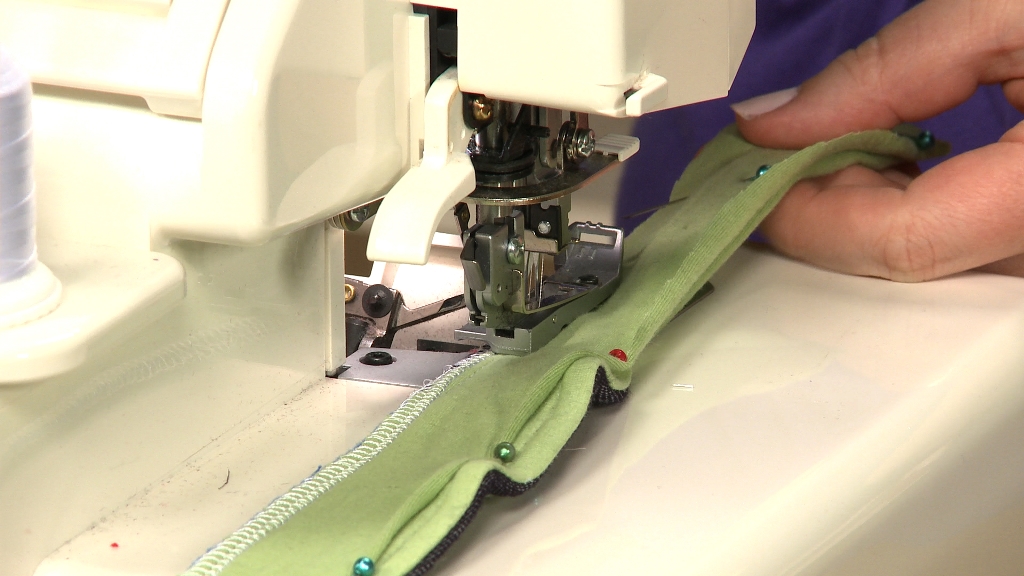
Ashley then shows a similar technique of how to sew piping around a corner. Depending on where the piping is being inserted the ends of the piping may either be in a seam, a hem or they may join together. Ashley shows how to join the ends of piping together in a way that both finishes raw edges and eliminates any overlap in the cording within the piping.
Explore videos by Ashley Hough
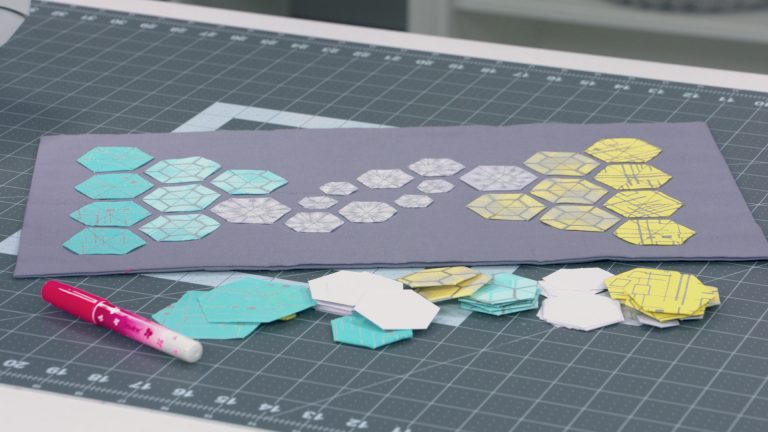


You may be interested in


Premium Membership
Unlock exclusive member content from our industry experts.
- 24/7 Access to Premium Sewing Videos, Projects, and Tips
- Step-by-Step Instructional Demos, Patterns, and Tutorials
- 50% Off Video Downloads Purchased in the National Sewing Circle Shop
- Access to Ask the Expert Program
Unlock exclusive member content from our industry experts.
- 24/7 Access to Premium Sewing Videos, Projects, and Tips
- Step-by-Step Instructional Demos, Patterns, and Tutorials
- 2 Full-Length Video Downloads to Watch Offline
- 50% Off Video Downloads Purchased in the National Sewing Circle Shop
- Access to Ask the Expert Program
Gold Membership
$362 Value
Get everything included in Premium plus exclusive Gold Membership benefits.
- 24/7 Access to Premium Sewing Videos, Projects, and Tips
- Step-by-Step Instructional Demos, Patterns, and Tutorials
- 8 Full-Length Video Downloads to Watch Offline
- 3 Full-Length Quilting Classes to Keep for Life
- 6 Printable Sewing Guides and Patterns
- Discounts on Purchase-to-Own Content in the National Quilters Circle Shop:
- Access to Ask the Expert Program
- Exclusive GOLD LIVE Streaming Events