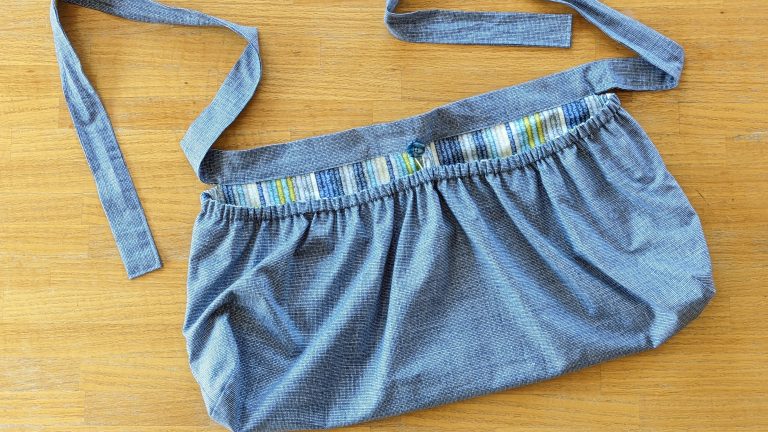
Sew a Picnic Basket
Emily SteffenEmily Steffen demonstrates how to make a roomy picnic basket tote bag with tie handles. Learn the best type of interfacing to use for structure and sturdiness, plus how to box the bag corners to add dimension to the lower portion of the bag.
Sew a Picnic Basket
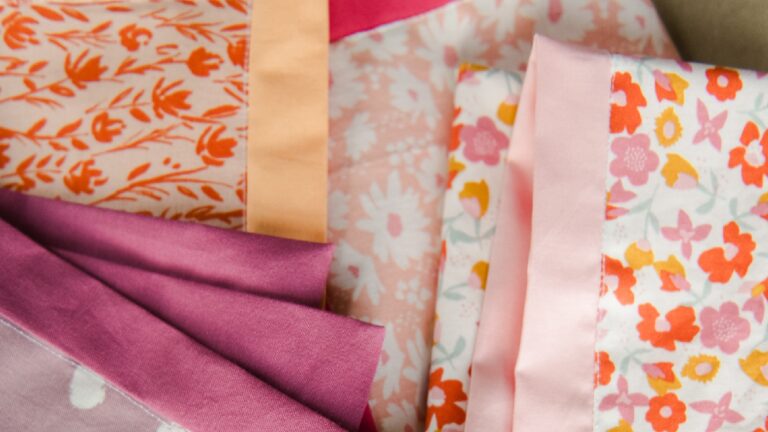
The bag requires two squares of outer and lining fabric, two squares of interfacing, and two rectangles for the handles.
Emily goes over the best type of interfacing for this project, plus practical tips for adhering fusible interfacing to the fabric.
Stitch
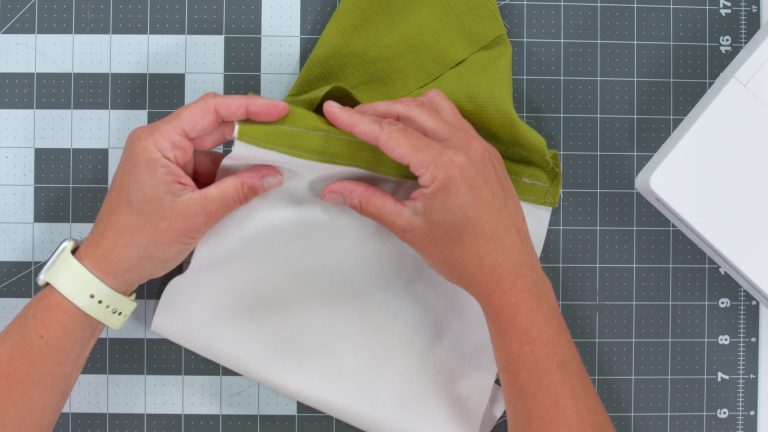
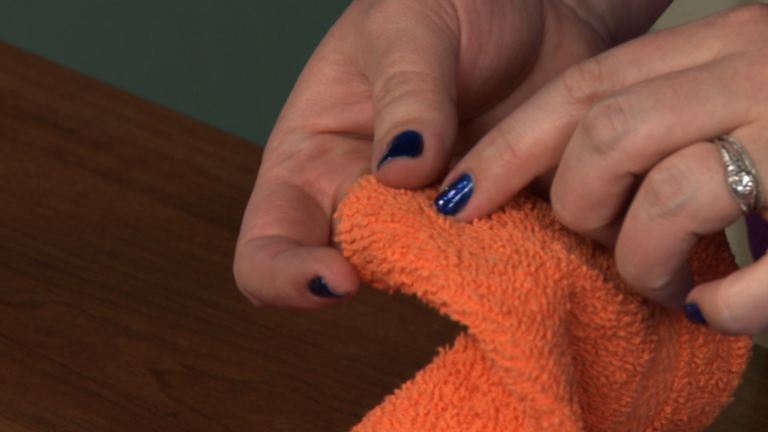
Fold each handle rectangle in half lengthwise with right sides together. Stitch one short edge and the long edge. Clip the corners, then turn right-side out and press.
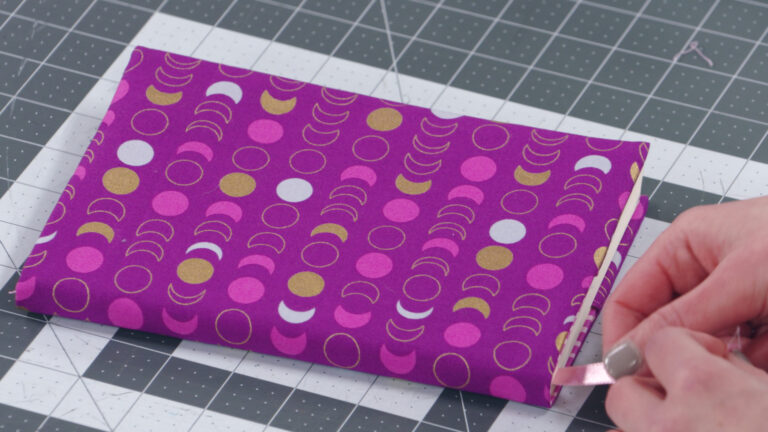
Stitch the outer squares together along three edges. Repeat for the lining fabric, leaving an opening along the lower edge for turning.
Emily demonstrates an easy way to press open seam allowances on 3D objects, to avoid putting unwanted creases anywhere else in the bag.
To box the corners, align the side and lower seam, creating a triangle on the corner. Mark a 6” line across the corner. Stitch along the line and cut off the excess. Repeat for the remaining corner and each lining corner.
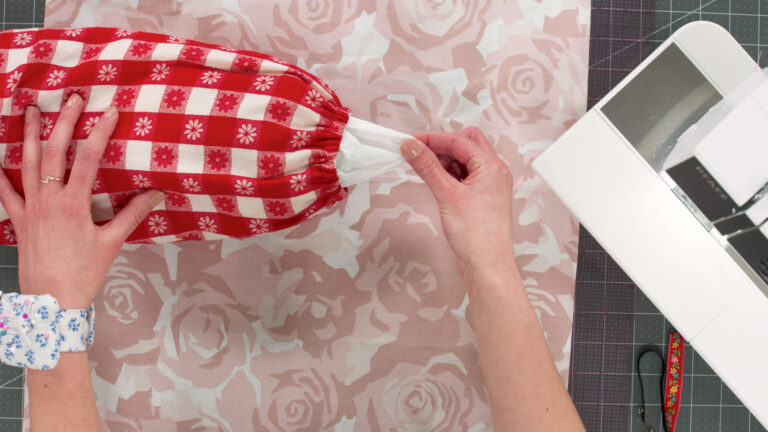
Turn the outer bag right-side out. Center one handle over one side seam, aligning the raw edges; pin or tack. Repeat for the remaining handle on the opposite side seam.
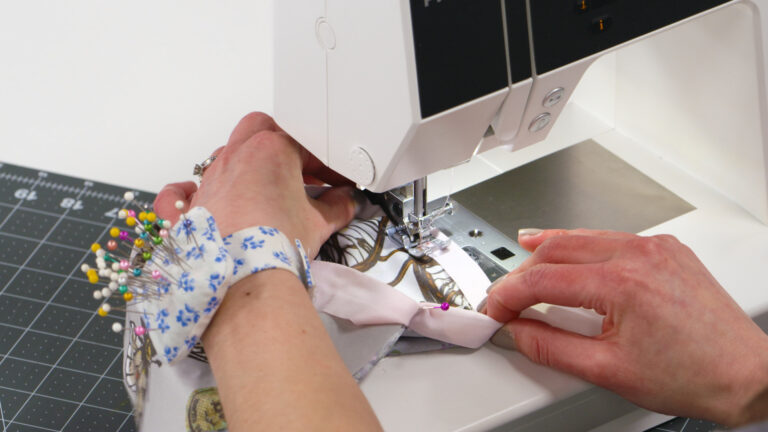
Insert the outer bag inside the bag lining with right sides together, aligning the side seams. Stitch the bag upper edge, catching the handles in the stitching. Turn the bag right-side out through the lining opening. Edgestitch the opening closed. Tuck the lining inside the outer bag.
If you like fabric baskets for organizing, make this sturdy fabric basket without handles or check out how to make a padded bookbag.
Explore videos by Emily Steffen

You may be interested in


Premium Membership
Unlock exclusive member content from our industry experts.
- 24/7 Access to Premium Sewing Videos, Projects, and Tips
- Step-by-Step Instructional Demos, Patterns, and Tutorials
- 50% Off Video Downloads Purchased in the National Sewing Circle Shop
- Access to Ask the Expert Program
Unlock exclusive member content from our industry experts.
- 24/7 Access to Premium Sewing Videos, Projects, and Tips
- Step-by-Step Instructional Demos, Patterns, and Tutorials
- 2 Full-Length Video Downloads to Watch Offline
- 50% Off Video Downloads Purchased in the National Sewing Circle Shop
- Access to Ask the Expert Program
Gold Membership
$362 Value
Get everything included in Premium plus exclusive Gold Membership benefits.
- 24/7 Access to Premium Sewing Videos, Projects, and Tips
- Step-by-Step Instructional Demos, Patterns, and Tutorials
- 8 Full-Length Video Downloads to Watch Offline
- 3 Full-Length Quilting Classes to Keep for Life
- 6 Printable Sewing Guides and Patterns
- Discounts on Purchase-to-Own Content in the National Quilters Circle Shop:
- Access to Ask the Expert Program
- Exclusive GOLD LIVE Streaming Events