How to Sew a Simple Luggage Tag
Nicki LaFoilleLuggage tags are a quick and easy project that can help make locating your checked bags quick and easy! Learn how to make a luggage tag as Nicki LaFoille walks you through the process step-by-step.
How to Make a Luggage Tag
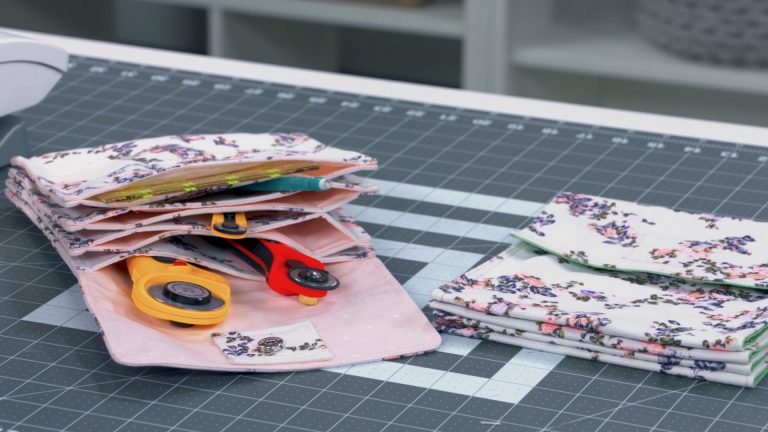
Materials & Supplies
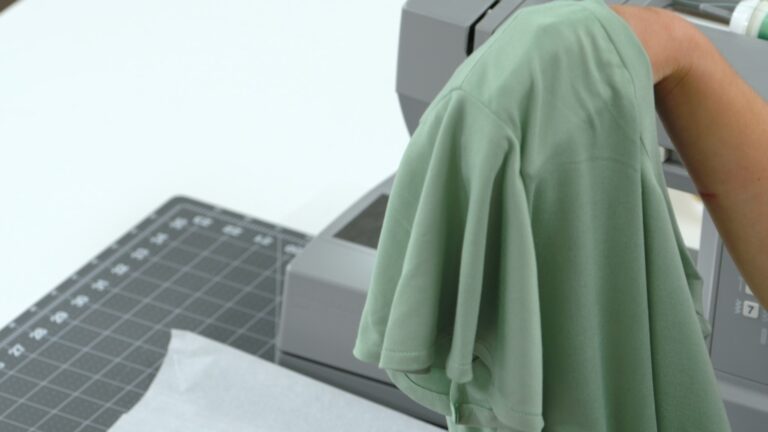
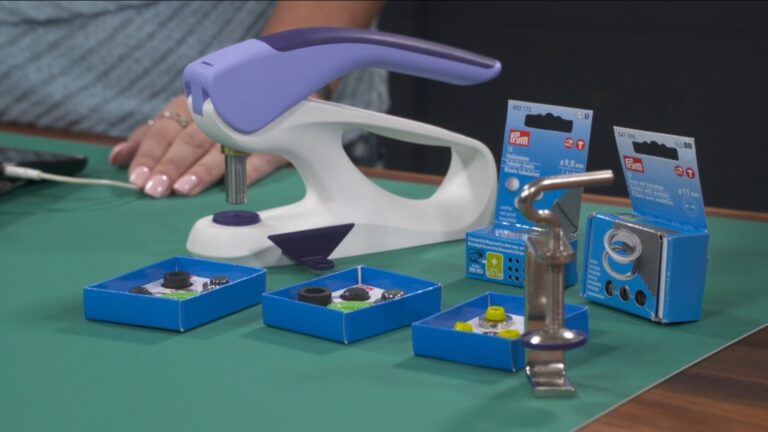
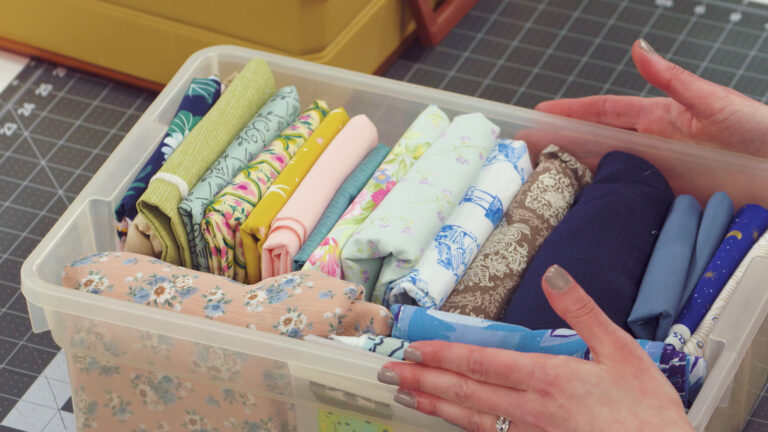
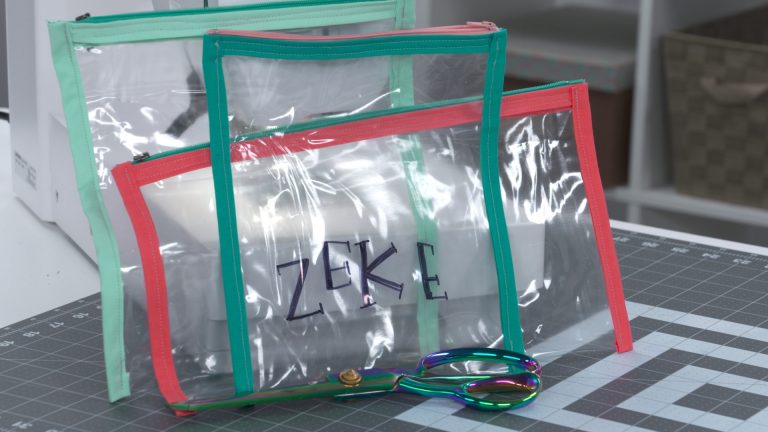
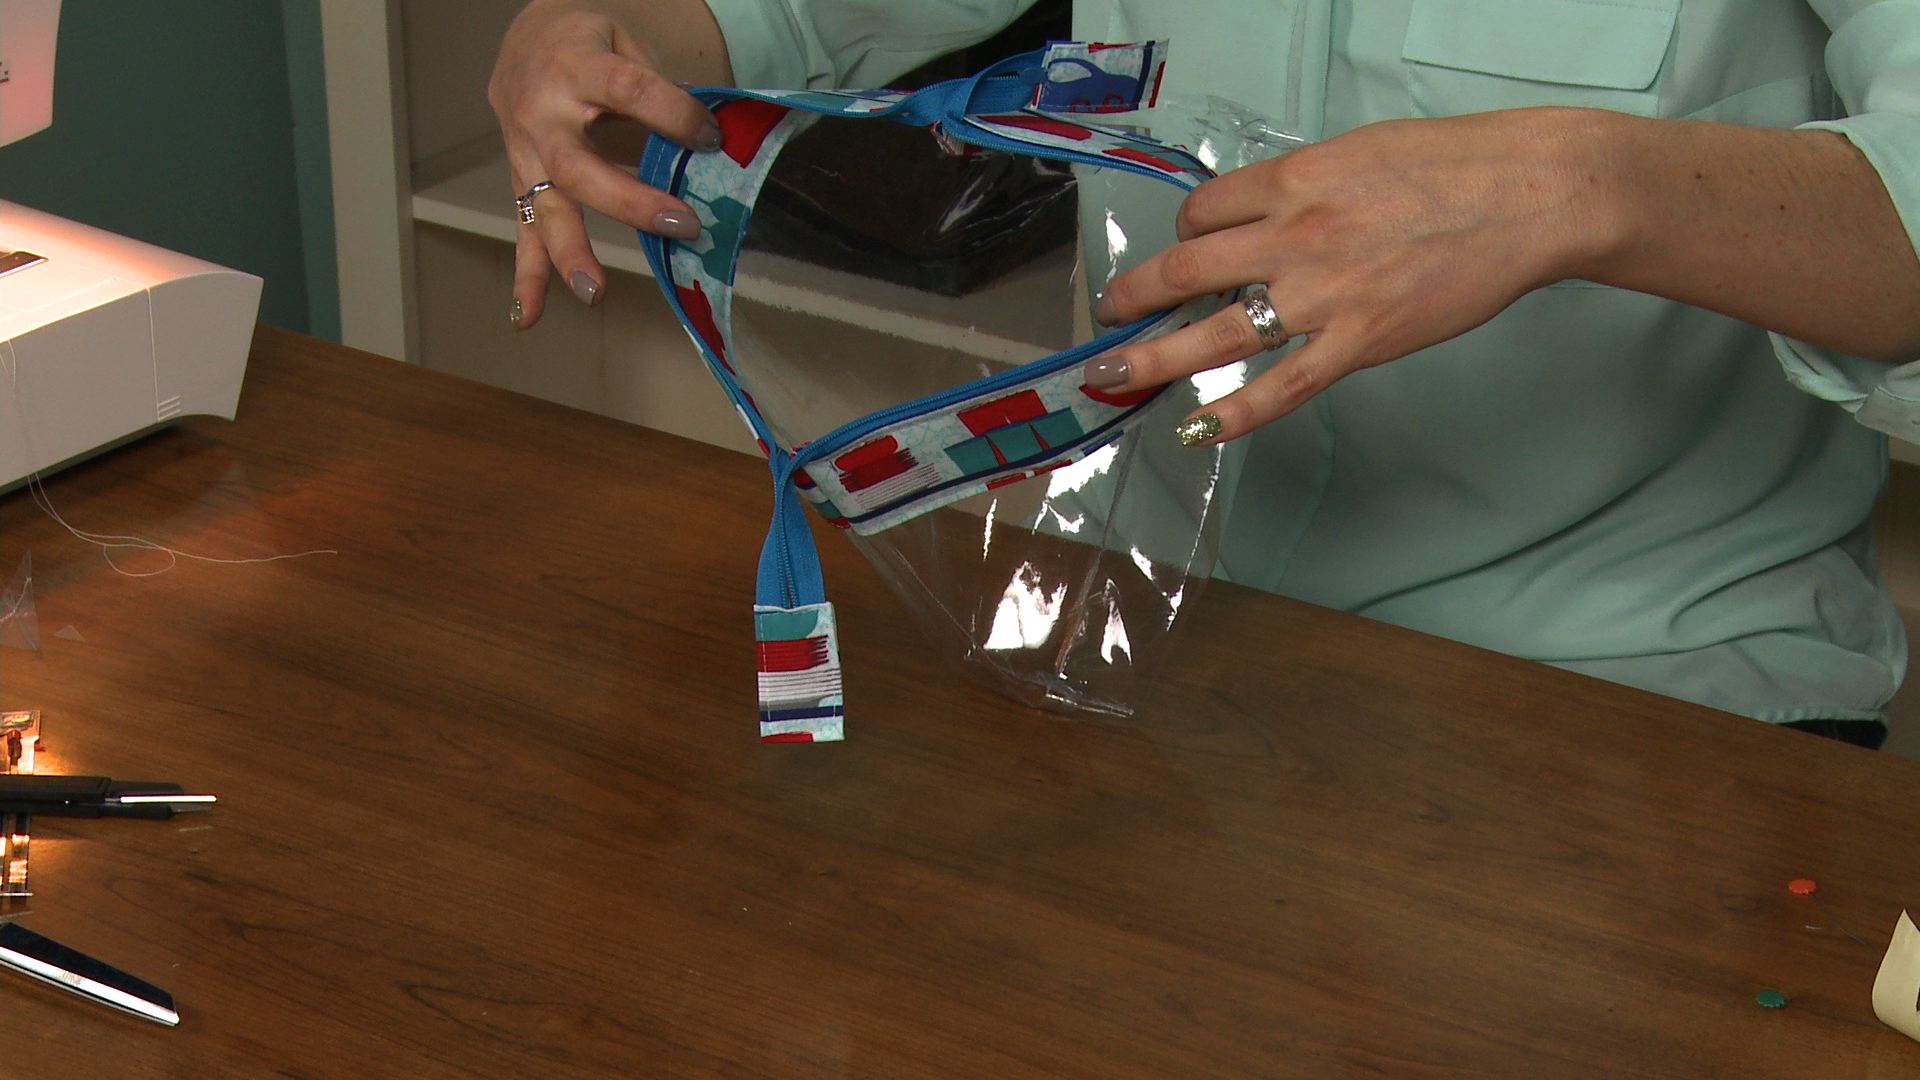
Nicki begins by explaining what kinds of materials and supplies will be needed to sew the luggage tags. While she is making hers from cotton fabric, you can use other types of woven fabric as well. She explains that you will also need a small piece of clear vinyl fabric to create the window if the luggage tag, a grommet, grommet insertion tools and a length of cord or ribbon.
Sizing
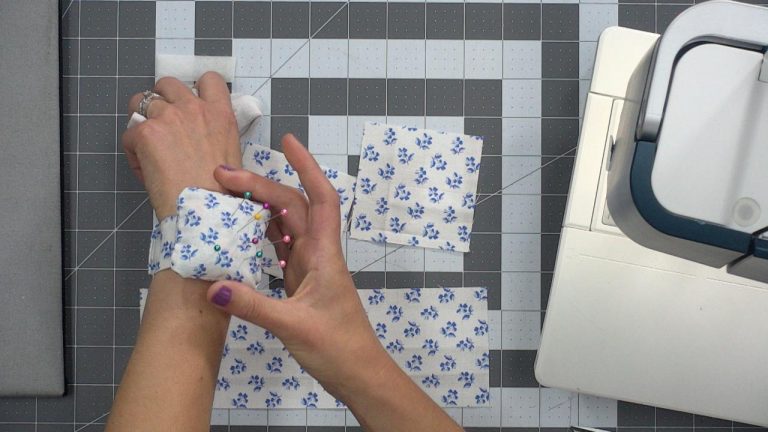
Nicki then explains what size to cut the fabric in order to begin sewing the luggage tag. Once you see how the tag comes together, adjusting the size pieces to cut to create a larger or smaller tag can be easily done.
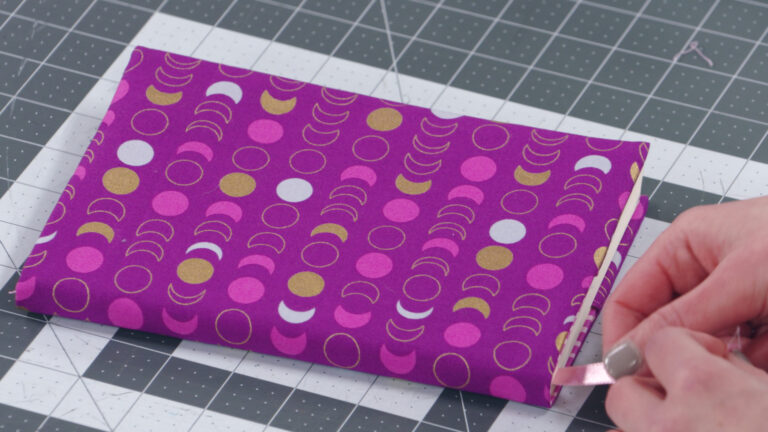
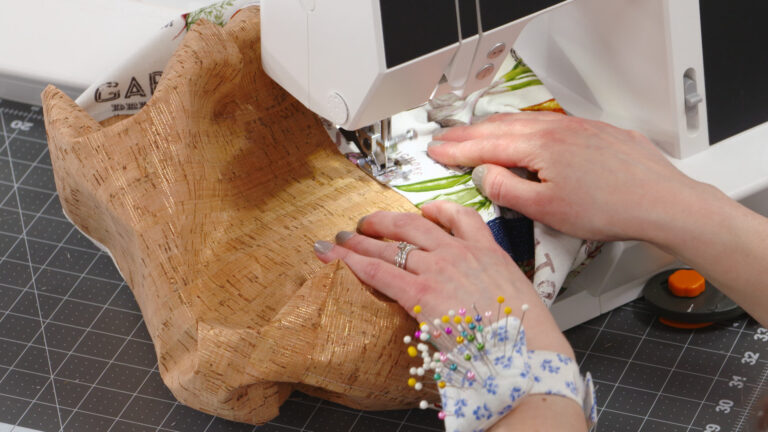
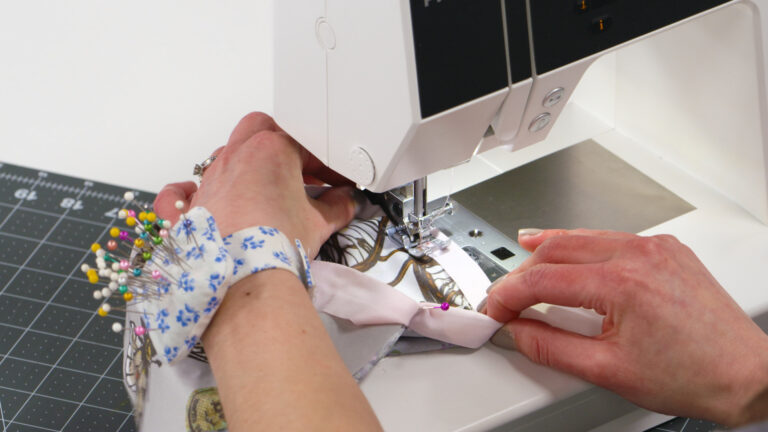
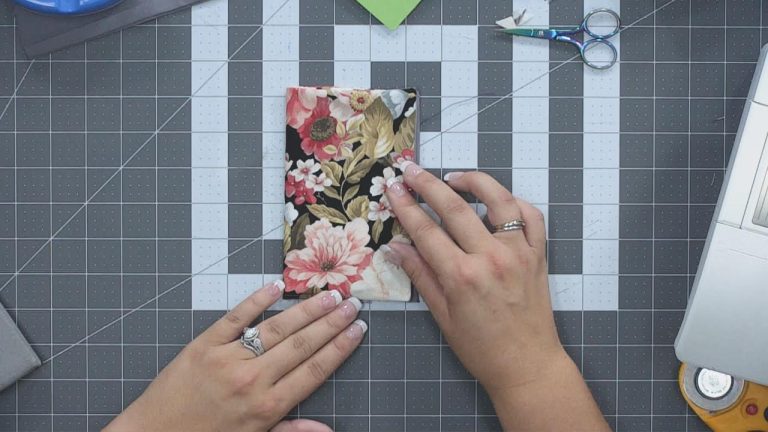
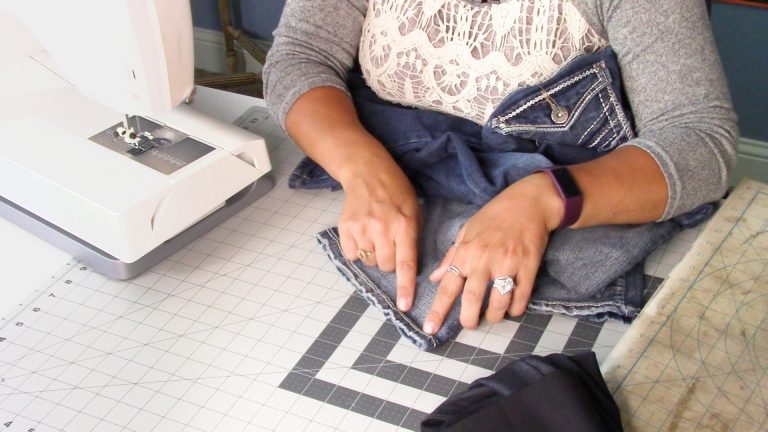
Cut & Sew
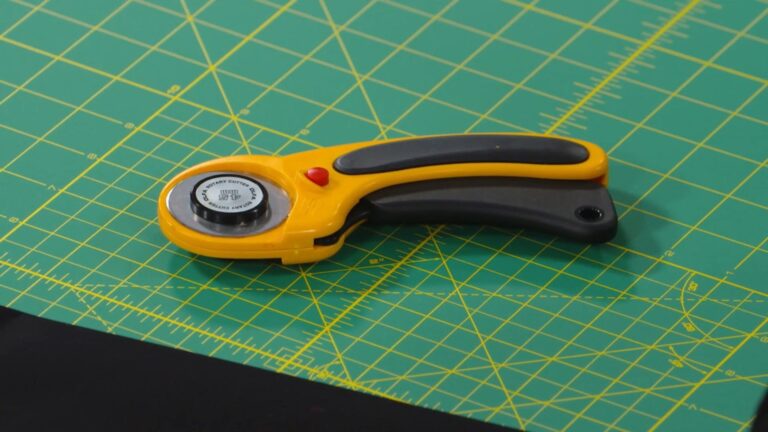
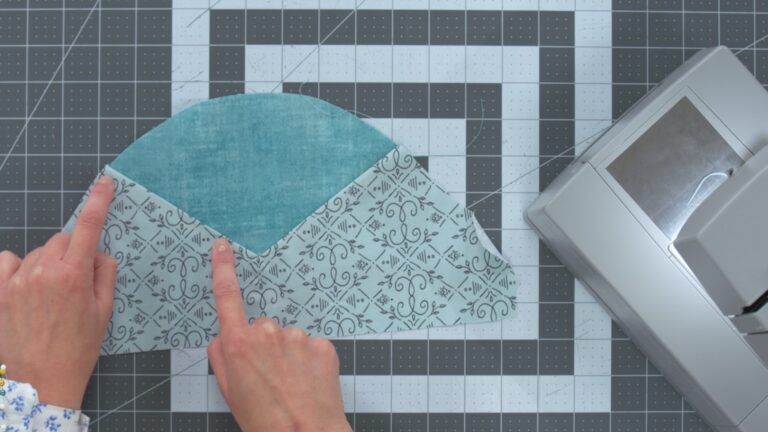
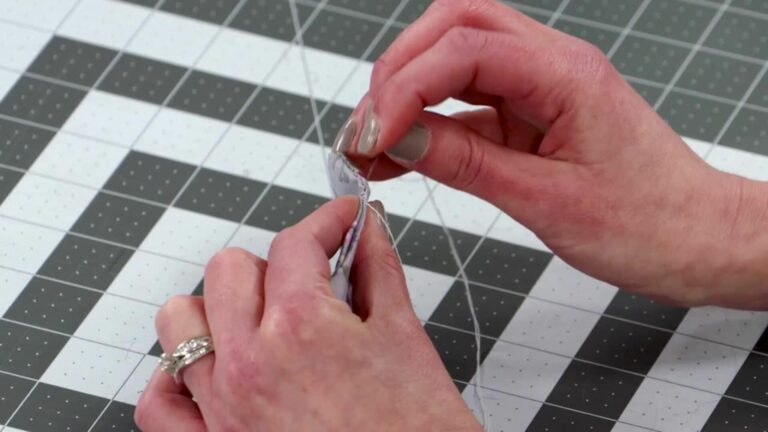
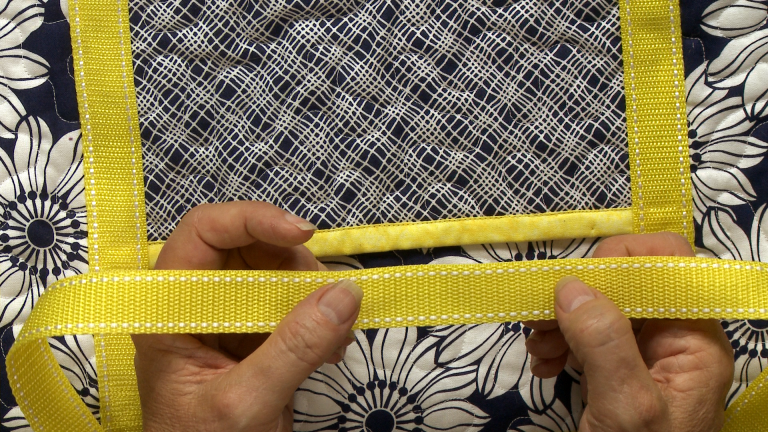
Nicki then shows how to cut, sew and fold the pieces of cotton fabric in order to create a small window for the vinyl. She then explains how to sew the vinyl in place. While overall this project is quick and easy, it can also be a good introduction to working with a new and different fabric like clear vinyl. Nicki then shows how to finish up sewing the remaining pieces of cotton fabric to put the luggage tag together.
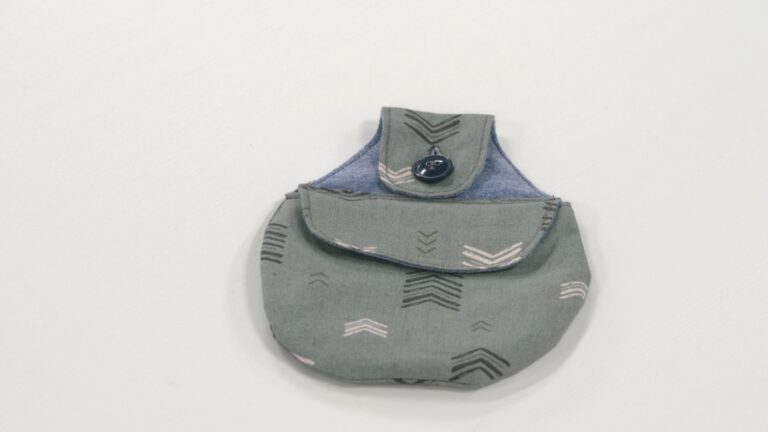
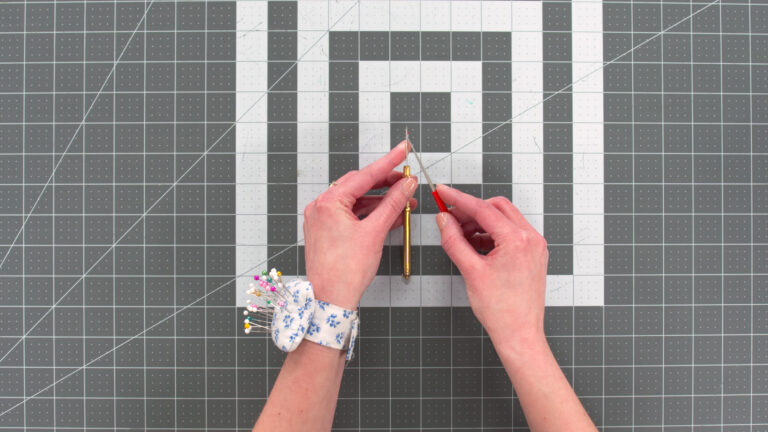
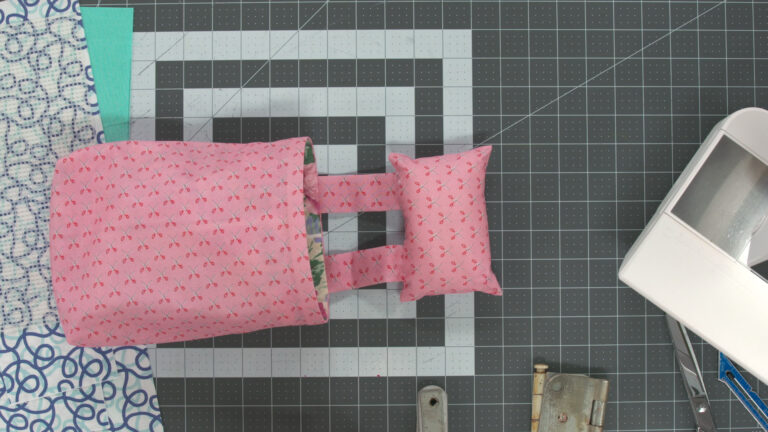
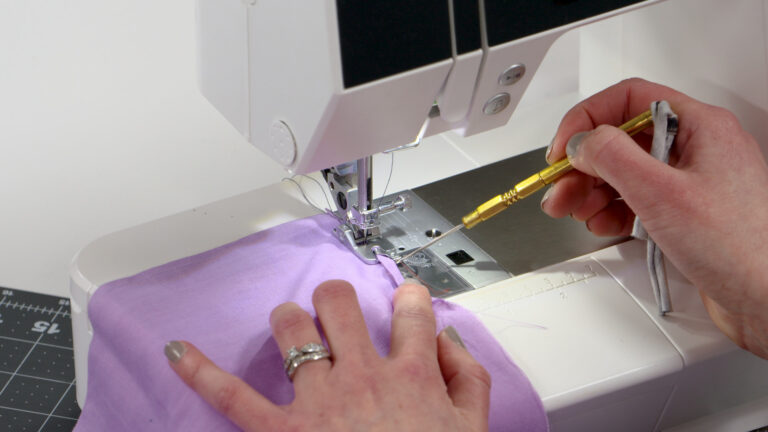
Once the tag has been sewn, Nicki explains that there needs to be an opening at the top in order to attach the length of ribbon or cord. She shows how to insert a grommet using grommet insertion tools, but explains that if these are not readily available, a small buttonhole can be used as well.
All Complete!
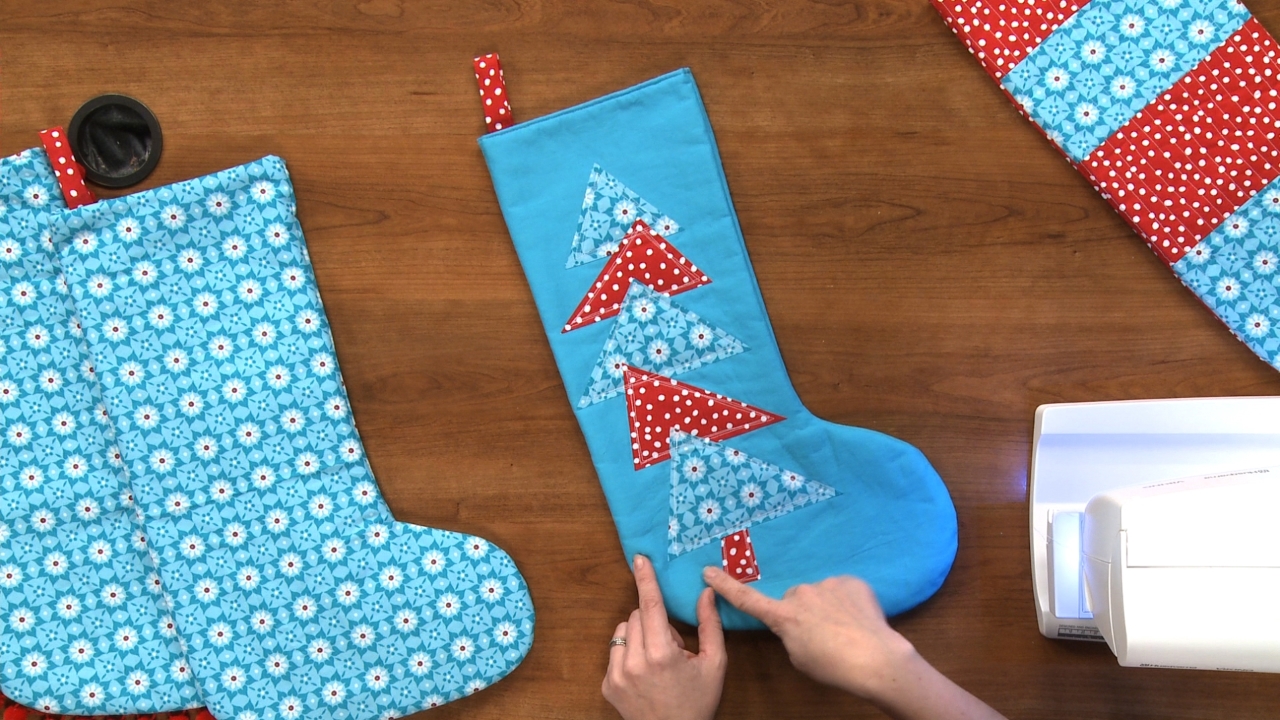
Once you’ve learned how to sew a luggage tag, see more fun and easy projects like learning how to sew a travel game board and sewing your own first aid kit and pill holder.
Explore videos by Nicki LaFoille


You may be interested in


Premium Membership
Unlock exclusive member content from our industry experts.
- 24/7 Access to Premium Sewing Videos, Projects, and Tips
- Step-by-Step Instructional Demos, Patterns, and Tutorials
- 50% Off Video Downloads Purchased in the National Sewing Circle Shop
- Access to Ask the Expert Program
Unlock exclusive member content from our industry experts.
- 24/7 Access to Premium Sewing Videos, Projects, and Tips
- Step-by-Step Instructional Demos, Patterns, and Tutorials
- 2 Full-Length Video Downloads to Watch Offline
- 50% Off Video Downloads Purchased in the National Sewing Circle Shop
- Access to Ask the Expert Program
Gold Membership
$362 Value
Get everything included in Premium plus exclusive Gold Membership benefits.
- 24/7 Access to Premium Sewing Videos, Projects, and Tips
- Step-by-Step Instructional Demos, Patterns, and Tutorials
- 8 Full-Length Video Downloads to Watch Offline
- 3 Full-Length Quilting Classes to Keep for Life
- 6 Printable Sewing Guides and Patterns
- Discounts on Purchase-to-Own Content in the National Quilters Circle Shop:
- Access to Ask the Expert Program
- Exclusive GOLD LIVE Streaming Events