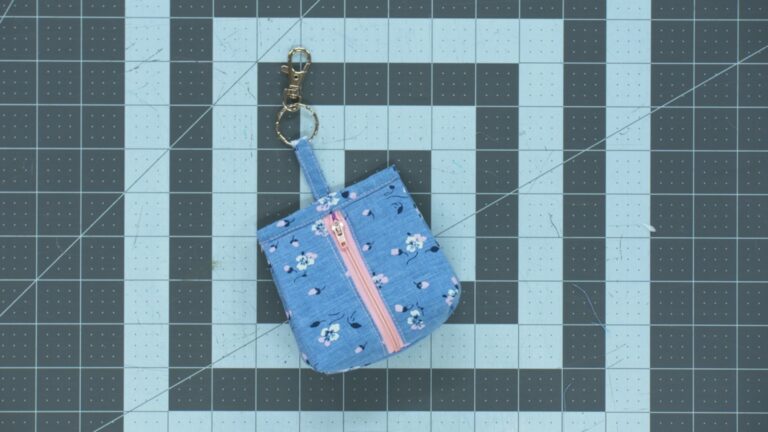
DIY Wrist Wallet
Nicki LaFoilleA wrist wallet can be an easy way to carry a key, some cash, or a card while out and about, especially if you are doing something that requires your hands to be free. Nicki LaFoille shows you step-by-step how to make a wrist wallet from knit fabric, complete with a zipper.
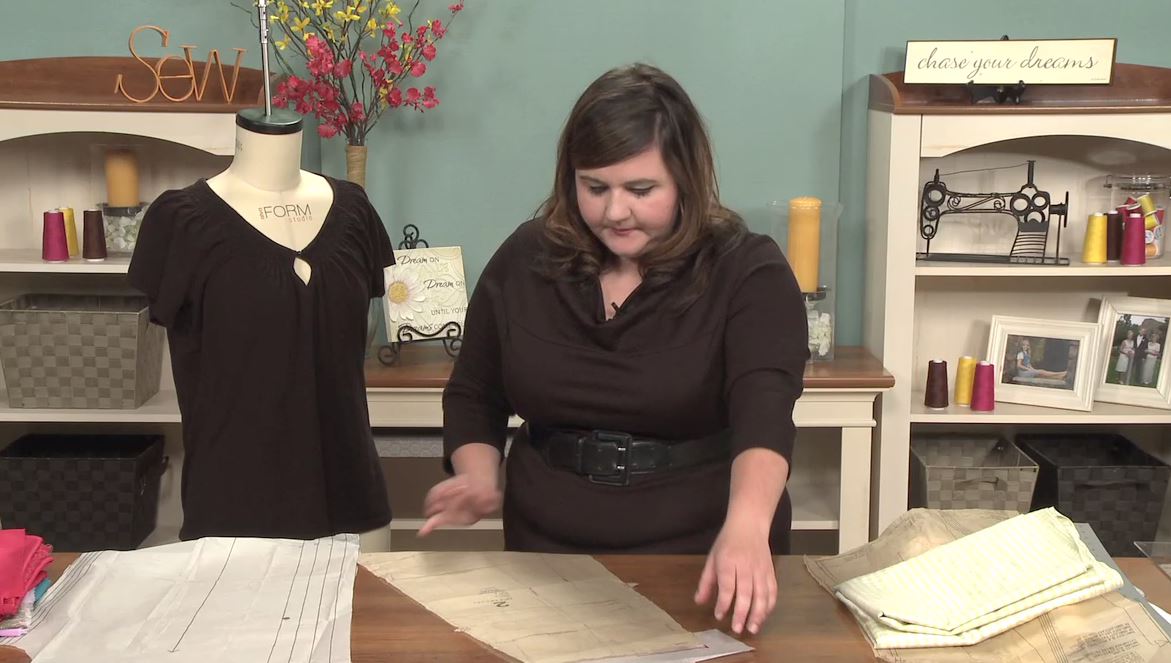
Wrist Wallet Sewing Pattern
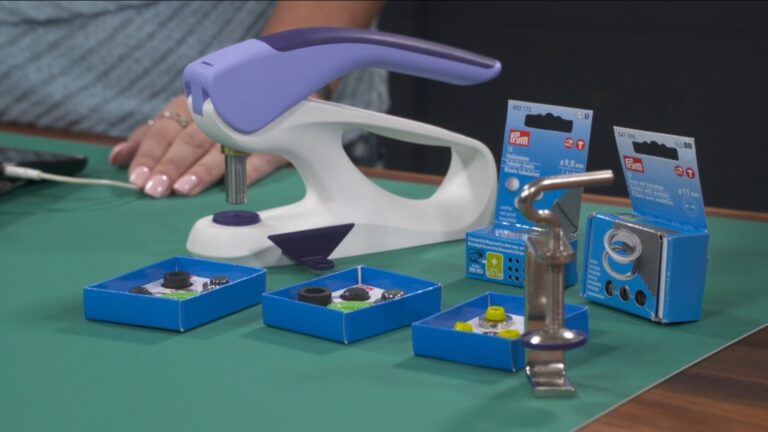
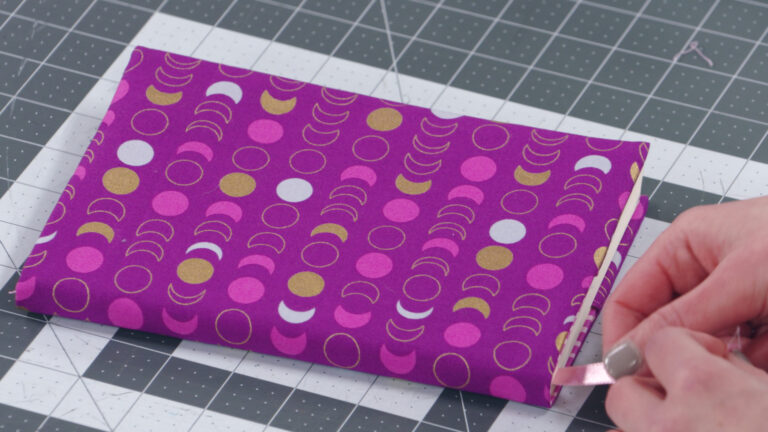
Supplies
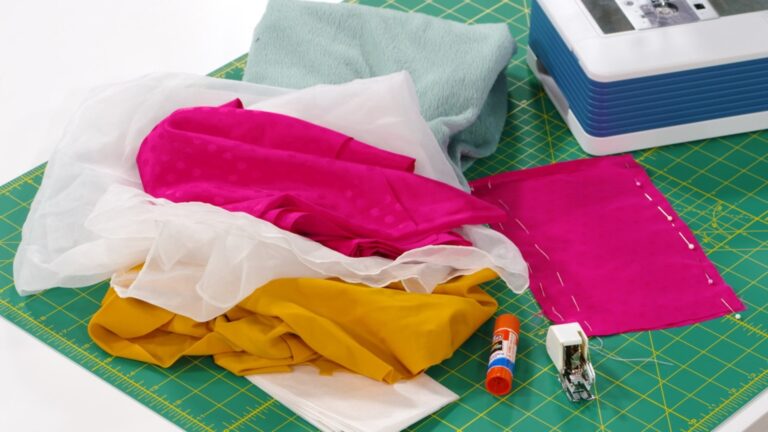
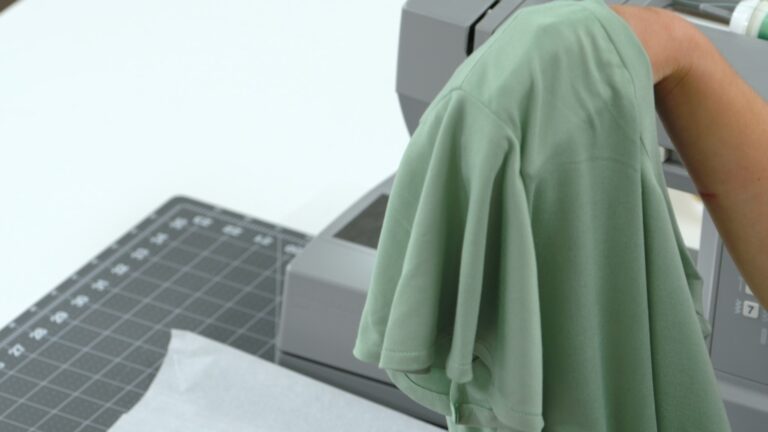
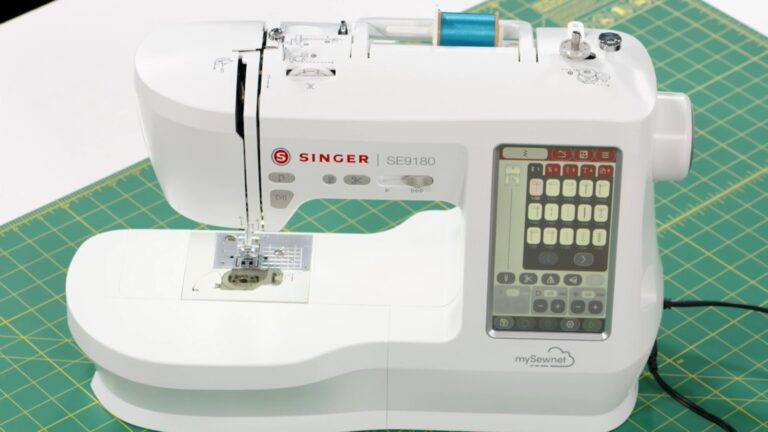
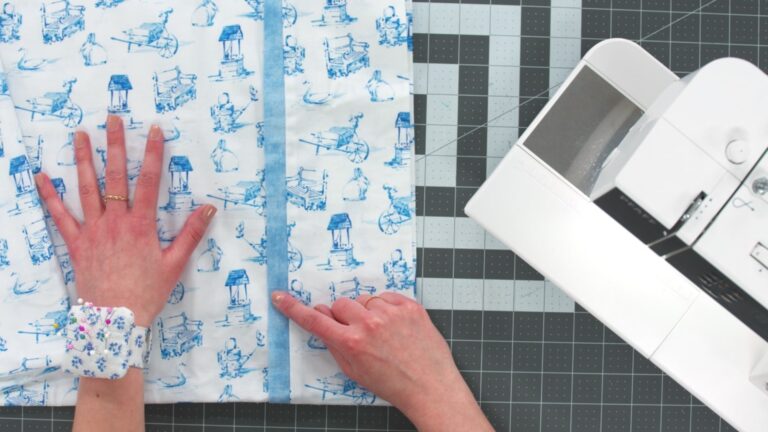
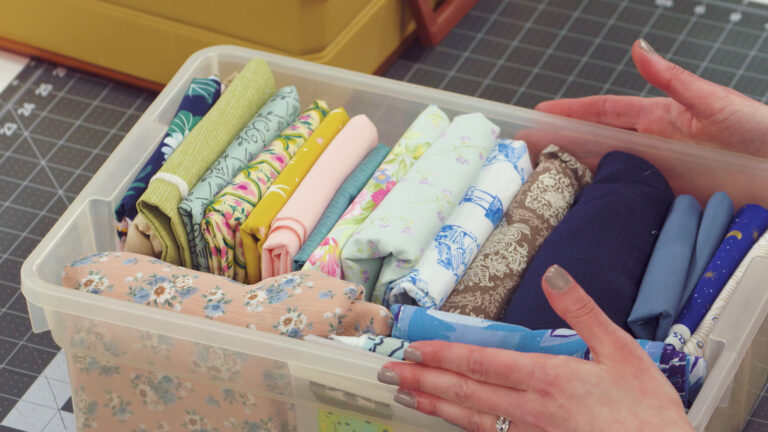
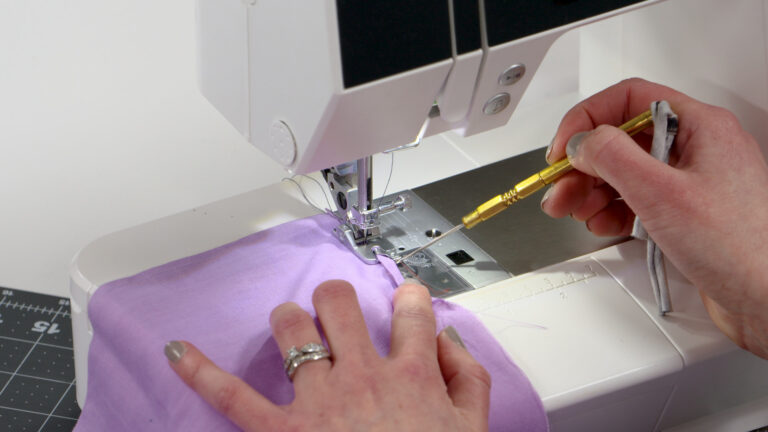
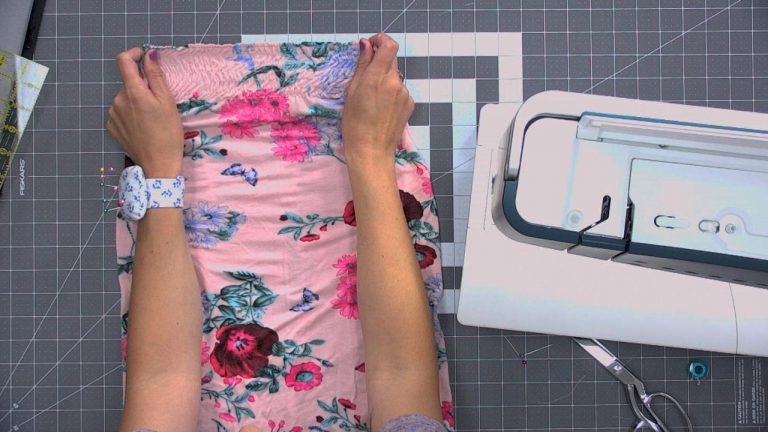
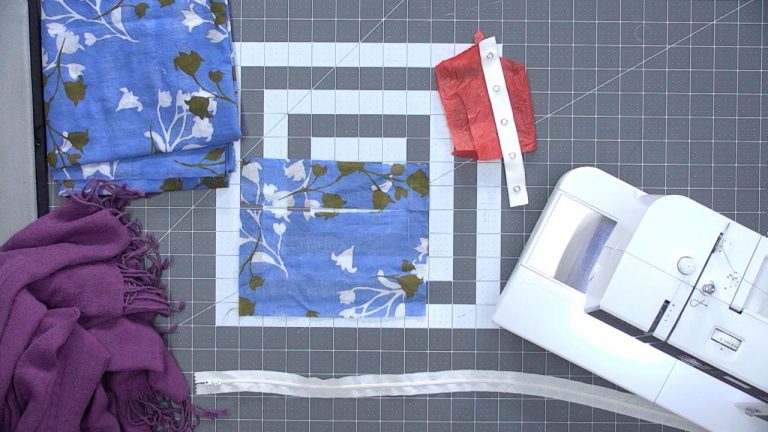
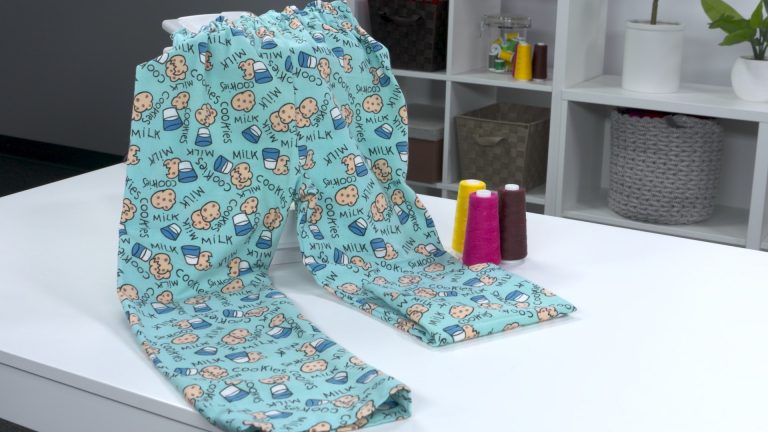
The first step in learning how to sew a wallet is gathering the right supplies. For this wrist wallet, Nicki is using a knit fabric so that there is some stretch to it, making it easier to wear. You will also need a zipper. Nicki uses a coil zipper so that it can easily be cut down to the desired size. The final supply that Nicki uses is a knit stay tape. This helps to stabilize the knit fabric while it is being stitched, which can be a big help if you are new to working with stretch fabric.
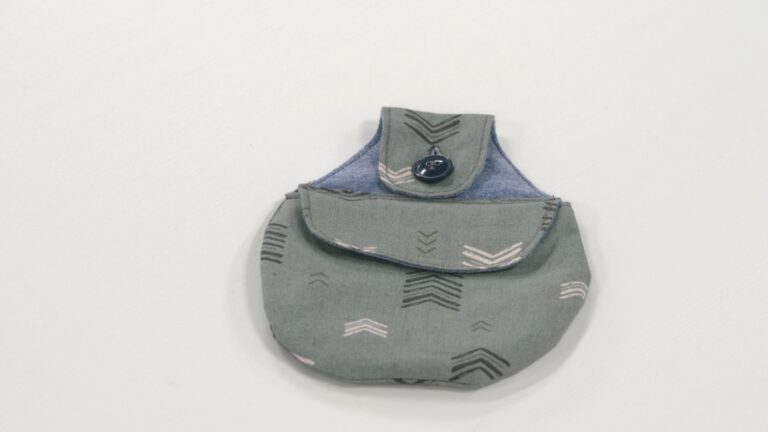
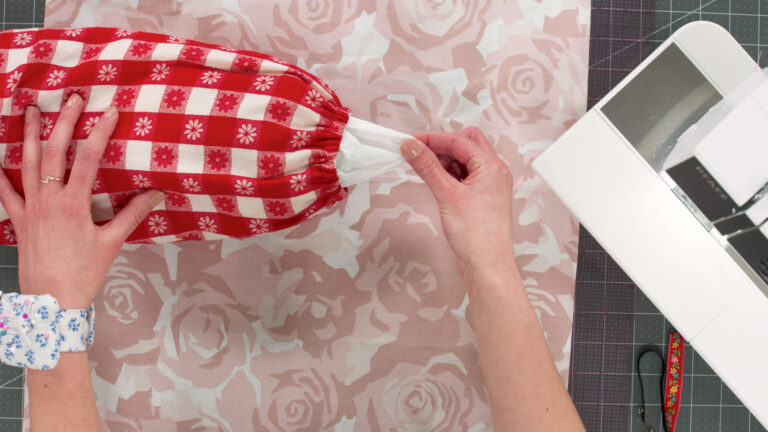
Sizing
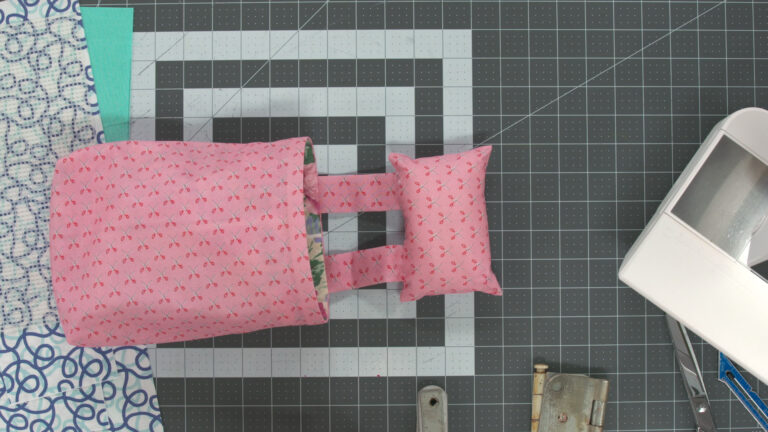
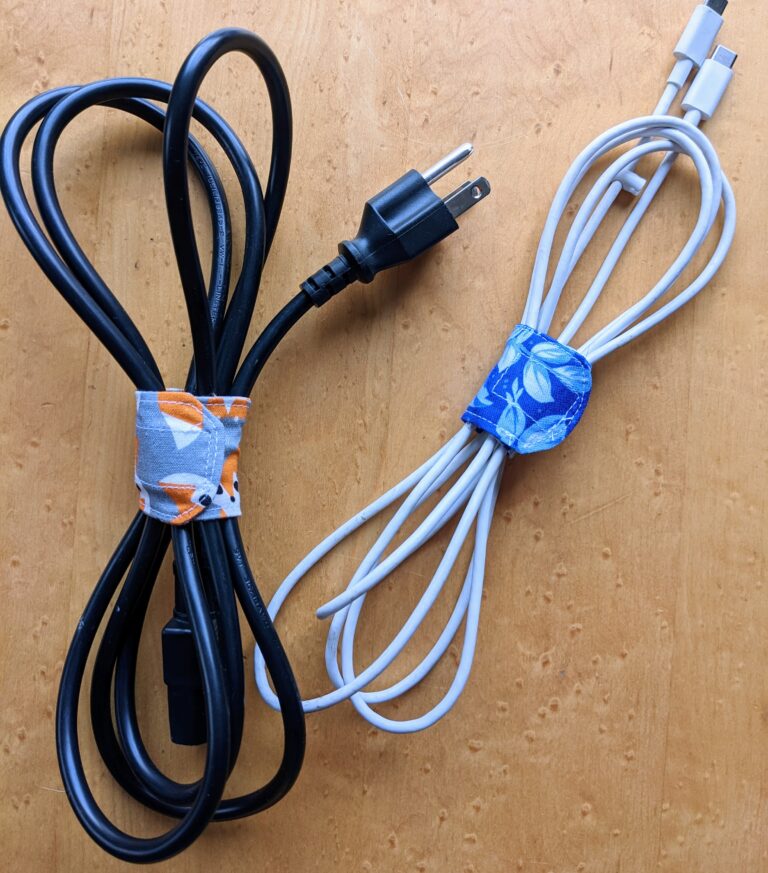
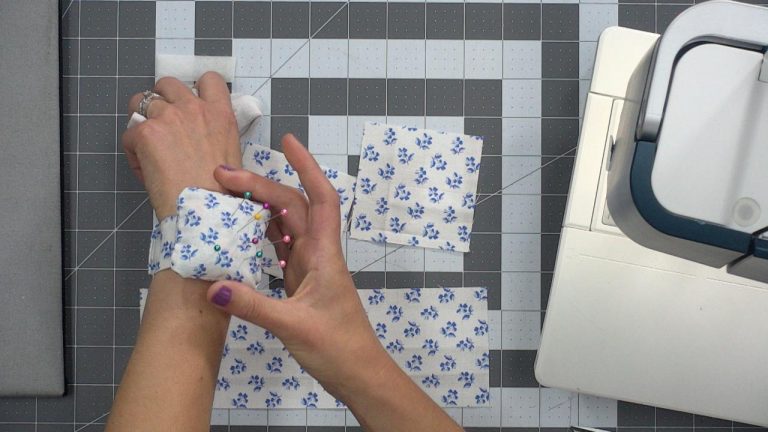
Nicki then talks about how to determine how large a wallet to make, which will determine the size of fabric needed. She shows one wrist wallet that has already been complete and explains why it might be great for carrying something like a key or some cash, but that if you are wanting to carry something more rigid, like a card, why the wallet will need to be larger.
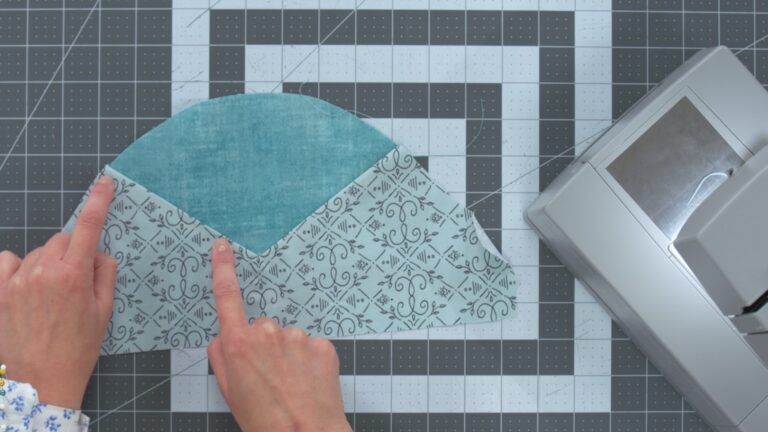
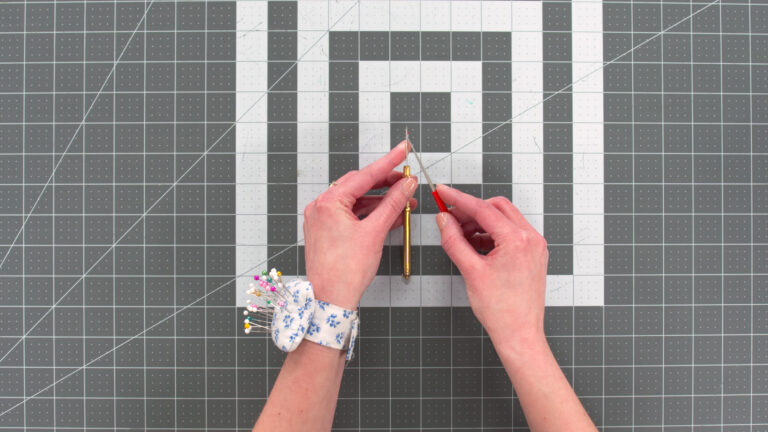
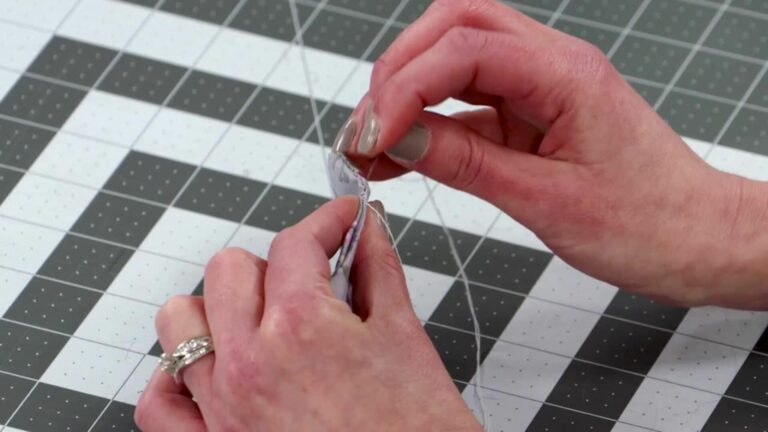
Zipper Construction
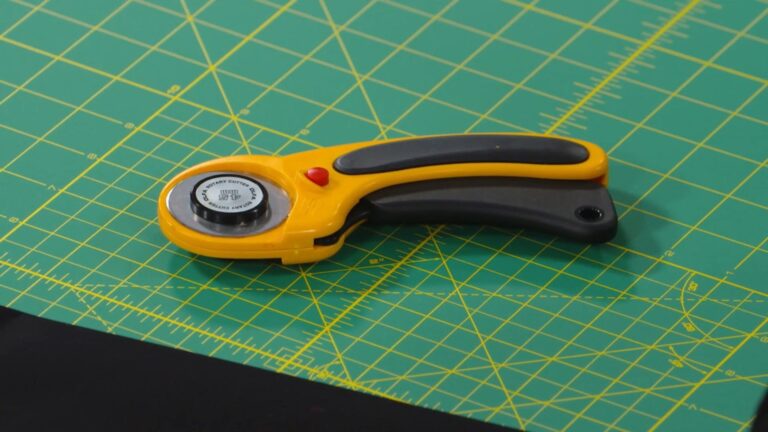
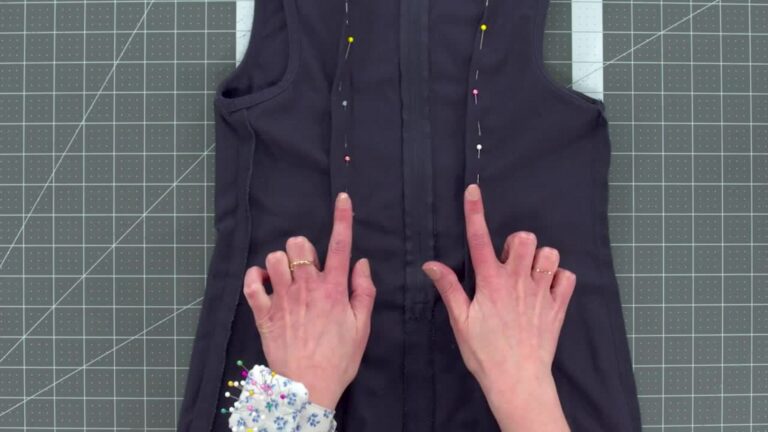
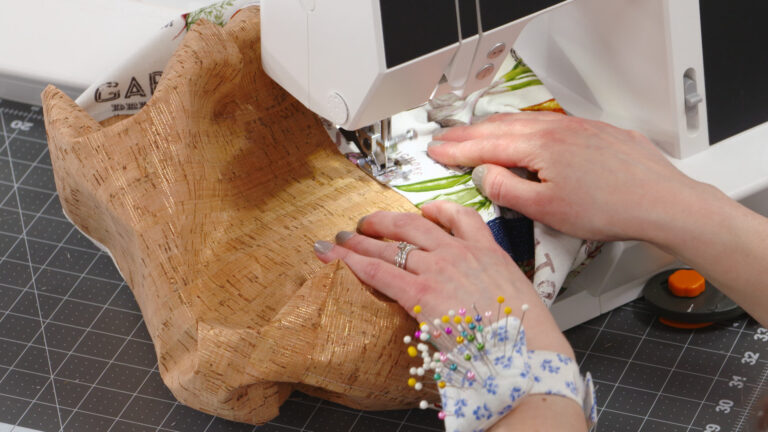
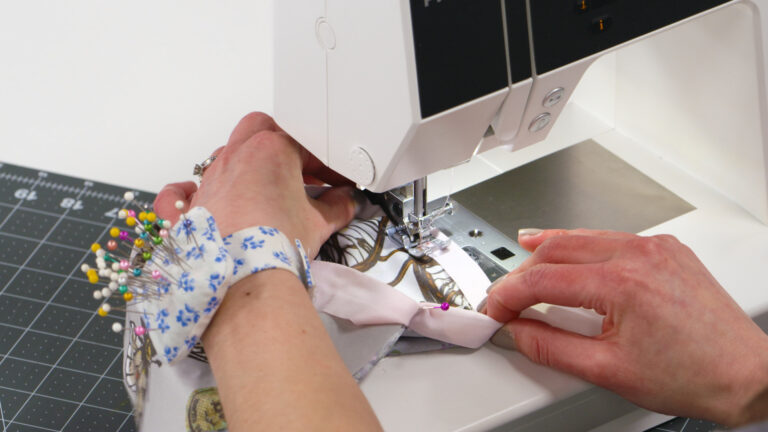
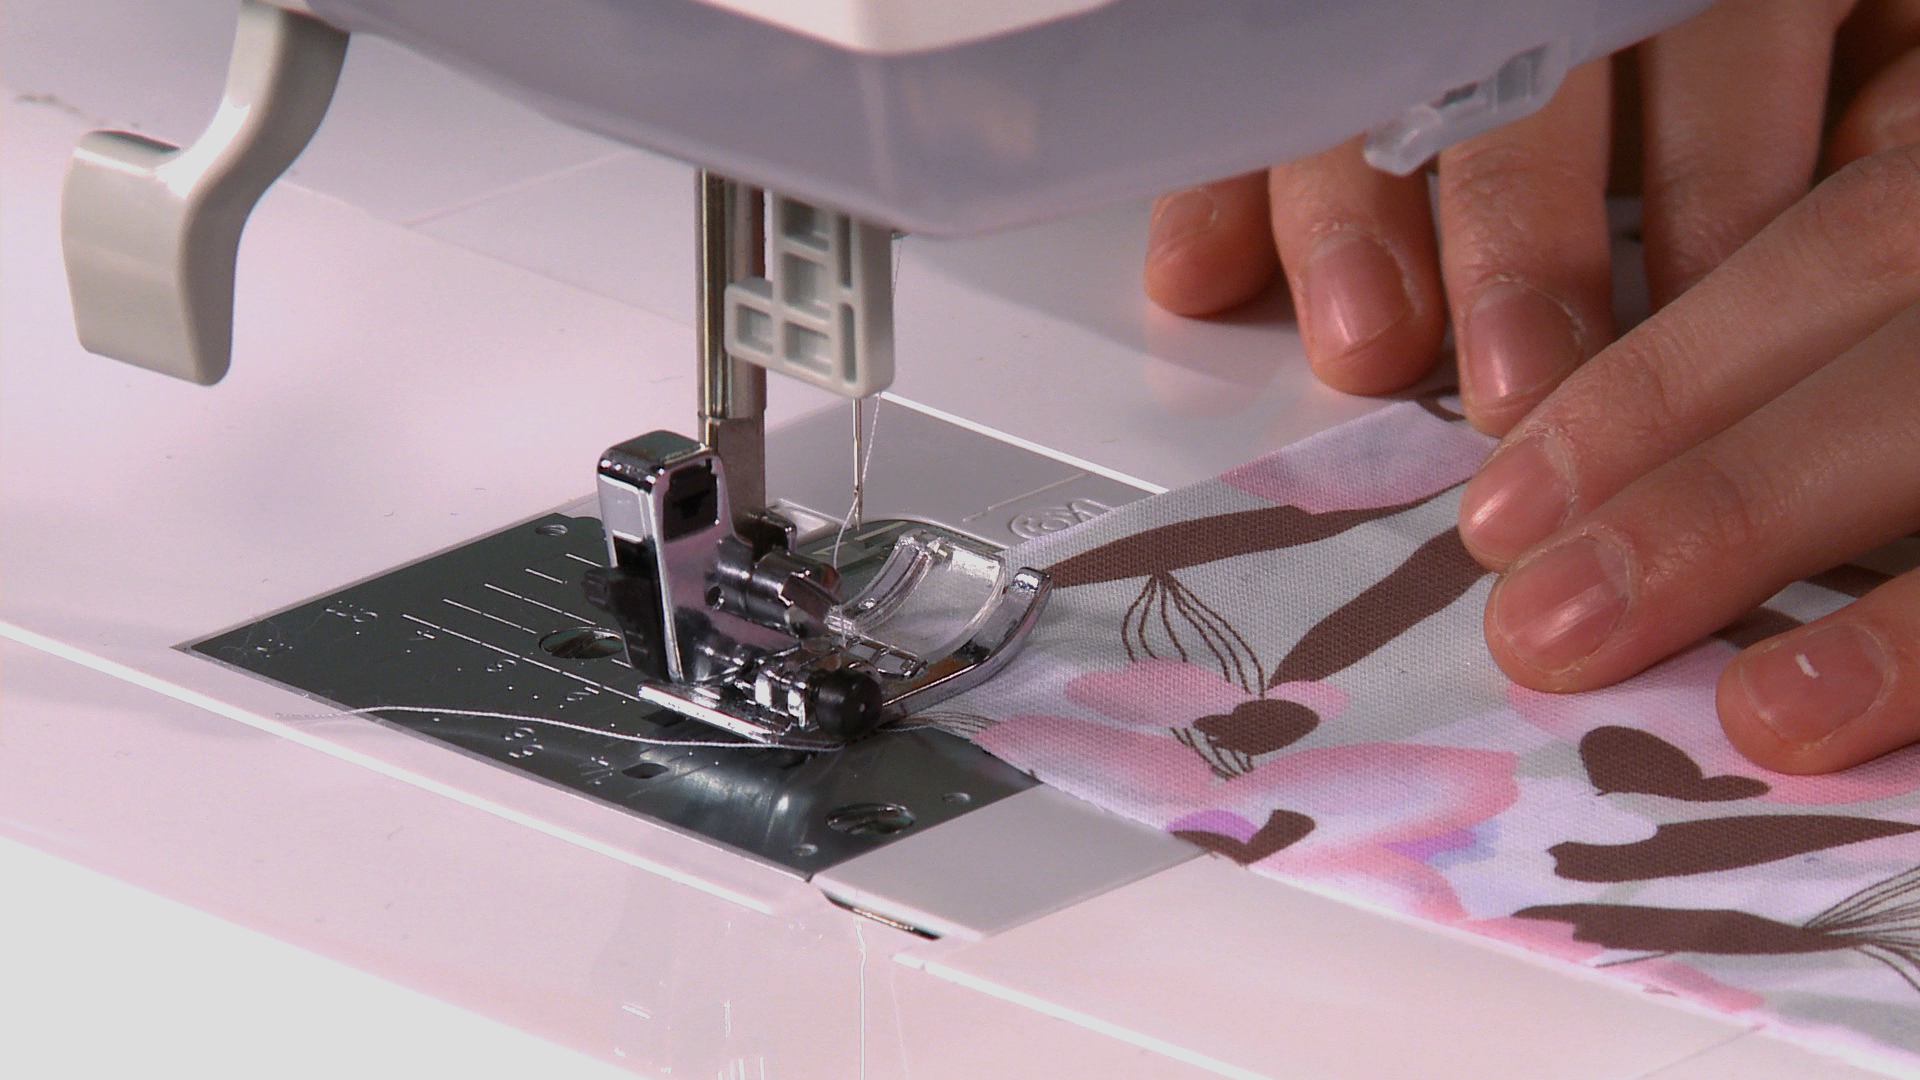
Nicki then shows how to trim the zipper to the needed size, add a new zipper stop and attach it to the fabric. Once the zipper is in place, Nicki shows how to align and stitch the remainder of the wrist wallet.
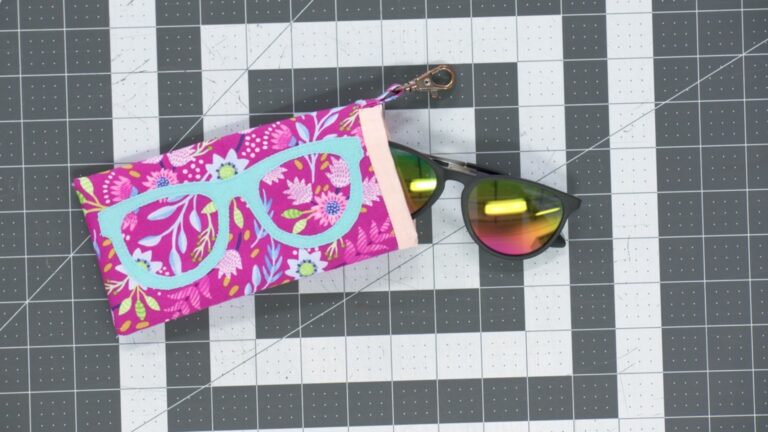
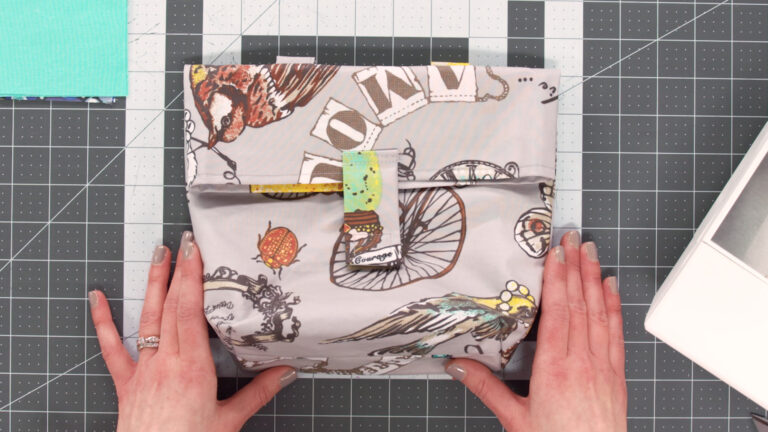
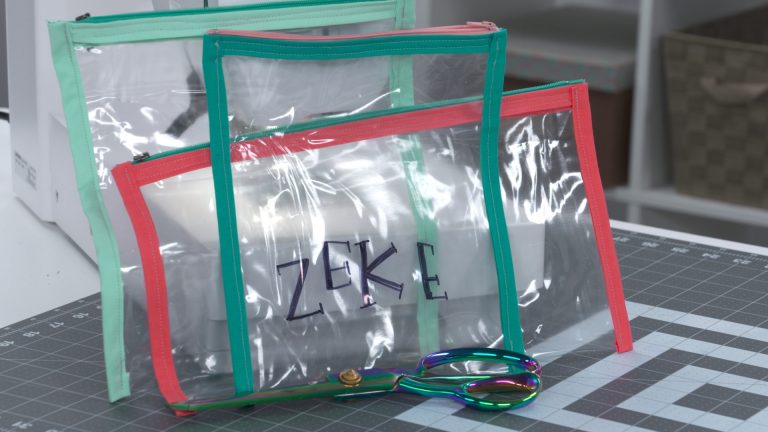
While a wrist wallet is great for on-the-go, there are many other great wallet sewing patterns, like an oilcloth wallet or a fun wallet front purse. Sew a wallet for any occasion!
Explore videos by Nicki LaFoille


You may be interested in


Premium Membership
Unlock exclusive member content from our industry experts.
- 24/7 Access to Premium Sewing Videos, Projects, and Tips
- Step-by-Step Instructional Demos, Patterns, and Tutorials
- 50% Off Video Downloads Purchased in the National Sewing Circle Shop
- Access to Ask the Expert Program
Unlock exclusive member content from our industry experts.
- 24/7 Access to Premium Sewing Videos, Projects, and Tips
- Step-by-Step Instructional Demos, Patterns, and Tutorials
- 2 Full-Length Video Downloads to Watch Offline
- 50% Off Video Downloads Purchased in the National Sewing Circle Shop
- Access to Ask the Expert Program
Gold Membership
$362 Value
Get everything included in Premium plus exclusive Gold Membership benefits.
- 24/7 Access to Premium Sewing Videos, Projects, and Tips
- Step-by-Step Instructional Demos, Patterns, and Tutorials
- 8 Full-Length Video Downloads to Watch Offline
- 3 Full-Length Quilting Classes to Keep for Life
- 6 Printable Sewing Guides and Patterns
- Discounts on Purchase-to-Own Content in the National Quilters Circle Shop:
- Access to Ask the Expert Program
- Exclusive GOLD LIVE Streaming Events