DIY: Wrist Pin Cushion
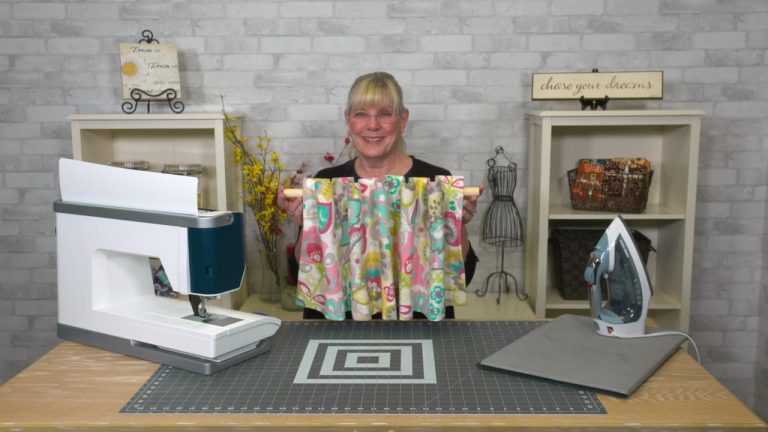
Nicki LaFoilleA wrist pin cushion, along with other tools and supplies sewers use every day, is a great way to keep pins handy when working on a sewing project. Nicki LaFoille shows you how to quickly and easily make your own to use for your next project.
Step-by-Step Wrist Pin Cushion
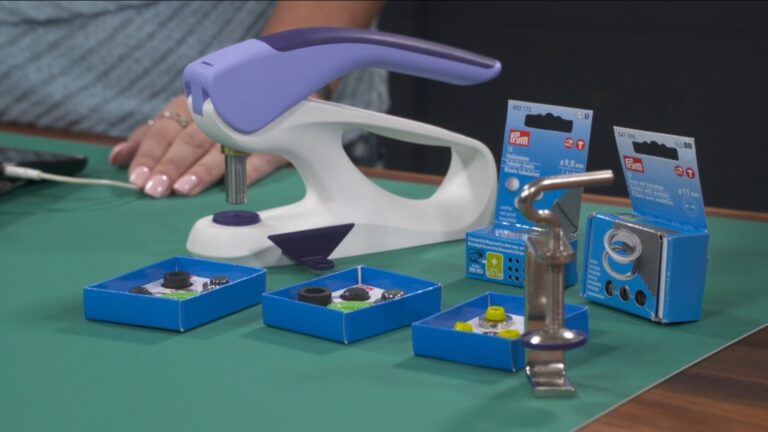
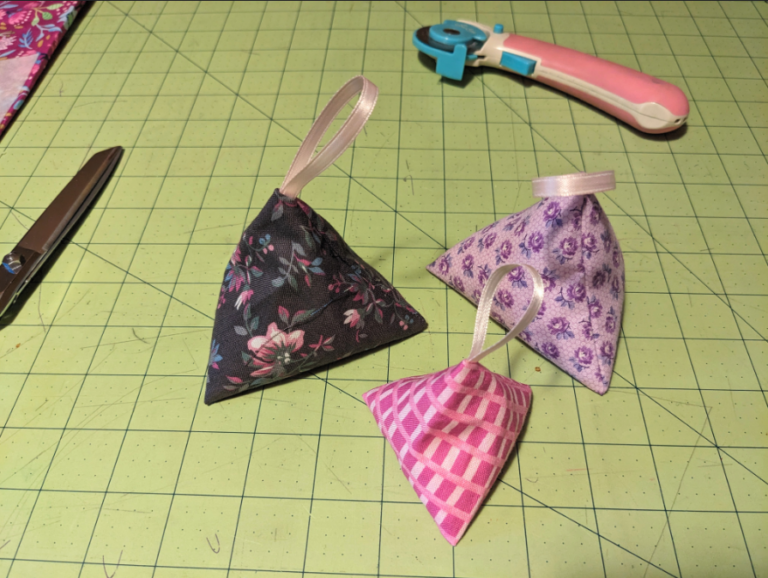
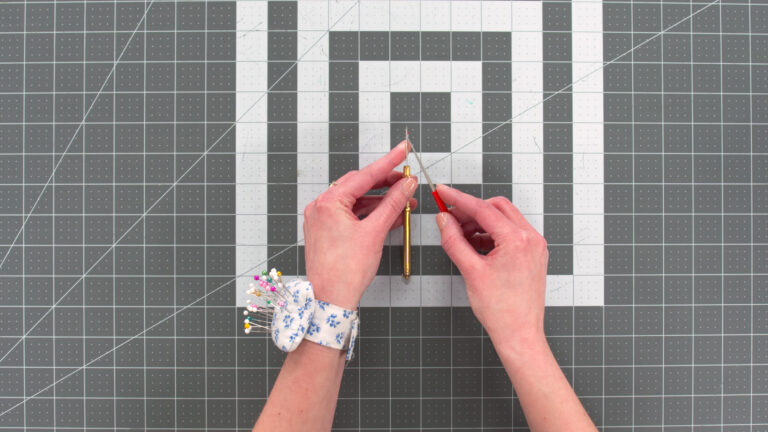
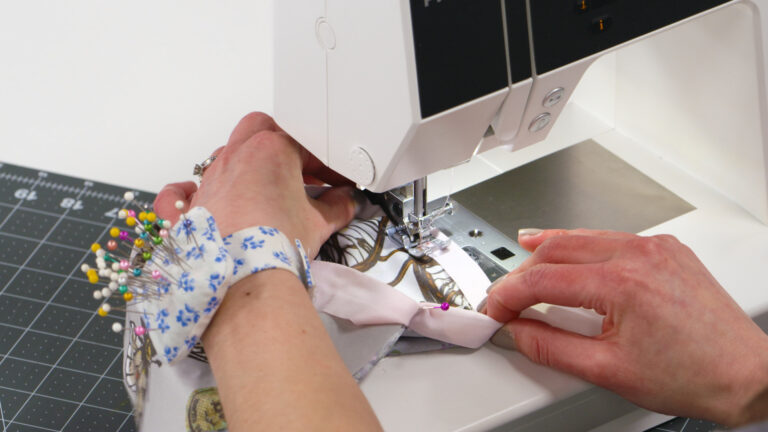
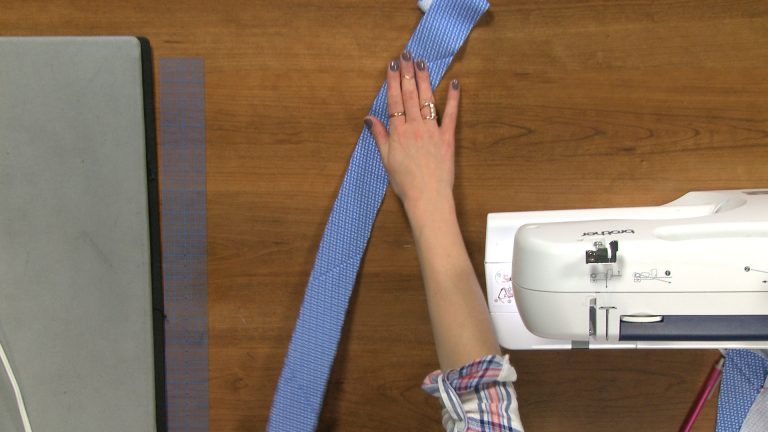
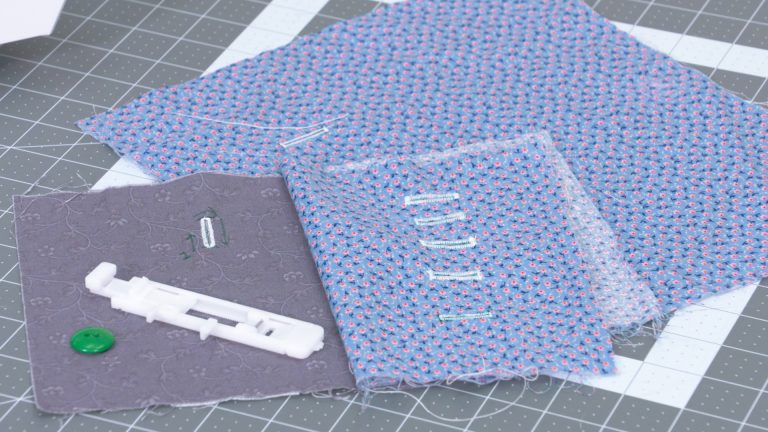
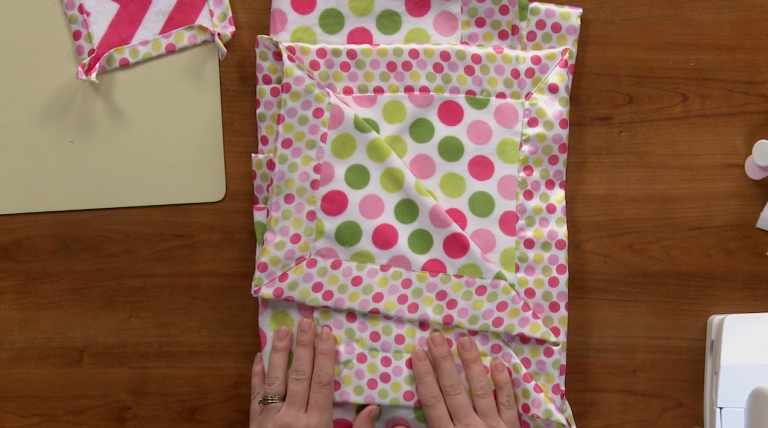
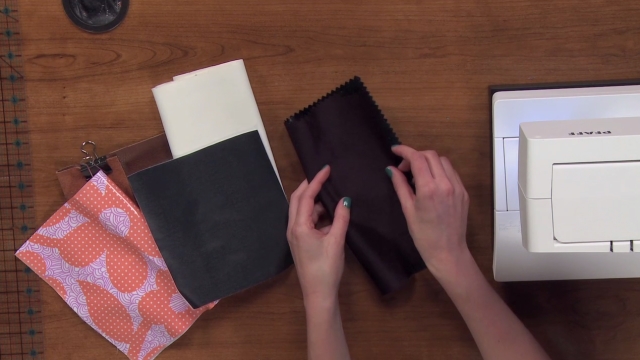
Making a wrist pin cushion requires only a small amount of cotton or your other favorite woven fabric, some stuffing to give the pin cushion some shape, something stiff to add to the back of the pincushion and a closure method. Nicki begins by showing the basic shapes that you need to cut from your fabric in order to make the pincushion — two small squares and two long strips that go around your wrist with a couple inches of overlap.
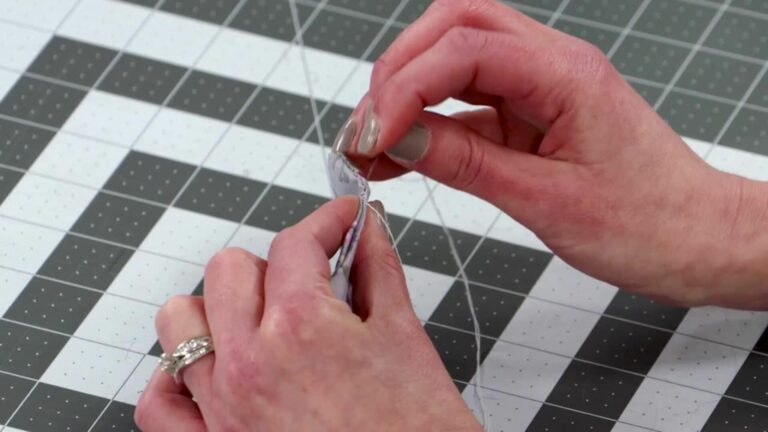
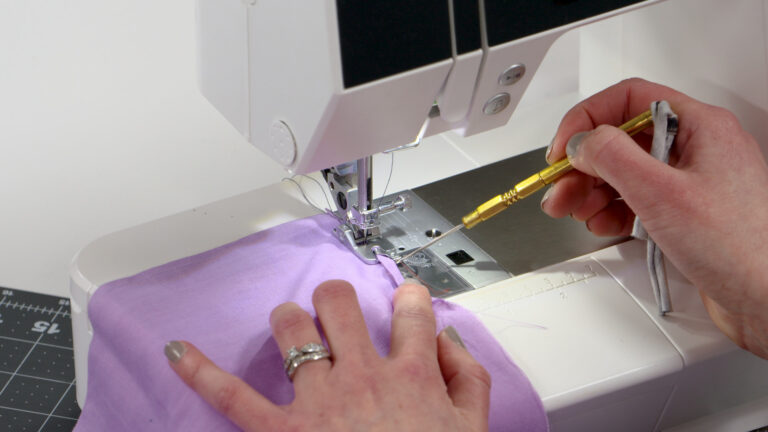
She then shows how to stitch the squares, leaving an opening for turning, how to stitch the strips and how to attach the two together. Nicki also explains how and where a stiffer piece of fabric needs to be added to the pincushion. She shares what she prefers to use for this step and explains how it is important to add so that you don’t poke yourself with pins when using your wrist pin cushion.
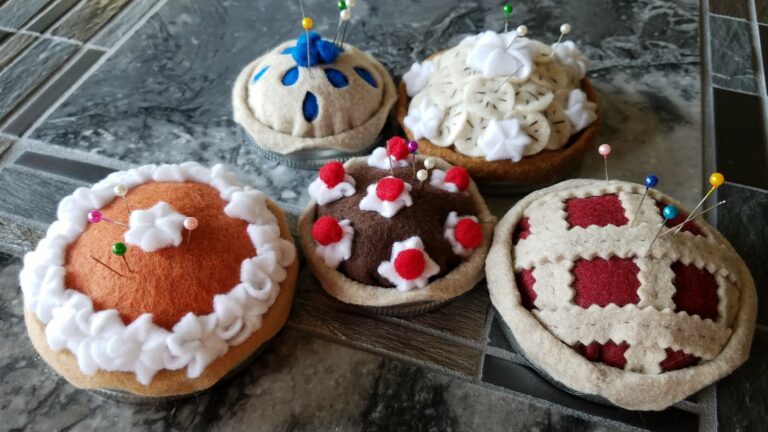
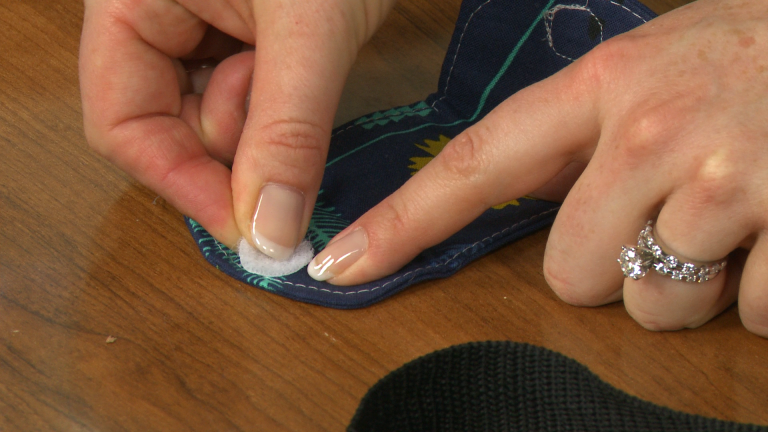
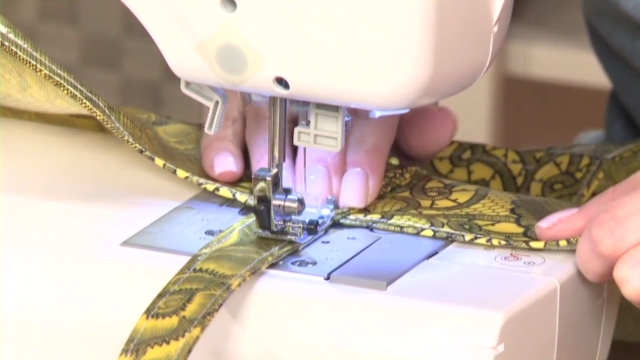
The last step Nicki talks about and demonstrates is securing the wrist pincushion around your wrist. While buttons or a snap could be used, Nicki shows how easy it is to stitch a piece of hook and loop tape onto the pin cushion strap ends. She explains which halves of the hook and loop tape need to go on which ends and sides of the straps and gives several tips for stitching through the tape. Once you’ve made a handy wrist pin cushion, have fun making other pin cushion variations after learning how to make pie pin cushions.
Explore videos by Nicki LaFoille

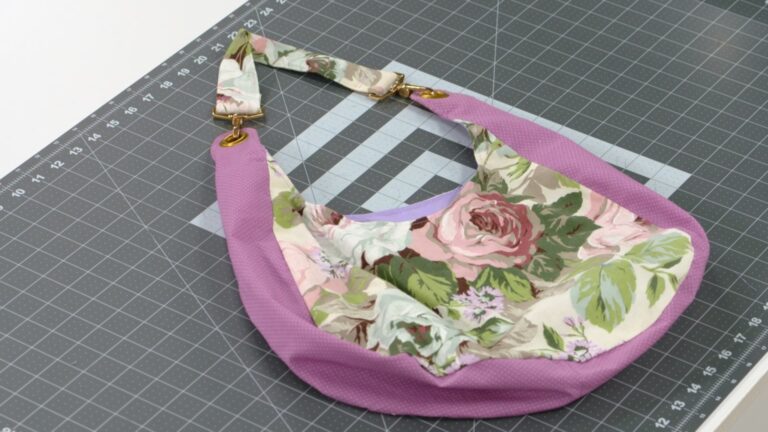
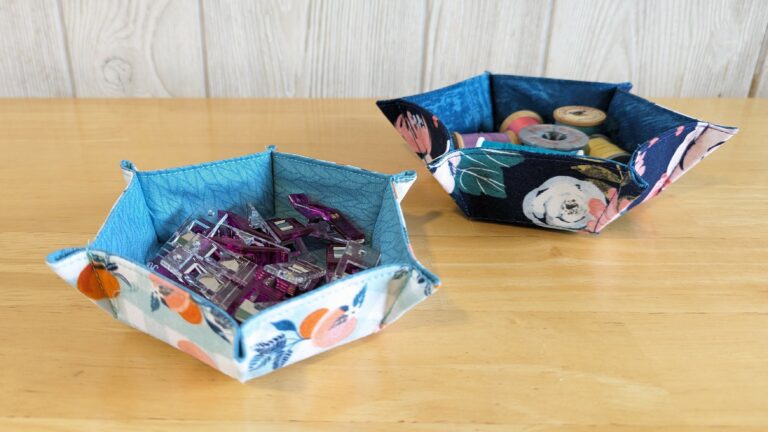
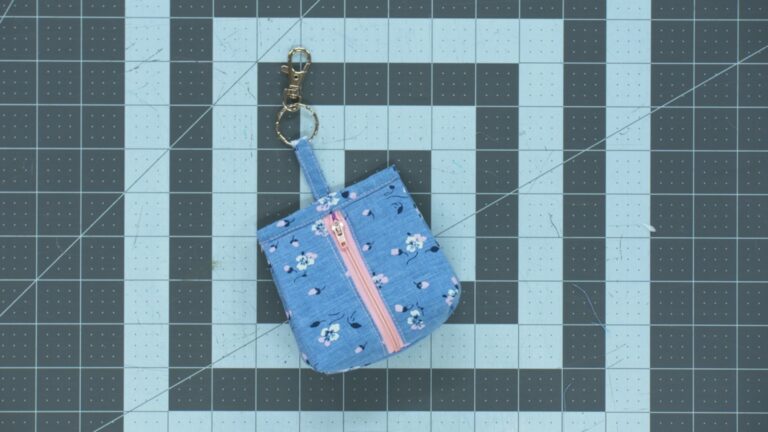
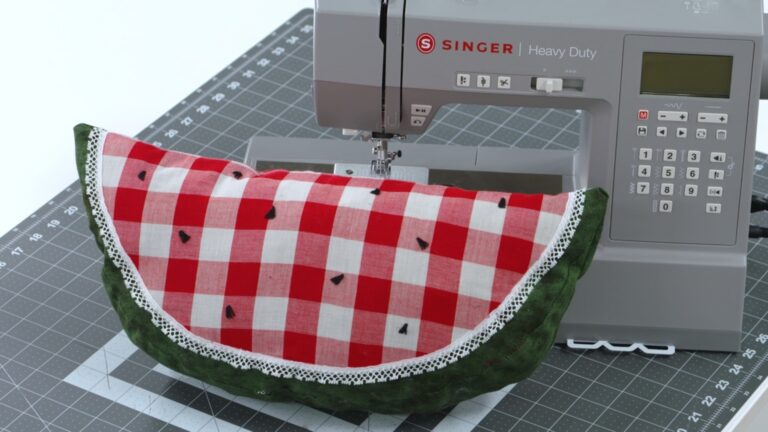
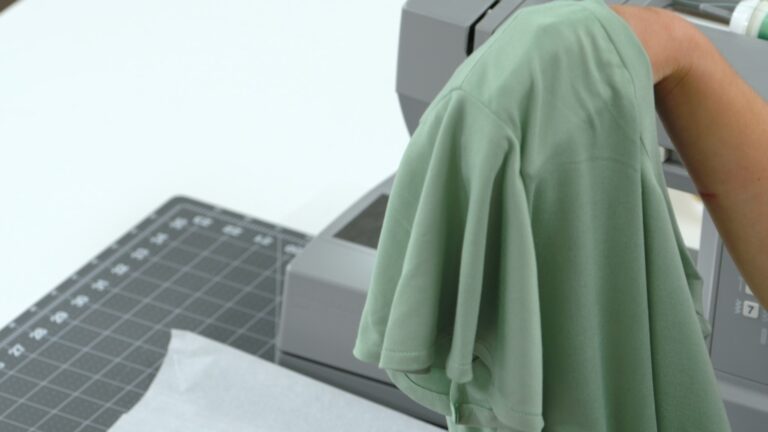

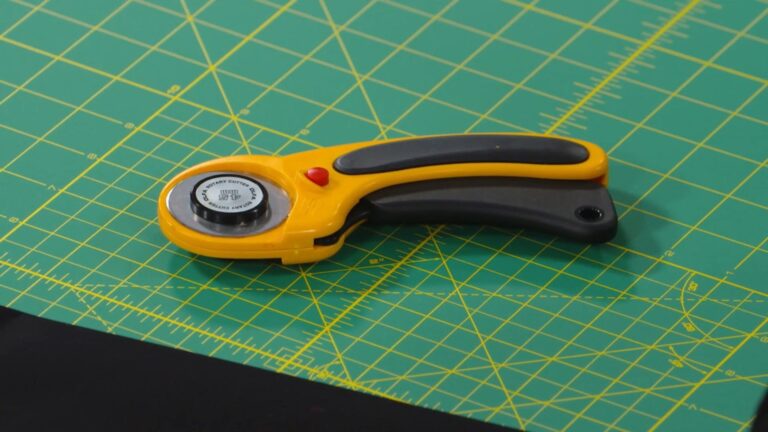
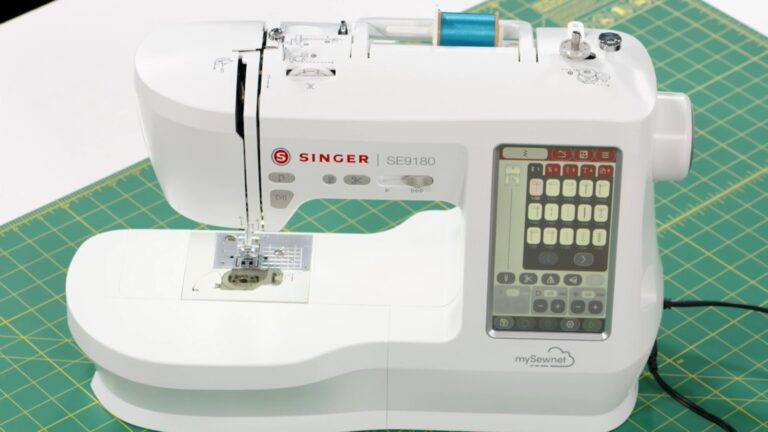
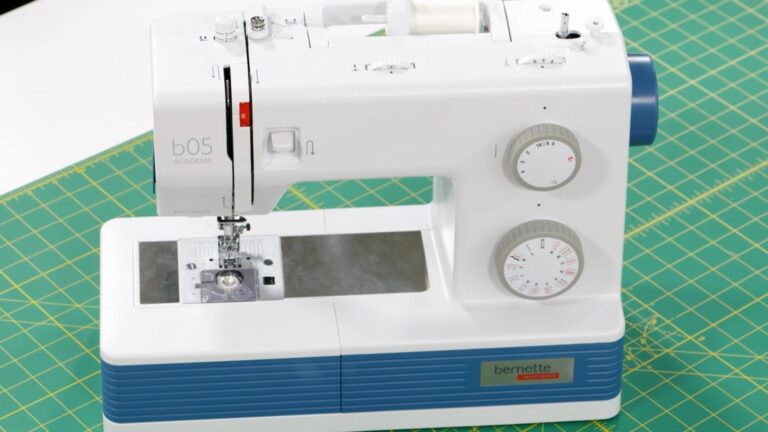
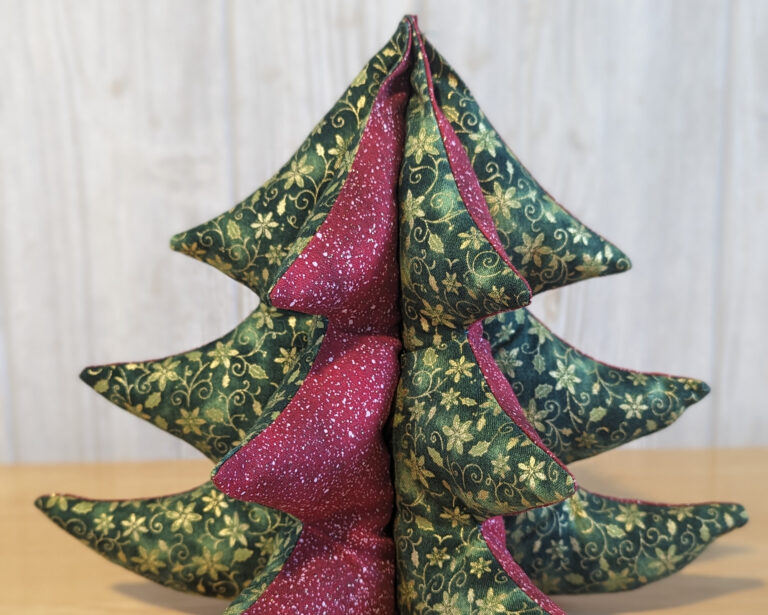
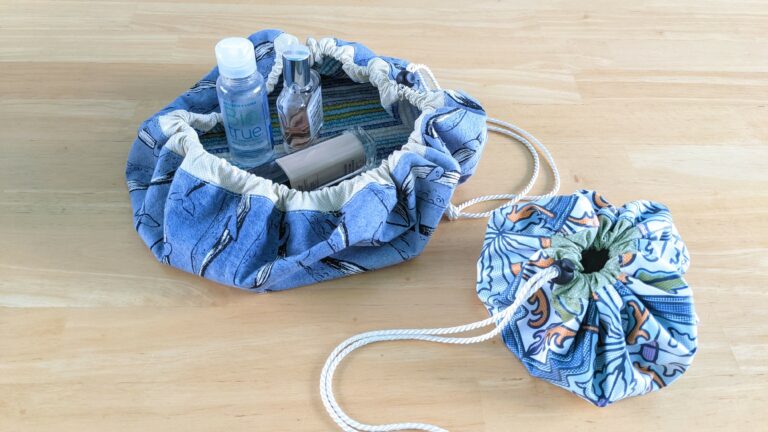
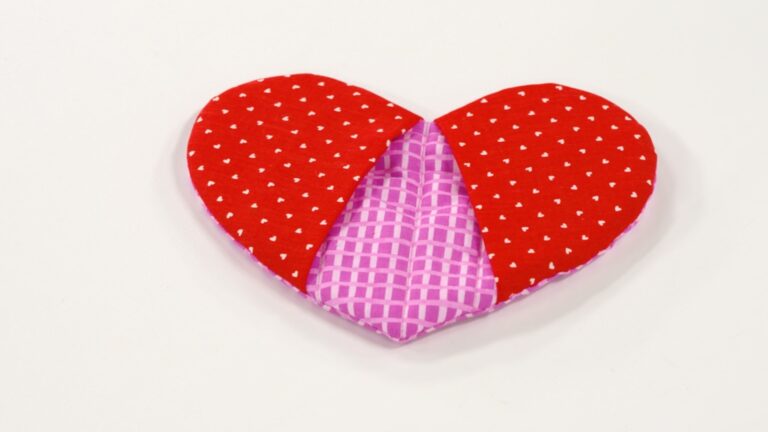
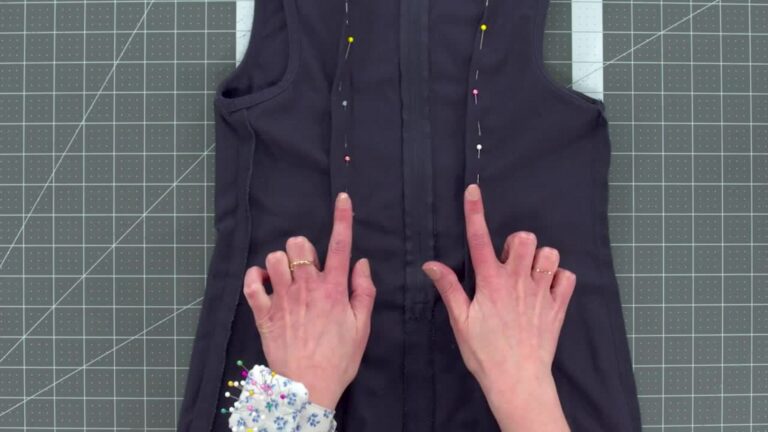
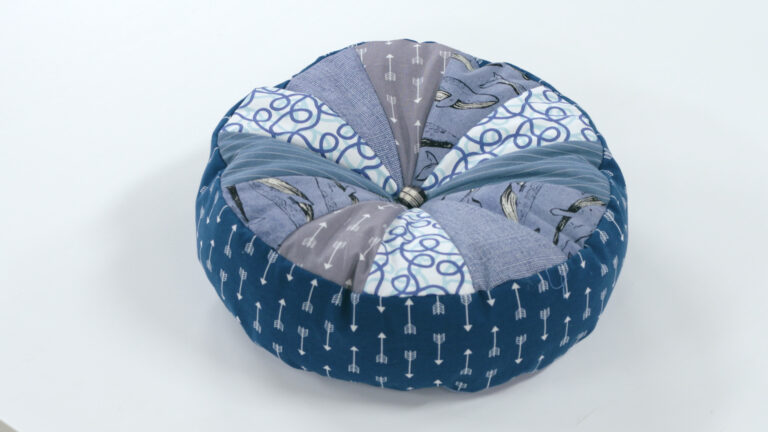
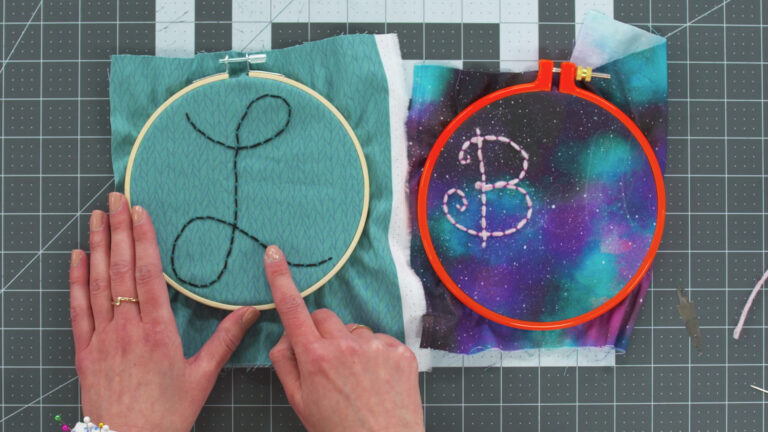
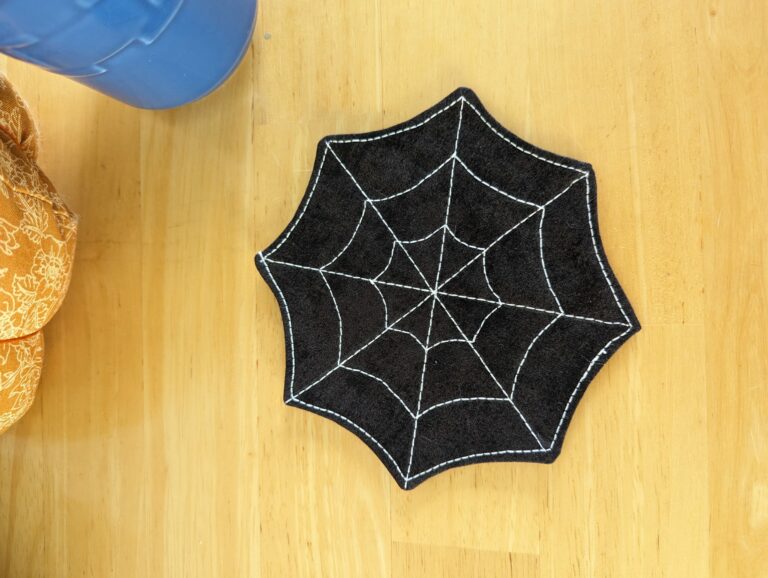
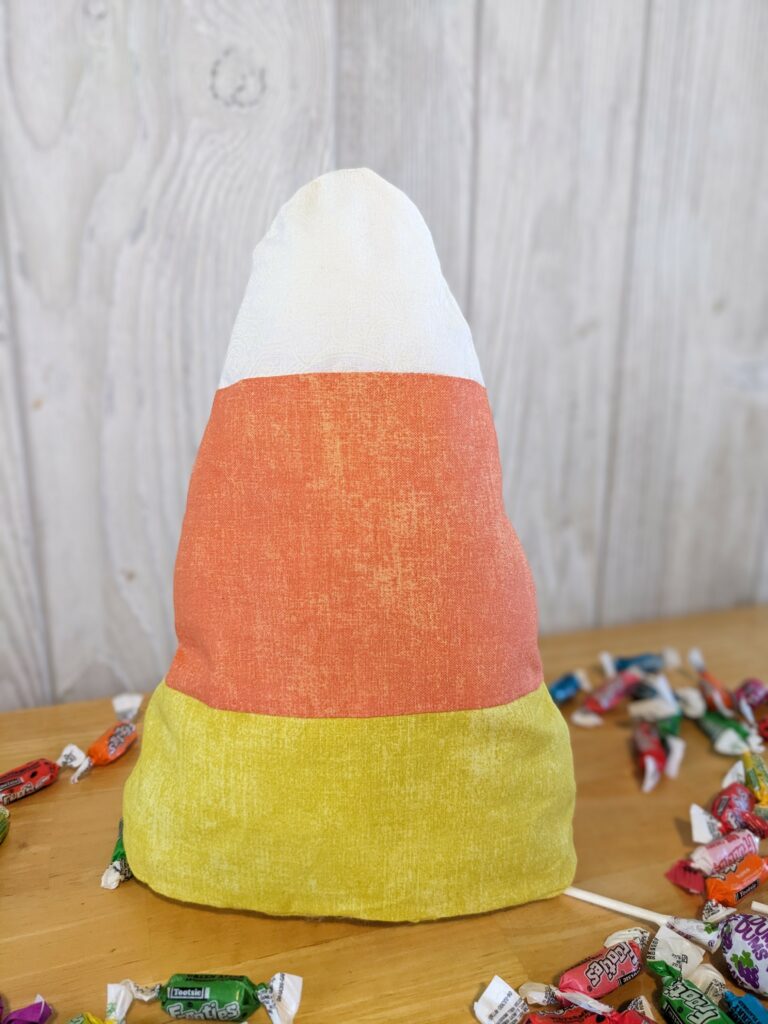

You may be interested in


Premium Membership
Unlock exclusive member content from our industry experts.
- 24/7 Access to Premium Sewing Videos, Projects, and Tips
- Step-by-Step Instructional Demos, Patterns, and Tutorials
- 50% Off Video Downloads Purchased in the National Sewing Circle Shop
- Access to Ask the Expert Program
Unlock exclusive member content from our industry experts.
- 24/7 Access to Premium Sewing Videos, Projects, and Tips
- Step-by-Step Instructional Demos, Patterns, and Tutorials
- 2 Full-Length Video Downloads to Watch Offline
- 50% Off Video Downloads Purchased in the National Sewing Circle Shop
- Access to Ask the Expert Program
Gold Membership
$362 Value
Get everything included in Premium plus exclusive Gold Membership benefits.
- 24/7 Access to Premium Sewing Videos, Projects, and Tips
- Step-by-Step Instructional Demos, Patterns, and Tutorials
- 8 Full-Length Video Downloads to Watch Offline
- 3 Full-Length Quilting Classes to Keep for Life
- 6 Printable Sewing Guides and Patterns
- Discounts on Purchase-to-Own Content in the National Quilters Circle Shop:
- Access to Ask the Expert Program
- Exclusive GOLD LIVE Streaming Events