DIY Cactus Pincushion
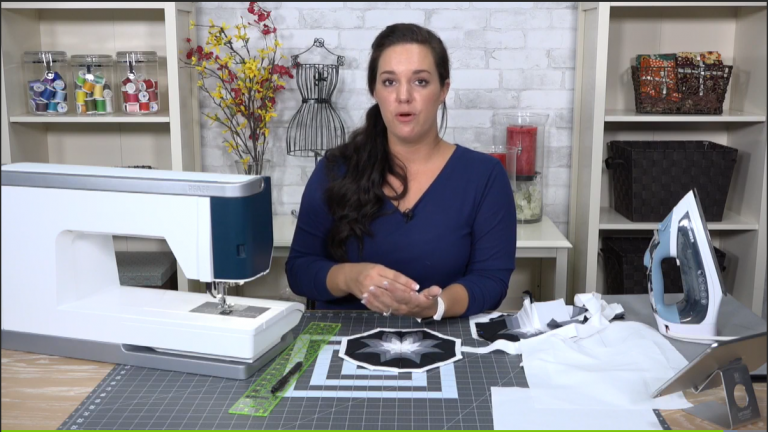
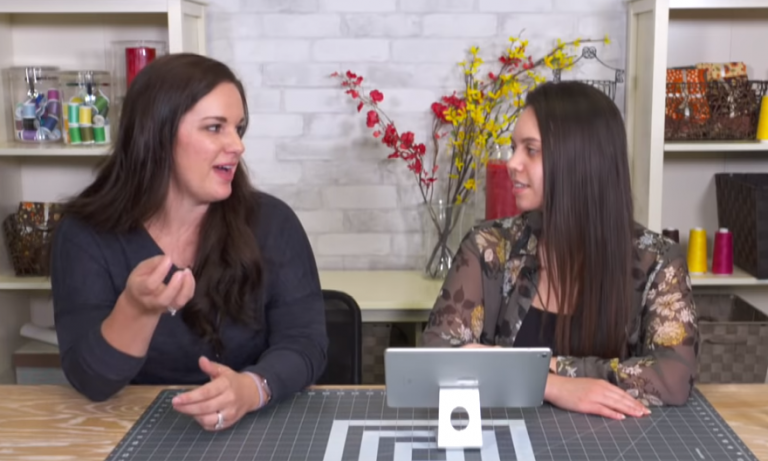
Ashley HoughPincushions can be cute as well as functional. In this video, you’ll learn how to make a charming cactus pincushion that can fit into a small pot and sit nicely on your sewing room table. Follow along with Ashley Hough to complete this fun, simple project.
Supplies and Construction
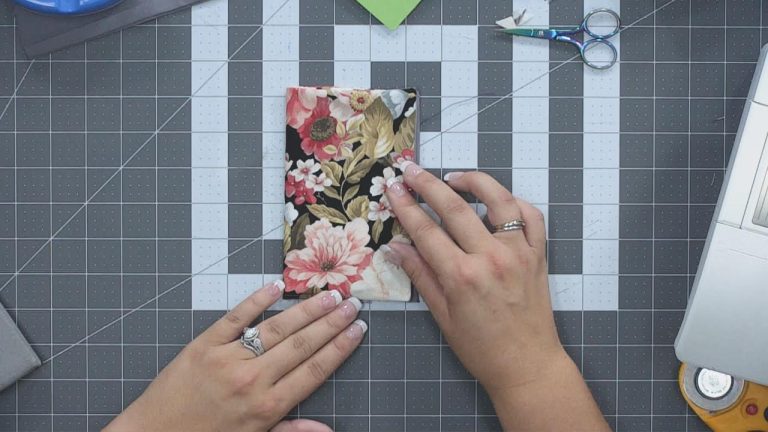
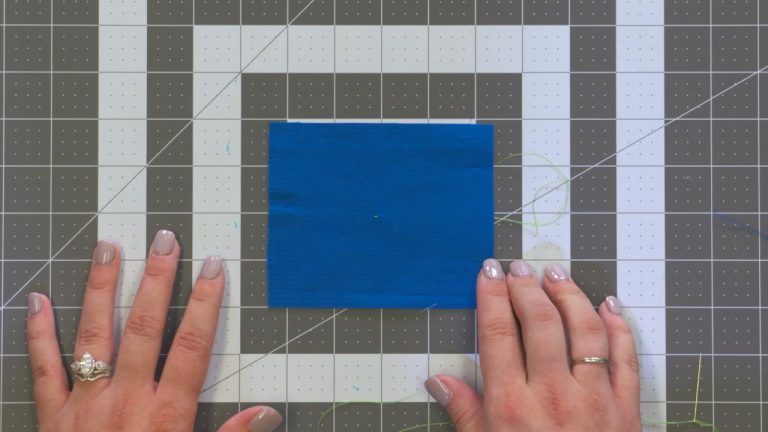
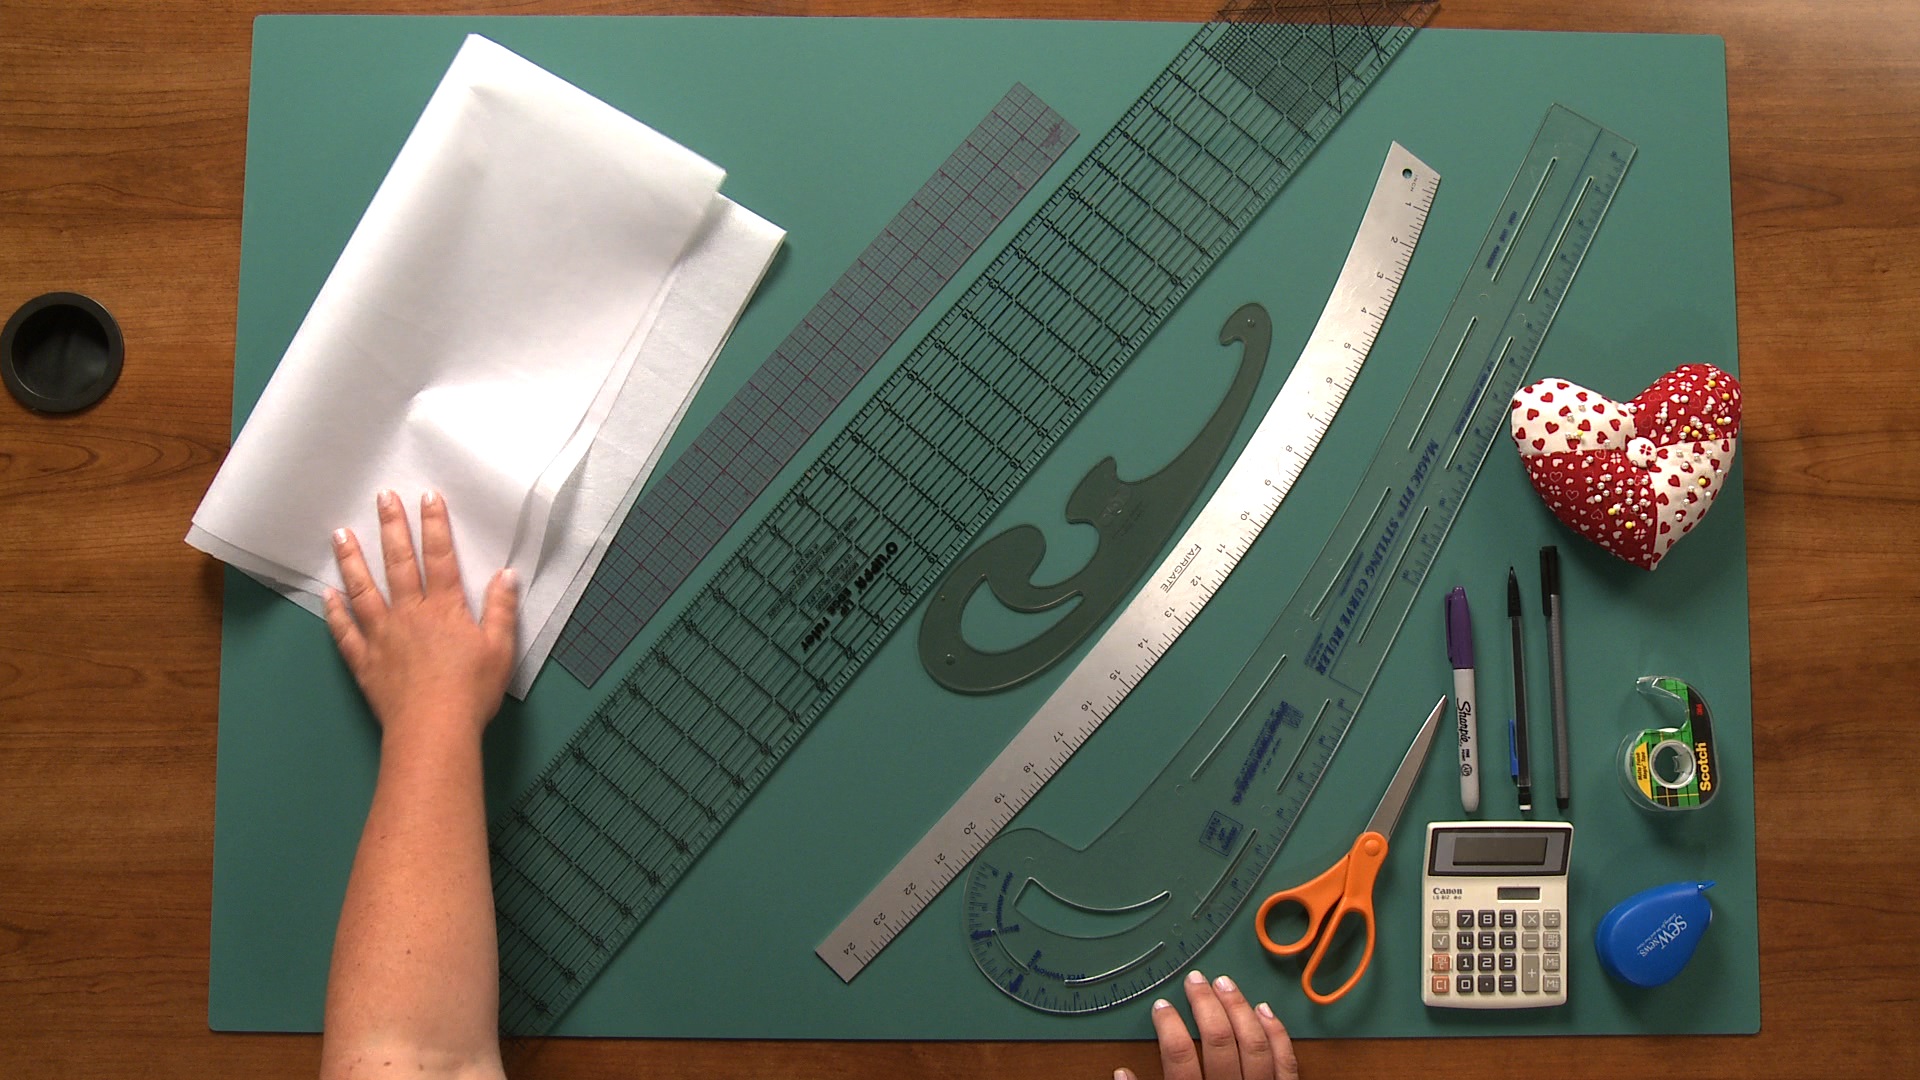
To make these fun DIY cactus pincushions all you need are the pattern pieces for the cactus you wish to make, or for all three, small amounts of felt, polyester fiberfill, a small pot and some craft glue. Additional optional supplies include small river rocks and pom poms. Ashley first shows you how to cut out all of the pattern pieces and explains that each different pincushion has different numbers of pattern pieces.
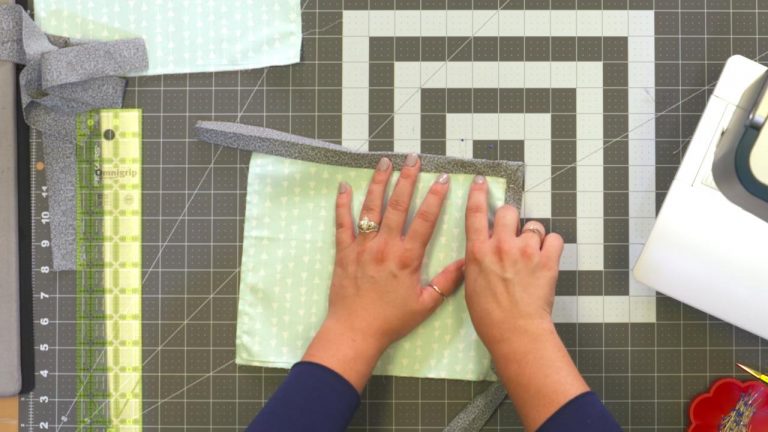
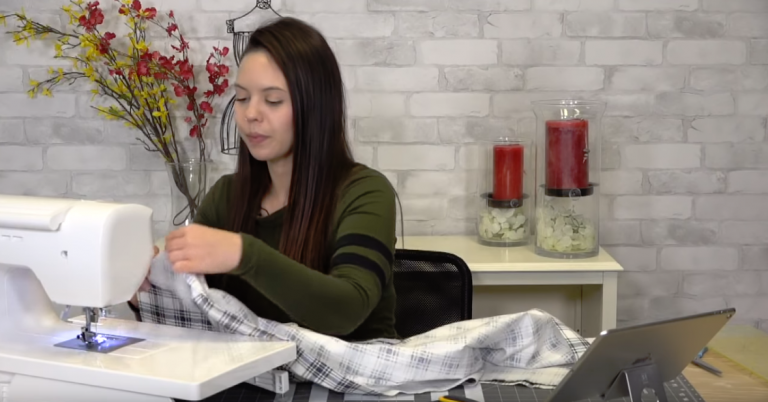
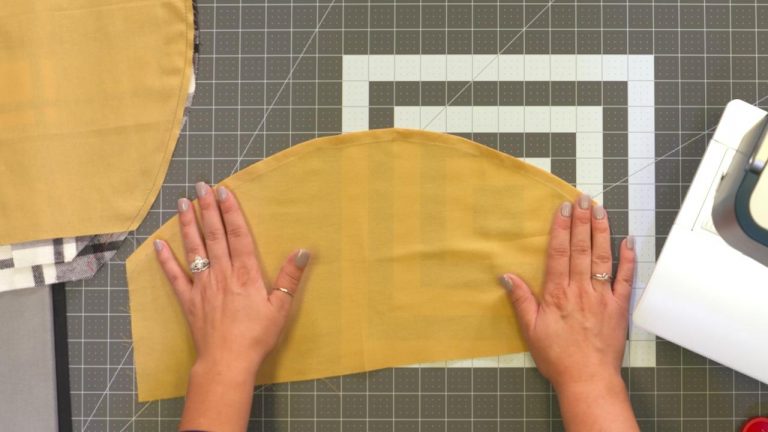
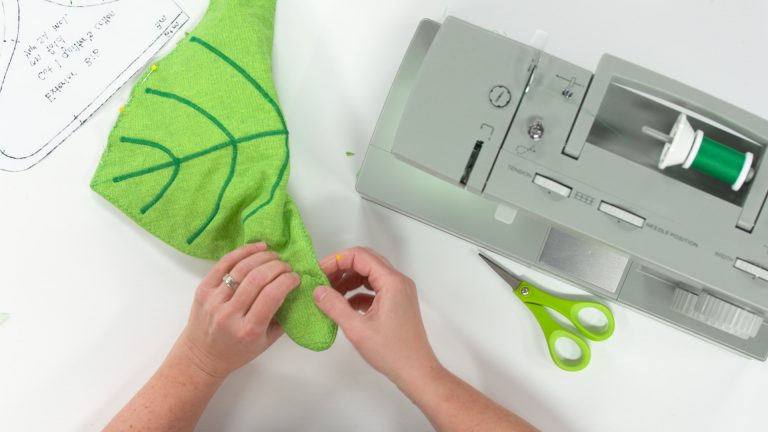
She then explains how to construct the cactus pincushion that only has one piece by zig-zag stitching around the edges of the pieces. The bottom of the cactus is left open so it can be stuffed. She then demonstrates how to assemble the other cactus, which have more pieces. Once the cactus bodies have been stitched Ashley shows how to stuff them and add a small circle of felt to the bottom to keep the stuffing in place.
Ashley also shows how to fill up the bottom part of the small pot with river rocks so the pincushion is slightly weighted and the cactus has something to sit on. She then shows how to secure the rocks in place and how to secure the pincushion into the pot.
Once all of the cactus pincushions have been made, Ashley shows how to embellish them with small cactus flowers. She shows how to cut out small circles of felt, fold them in half and stitch them and then make small slits around the perimeter of the circle to create cactus flower petals. If you enjoyed making these cactus pincushions check out more sewing project ideas including how to sew pincushion pies.

Explore videos by Ashley Hough


You may be interested in

Premium Membership
Unlock exclusive member content from our industry experts.
- 24/7 Access to Premium Sewing Videos, Projects, and Tips
- Step-by-Step Instructional Demos, Patterns, and Tutorials
- 50% Off Video Downloads Purchased in the National Sewing Circle Shop
- Access to Ask the Expert Program
Unlock exclusive member content from our industry experts.
- 24/7 Access to Premium Sewing Videos, Projects, and Tips
- Step-by-Step Instructional Demos, Patterns, and Tutorials
- 2 Full-Length Video Downloads to Watch Offline
- 50% Off Video Downloads Purchased in the National Sewing Circle Shop
- Access to Ask the Expert Program
Gold Membership
$362 Value
Get everything included in Premium plus exclusive Gold Membership benefits.
- 24/7 Access to Premium Sewing Videos, Projects, and Tips
- Step-by-Step Instructional Demos, Patterns, and Tutorials
- 8 Full-Length Video Downloads to Watch Offline
- 3 Full-Length Quilting Classes to Keep for Life
- 6 Printable Sewing Guides and Patterns
- Discounts on Purchase-to-Own Content in the National Quilters Circle Shop:
- Access to Ask the Expert Program
- Exclusive GOLD LIVE Streaming Events